Axe Making at Oldfield Forge
Creative Experience: Axe Making at Oldfield Forge
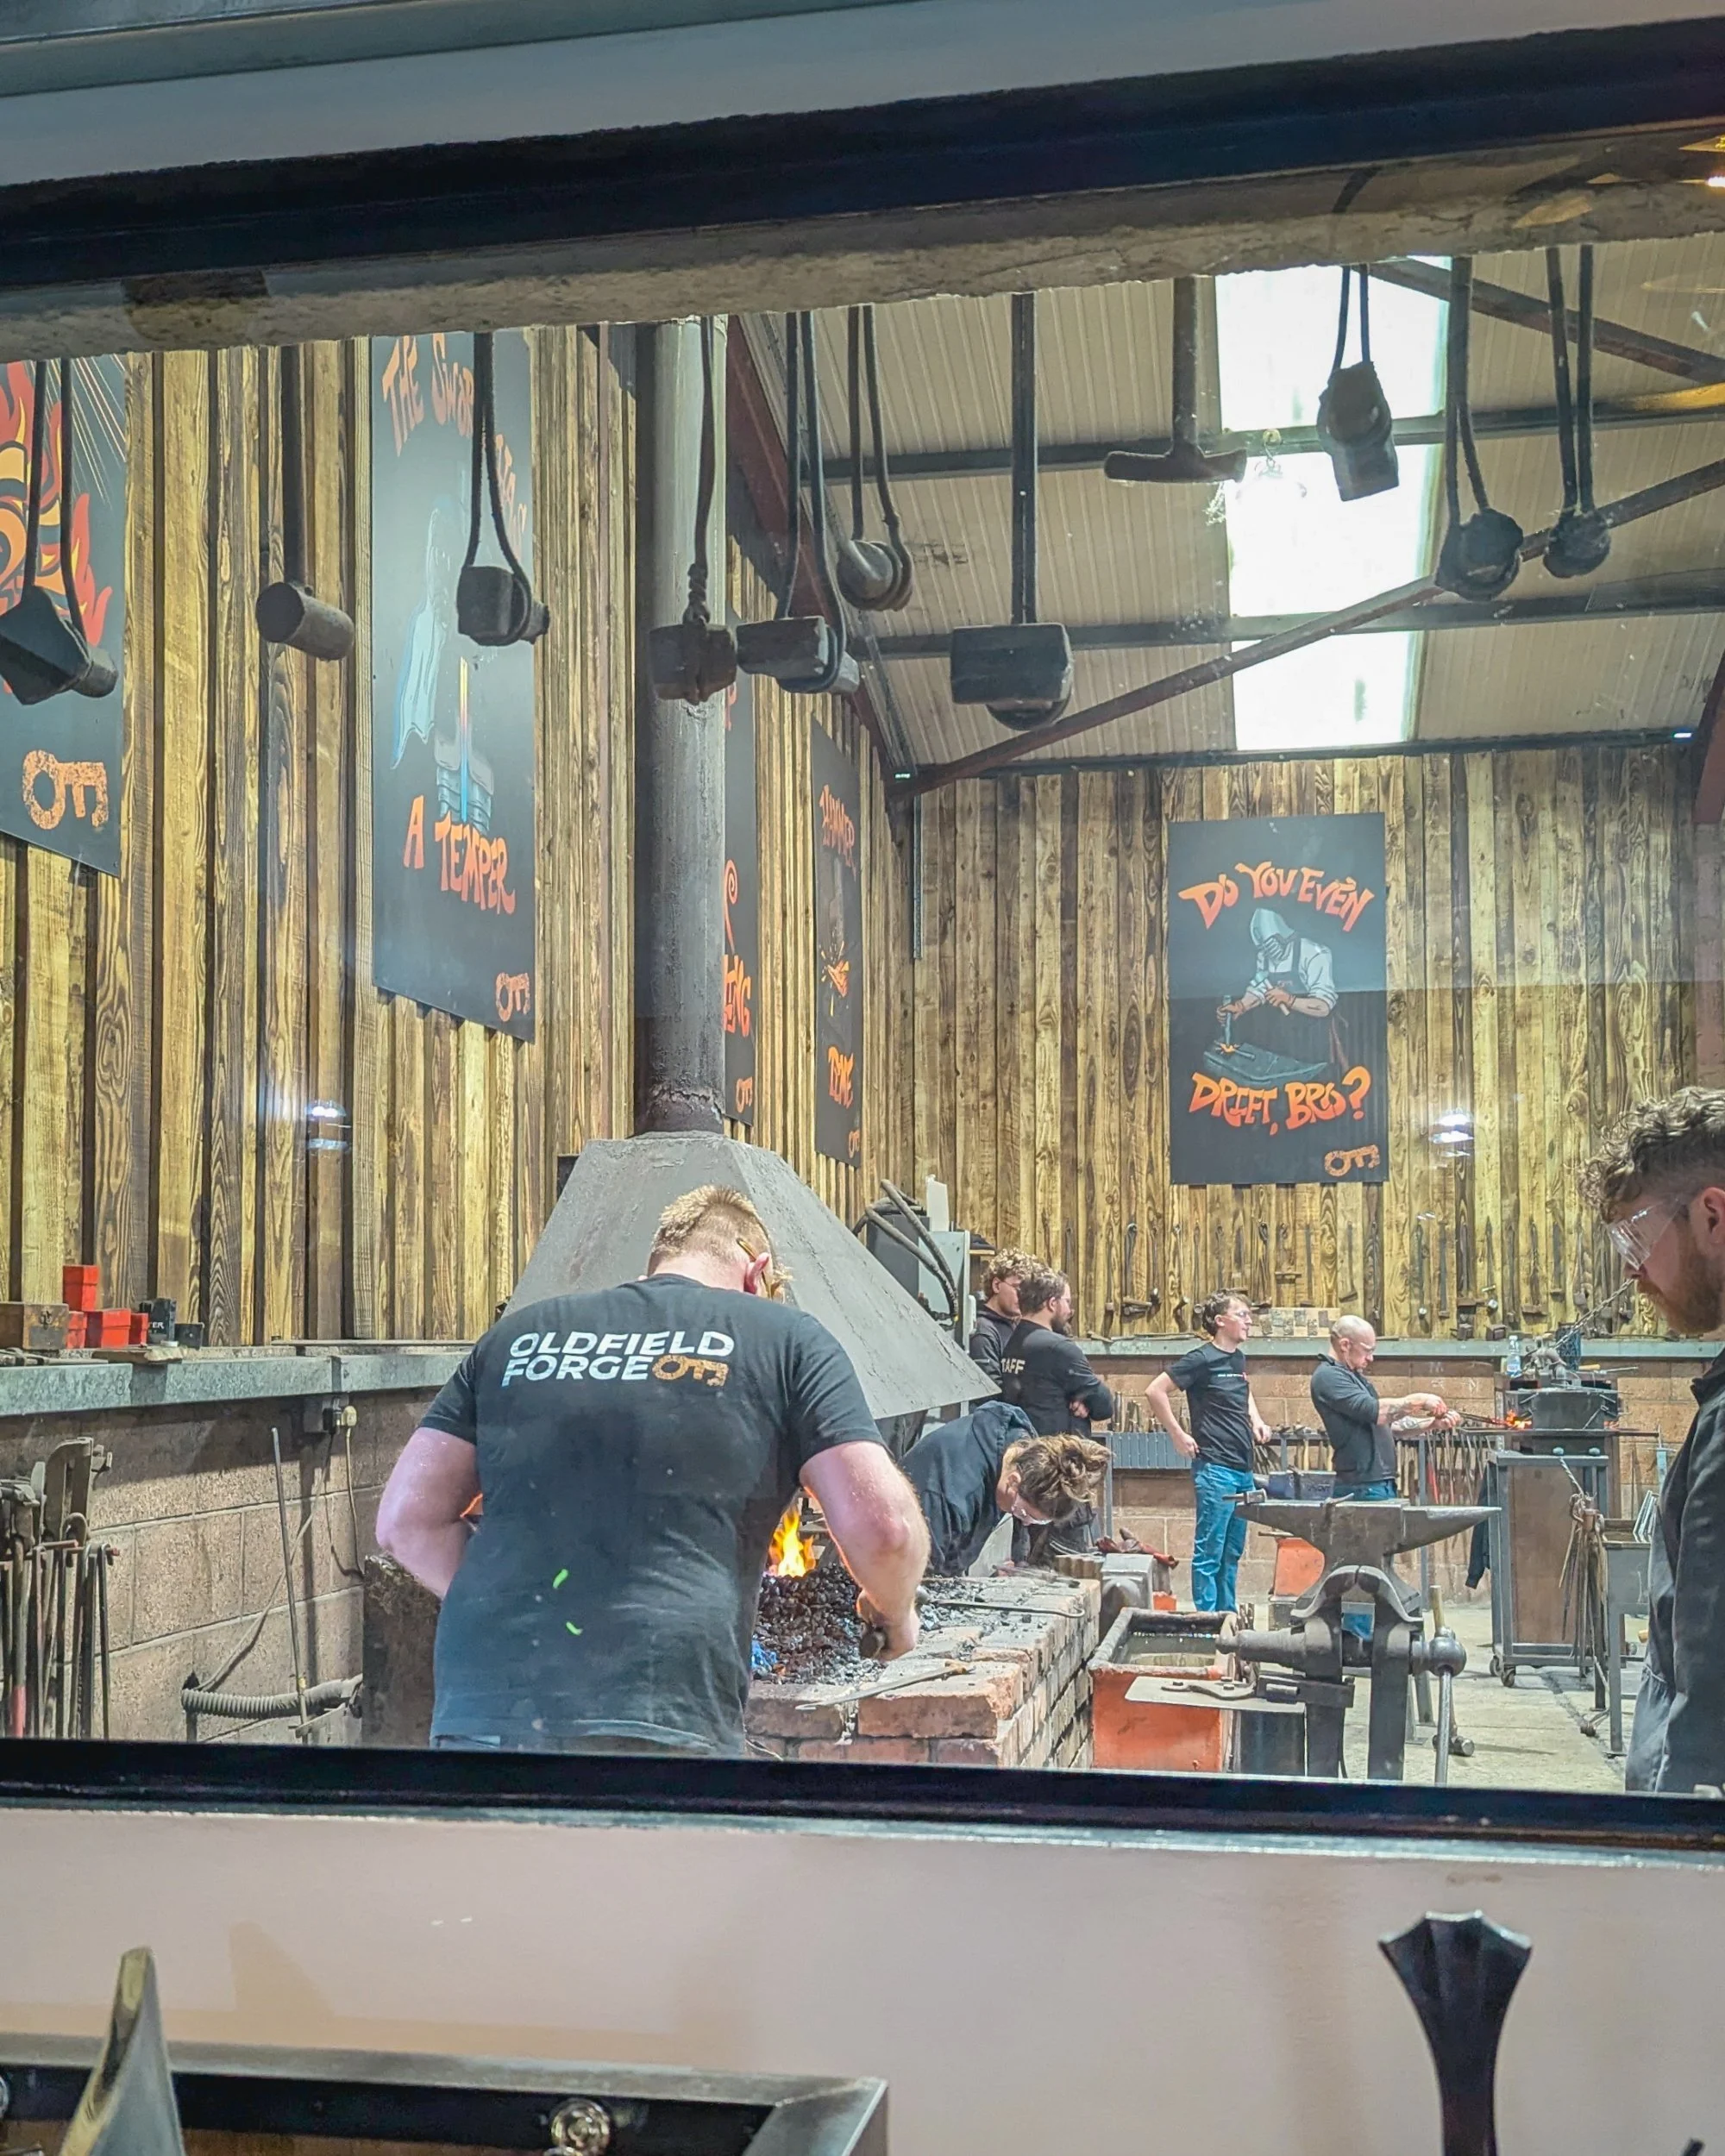
“Hammer Time” “Do you even drift, bro?” - Oldfield Forge
Holly Makes… An Axe!
Hi! I’m Holly, and I’m on a mission to help people find creative experiences and rediscover the joy of making. I truly believe that everyone has a creative spark and sometimes you just need the right workshop to light the fire.
I’m travelling the world taking part in creative courses, documenting the process, and teaching people how to tap into their own creativity along the way. Whether it’s getting your hands dirty or learning a heritage craft, I'm here to show you how rewarding it can be to step away from the screen and into the workshop.
My journey started earlier this year on…
Sunday, 25th Jan 2026
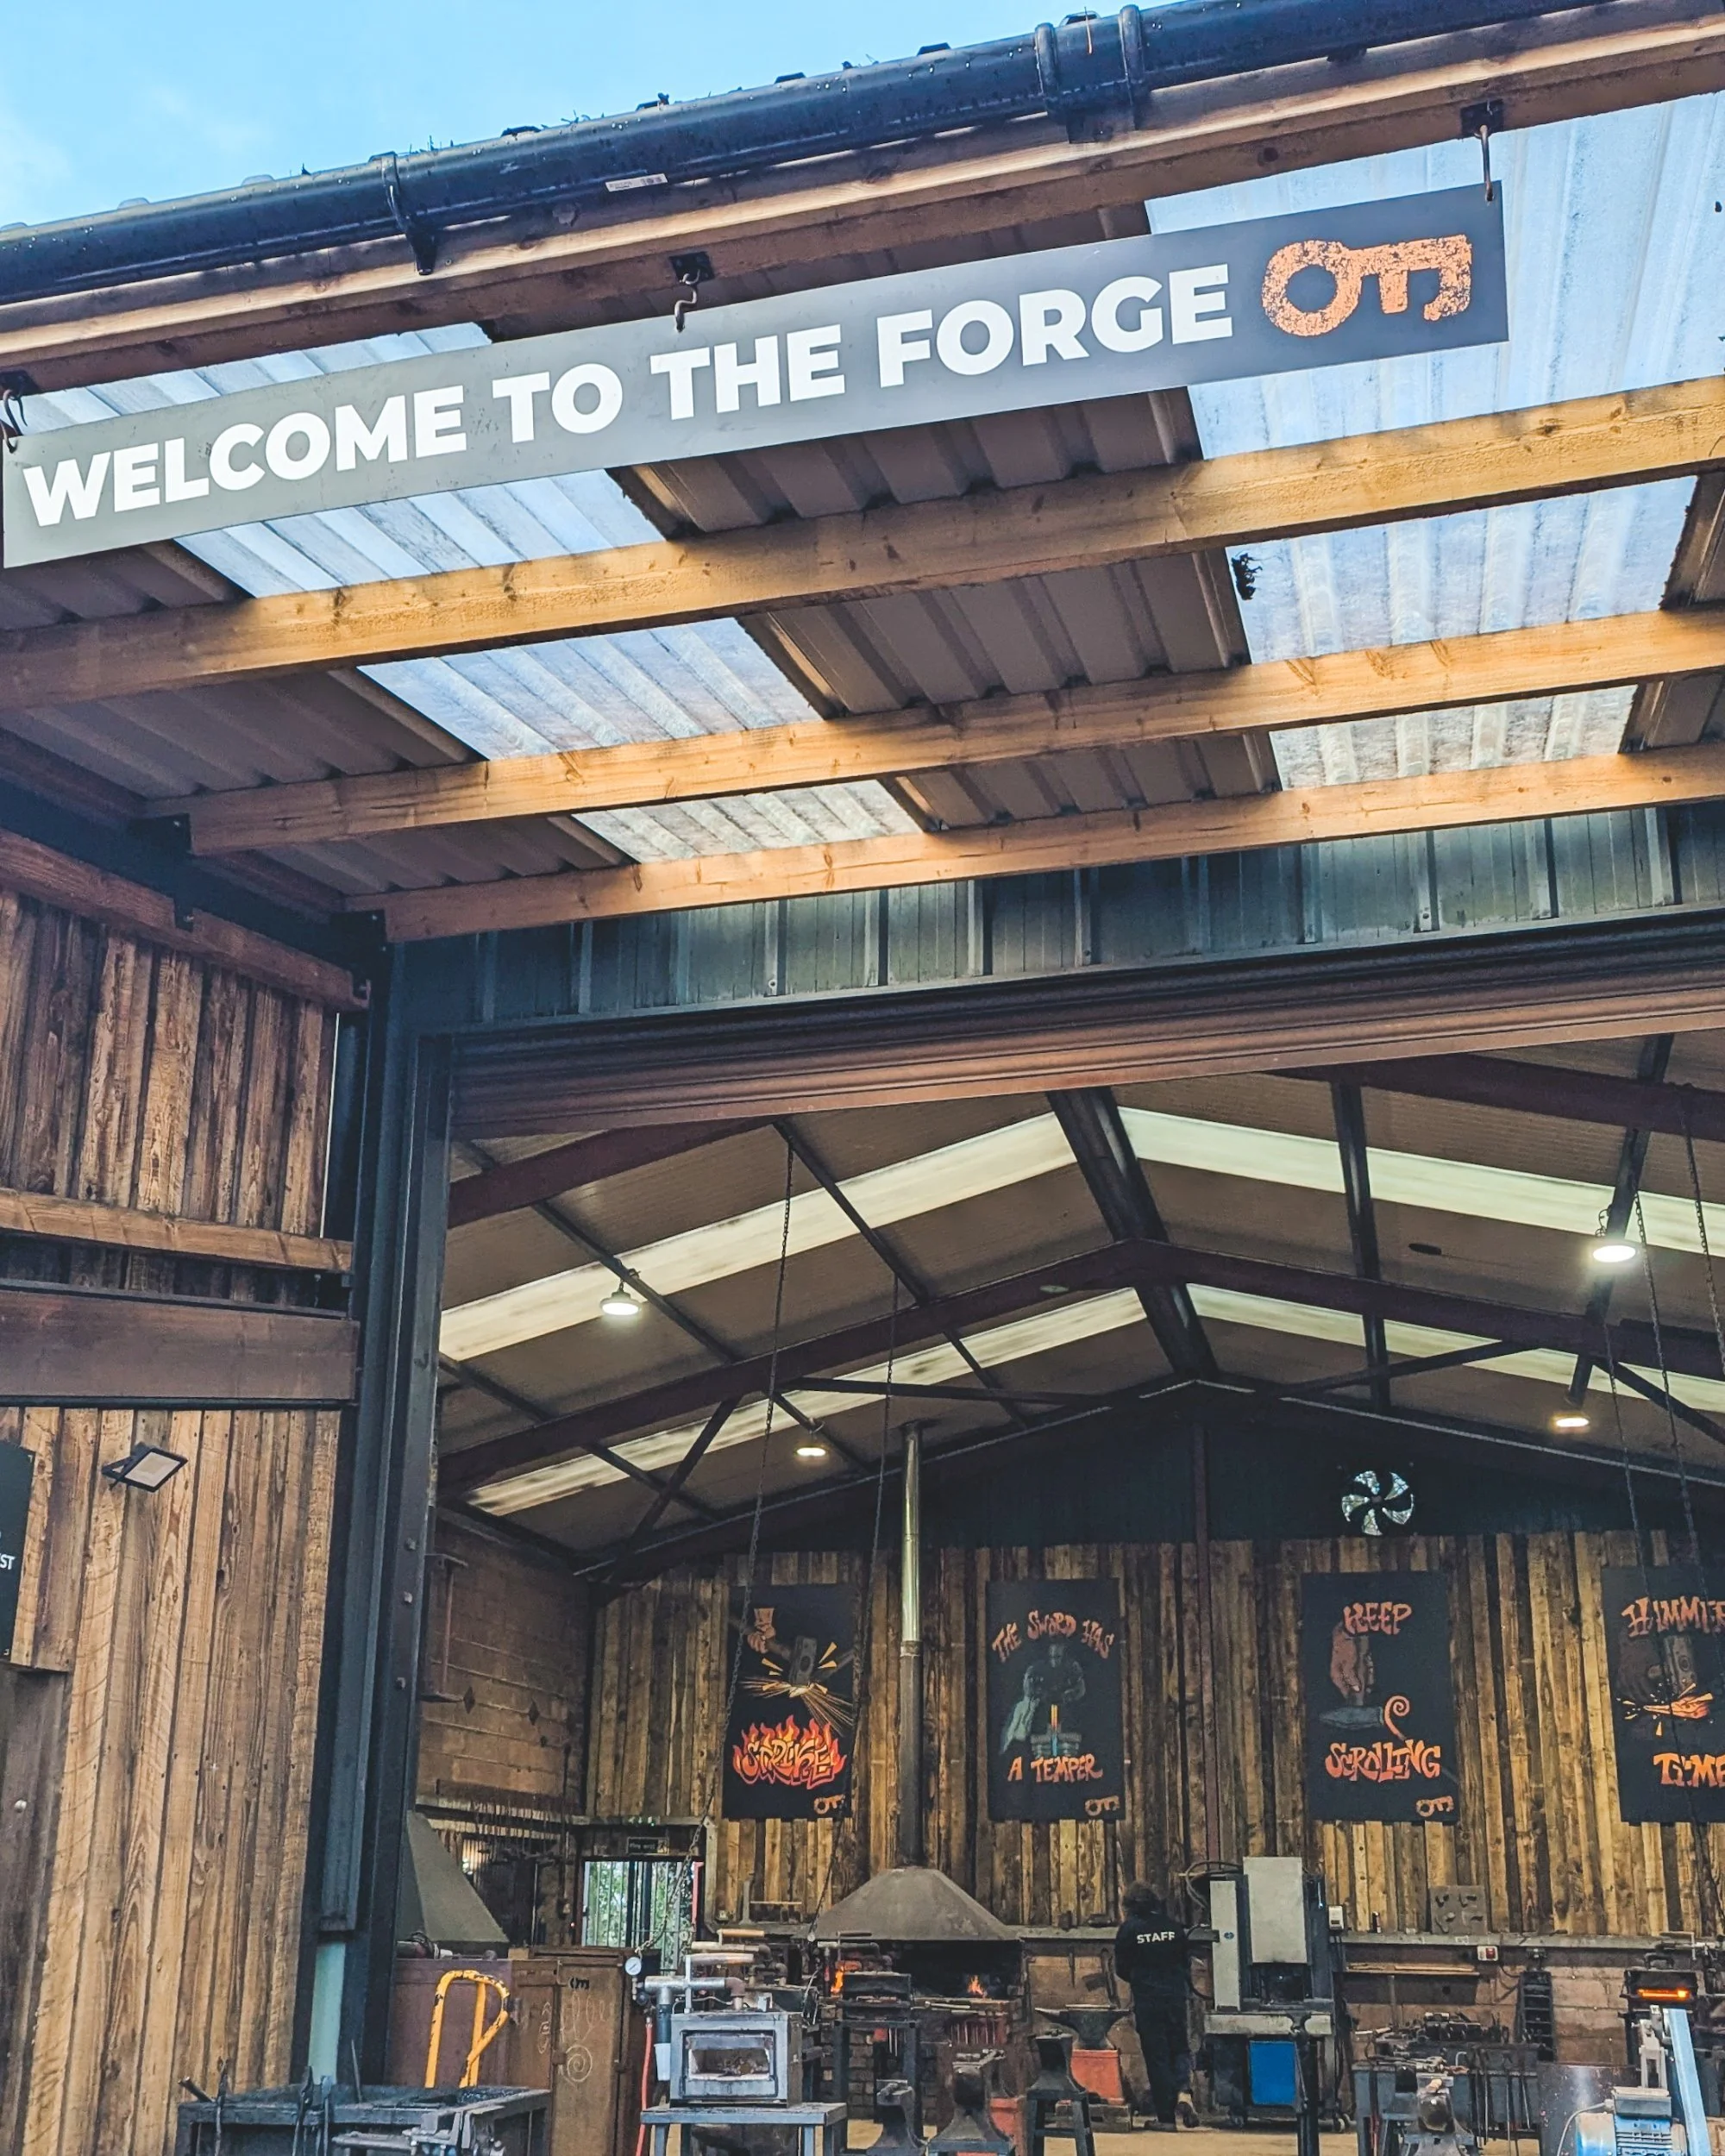
Setting off early, my dad & I left the South West and headed over the iconic bridge into Wales. After a long drive of 20mph speed limits and country lanes with hidden castles, we turned into the driveway of Oldfield Forge.
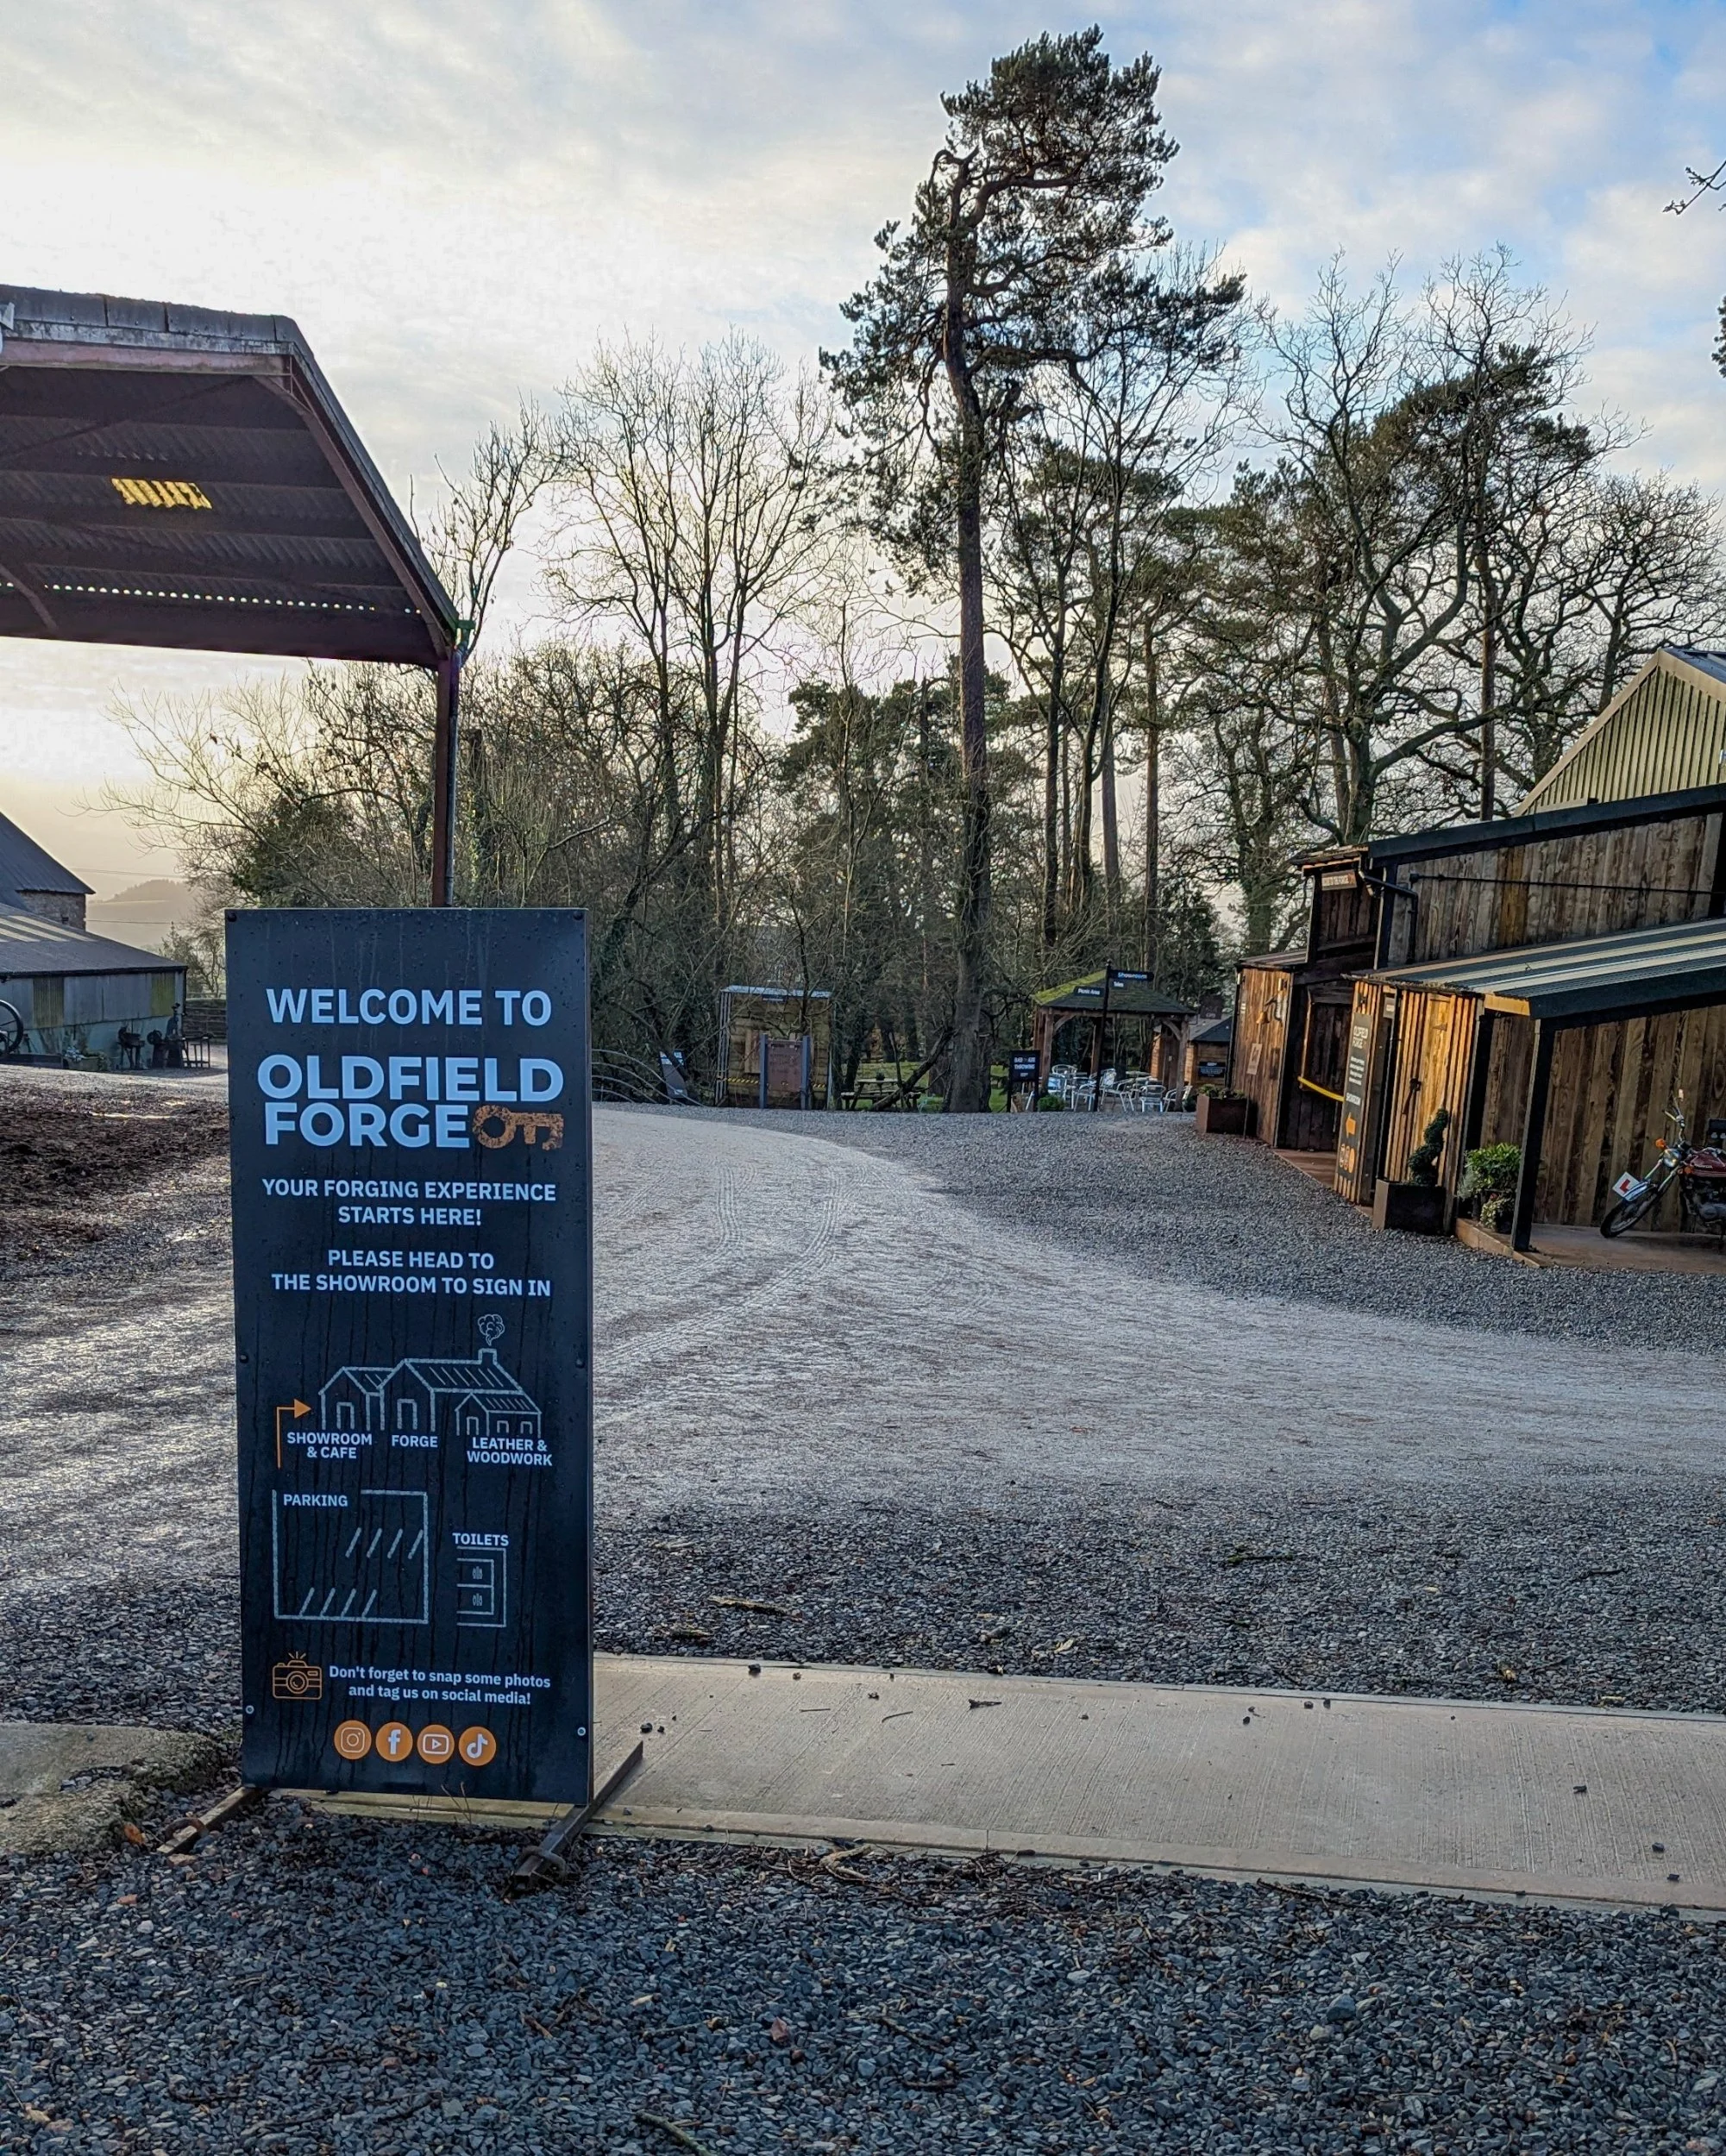
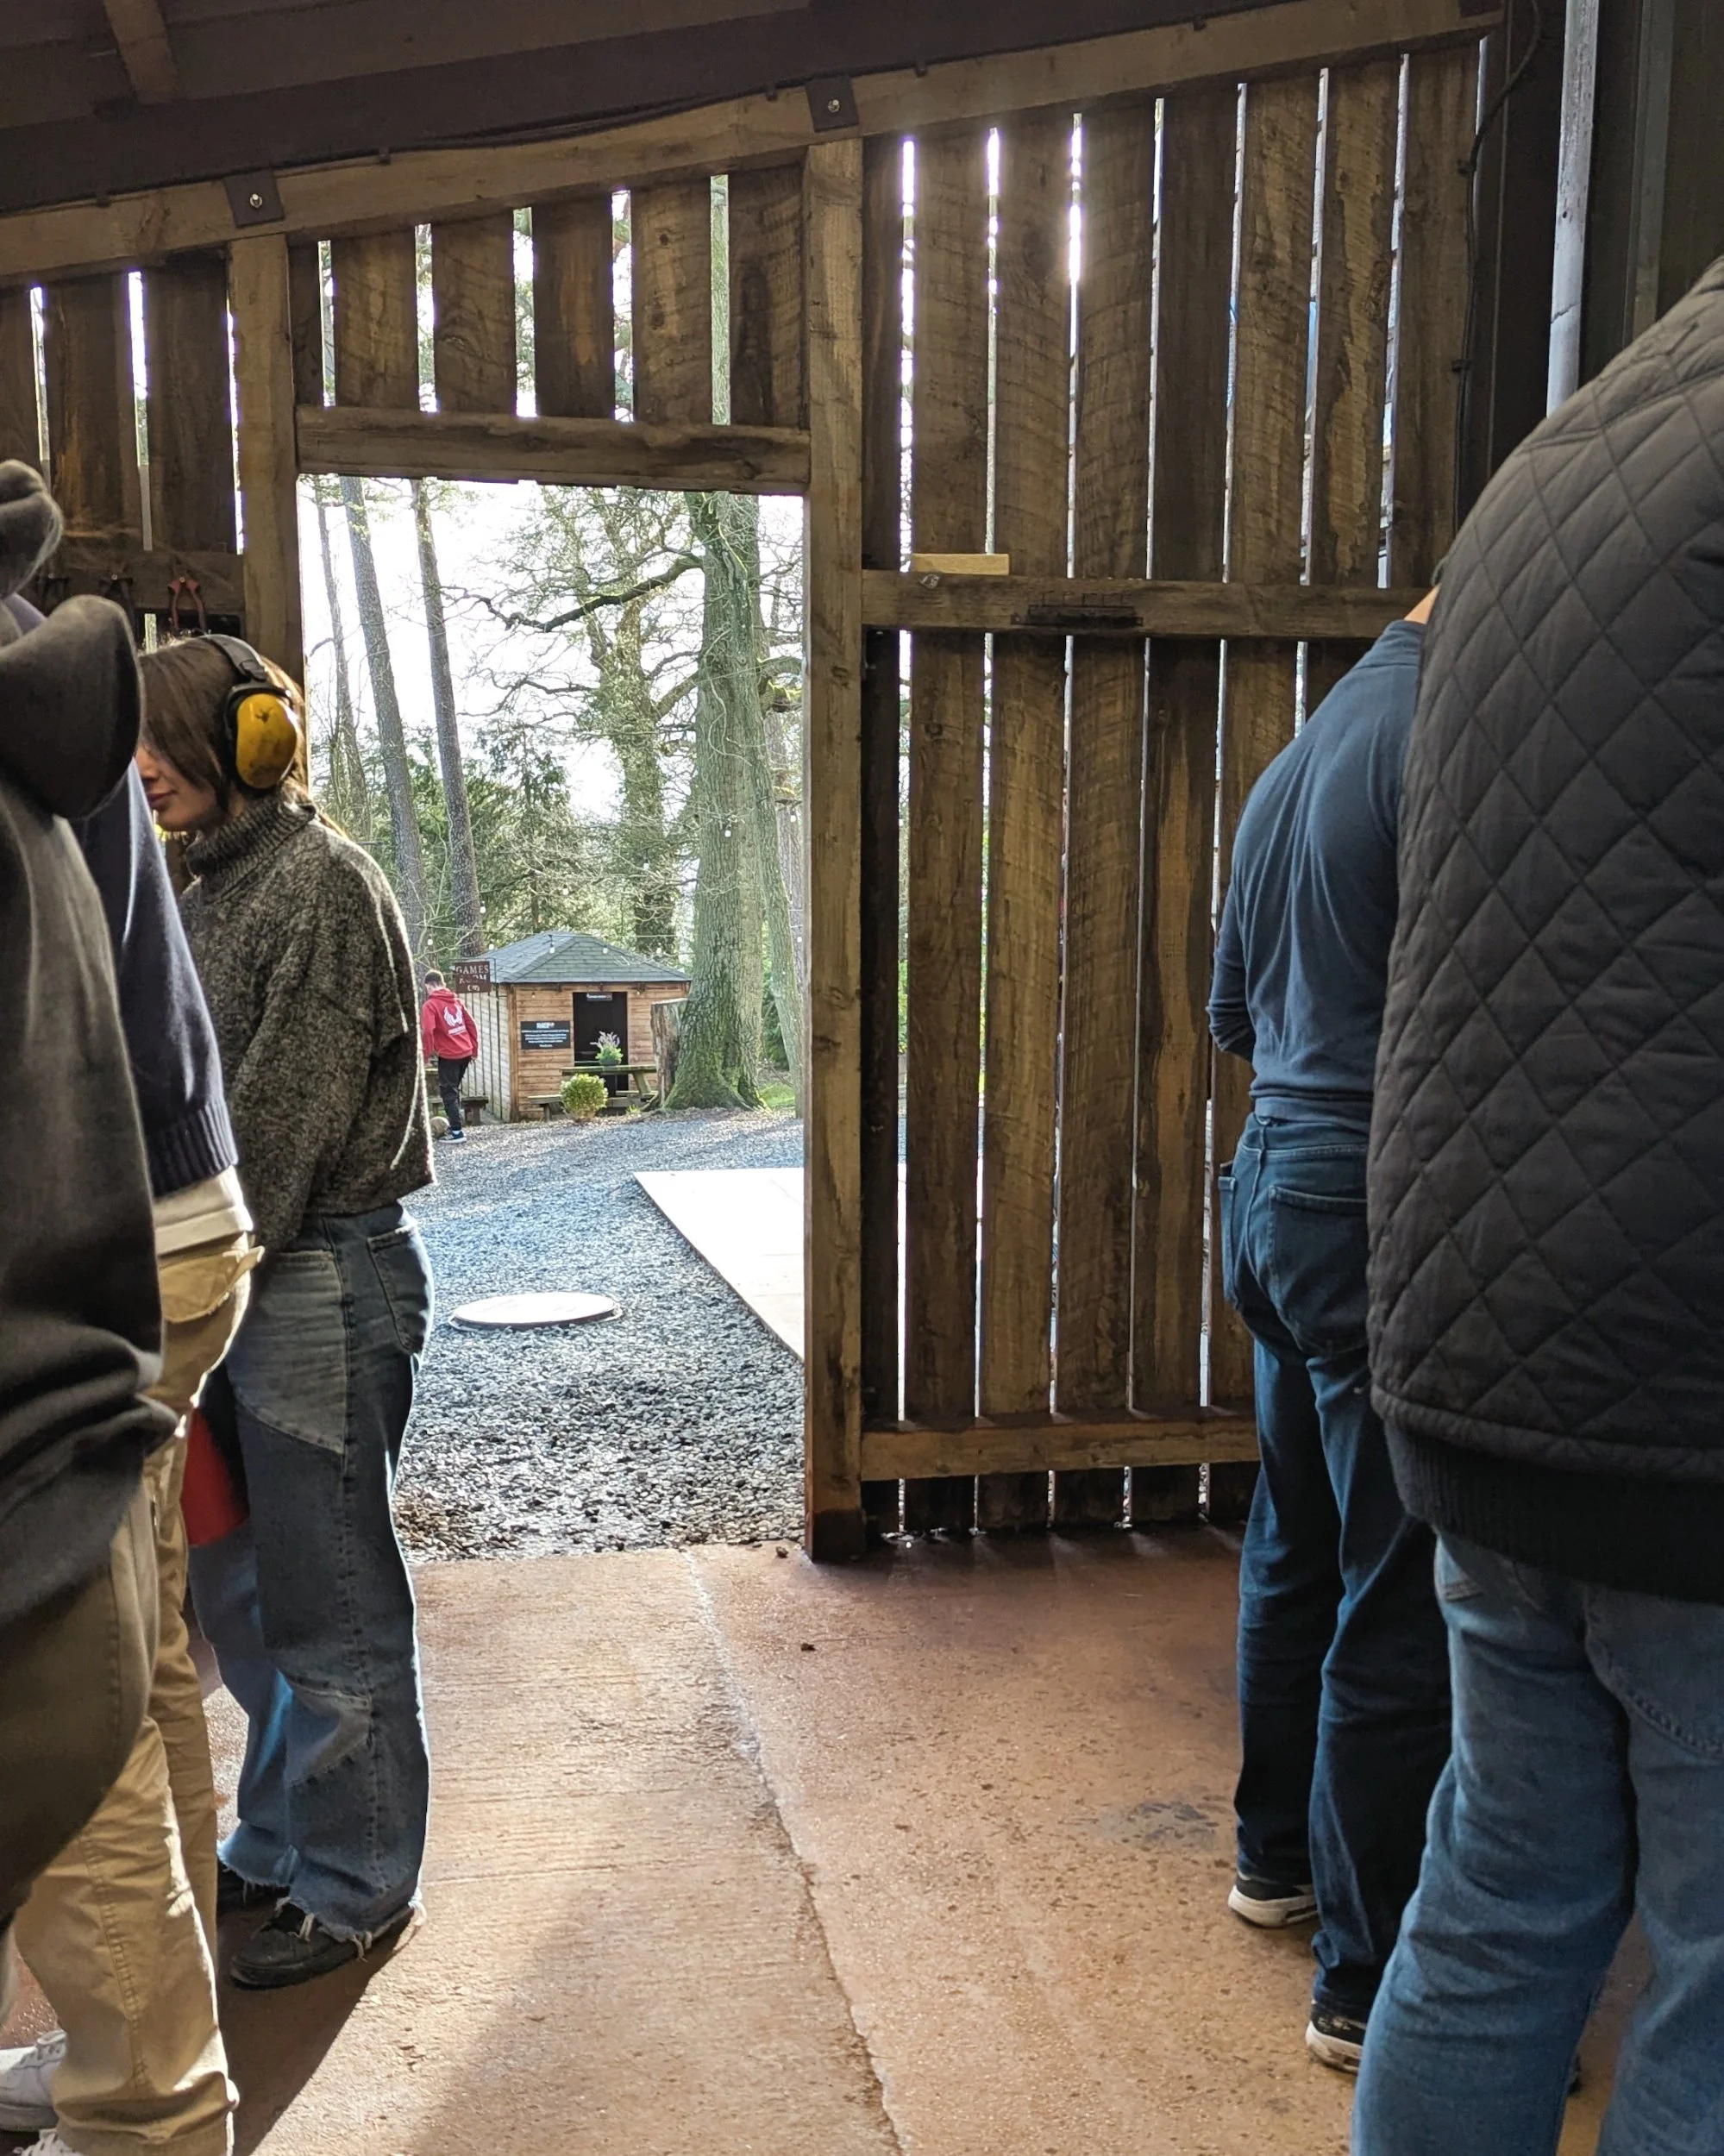
With an early start time of 9am (on a Sunday!), when we got there and couldn't believe the number of cars in the car park. We thought there must've been a café morning, or something else going on. Turns out everyone was there for the workshops!
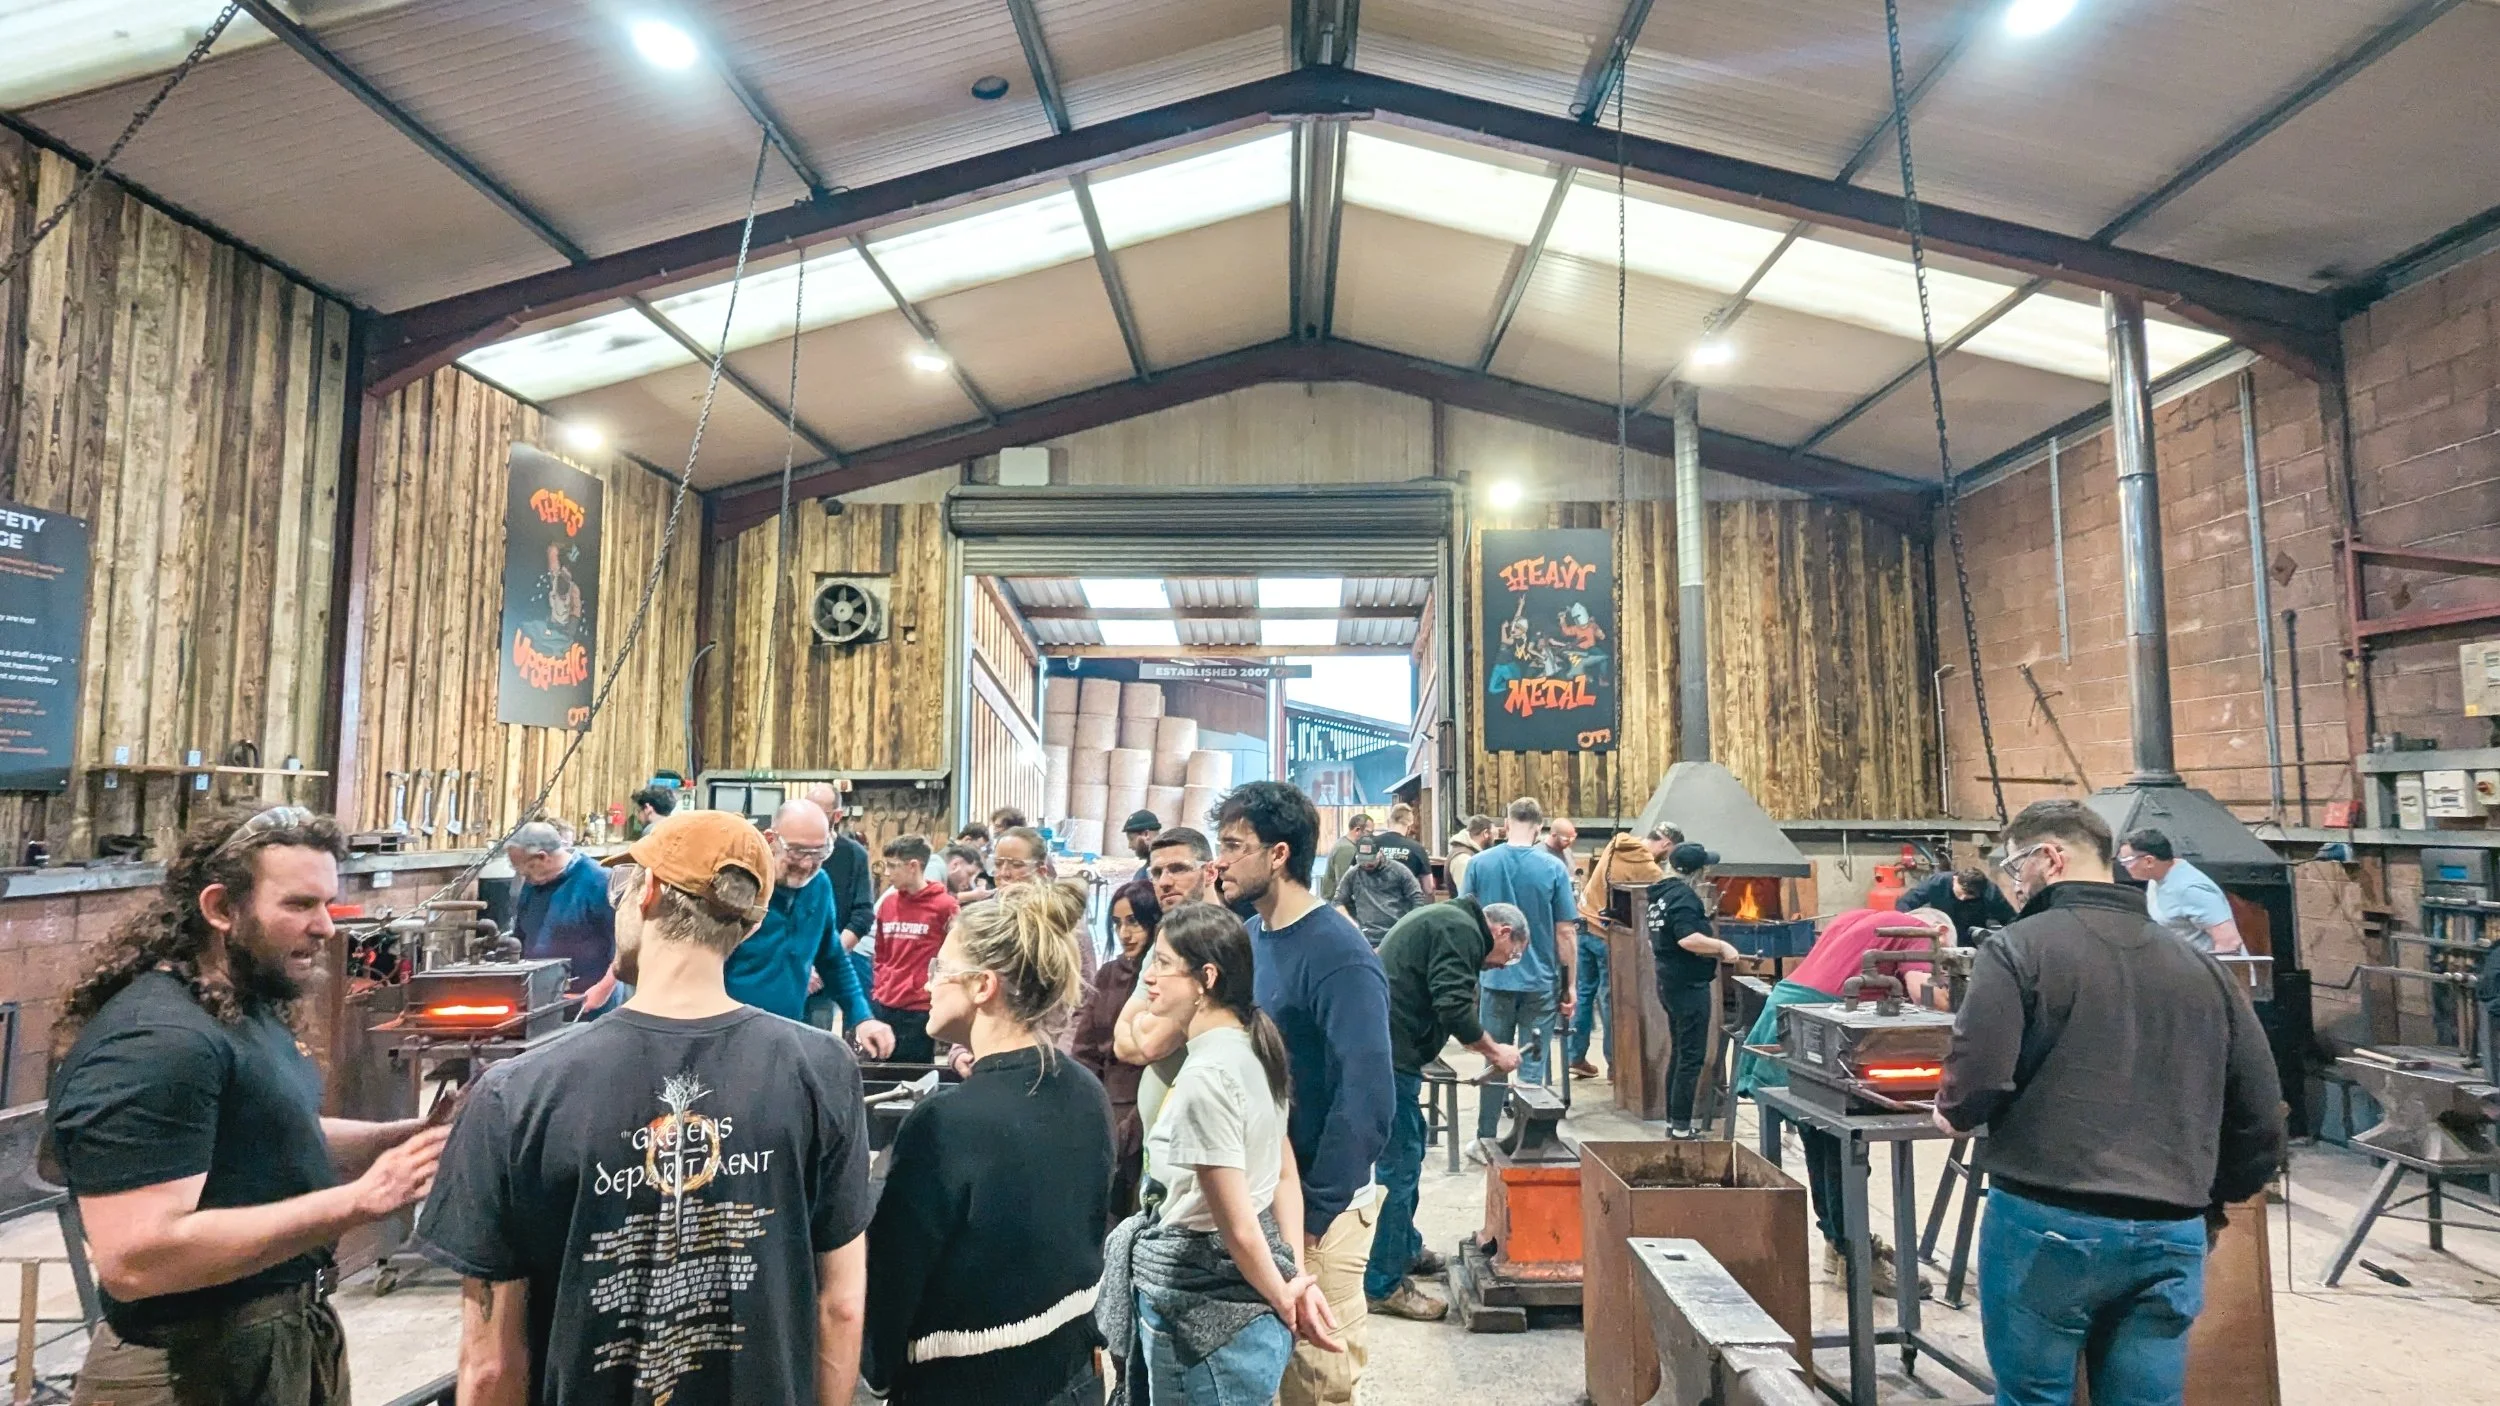
We hadn’t realised it was such a big operation, expecting just a guy in a workshop with a forge, maybe us and a couple of other people. Heard from the staff that there was around 82 people there that Sunday, and they’d had about 110 people on the day before! Great to see it so buzzing with people excited for the day.
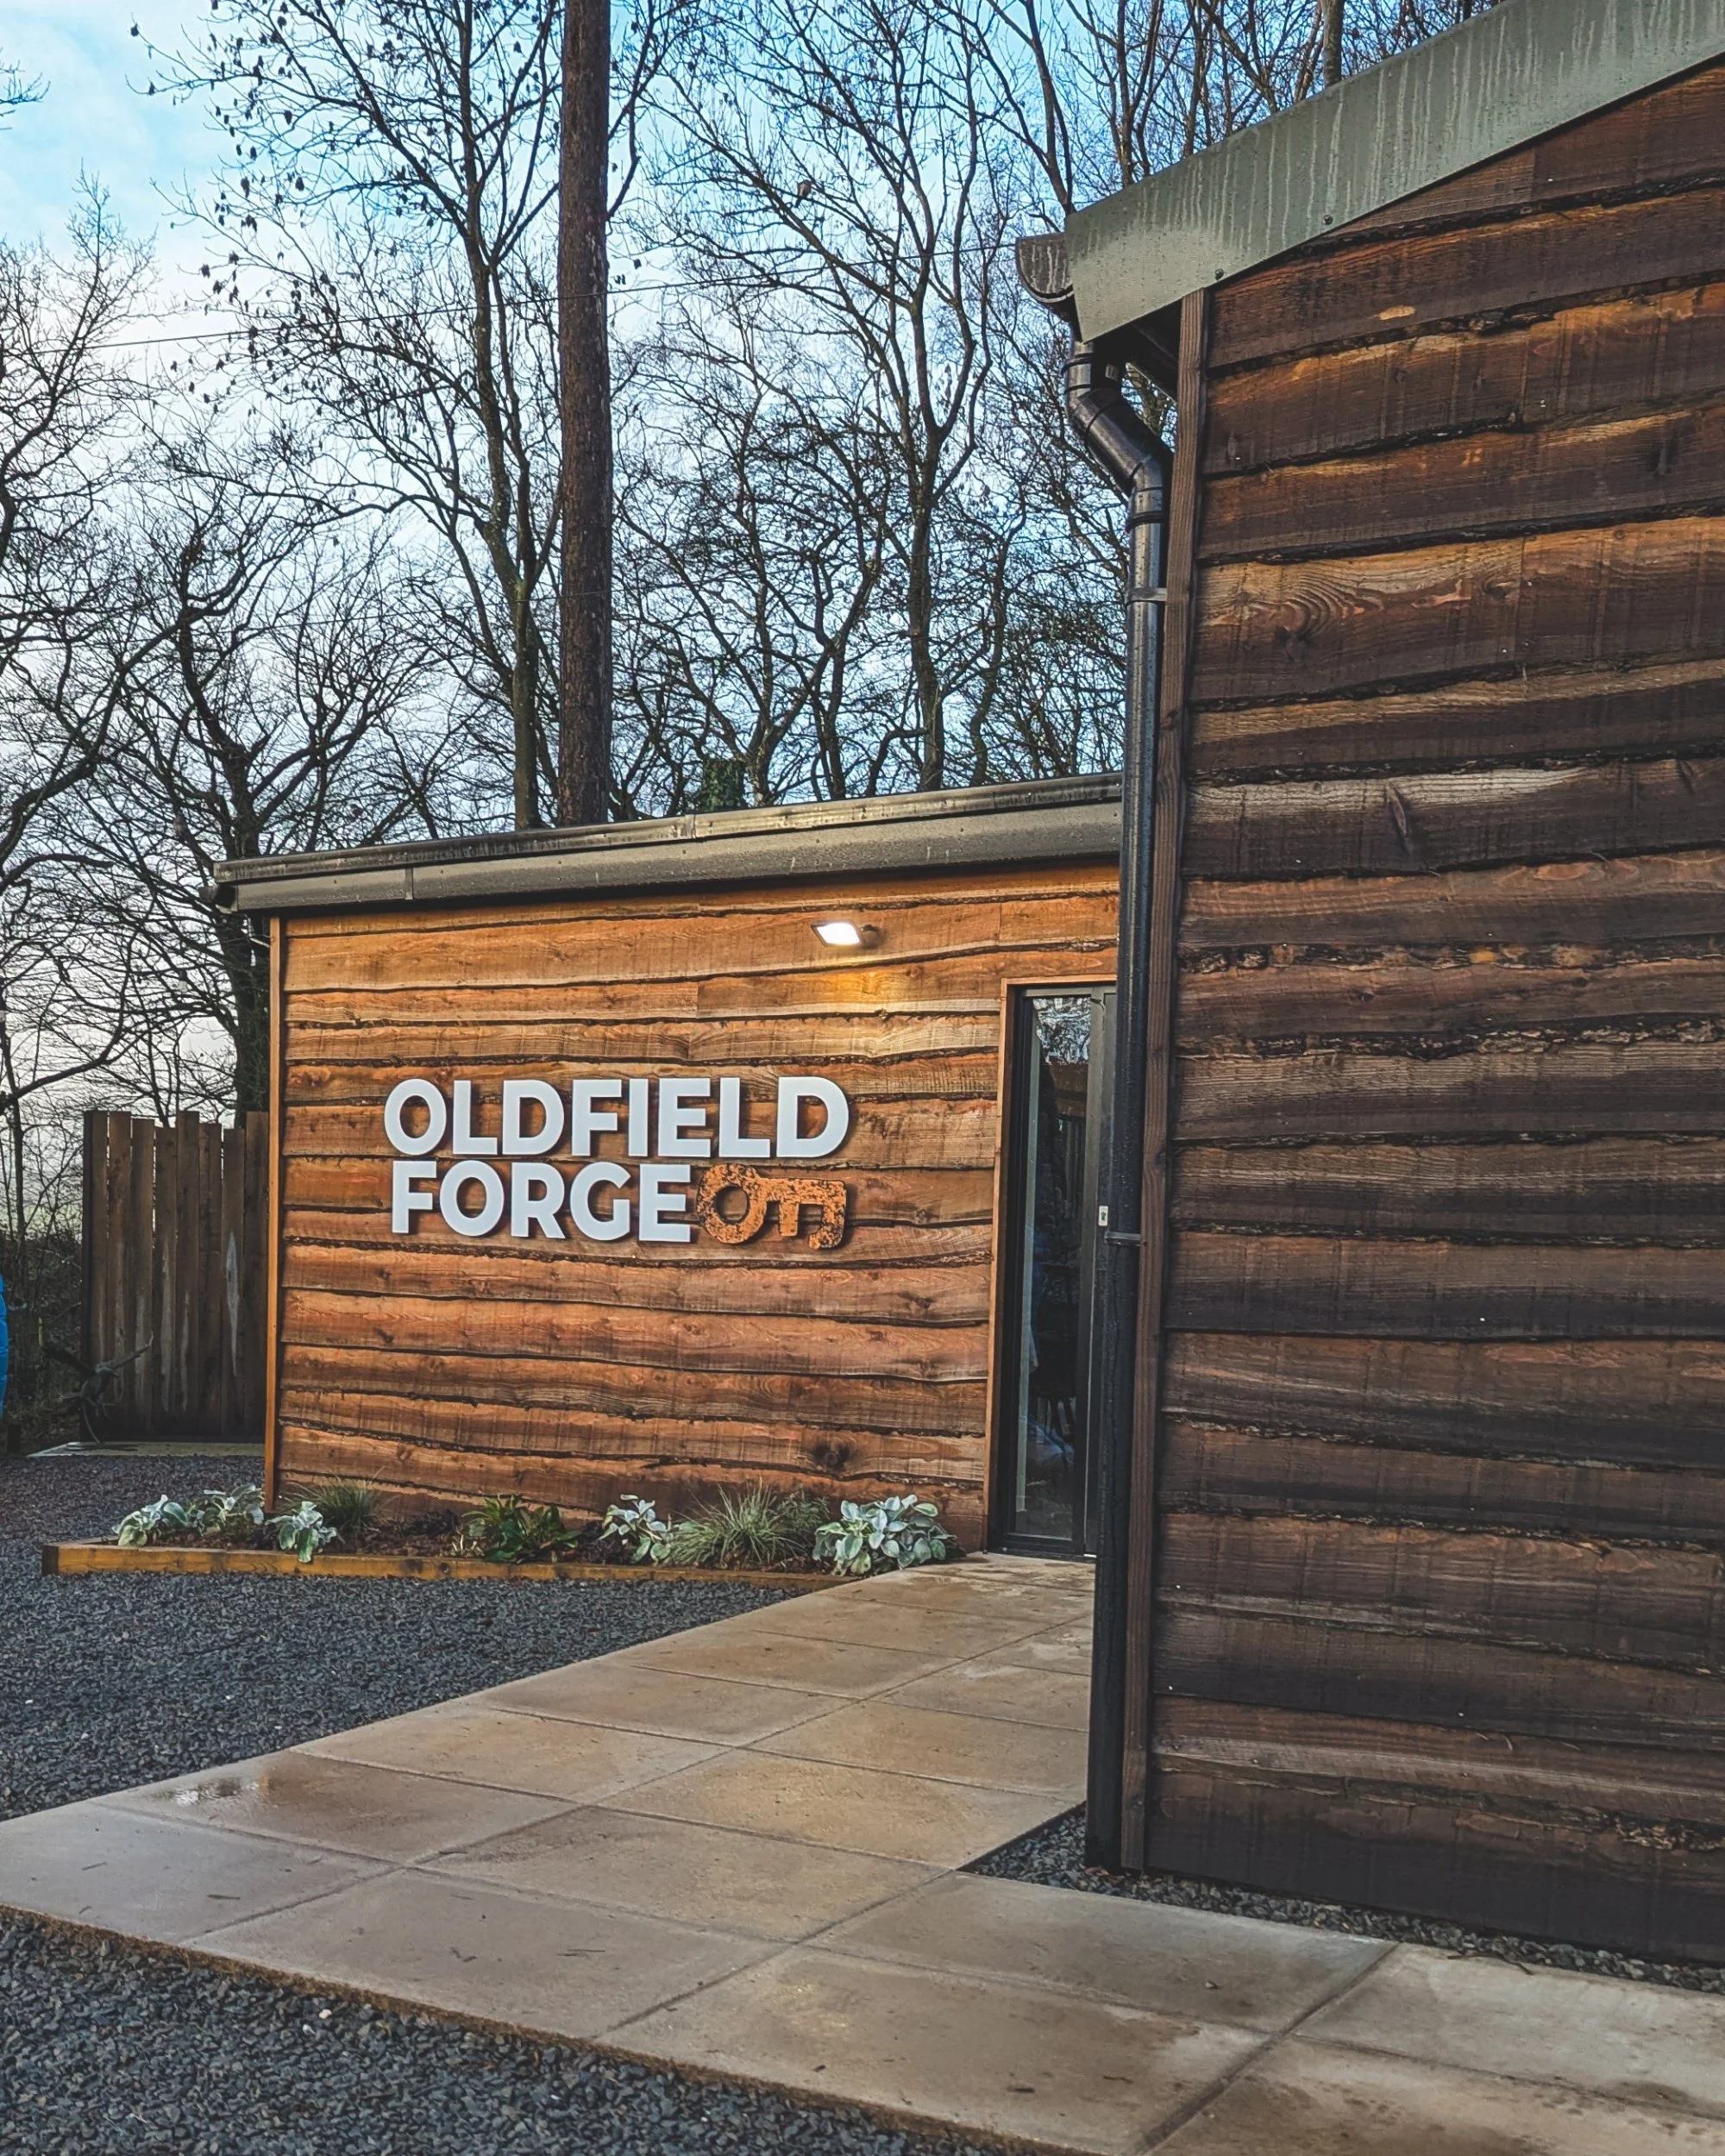
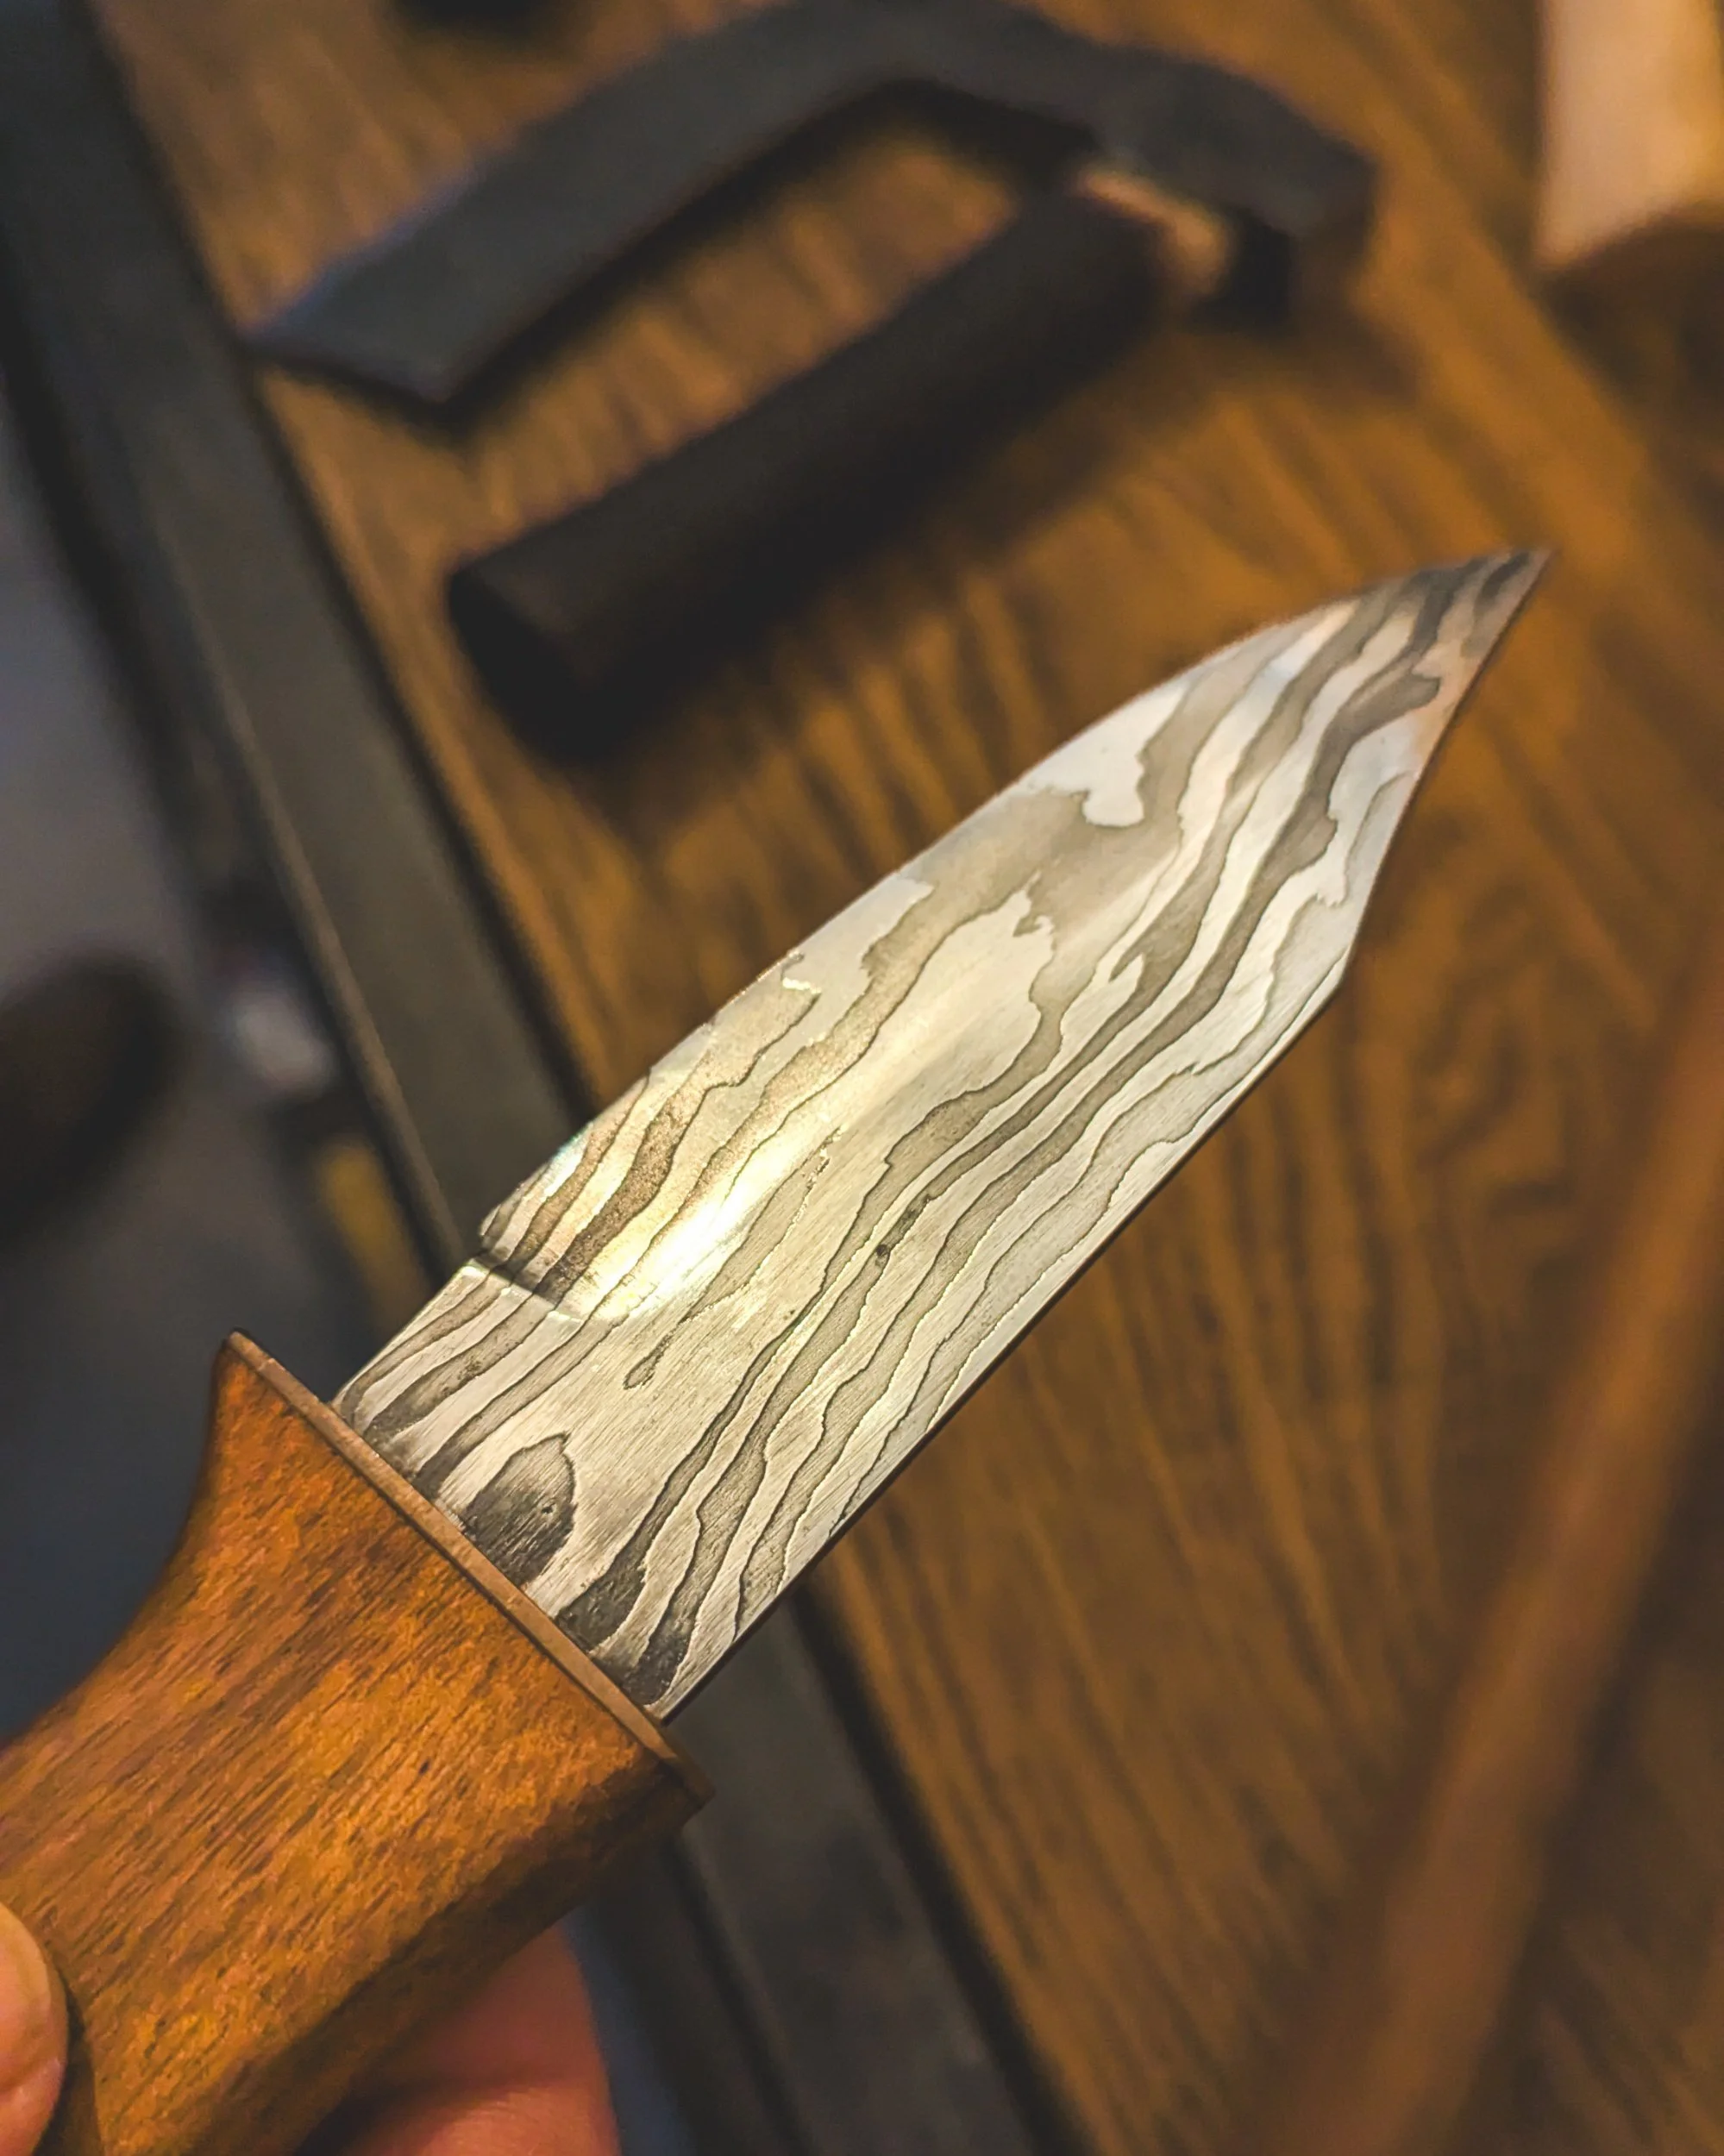
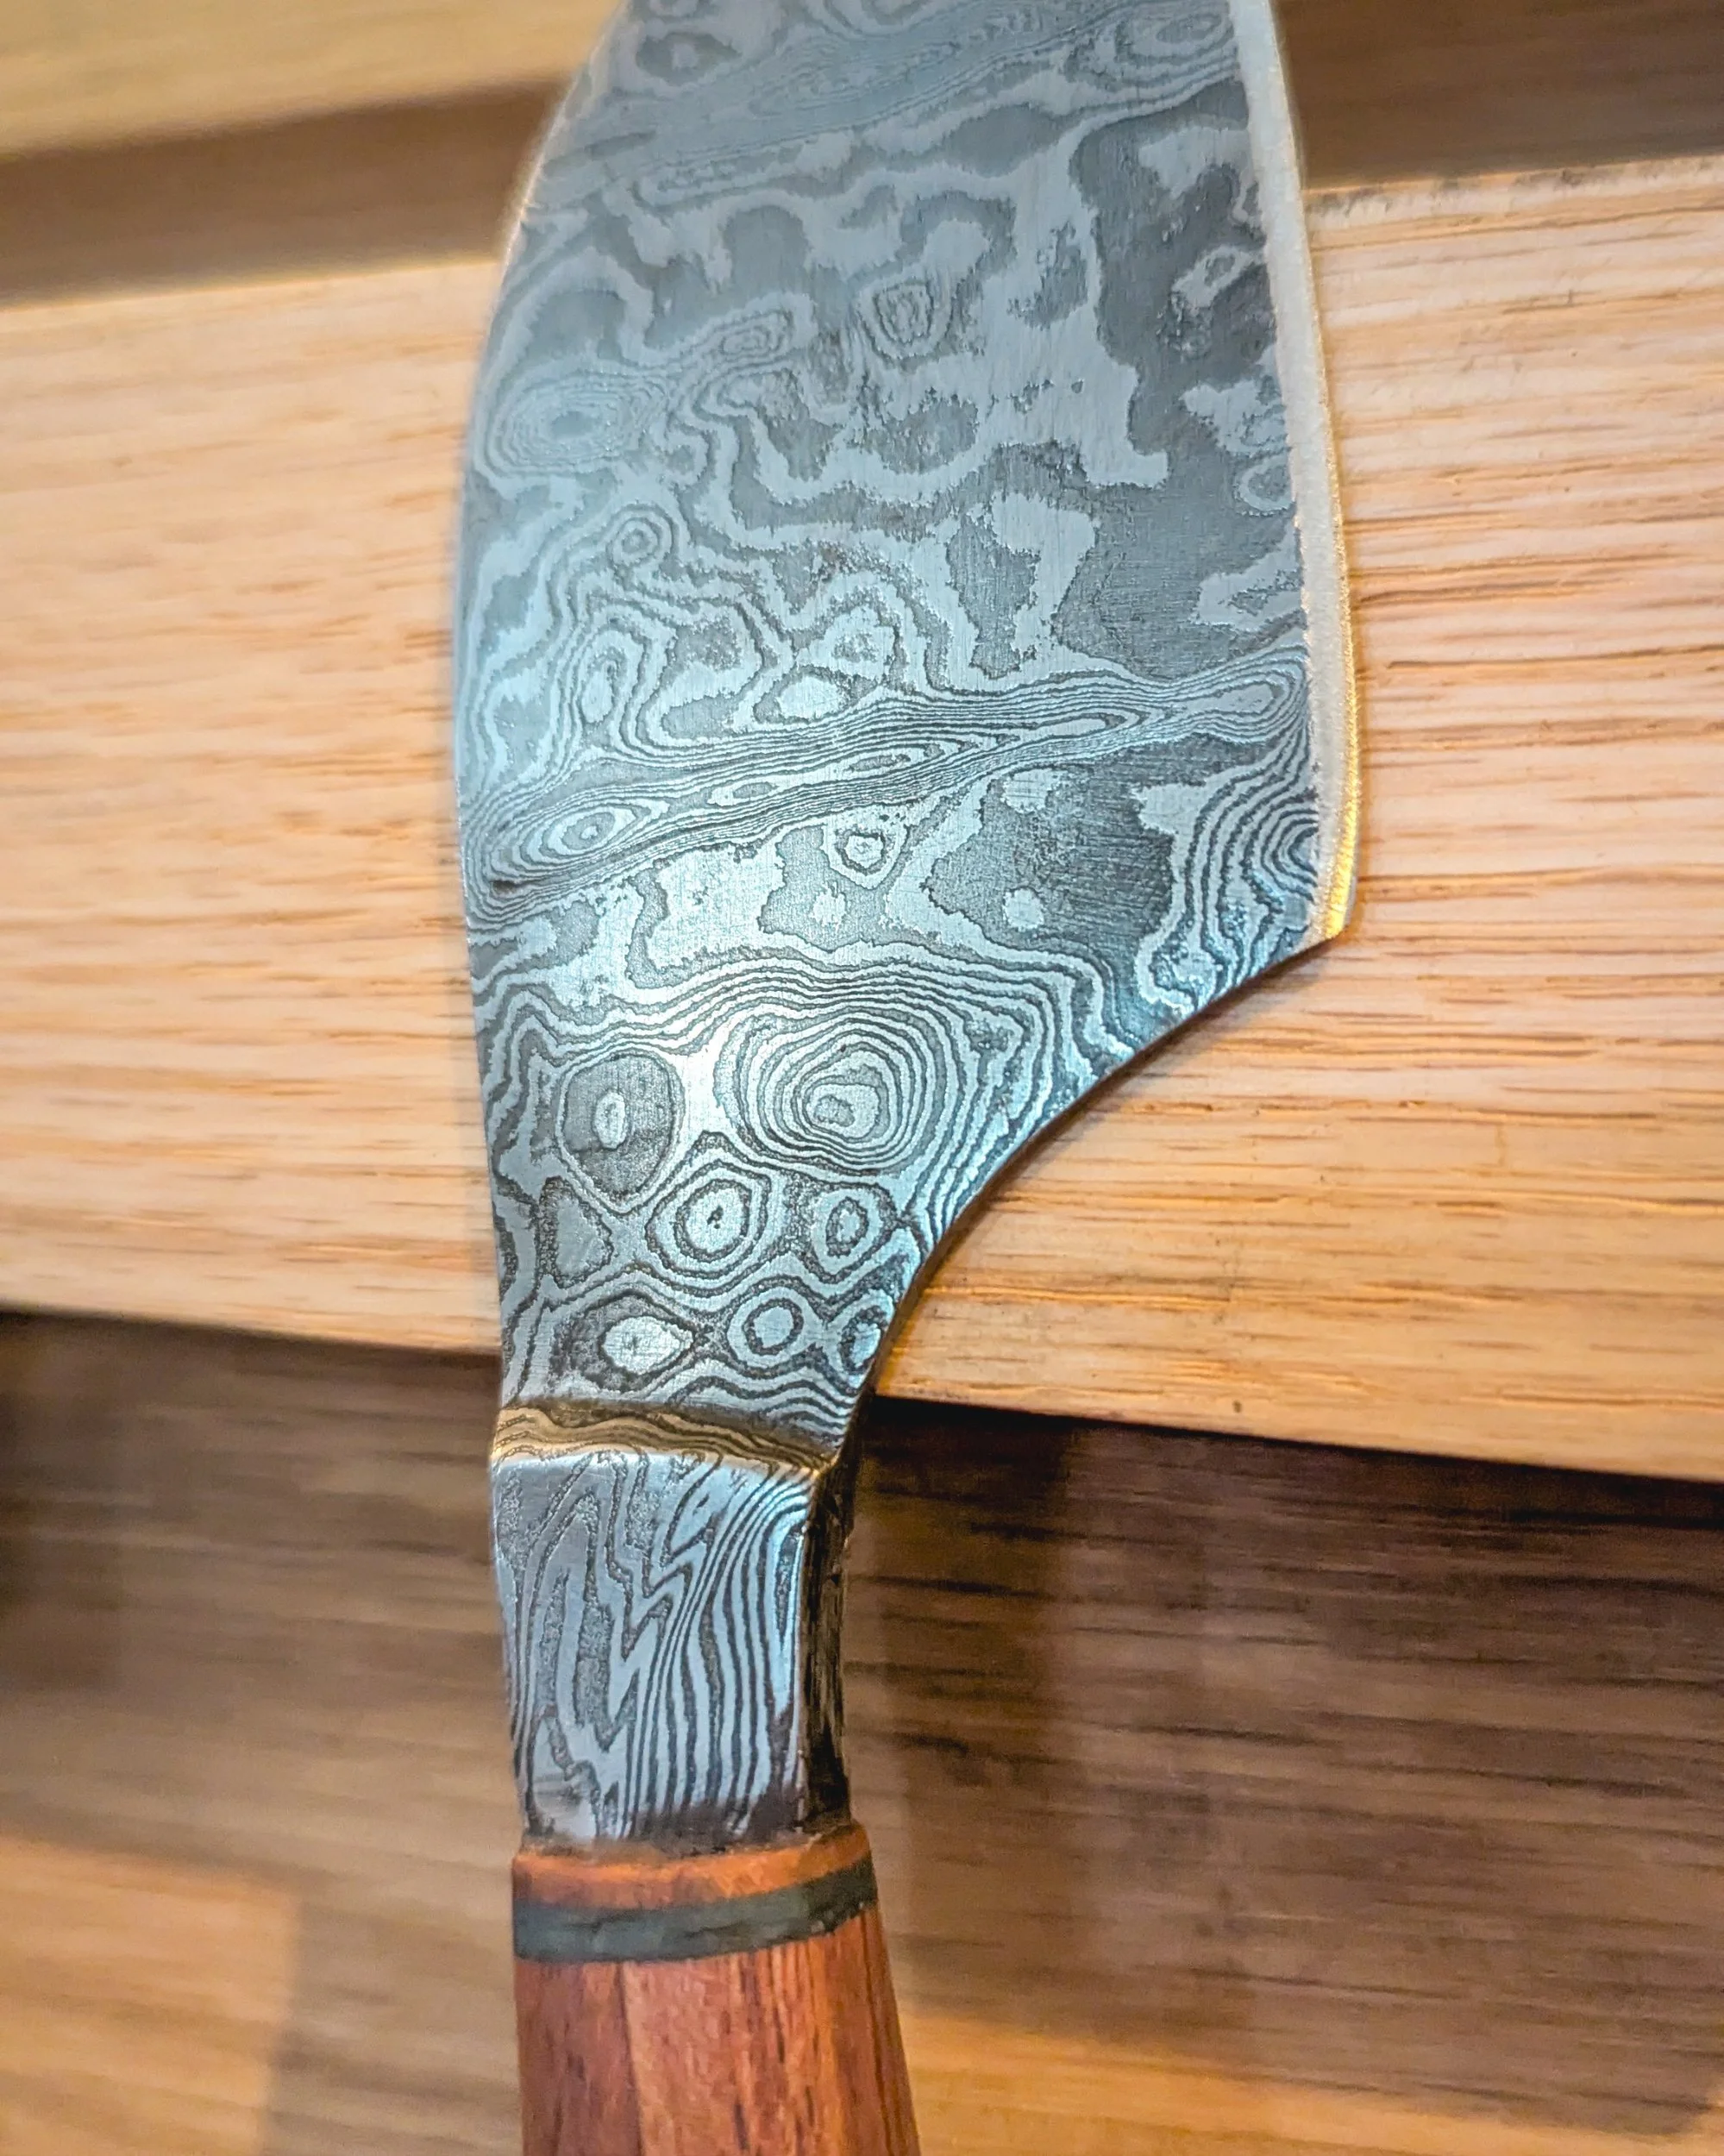
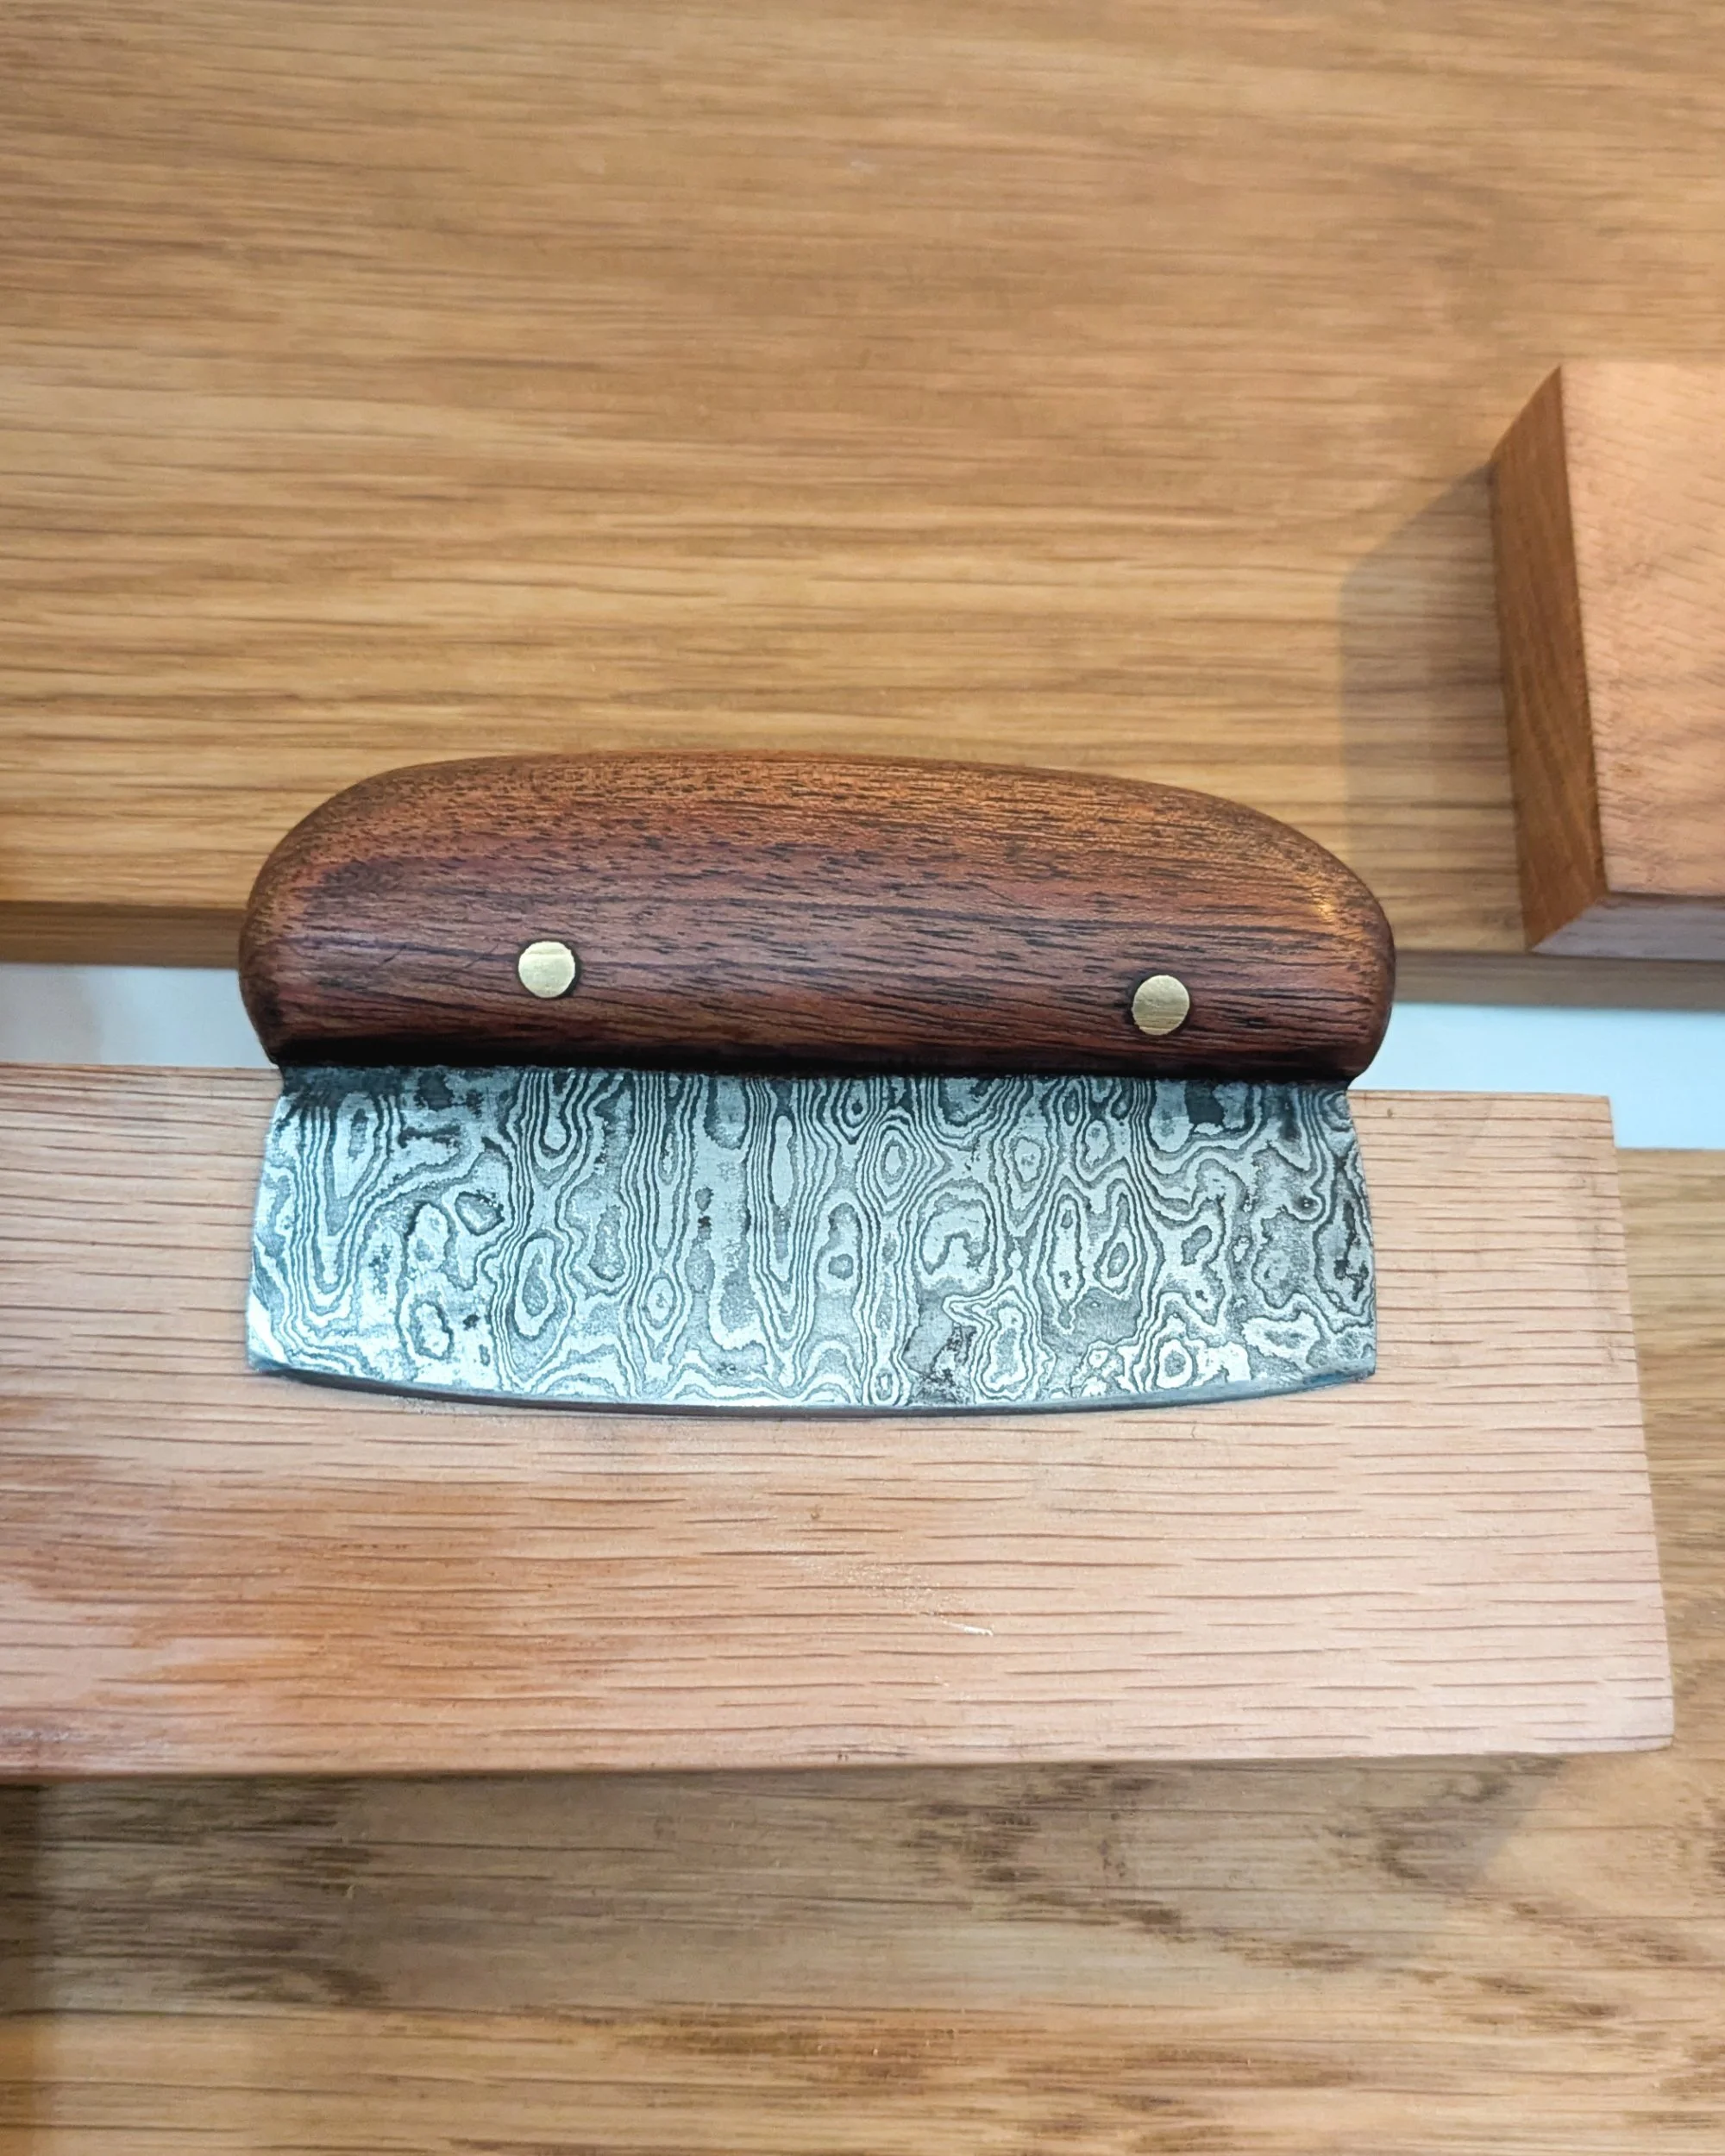
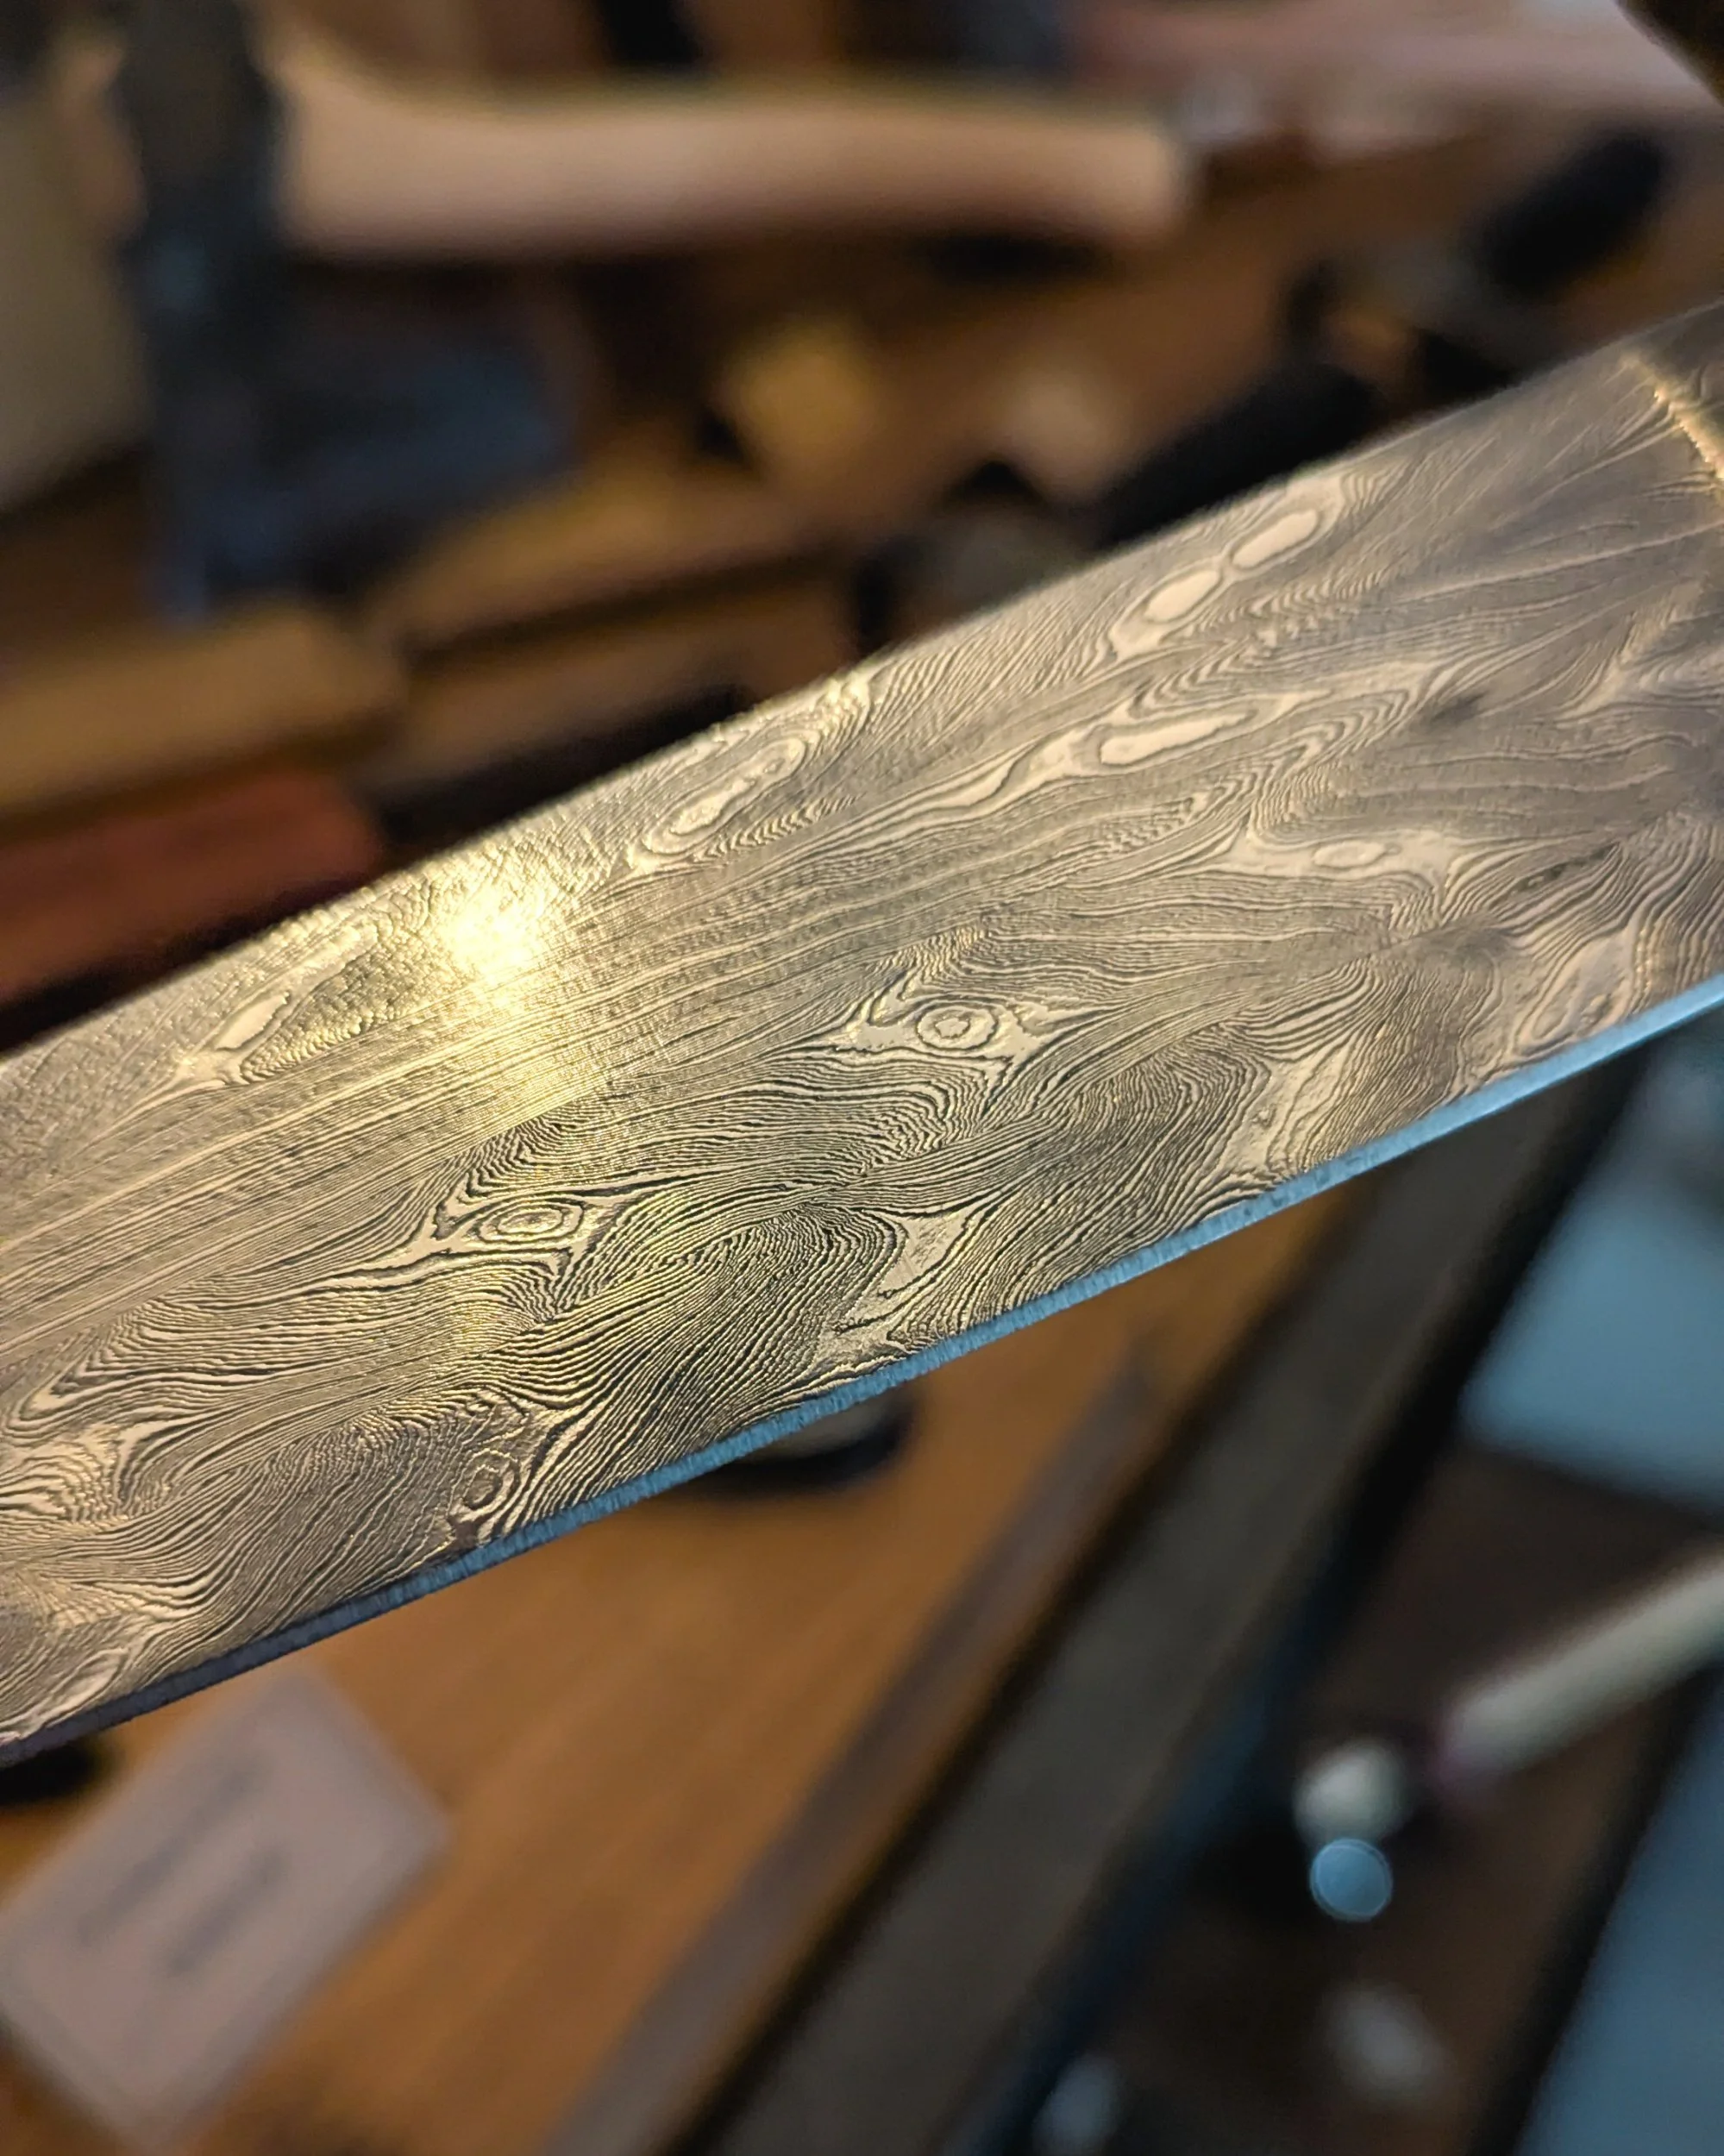
After checking in, we mooched around the small shop area and the grounds, waiting for everyone to arrive. I loved the cool pattern on the knife pictured below & wondered how they made it…
As we stood waiting outside the barriered off workshop, the low winter sun started to make an appearance over the cladded barn. Once everyone had arrived, we were given eye protection (you have to wear eye protection when inside the forge), and granted access into the workshop.
Heading straight to the back, we huddled up to listen to a health and safety talk. They had been quite clear in the emails received prior about clothing etc. They recommend steel toe cap boots and non-flammable clothing (for any rogue sparks!). The main advice is don’t touch anything hot! If something is falling, don’t grab it.
After our health and safety talk, we divided into our groups. Luckily our axe making was just myself and my dad, Rod. There was also a class for a pen knife with only two people on. The other groups had multiple people, making swords, daggers, knives and an introduction to metal working.
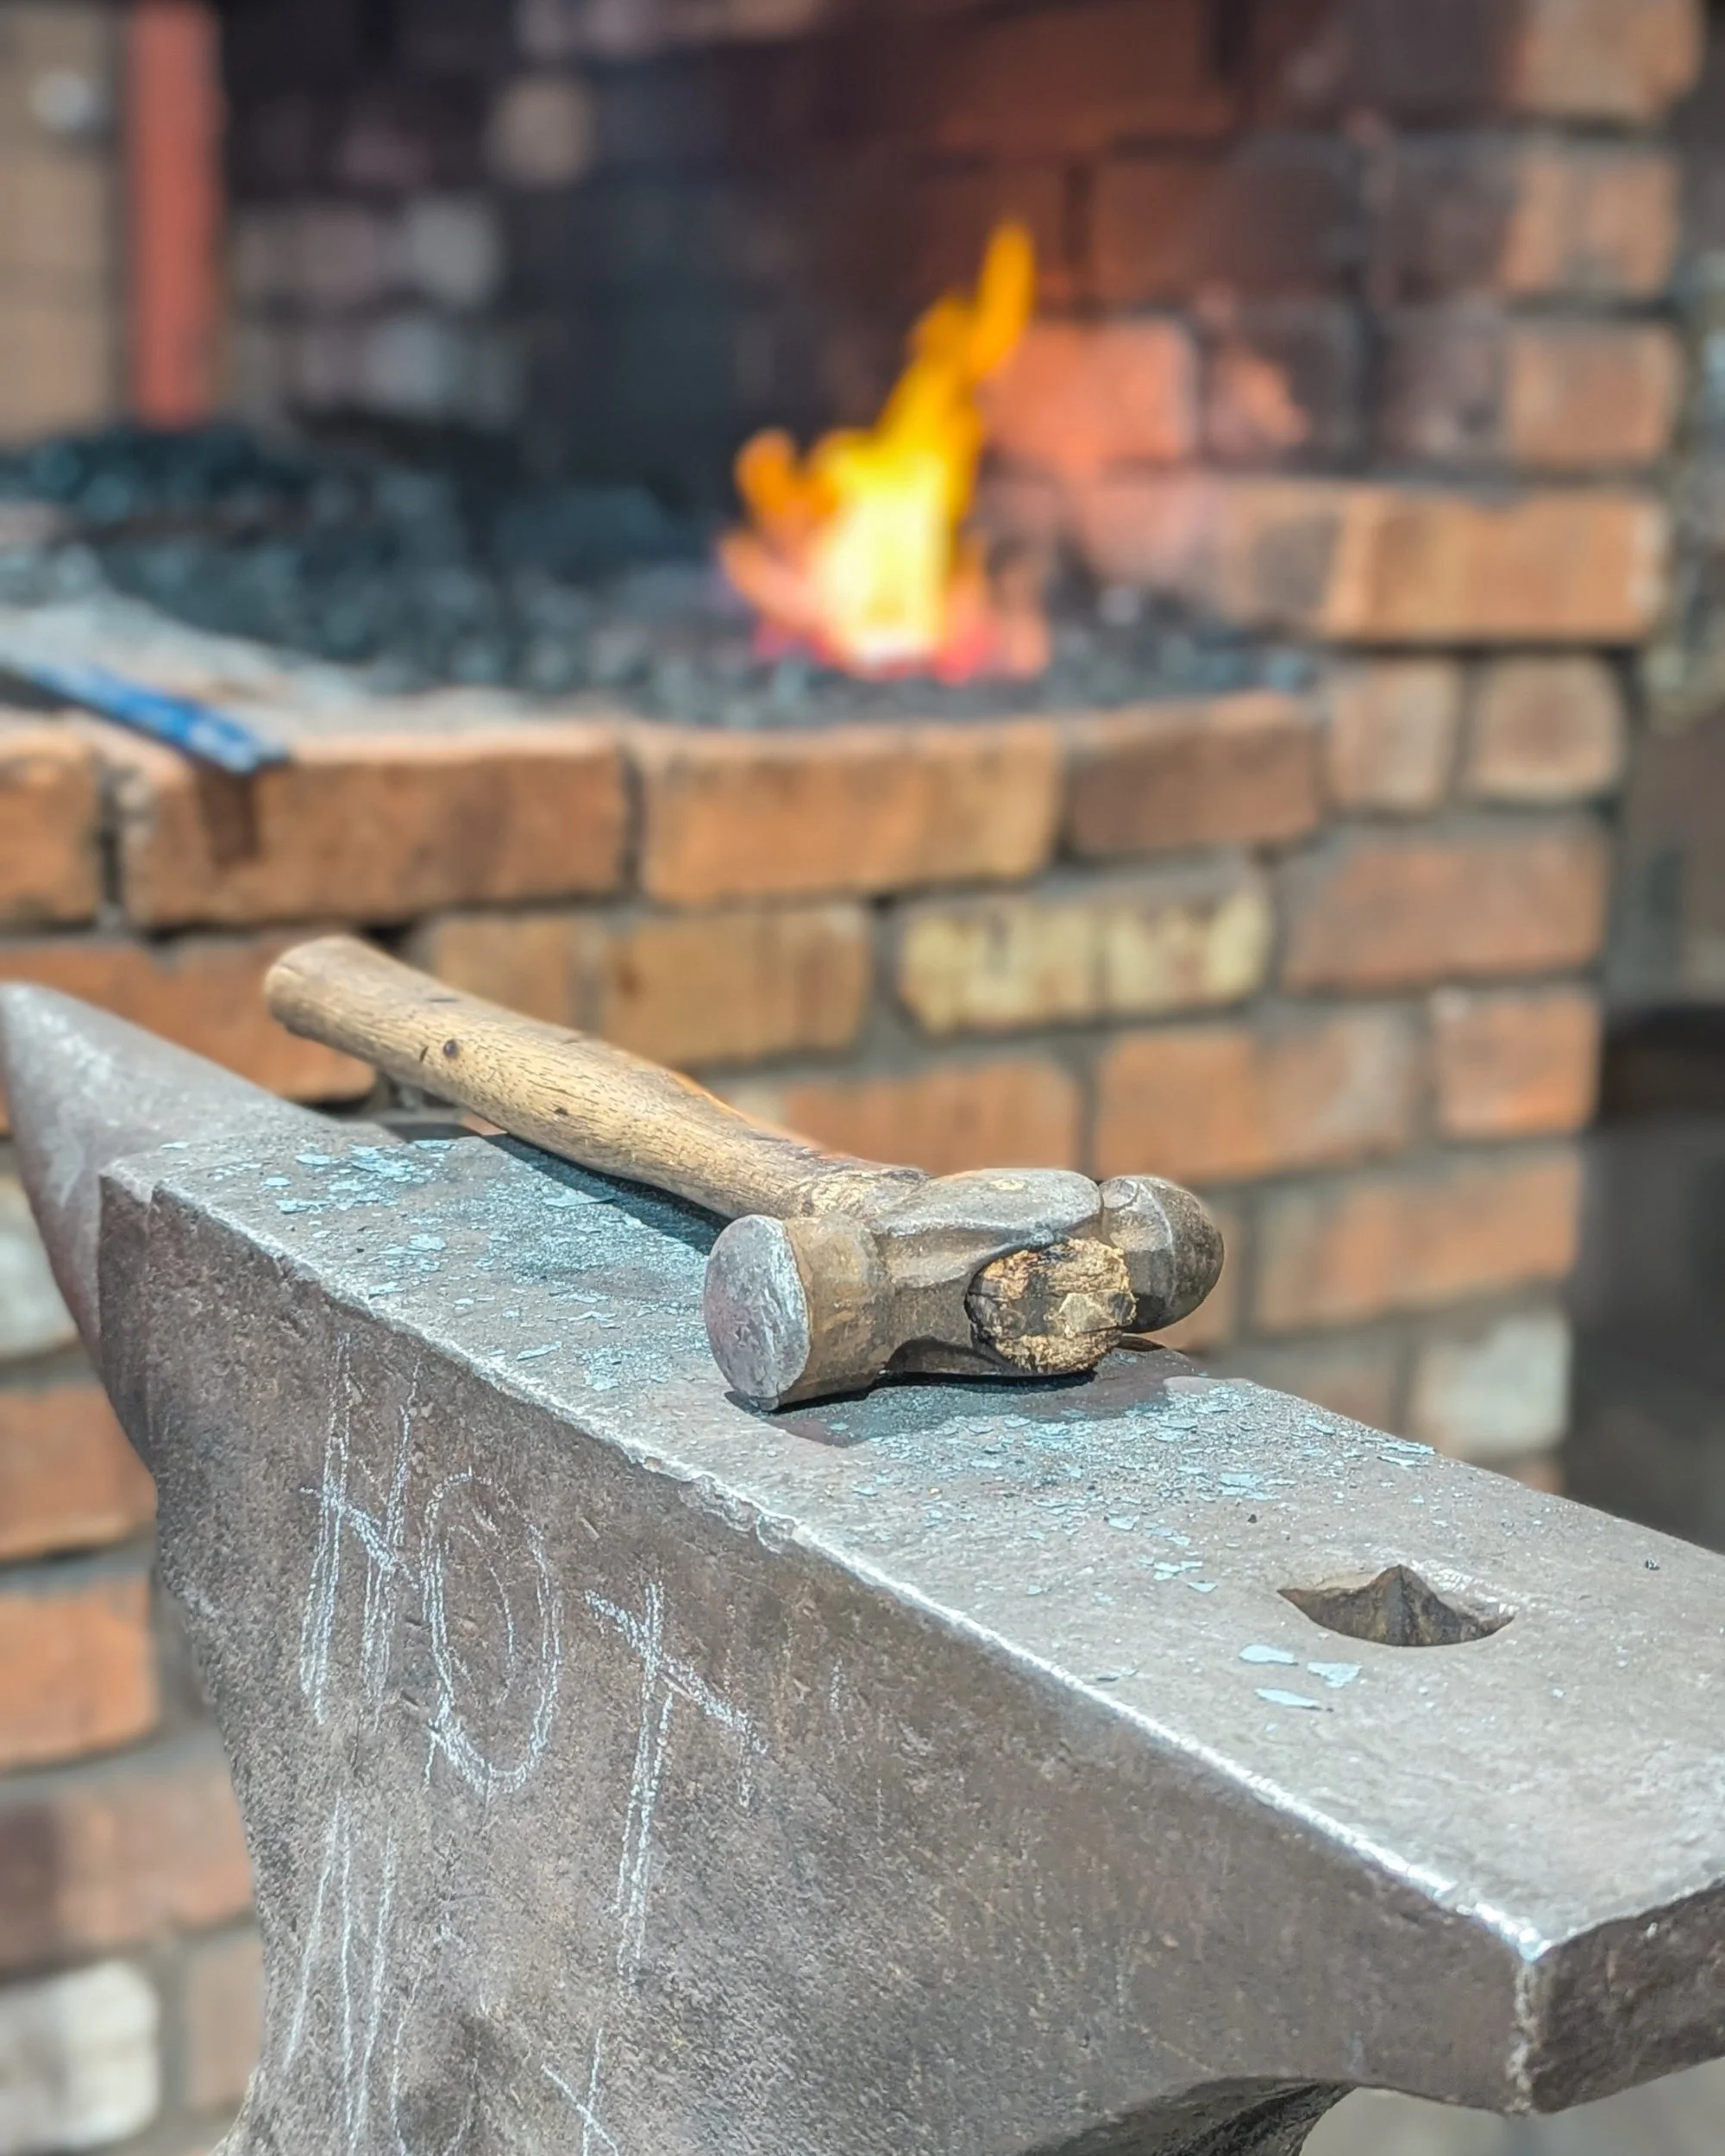
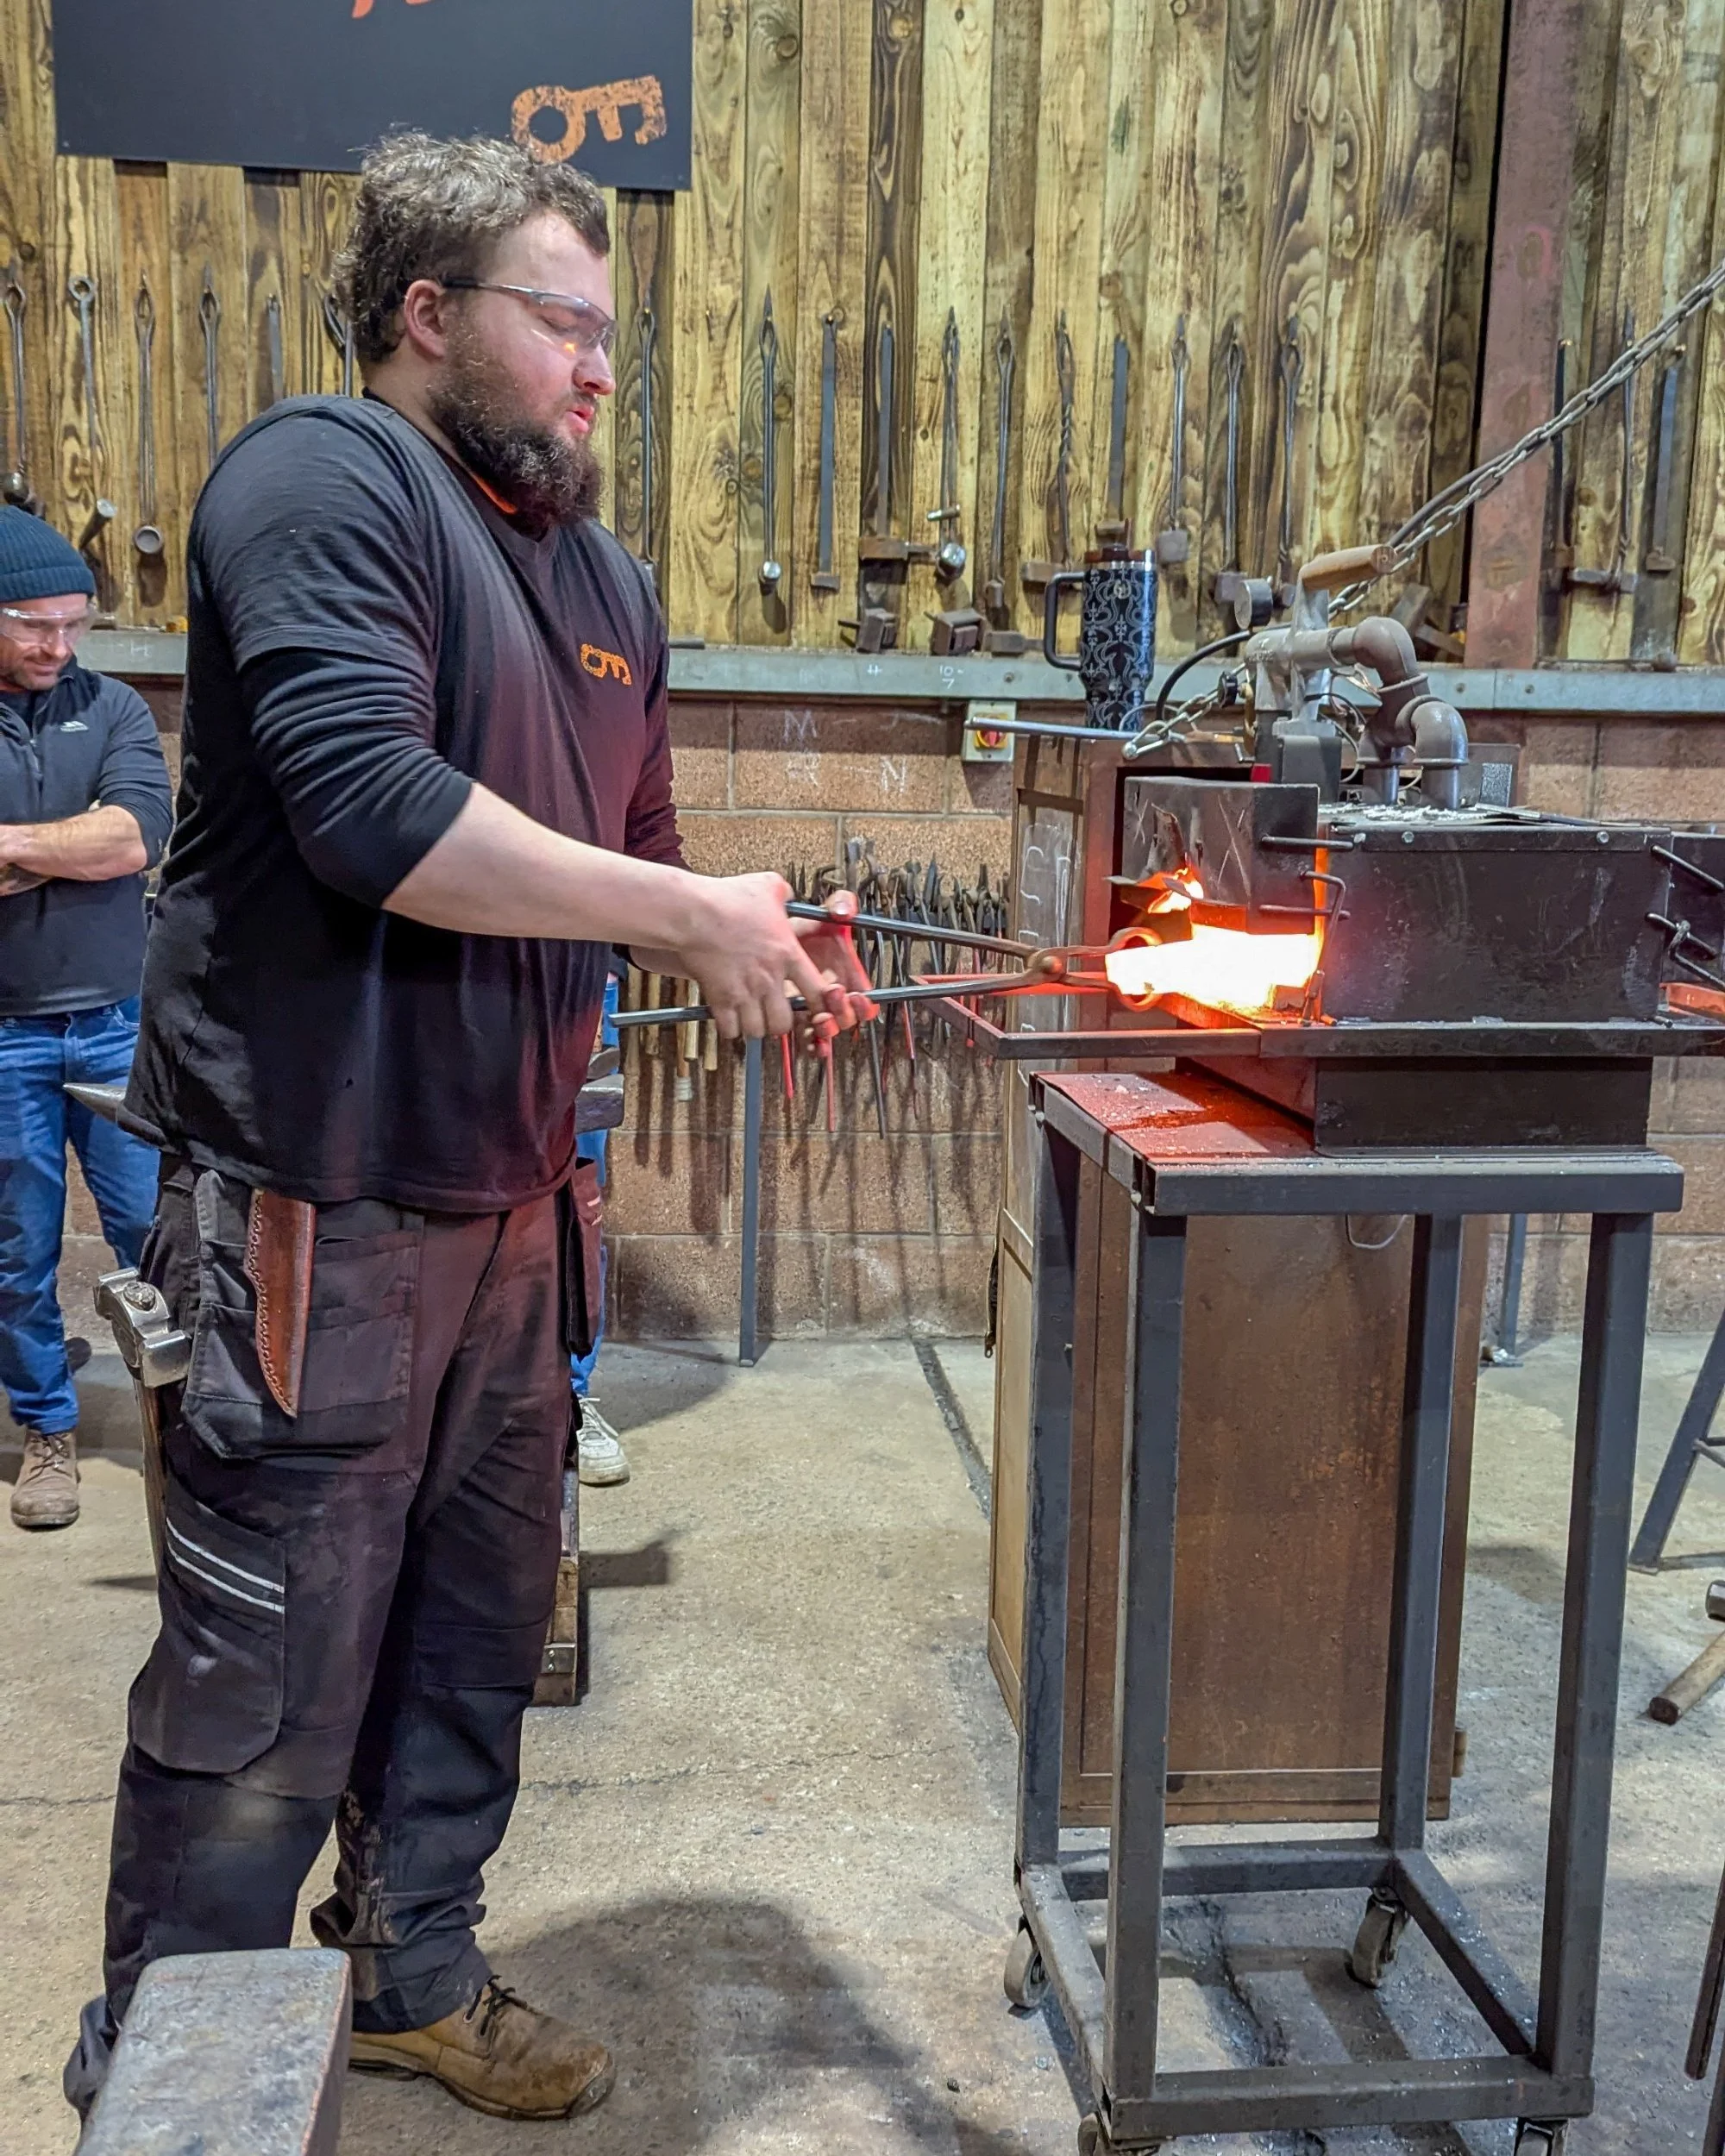
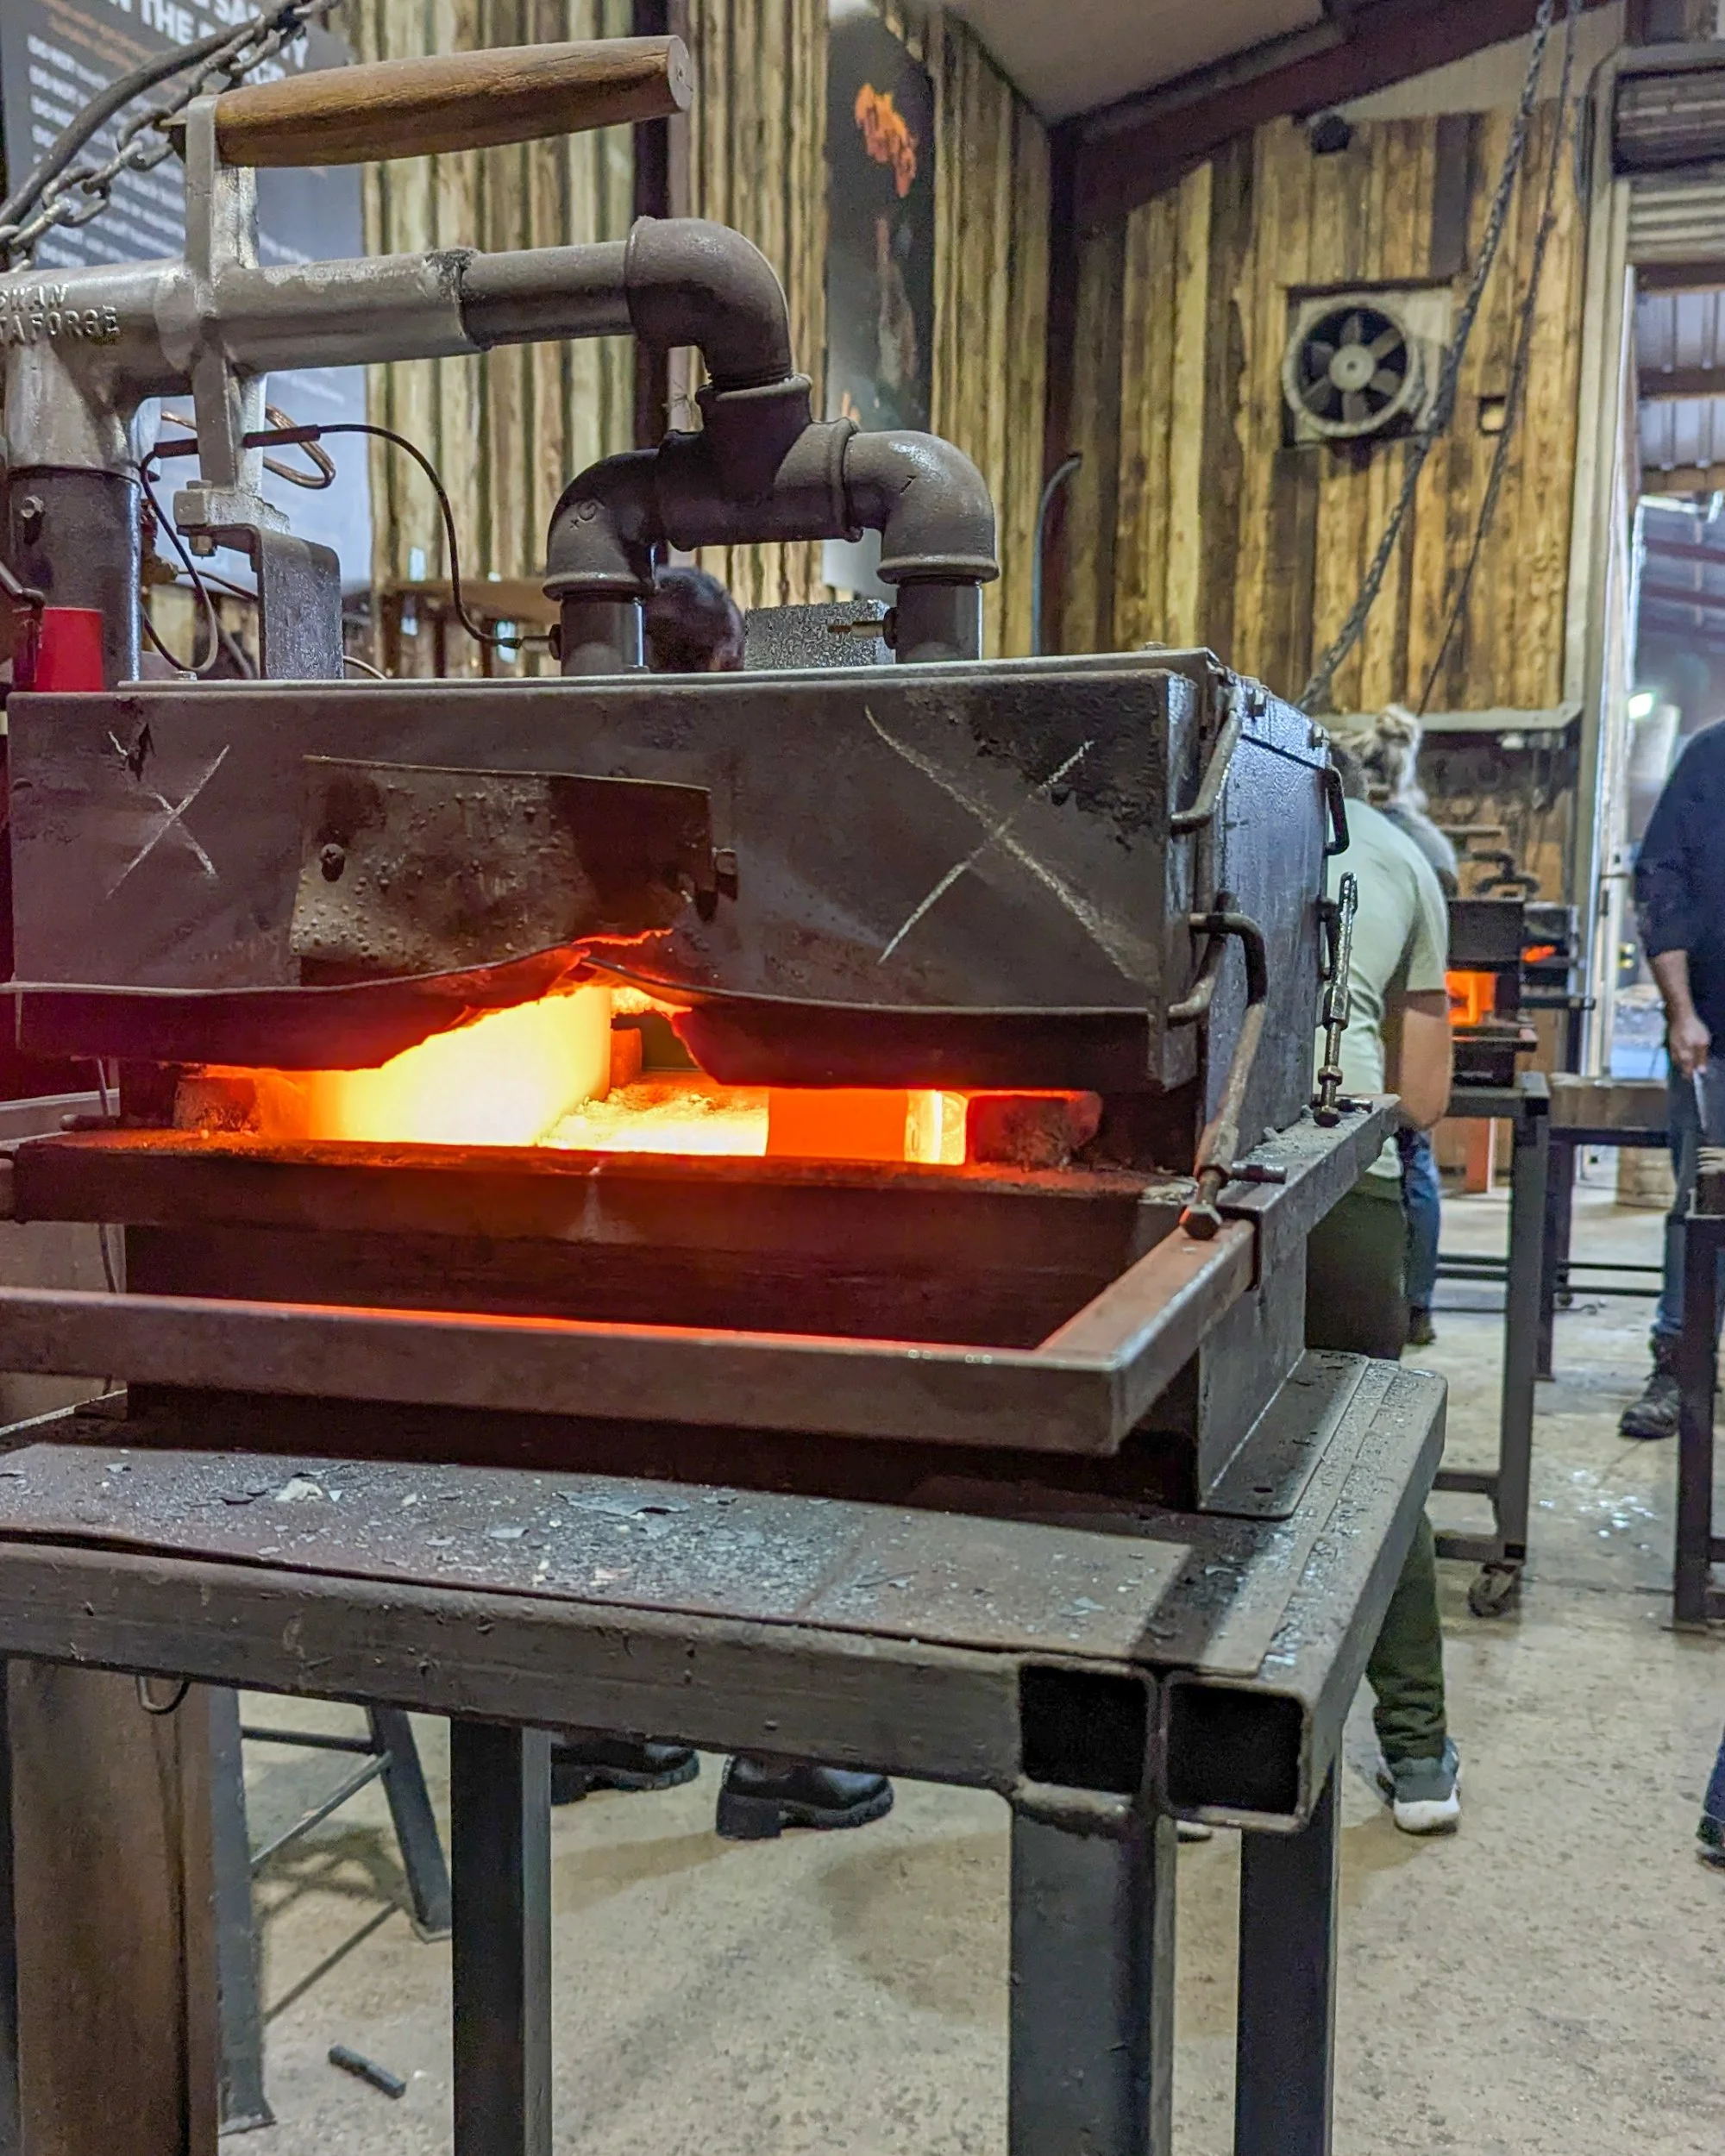
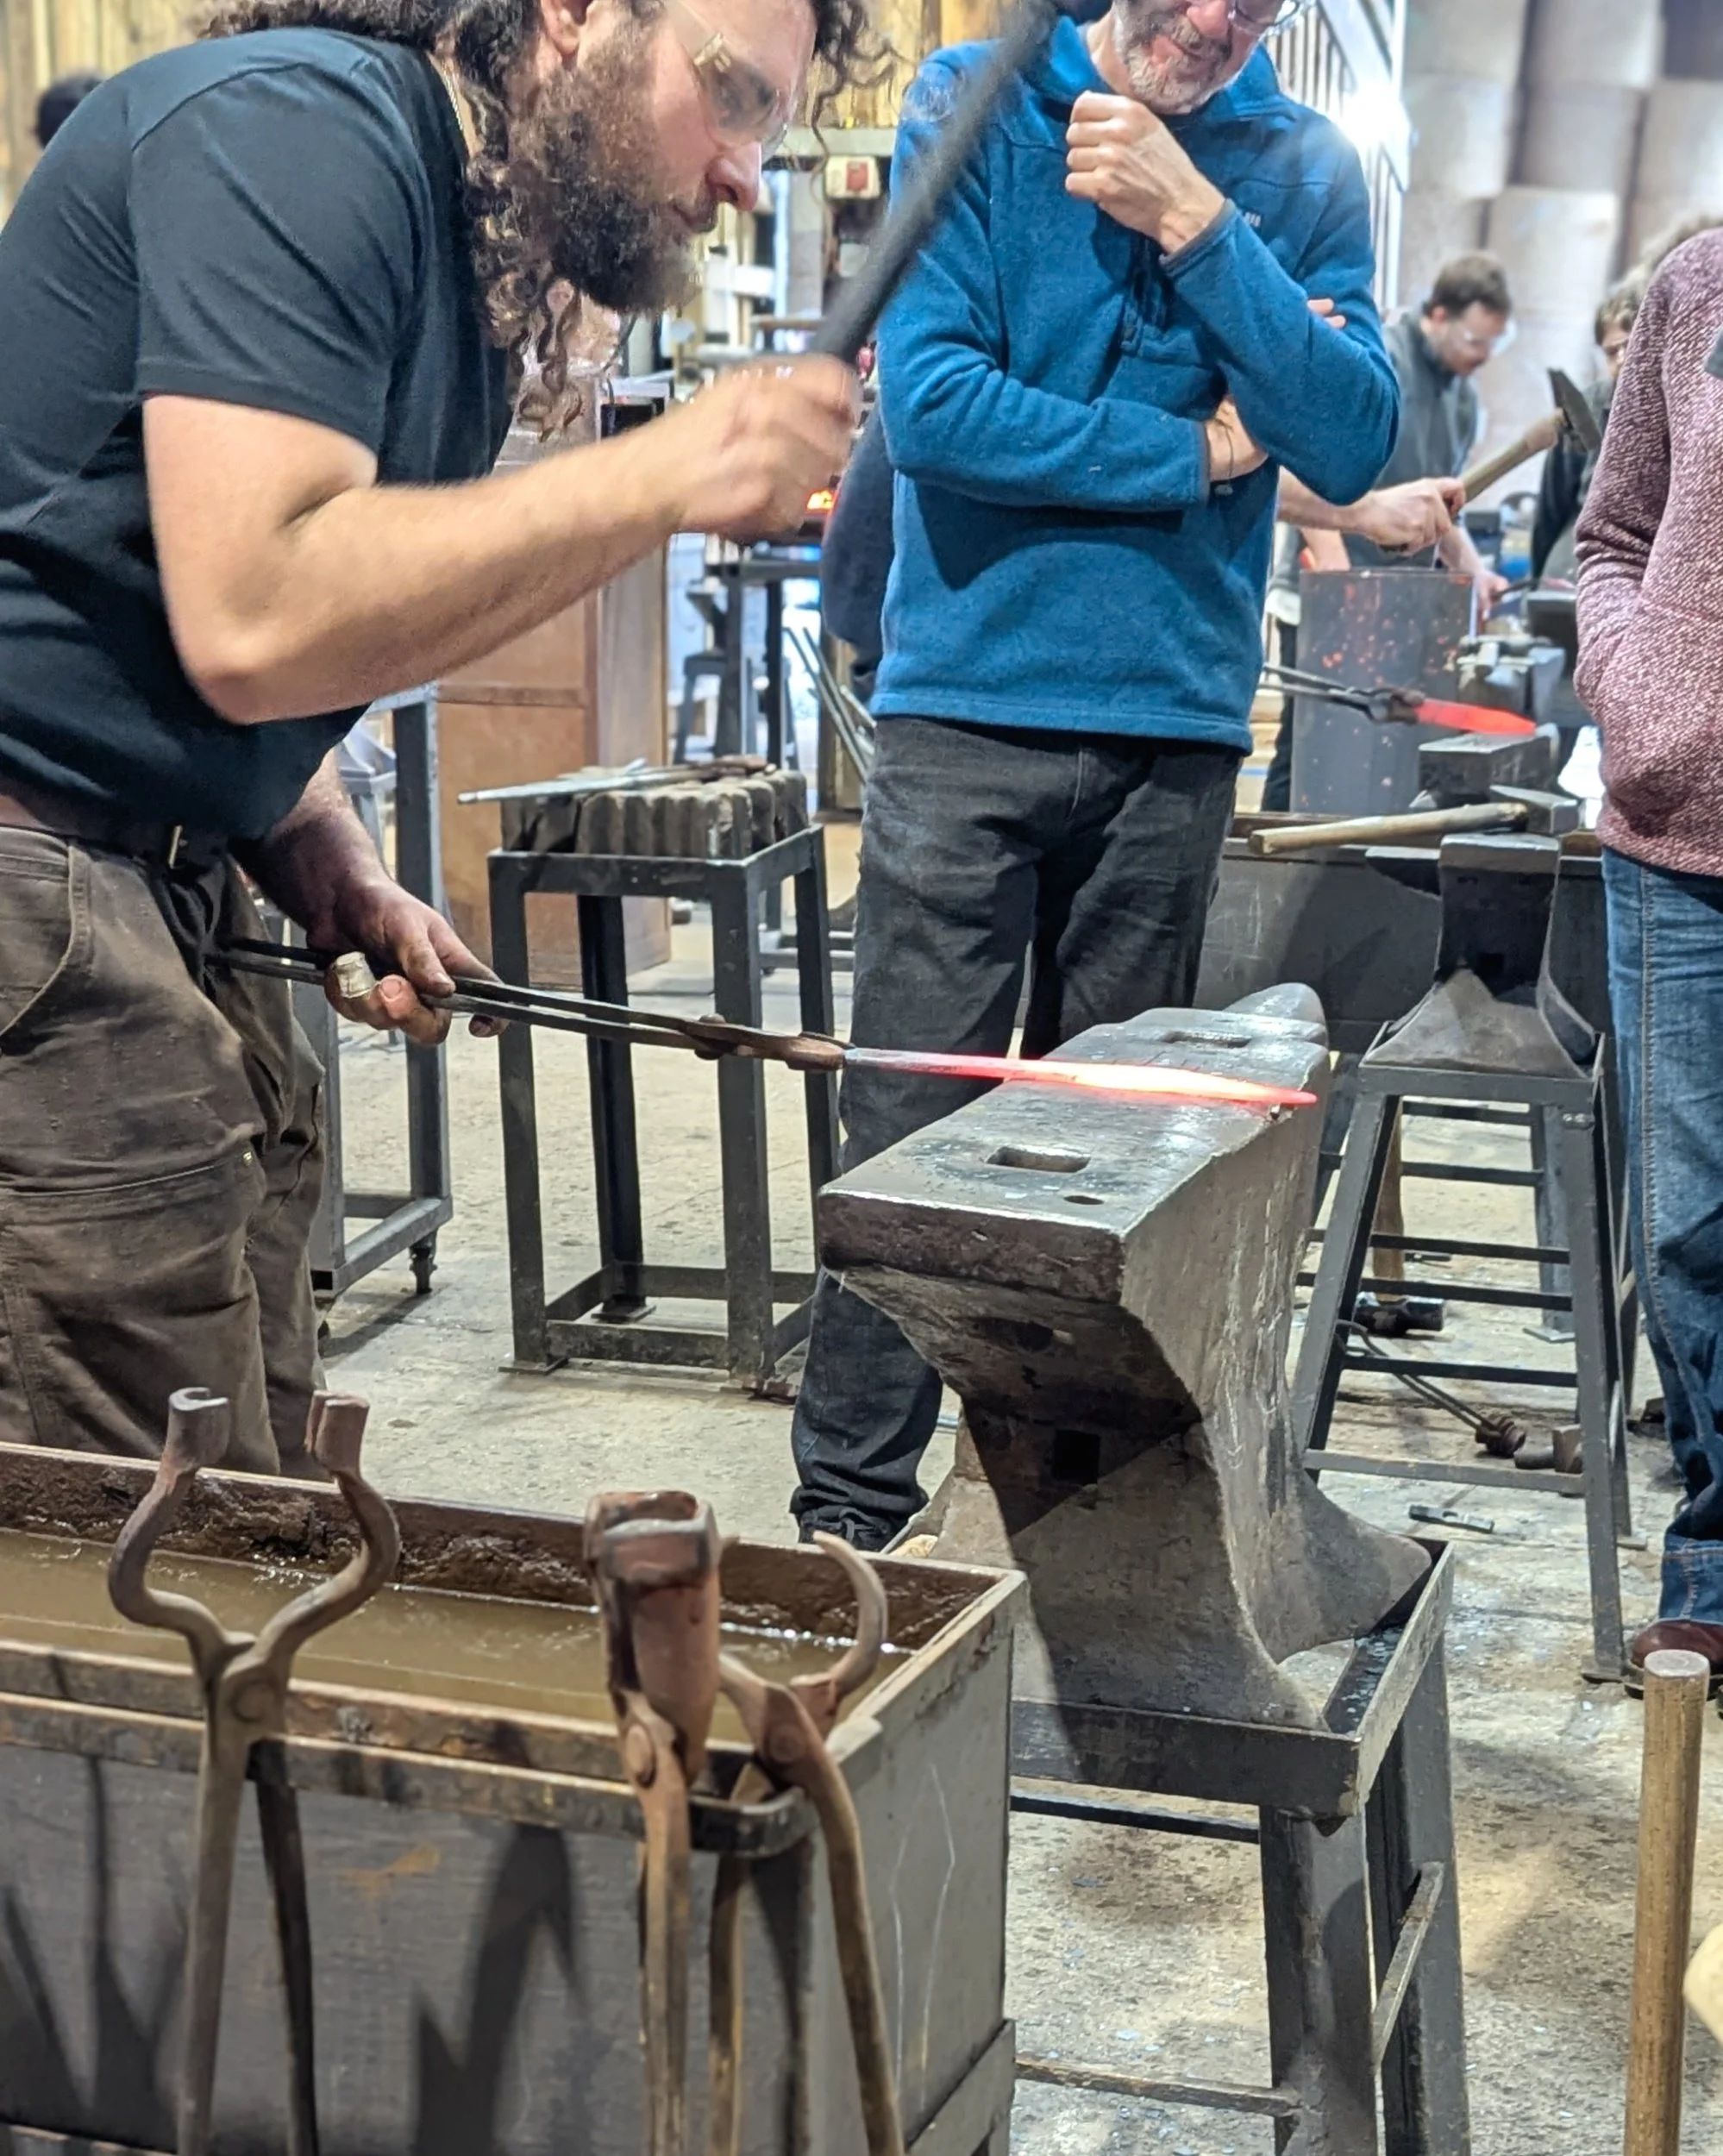
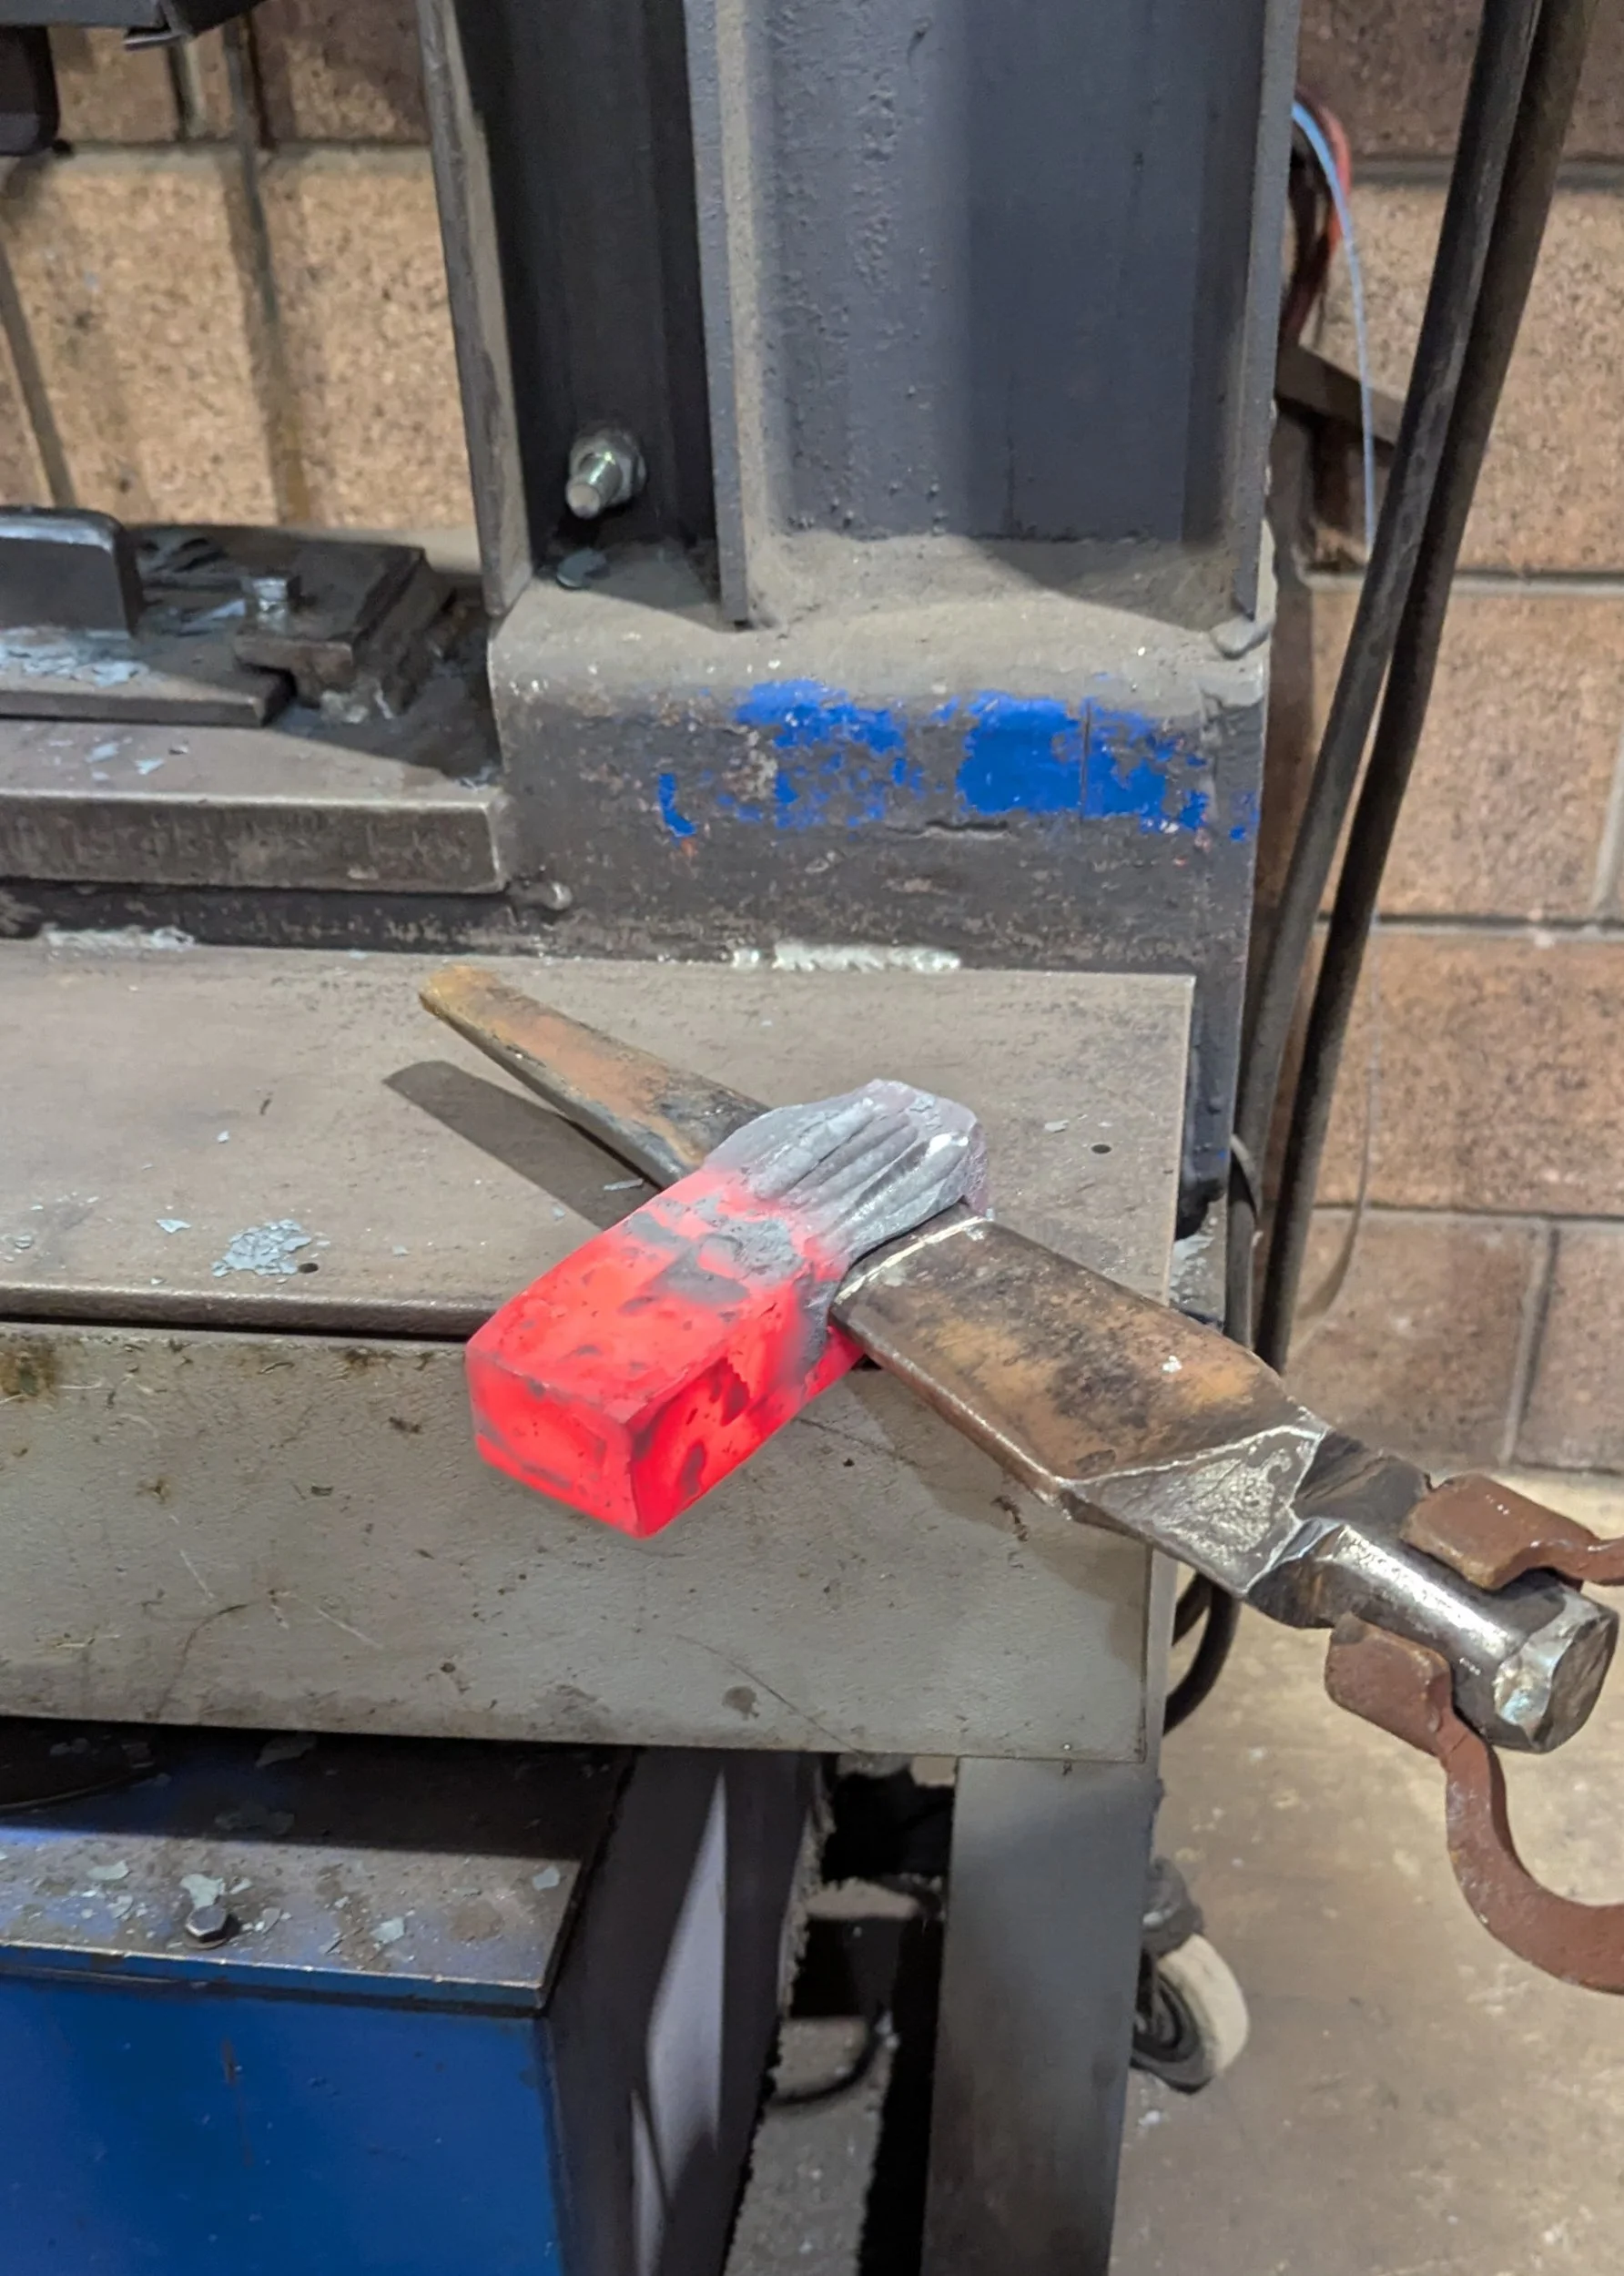
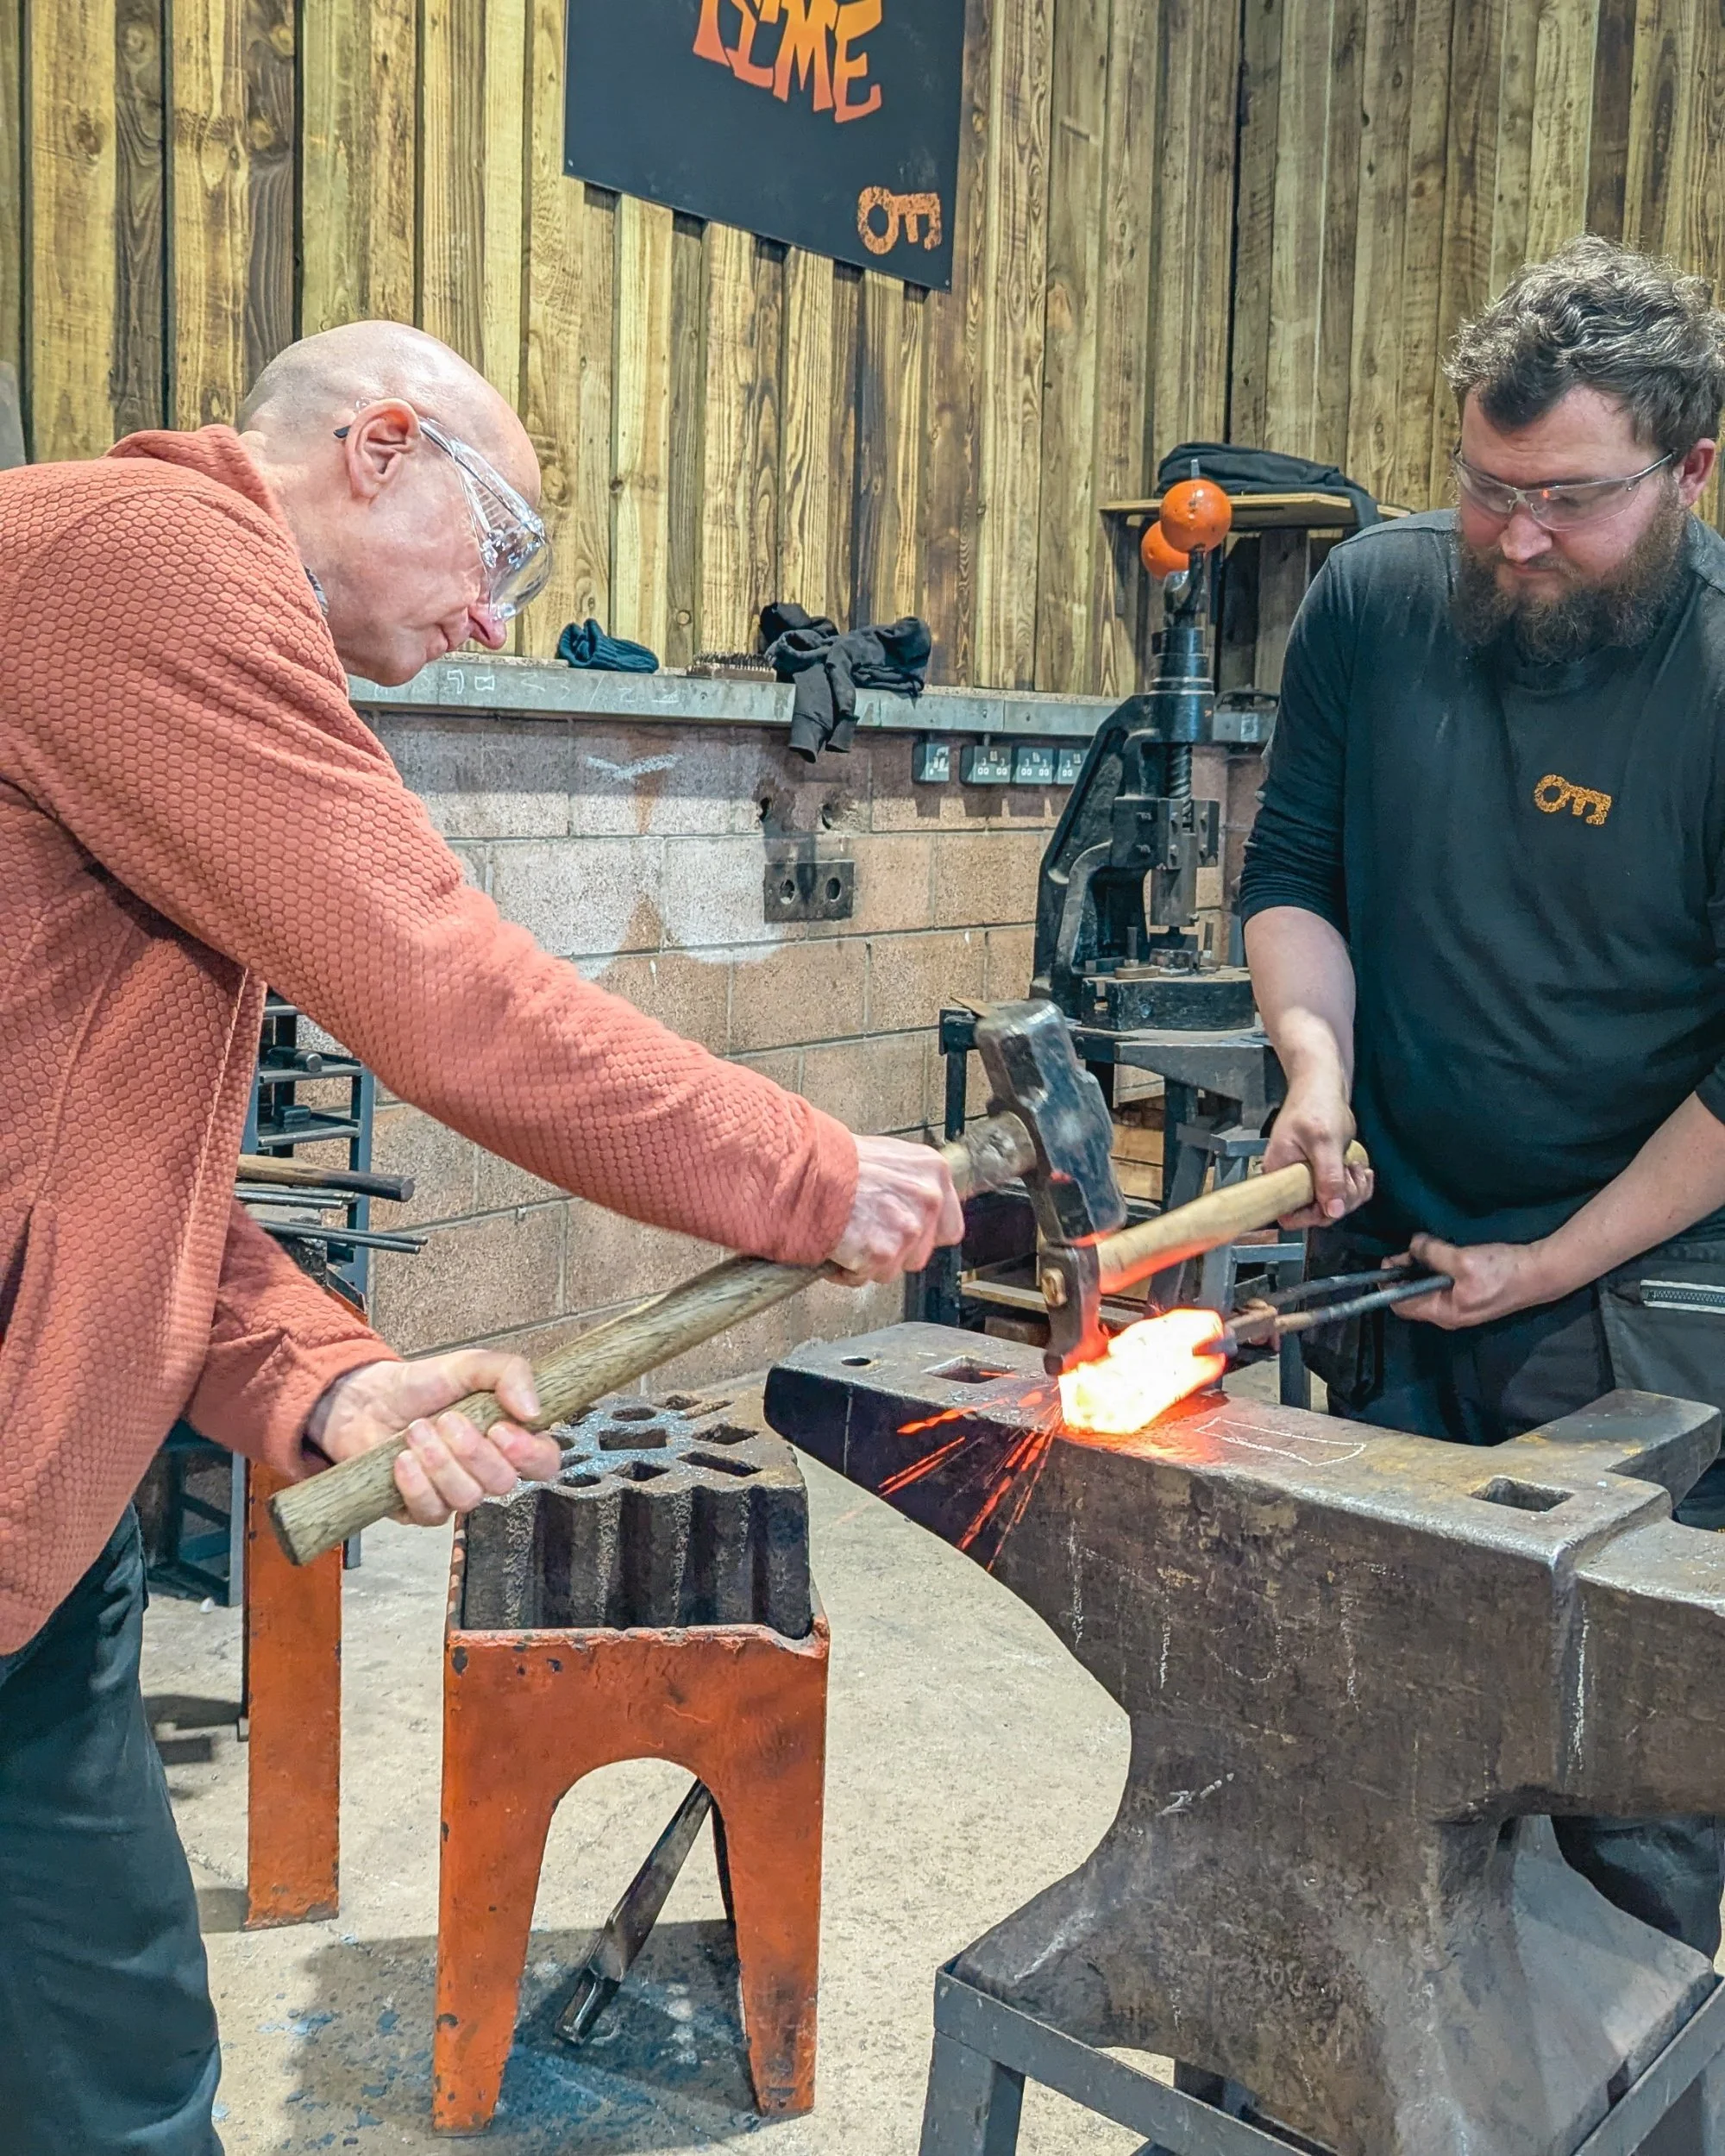
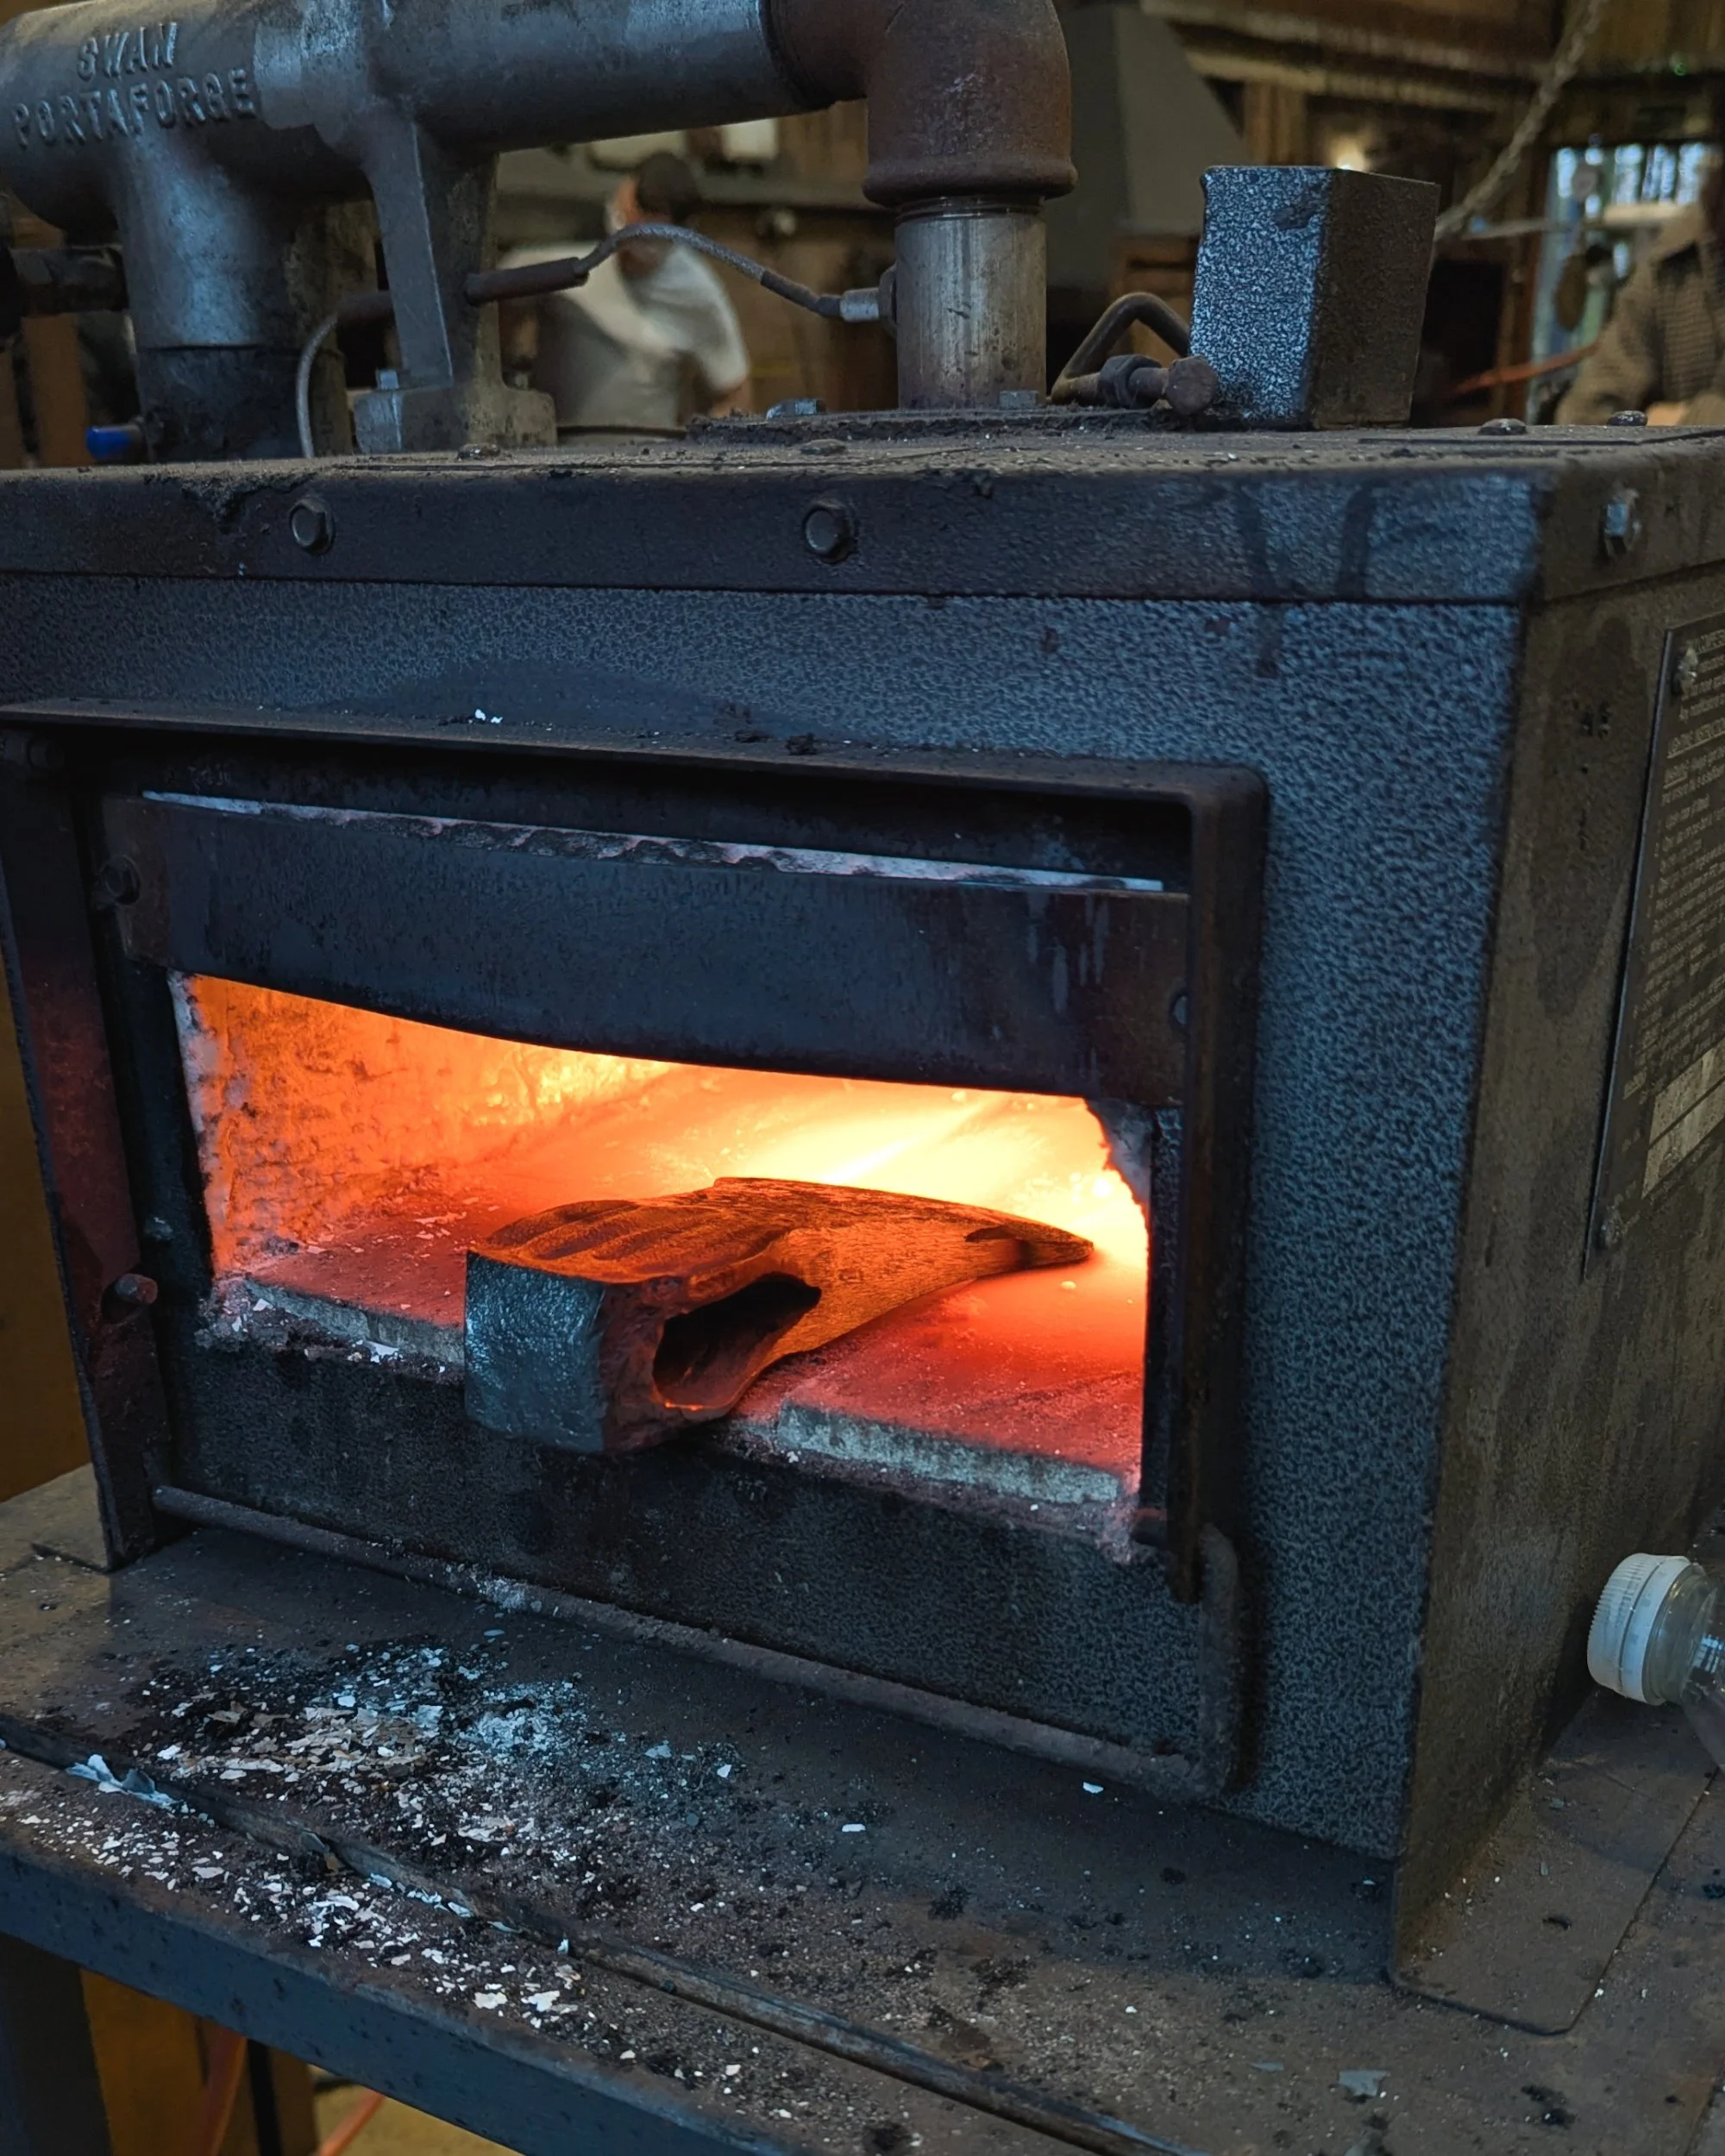
After a quick chat and introduction about what type of axe we wanted to make (Rod wanted to make an axe for a specific green wood working technique), we got started. The lump of carbon steel came out of the forge oven glowing a bright orange.
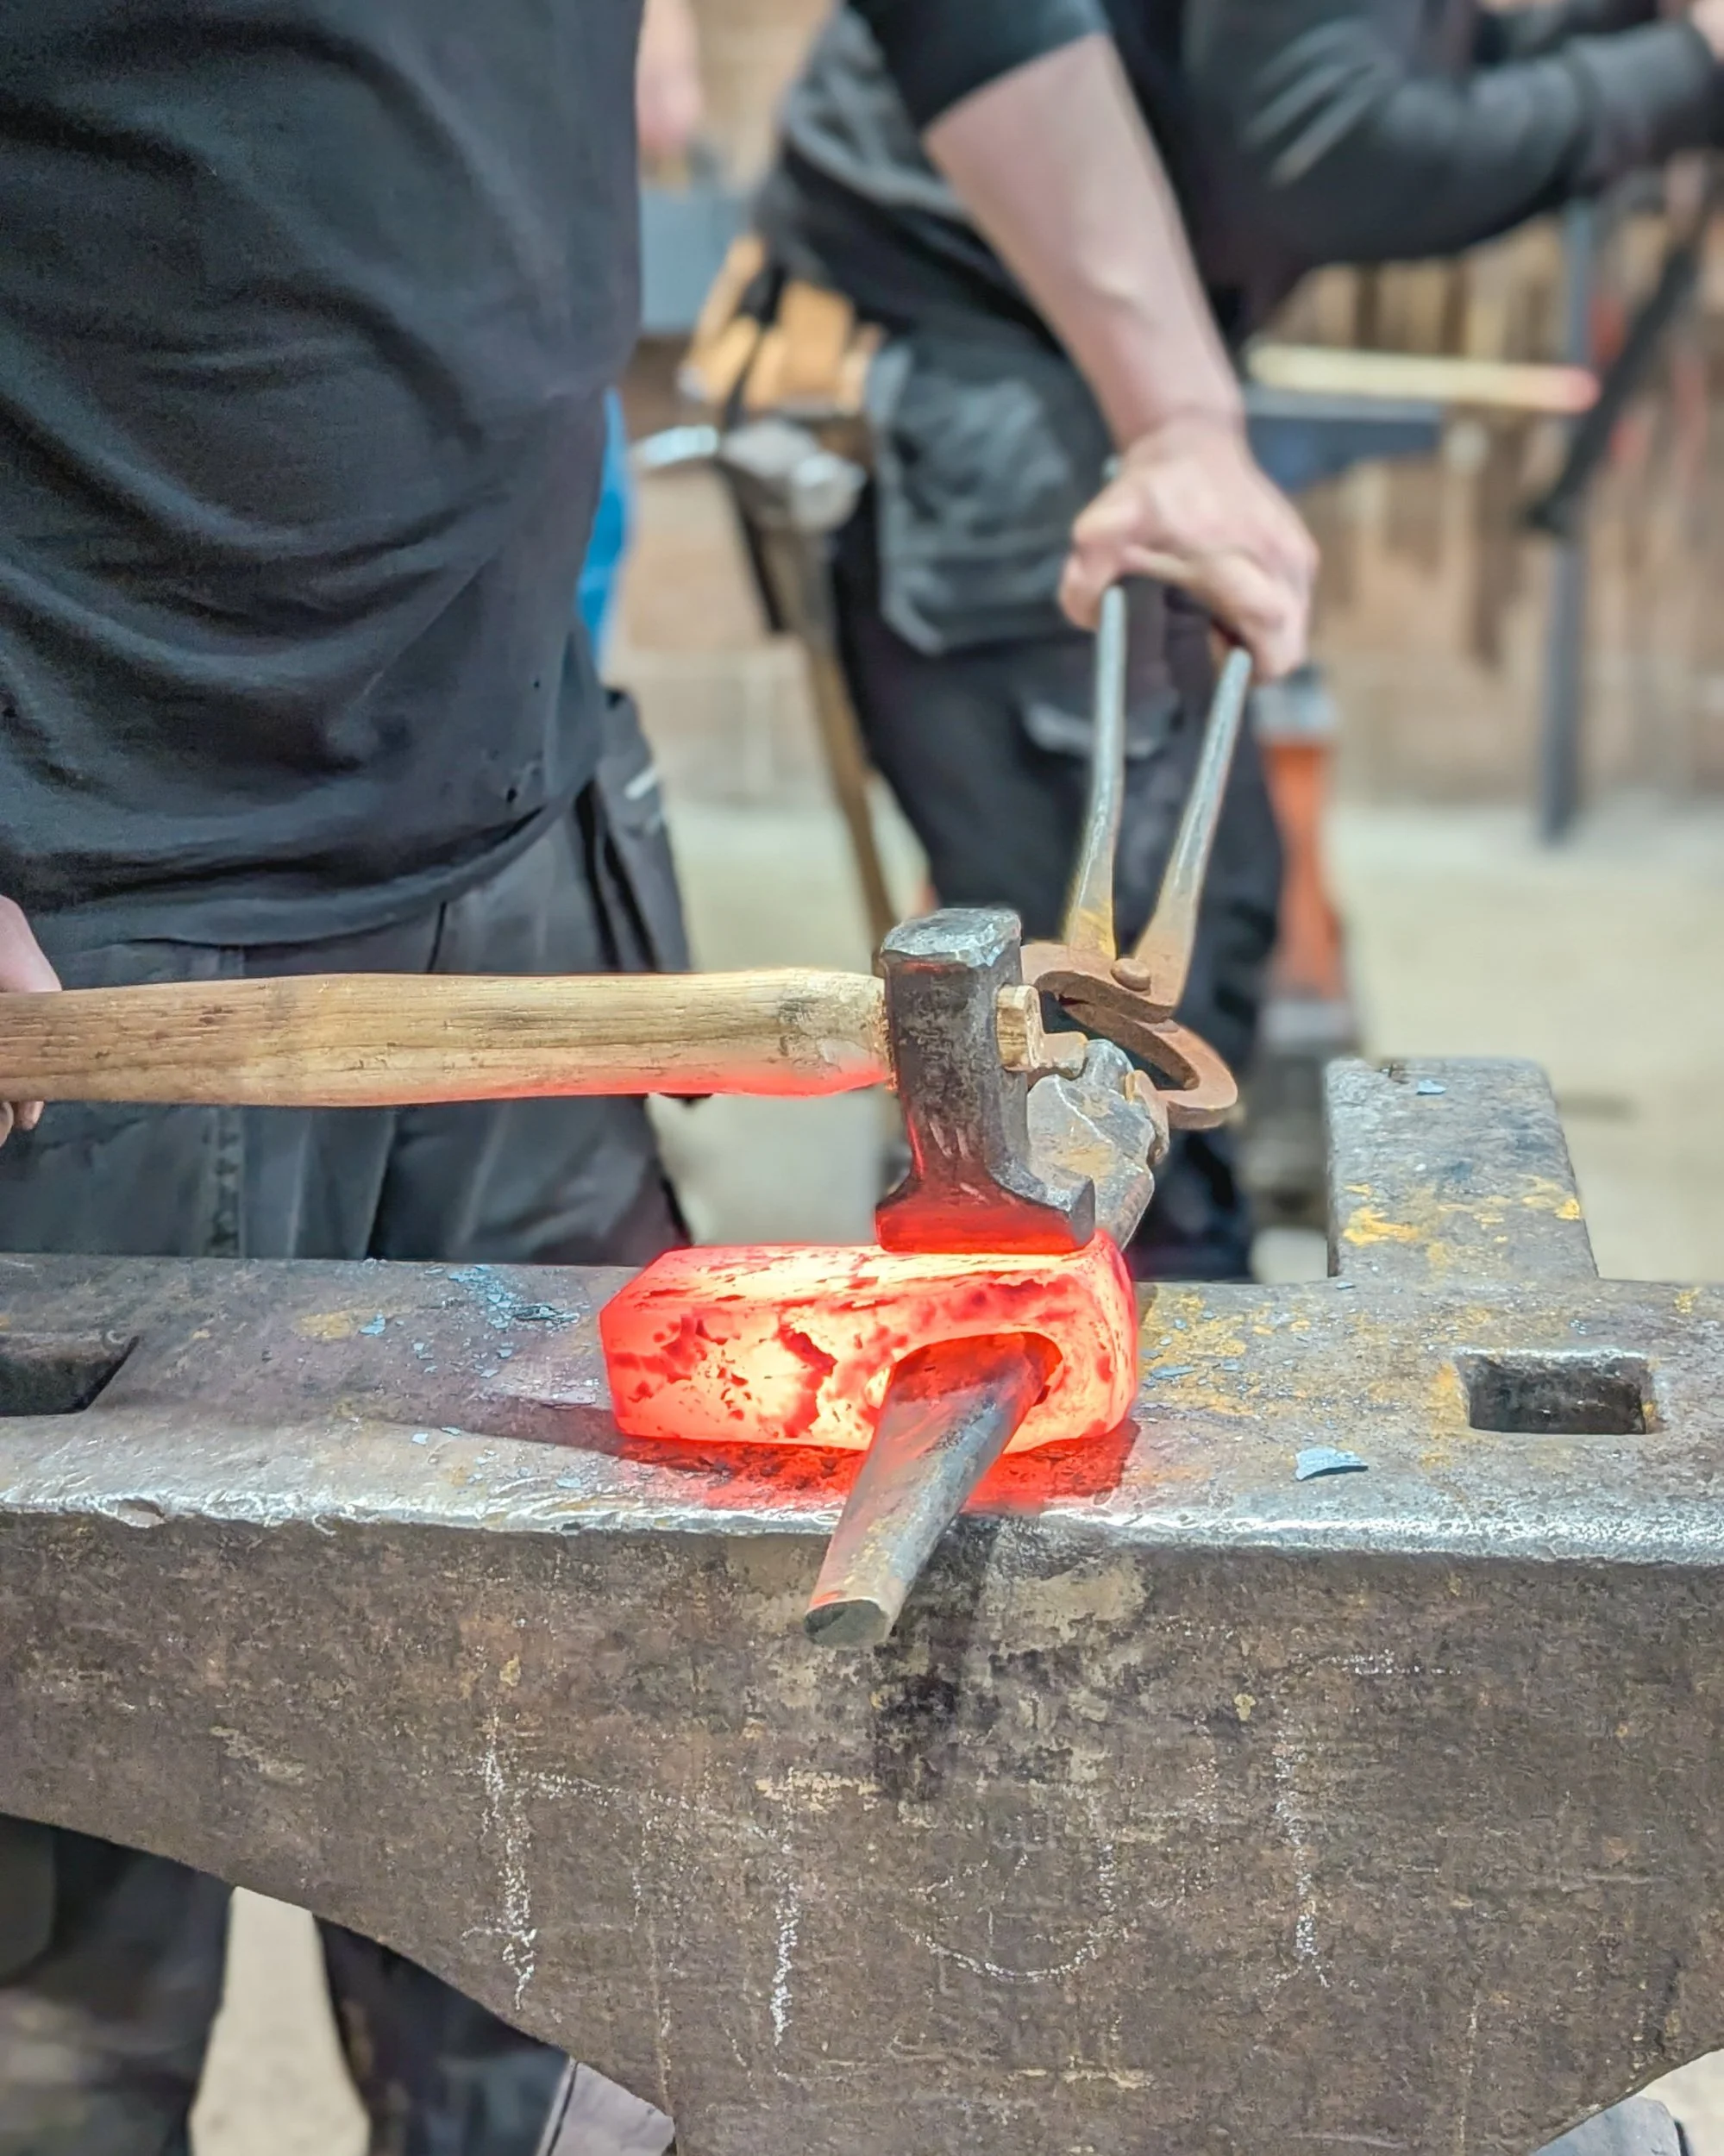
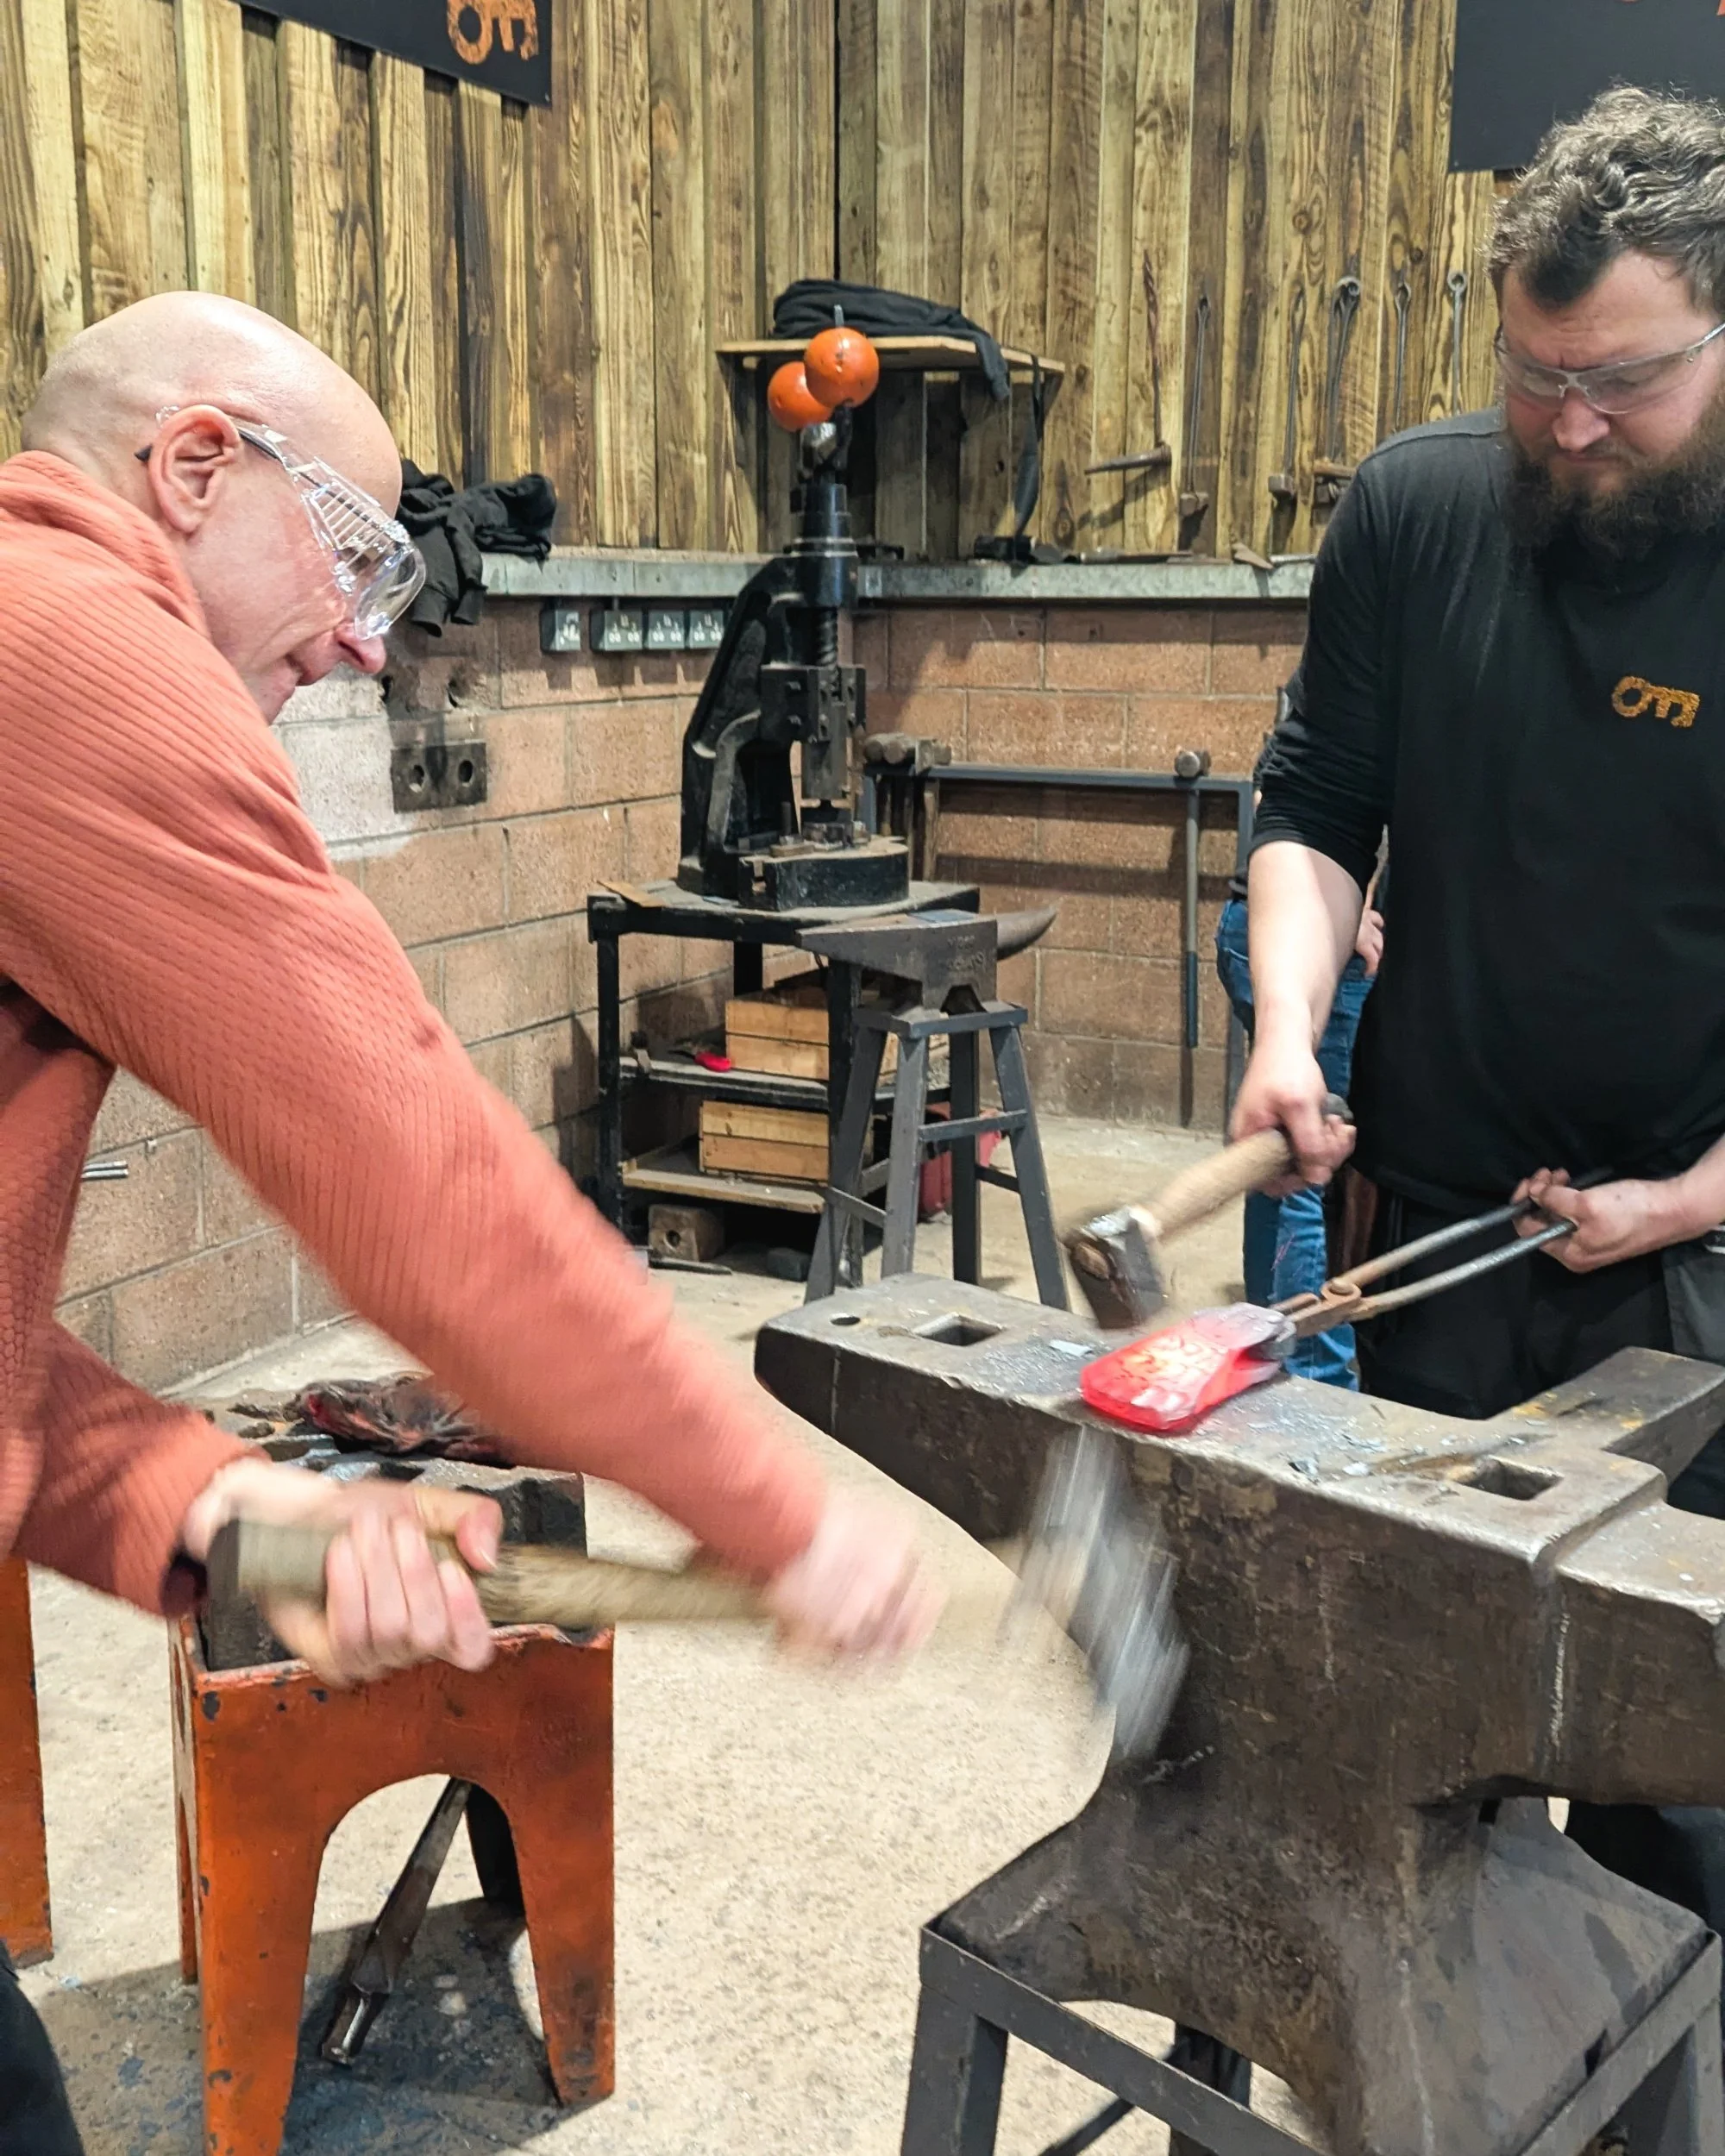
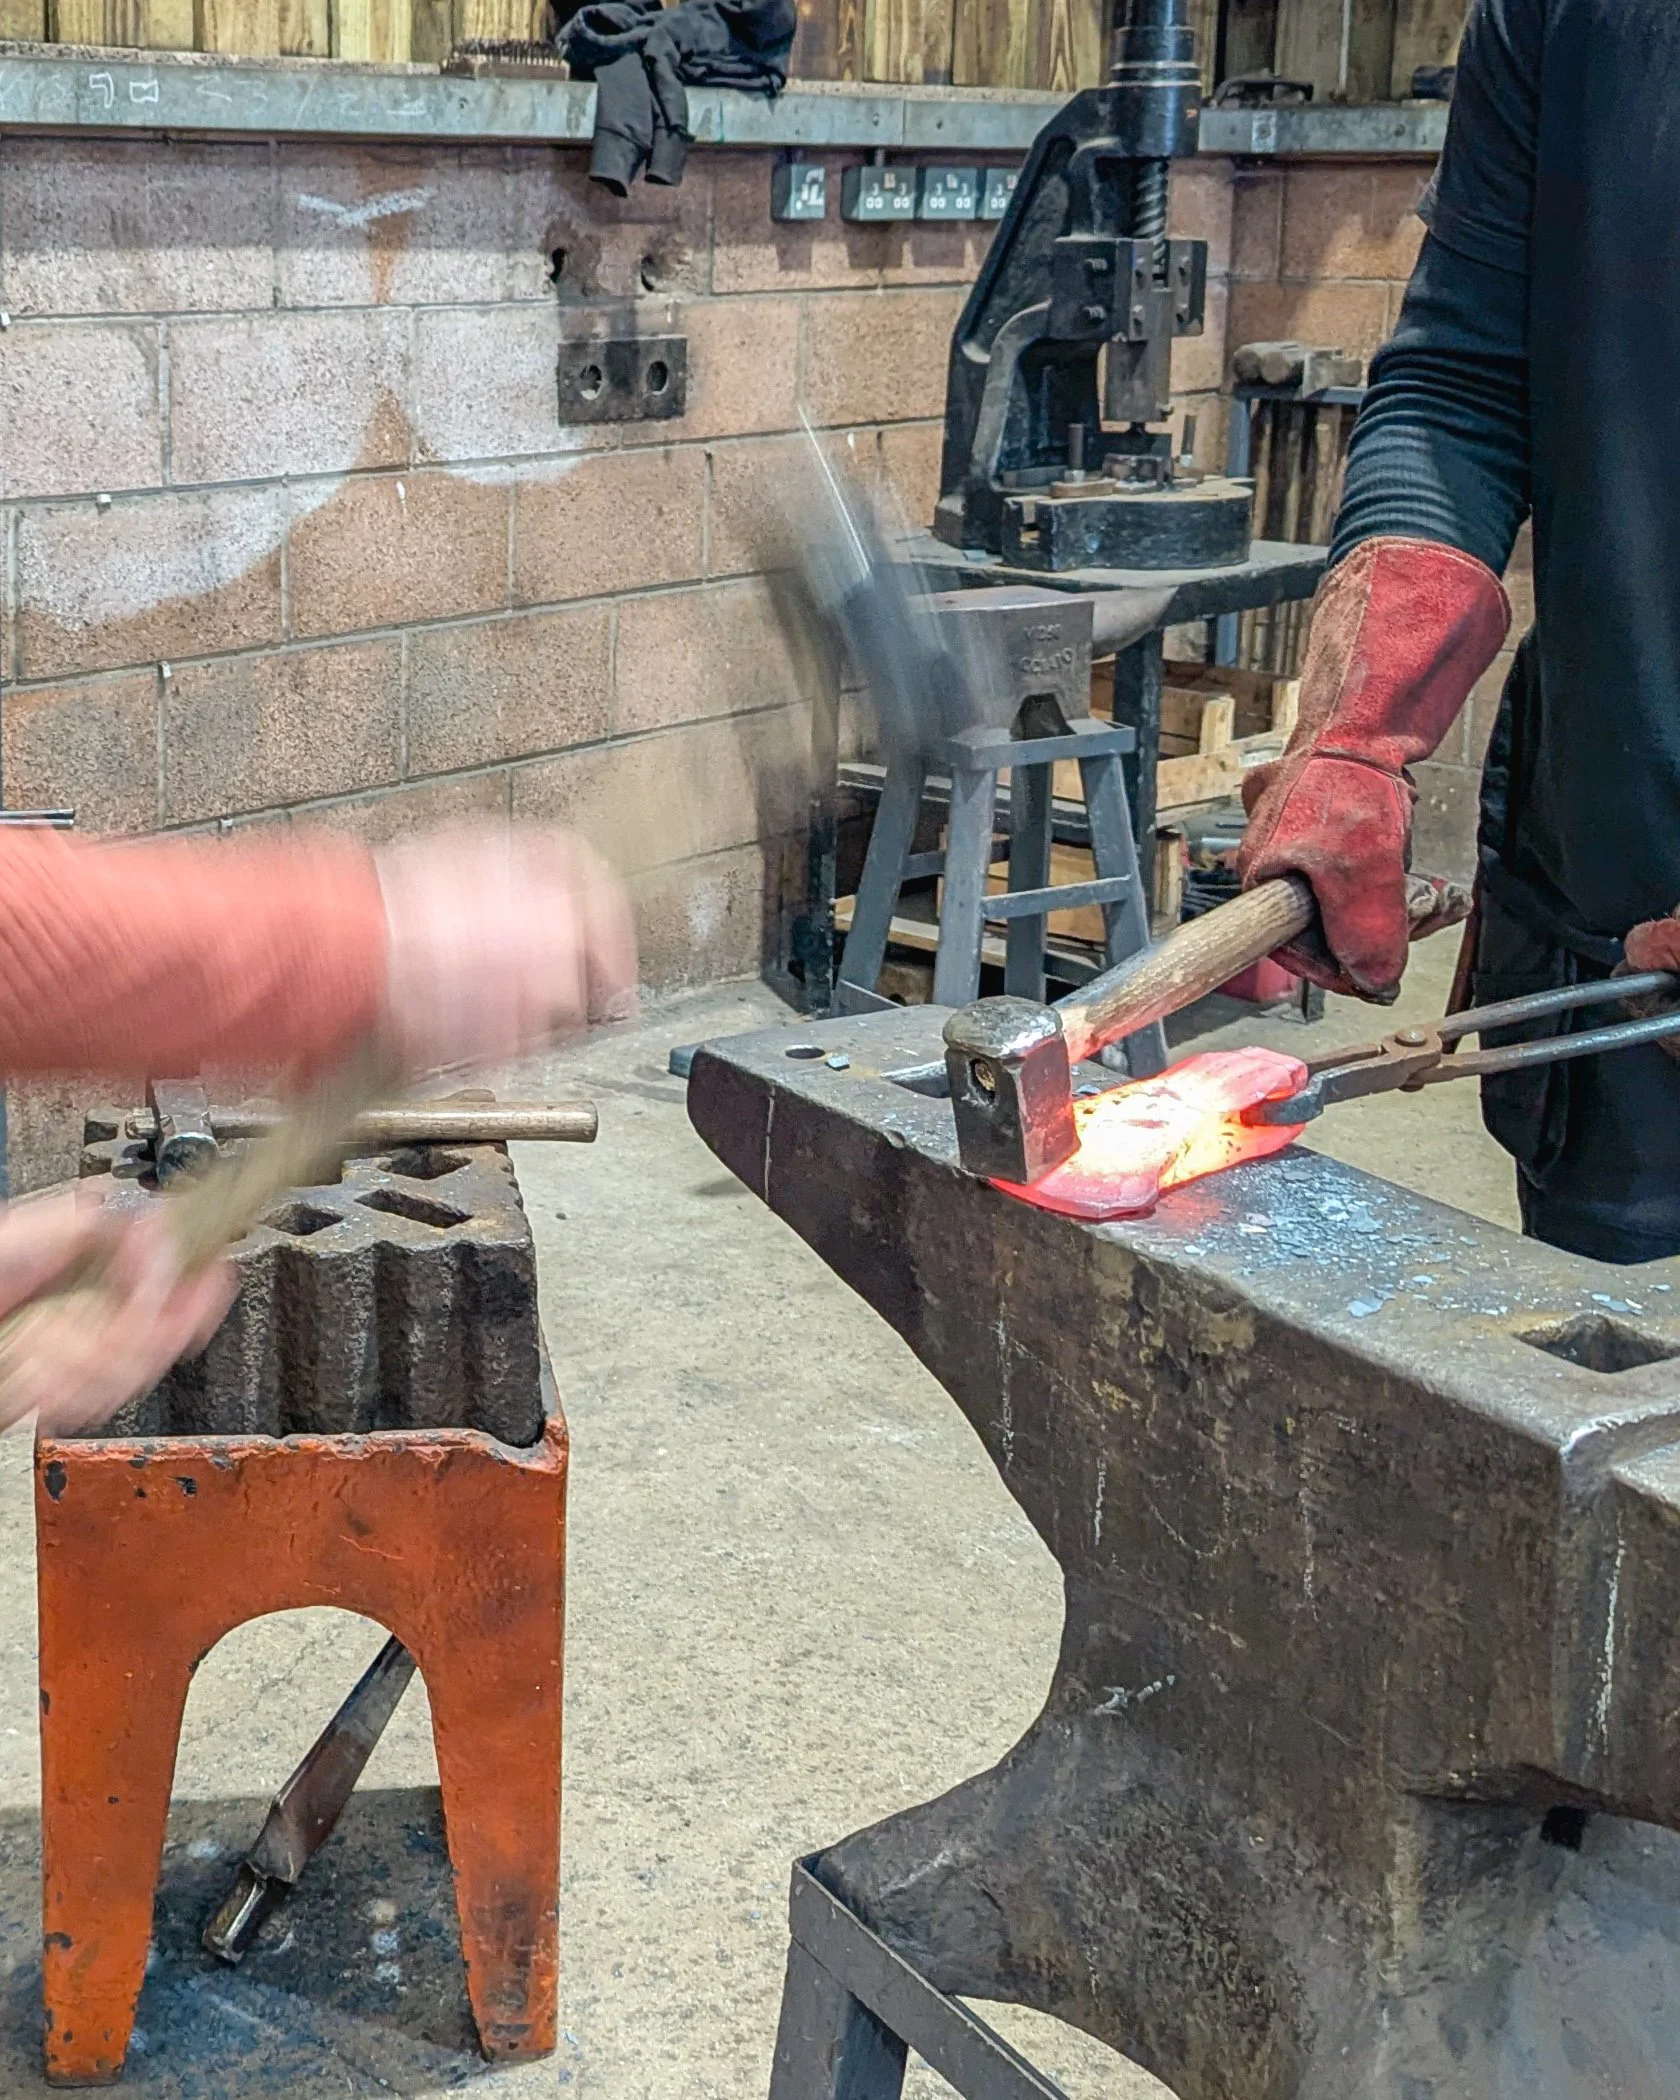
We used a drift (the tapered metal piece) to widen the hole that had been punched into the block. Using a specific hammering technique, we had to make sure we swung to the side of our bodies, so we didn’t end up with a sledgehammer to the knees!

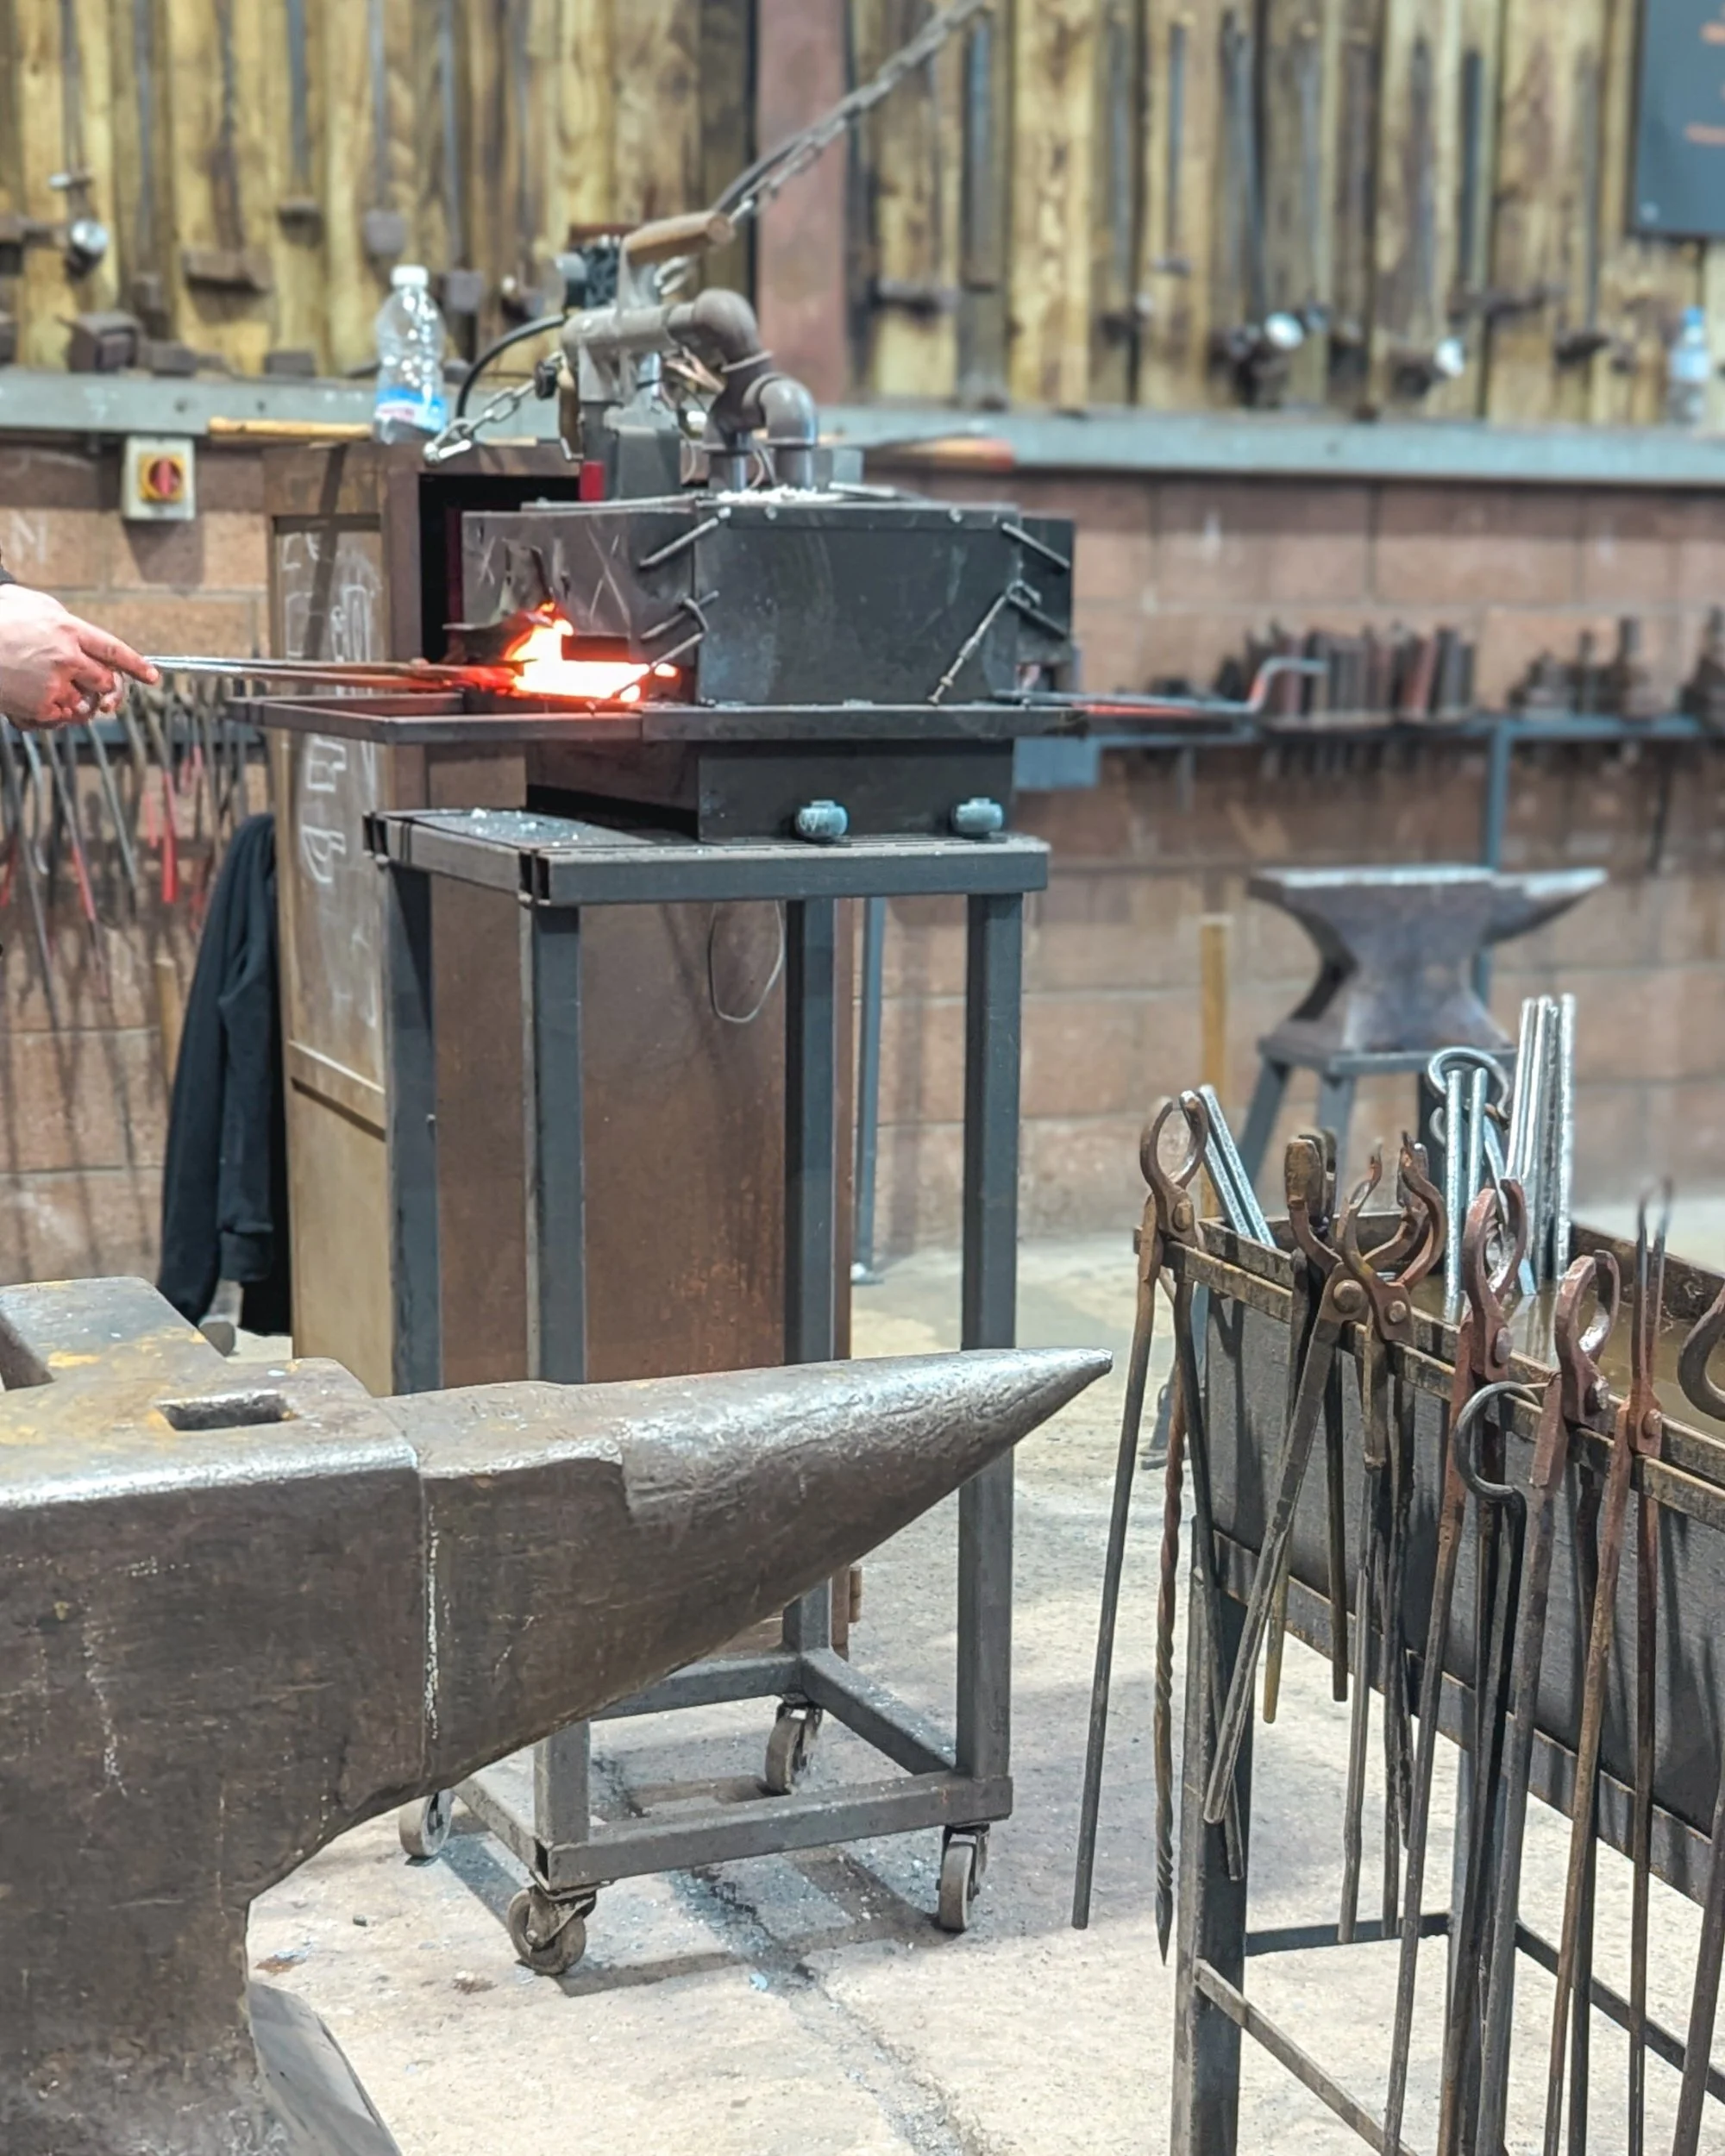
You don’t have long to work with the metal before it starts to cool down, needing to go back into the forge oven to heat up again. So you have to do a lot of hard hammering, fast!
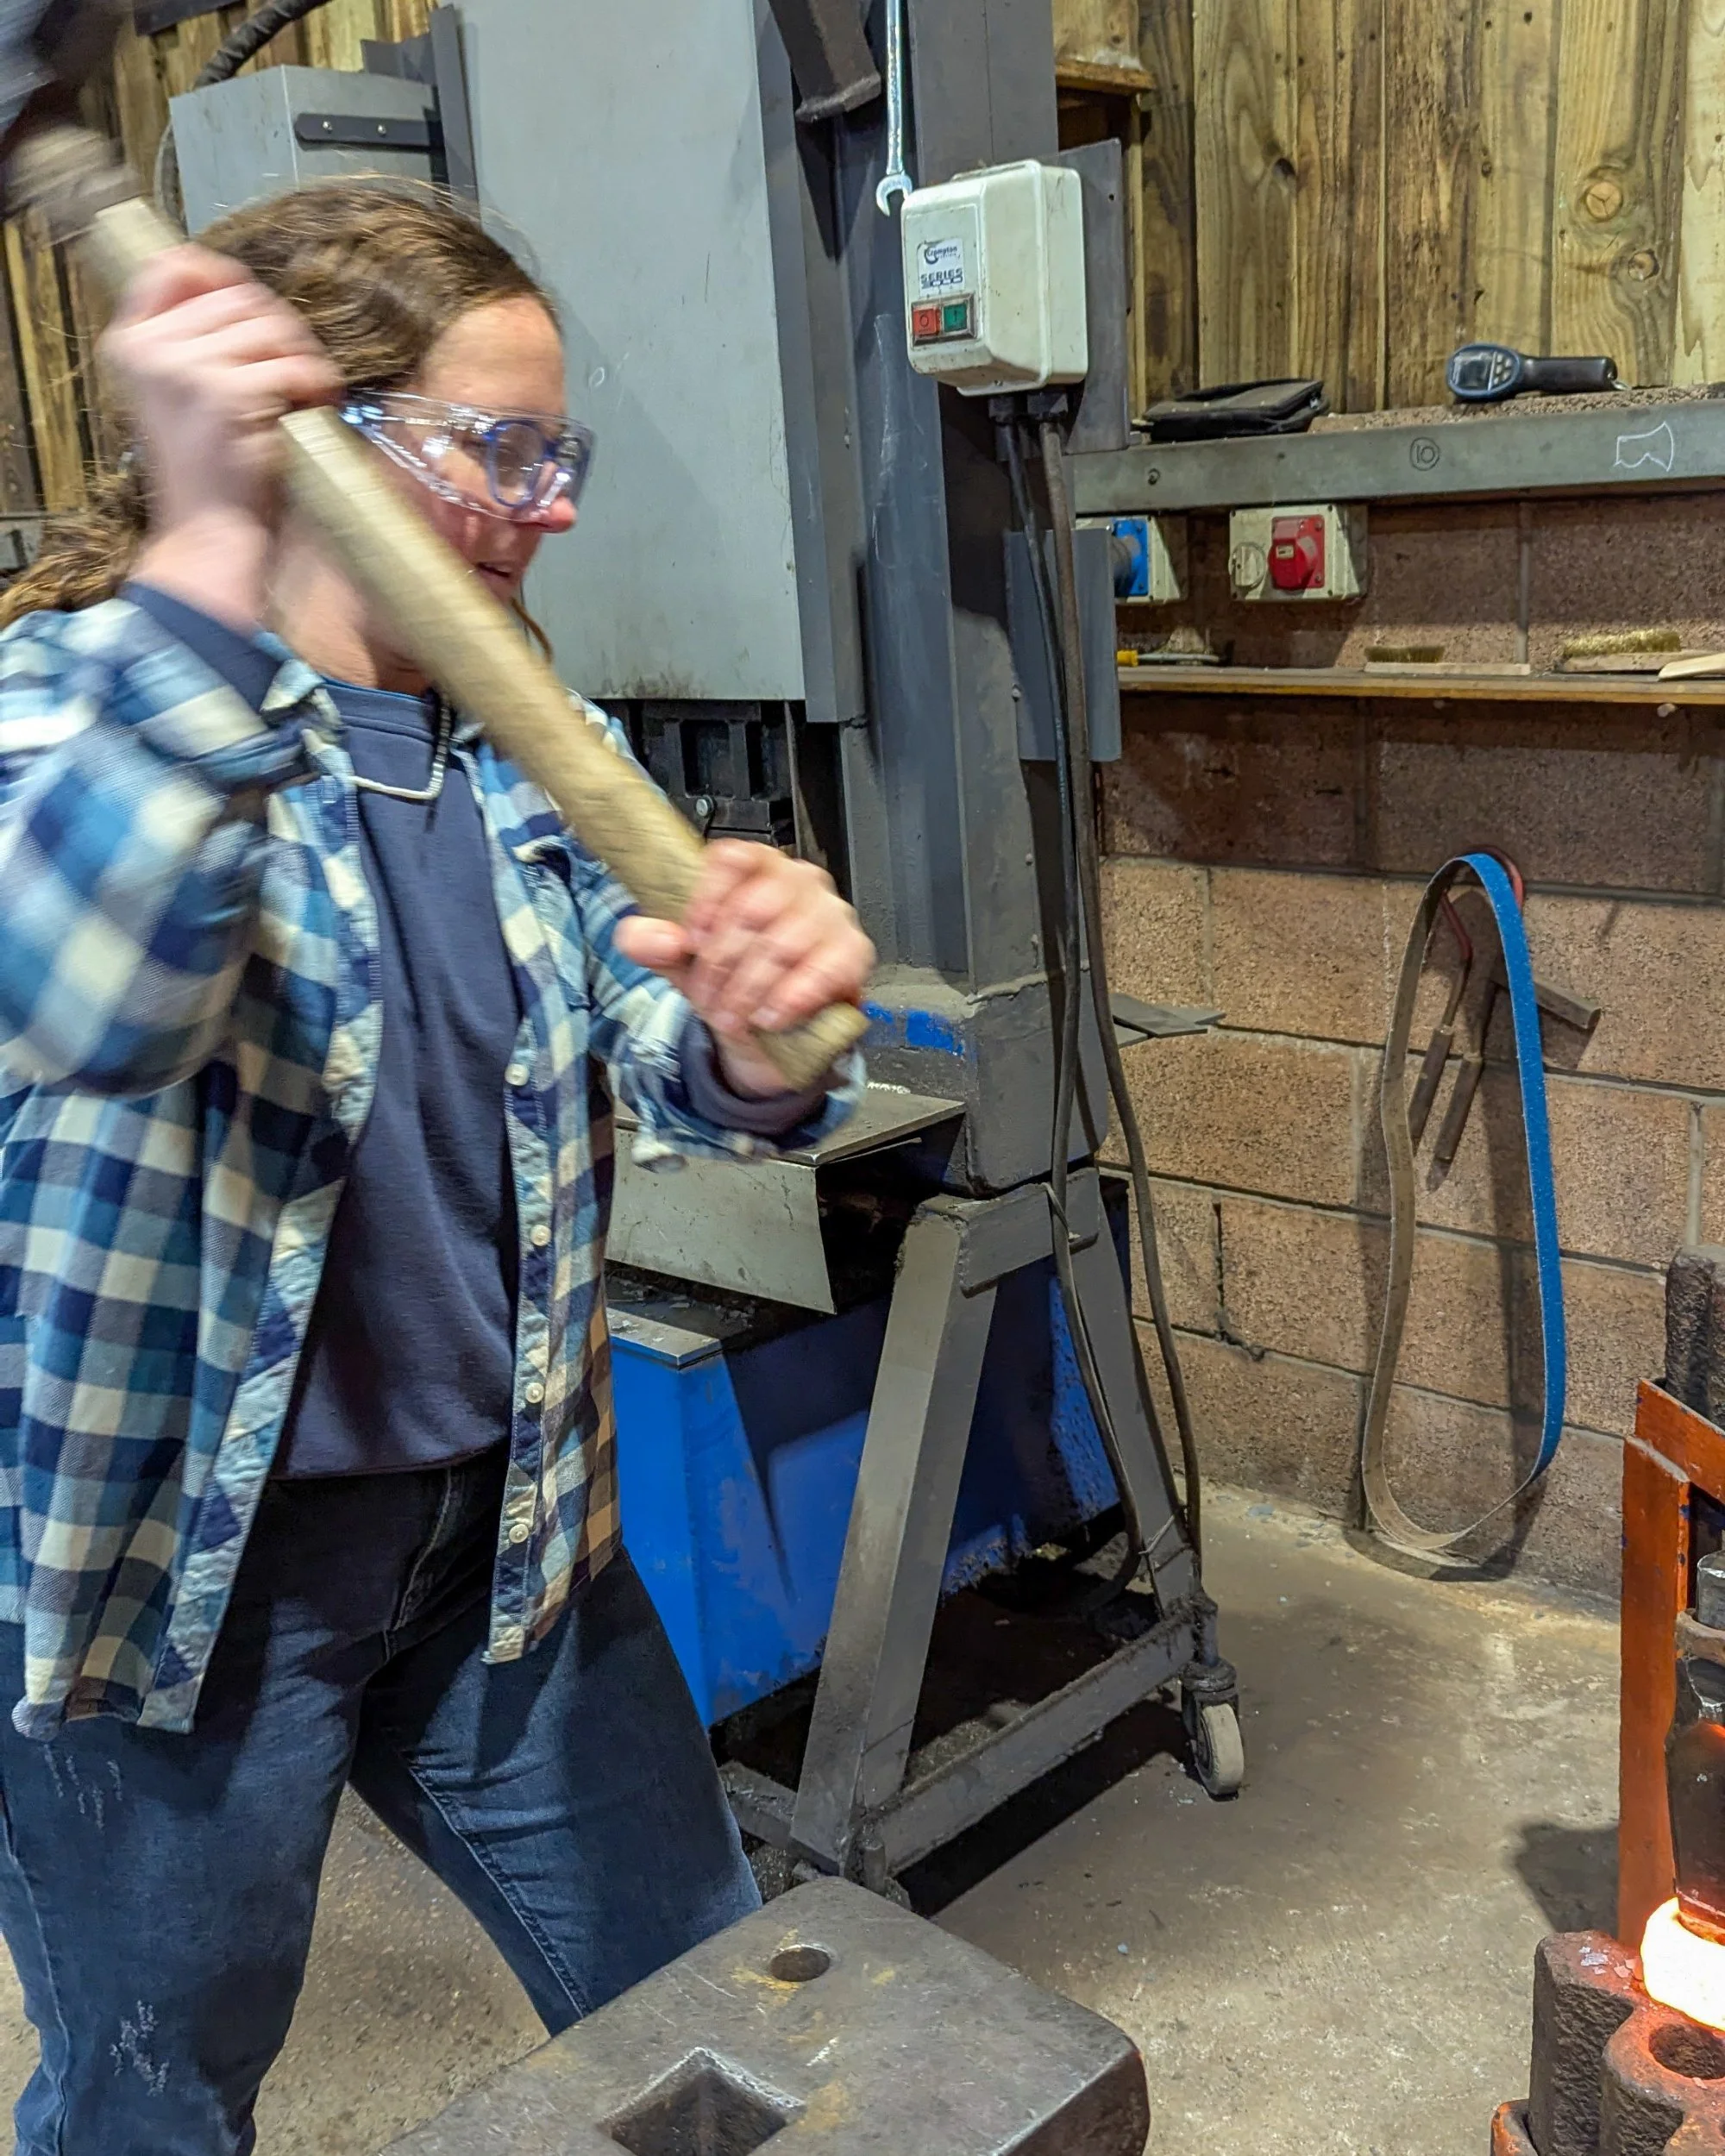
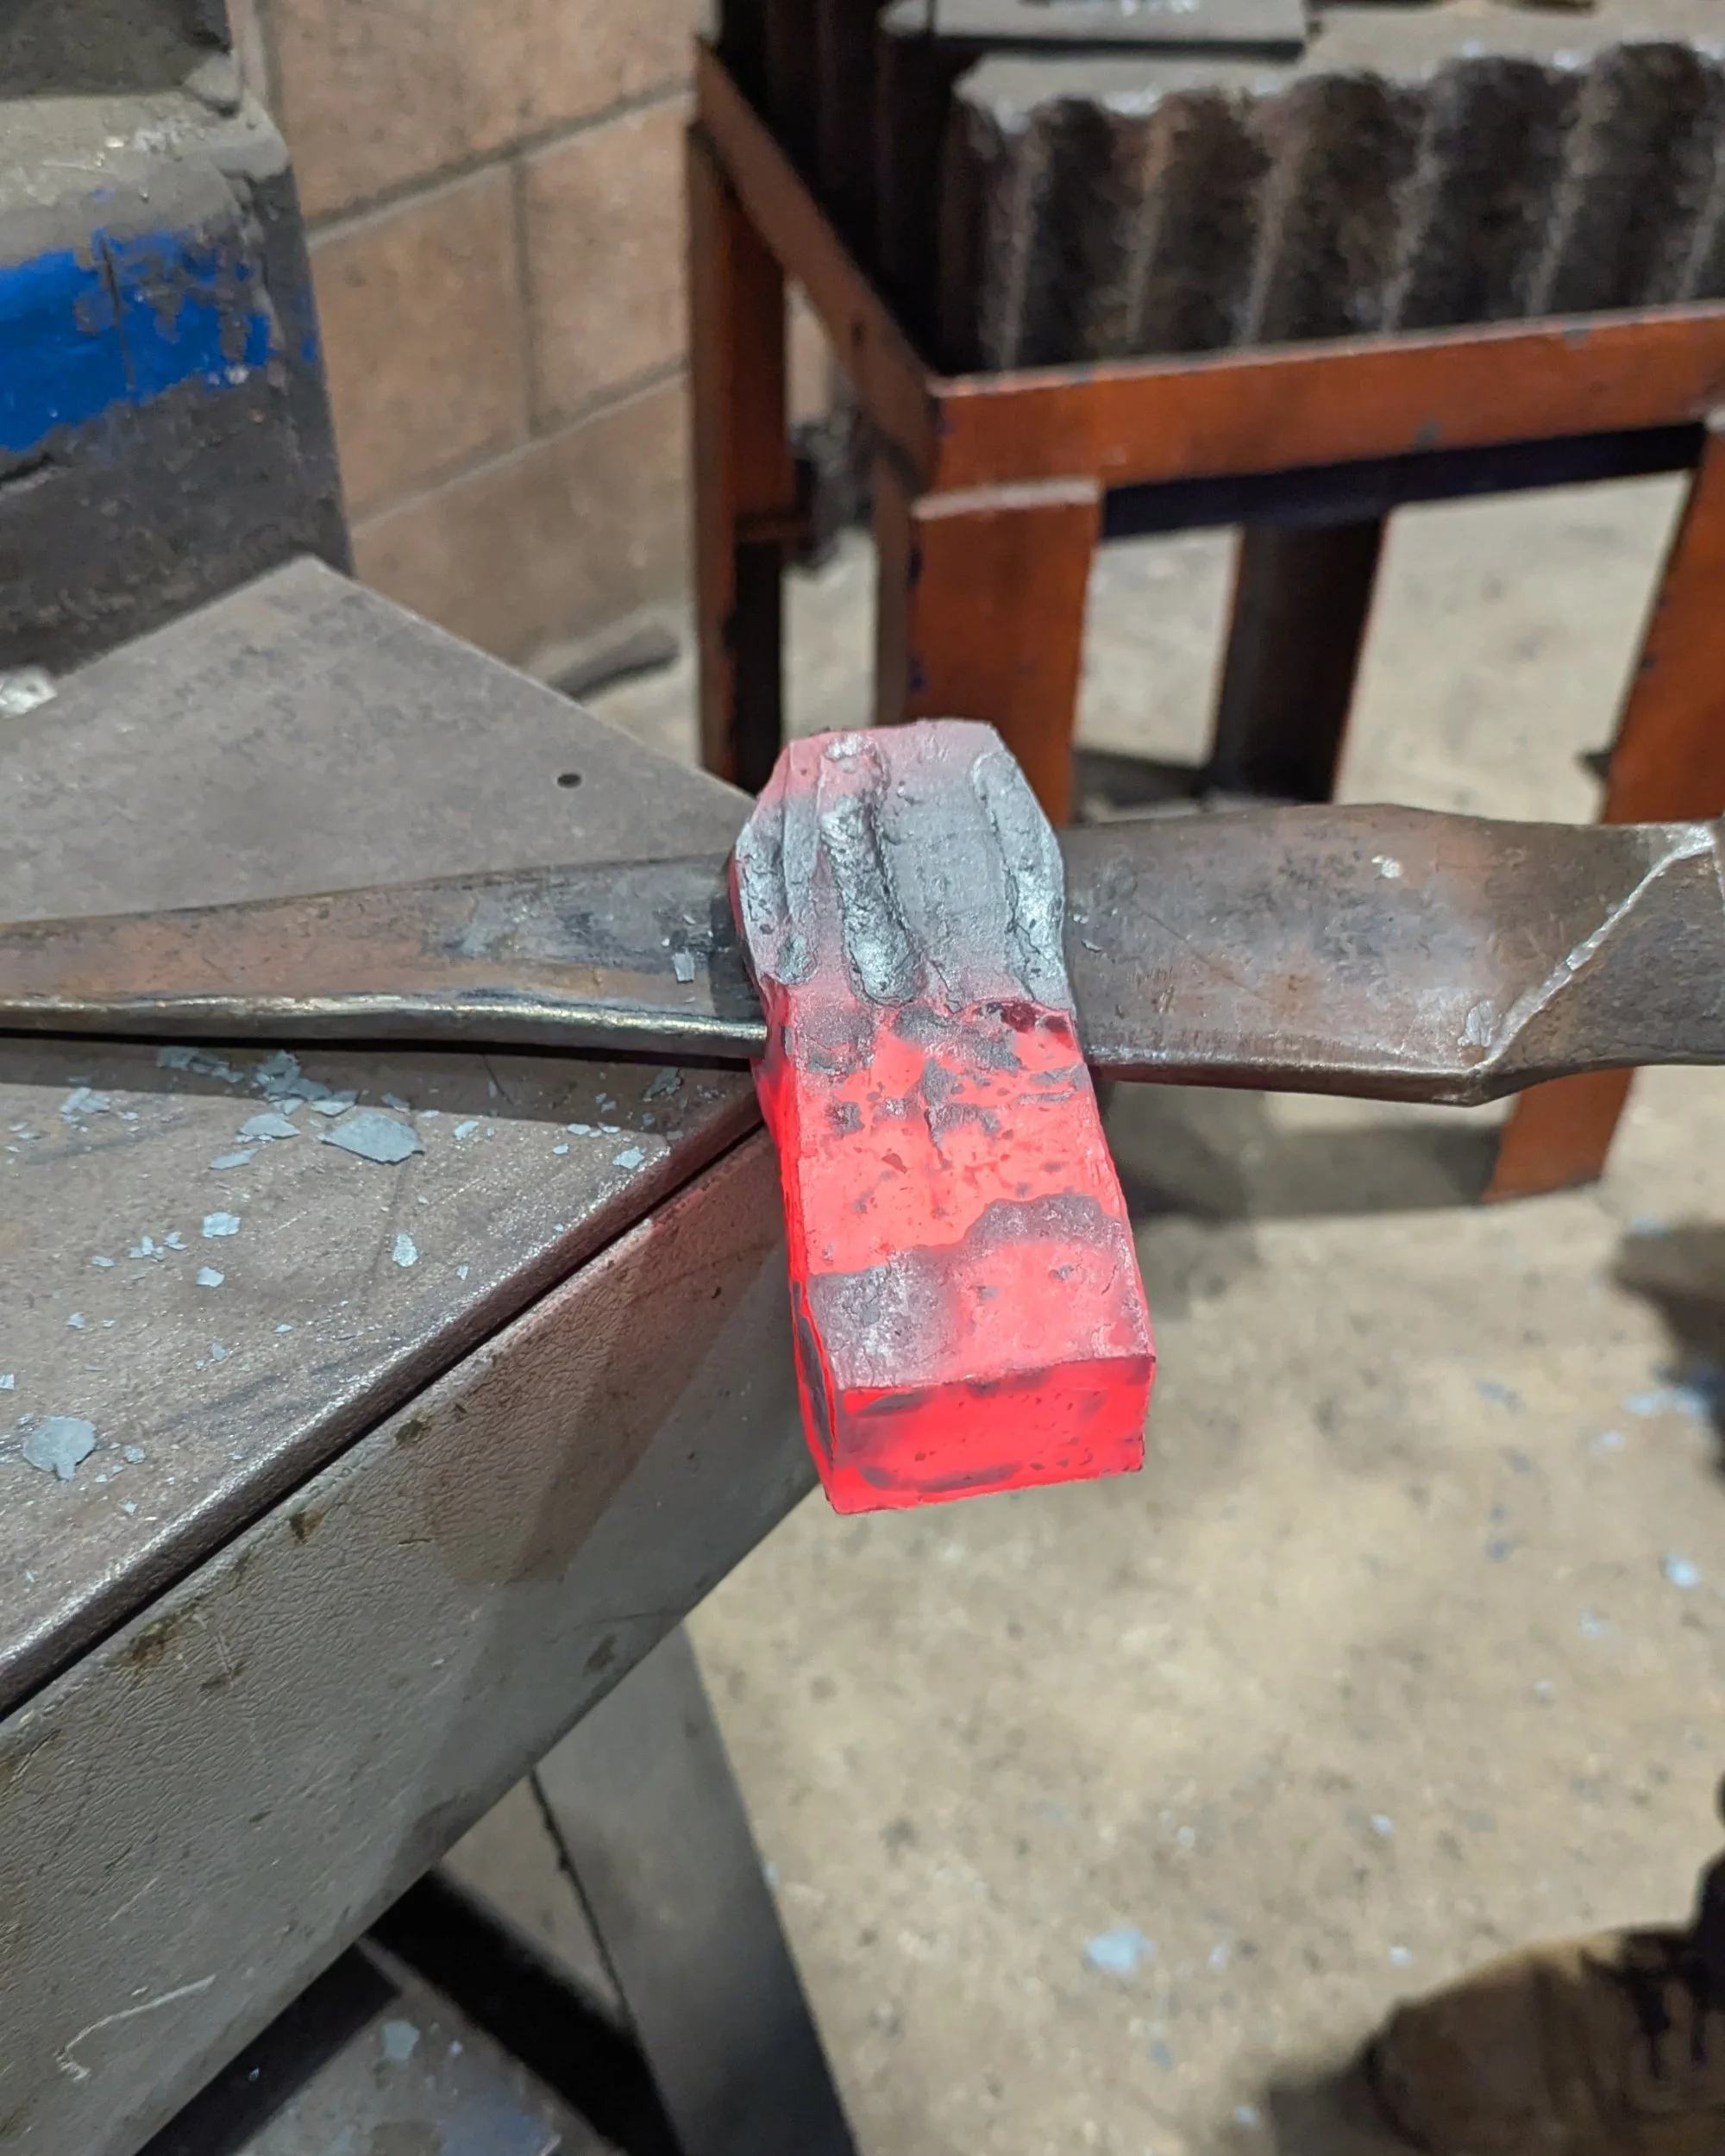
Here I am giving it my all (still didn’t seem hard enough!). We were aiming to get the drift down to the marked white line to make the hole large enough for the handle.
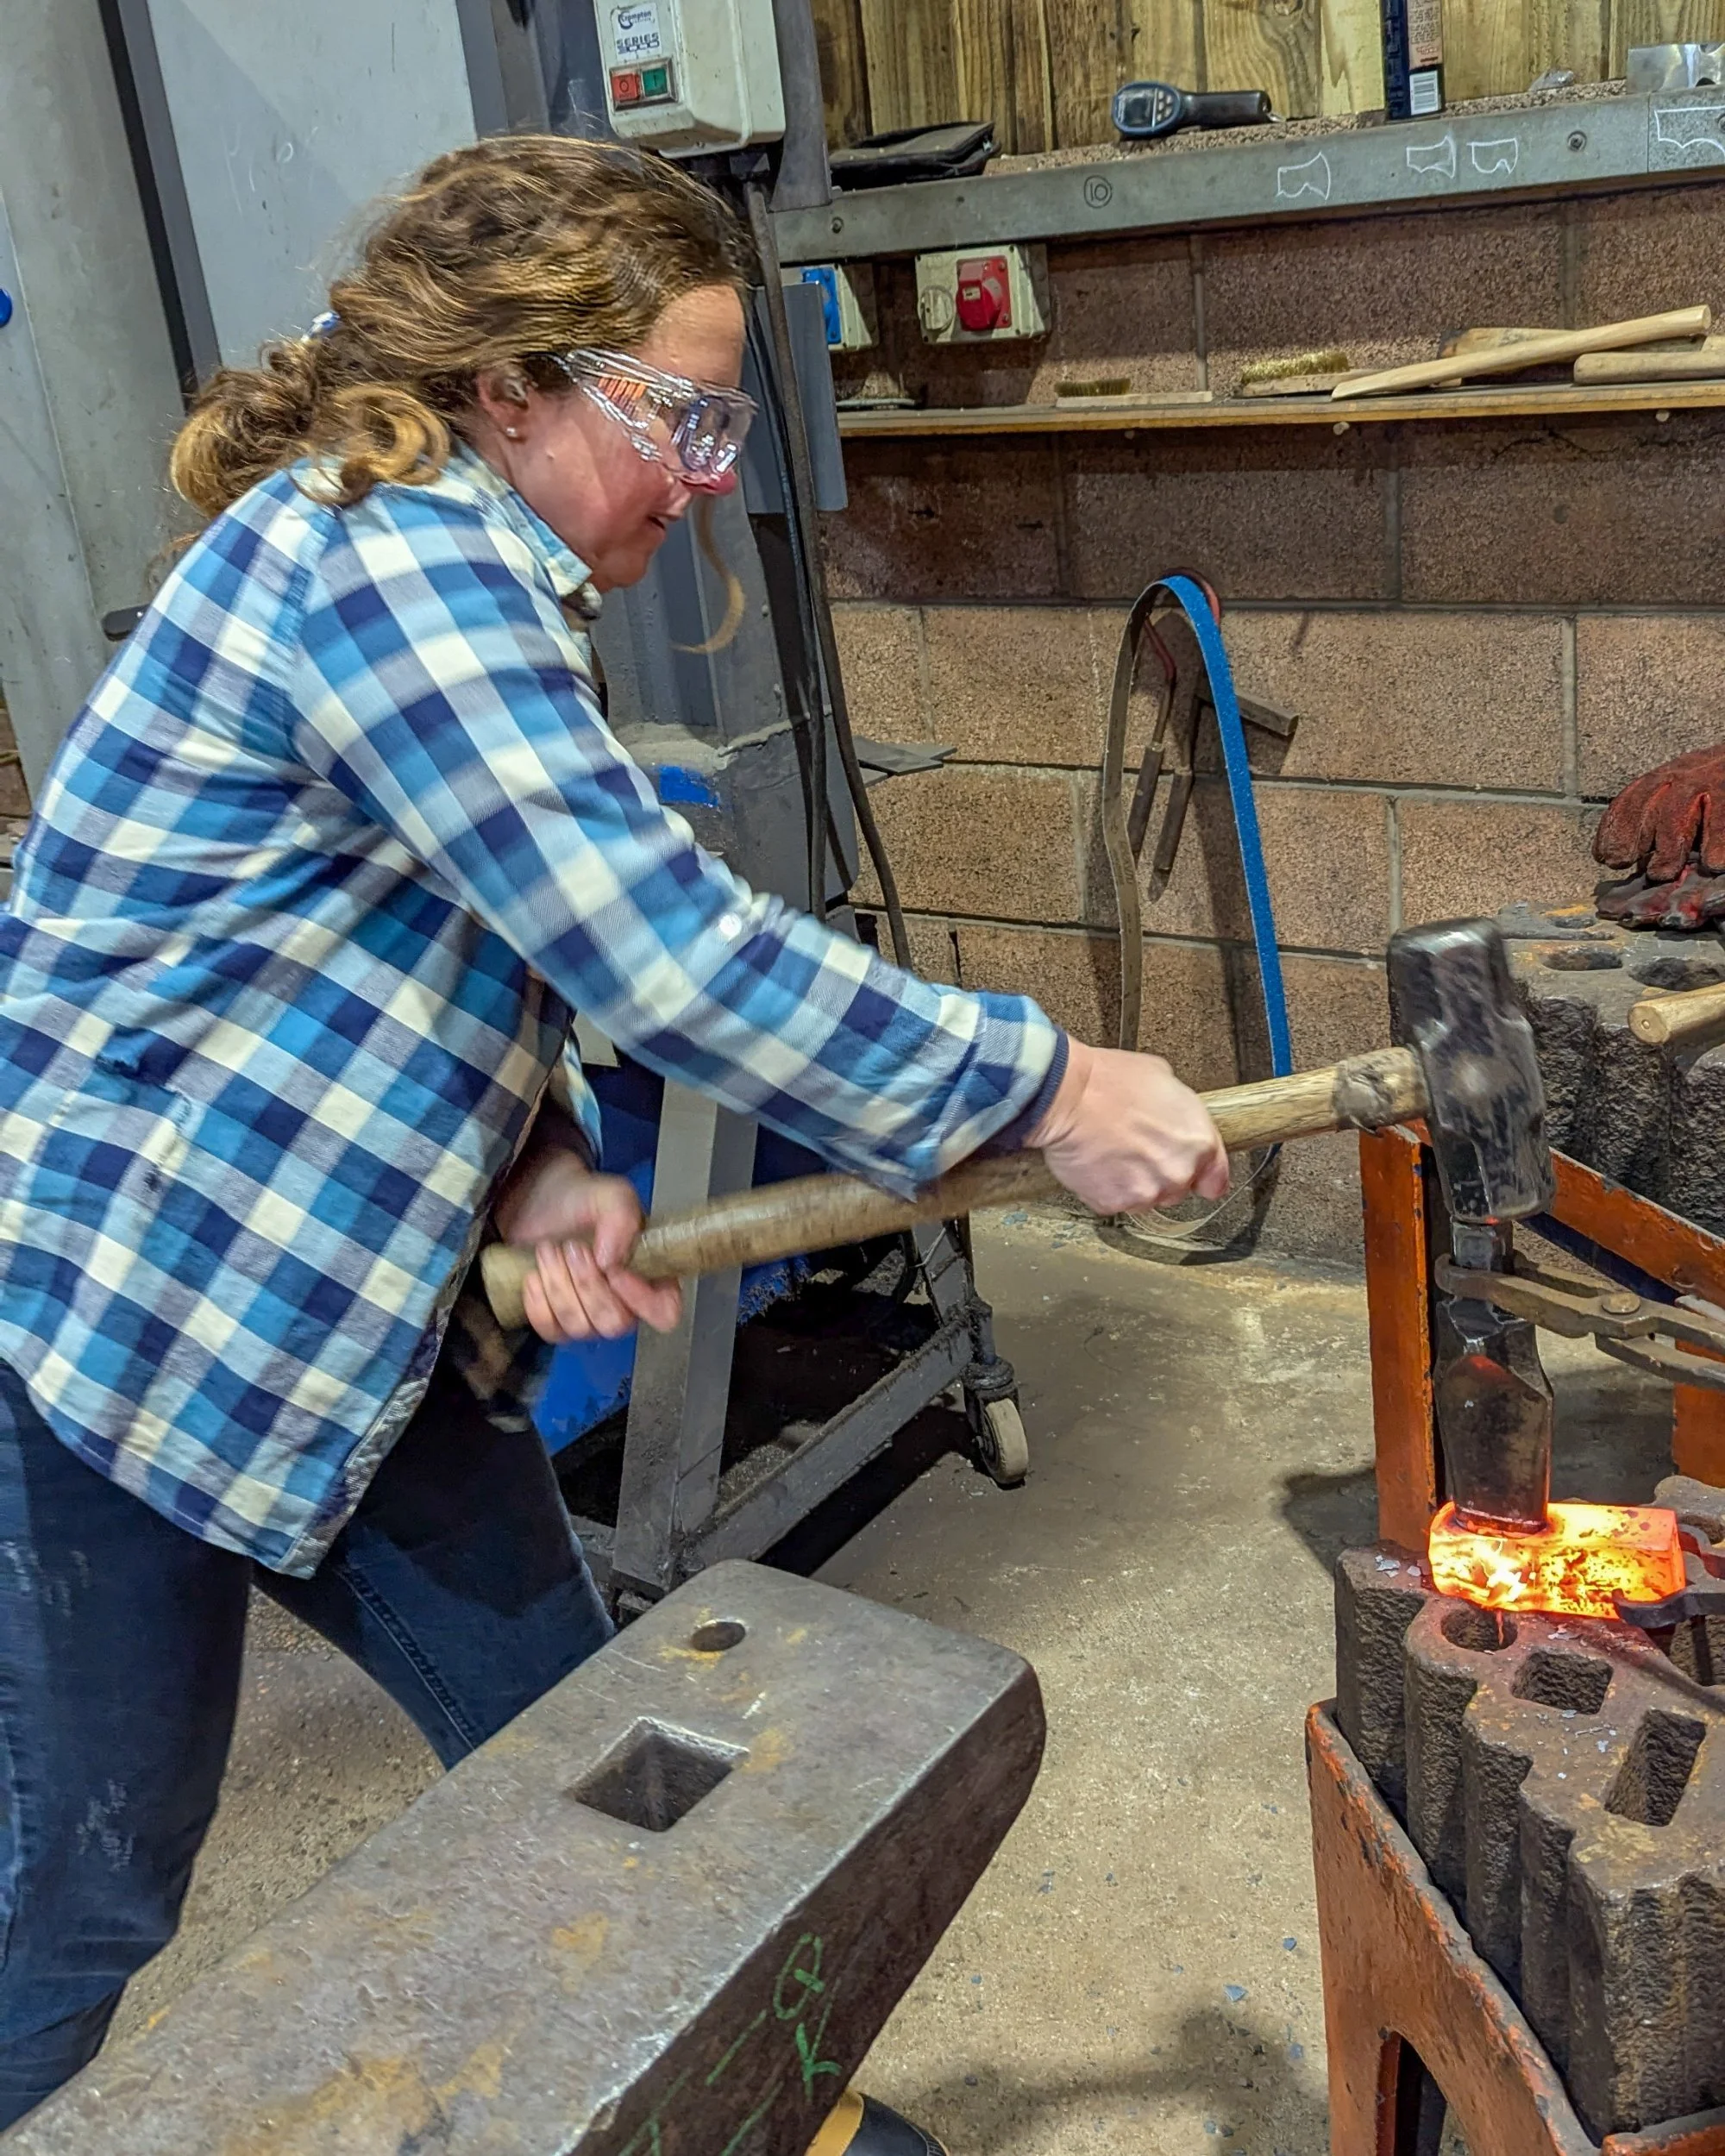
This took quite a few whacks & repeatedly waiting for the block to heat up again in the forge. As our axe head is a larger lump of metal, this took longer than some of the other courses nearby, a thinner piece of metal getting up to temperature quicker.
It was fascinating watching the other courses too, the dagger course next to us seemed popular with couples, each taking turns to hammer the metal in sync. The only thing to be said is the noise level of over 80 people hammering metal, its pretty noisy! I popped out to the car to get my loop earplugs which helped dampen the sound.
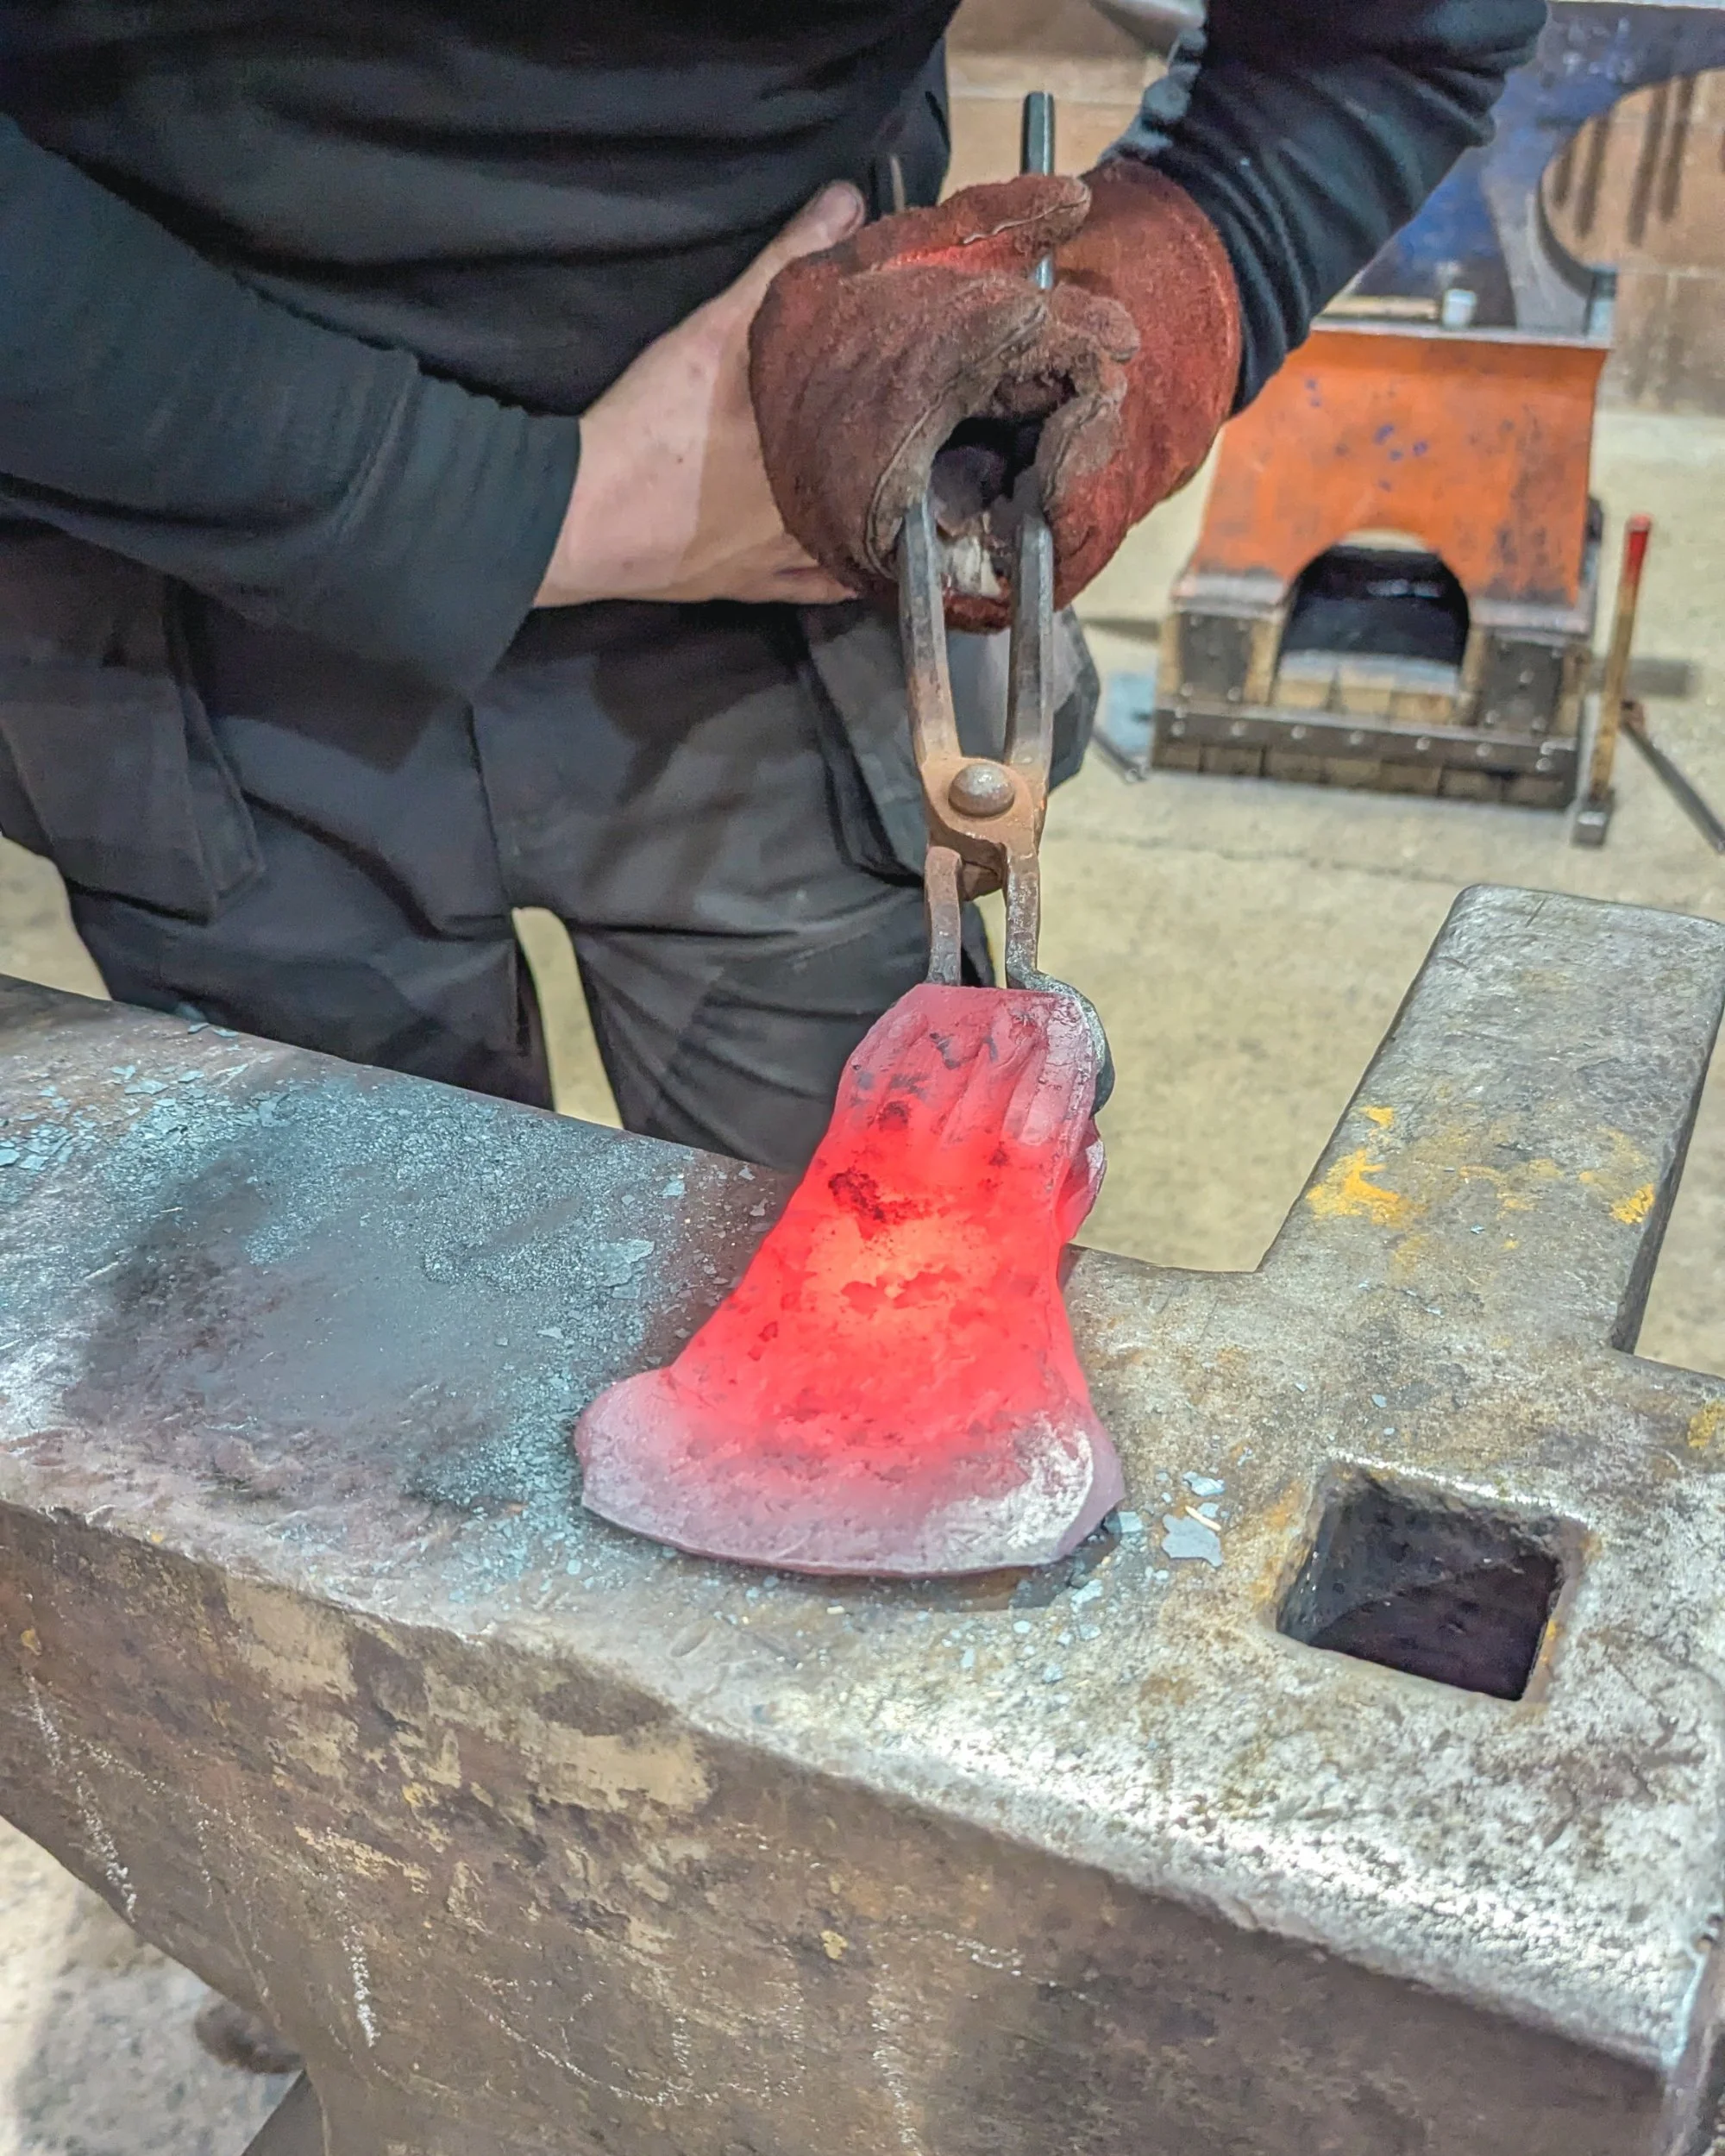
We repeated this process from the other side. Doing the drift from both sides creates a middle pinch which later helps the handle stay in place.
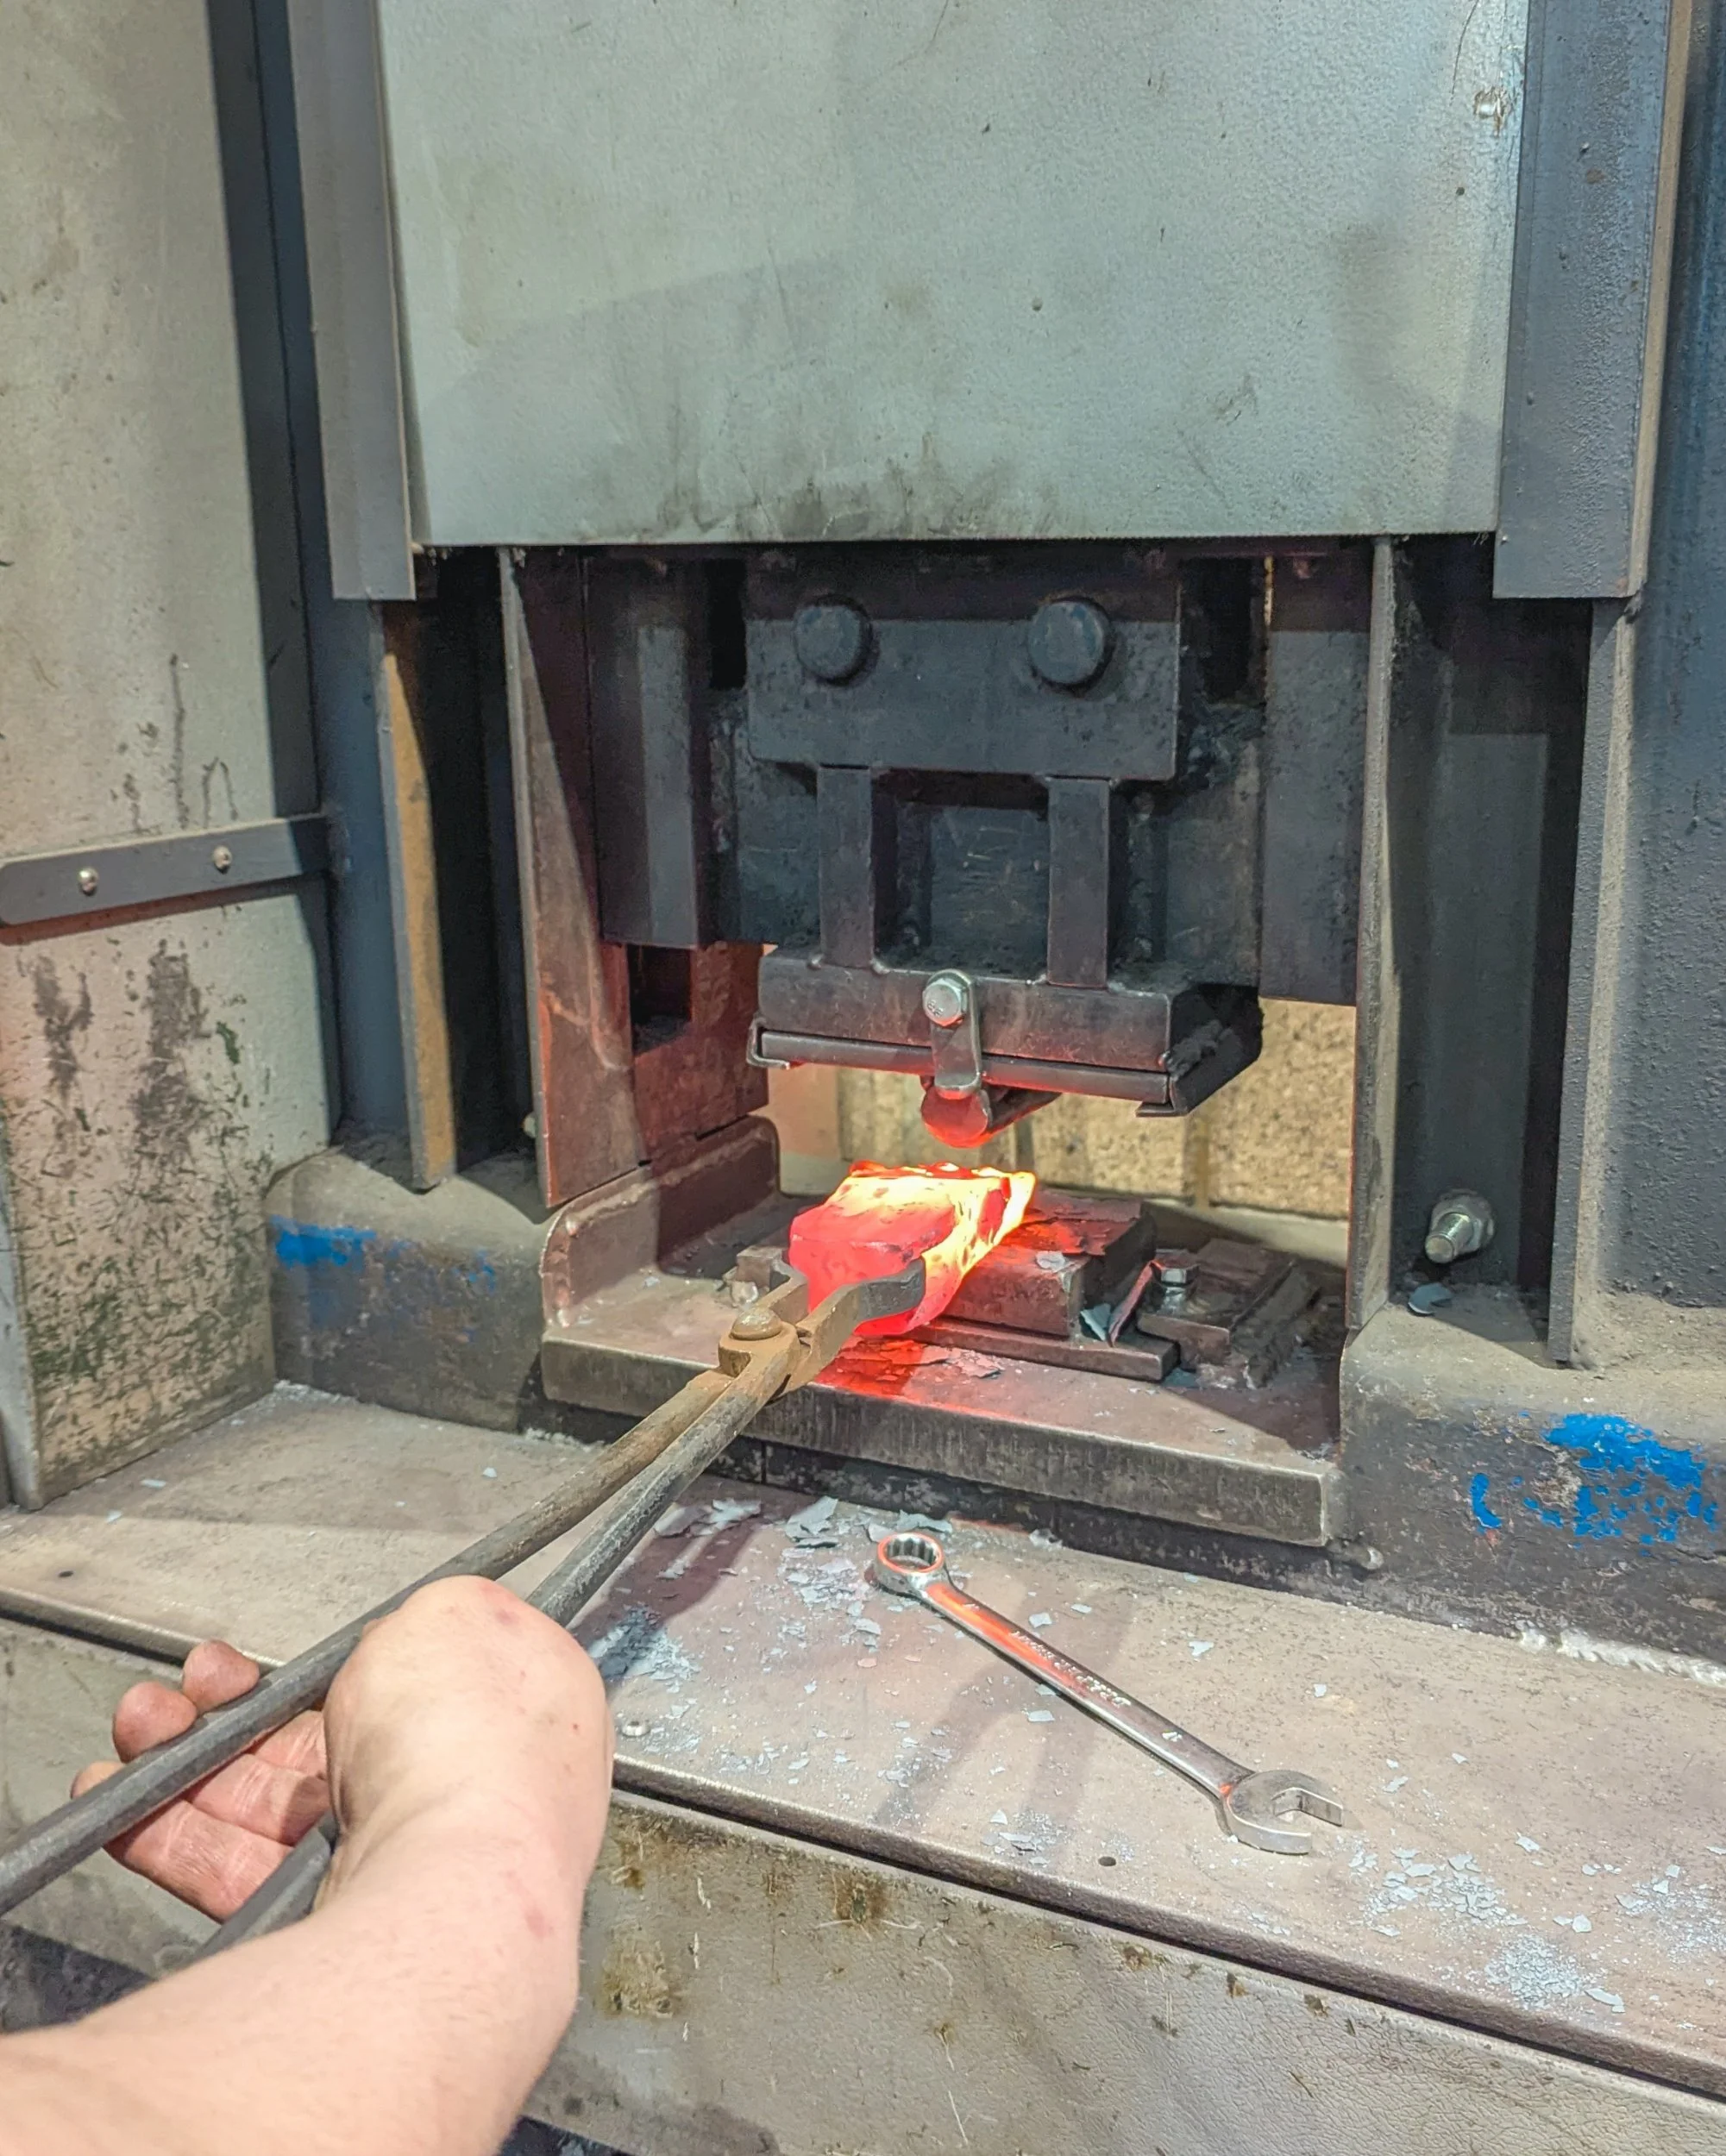
Once the hole was set, we started flattening the top piece out slightly with the drift still in the piece, keeping the hole for the handle.
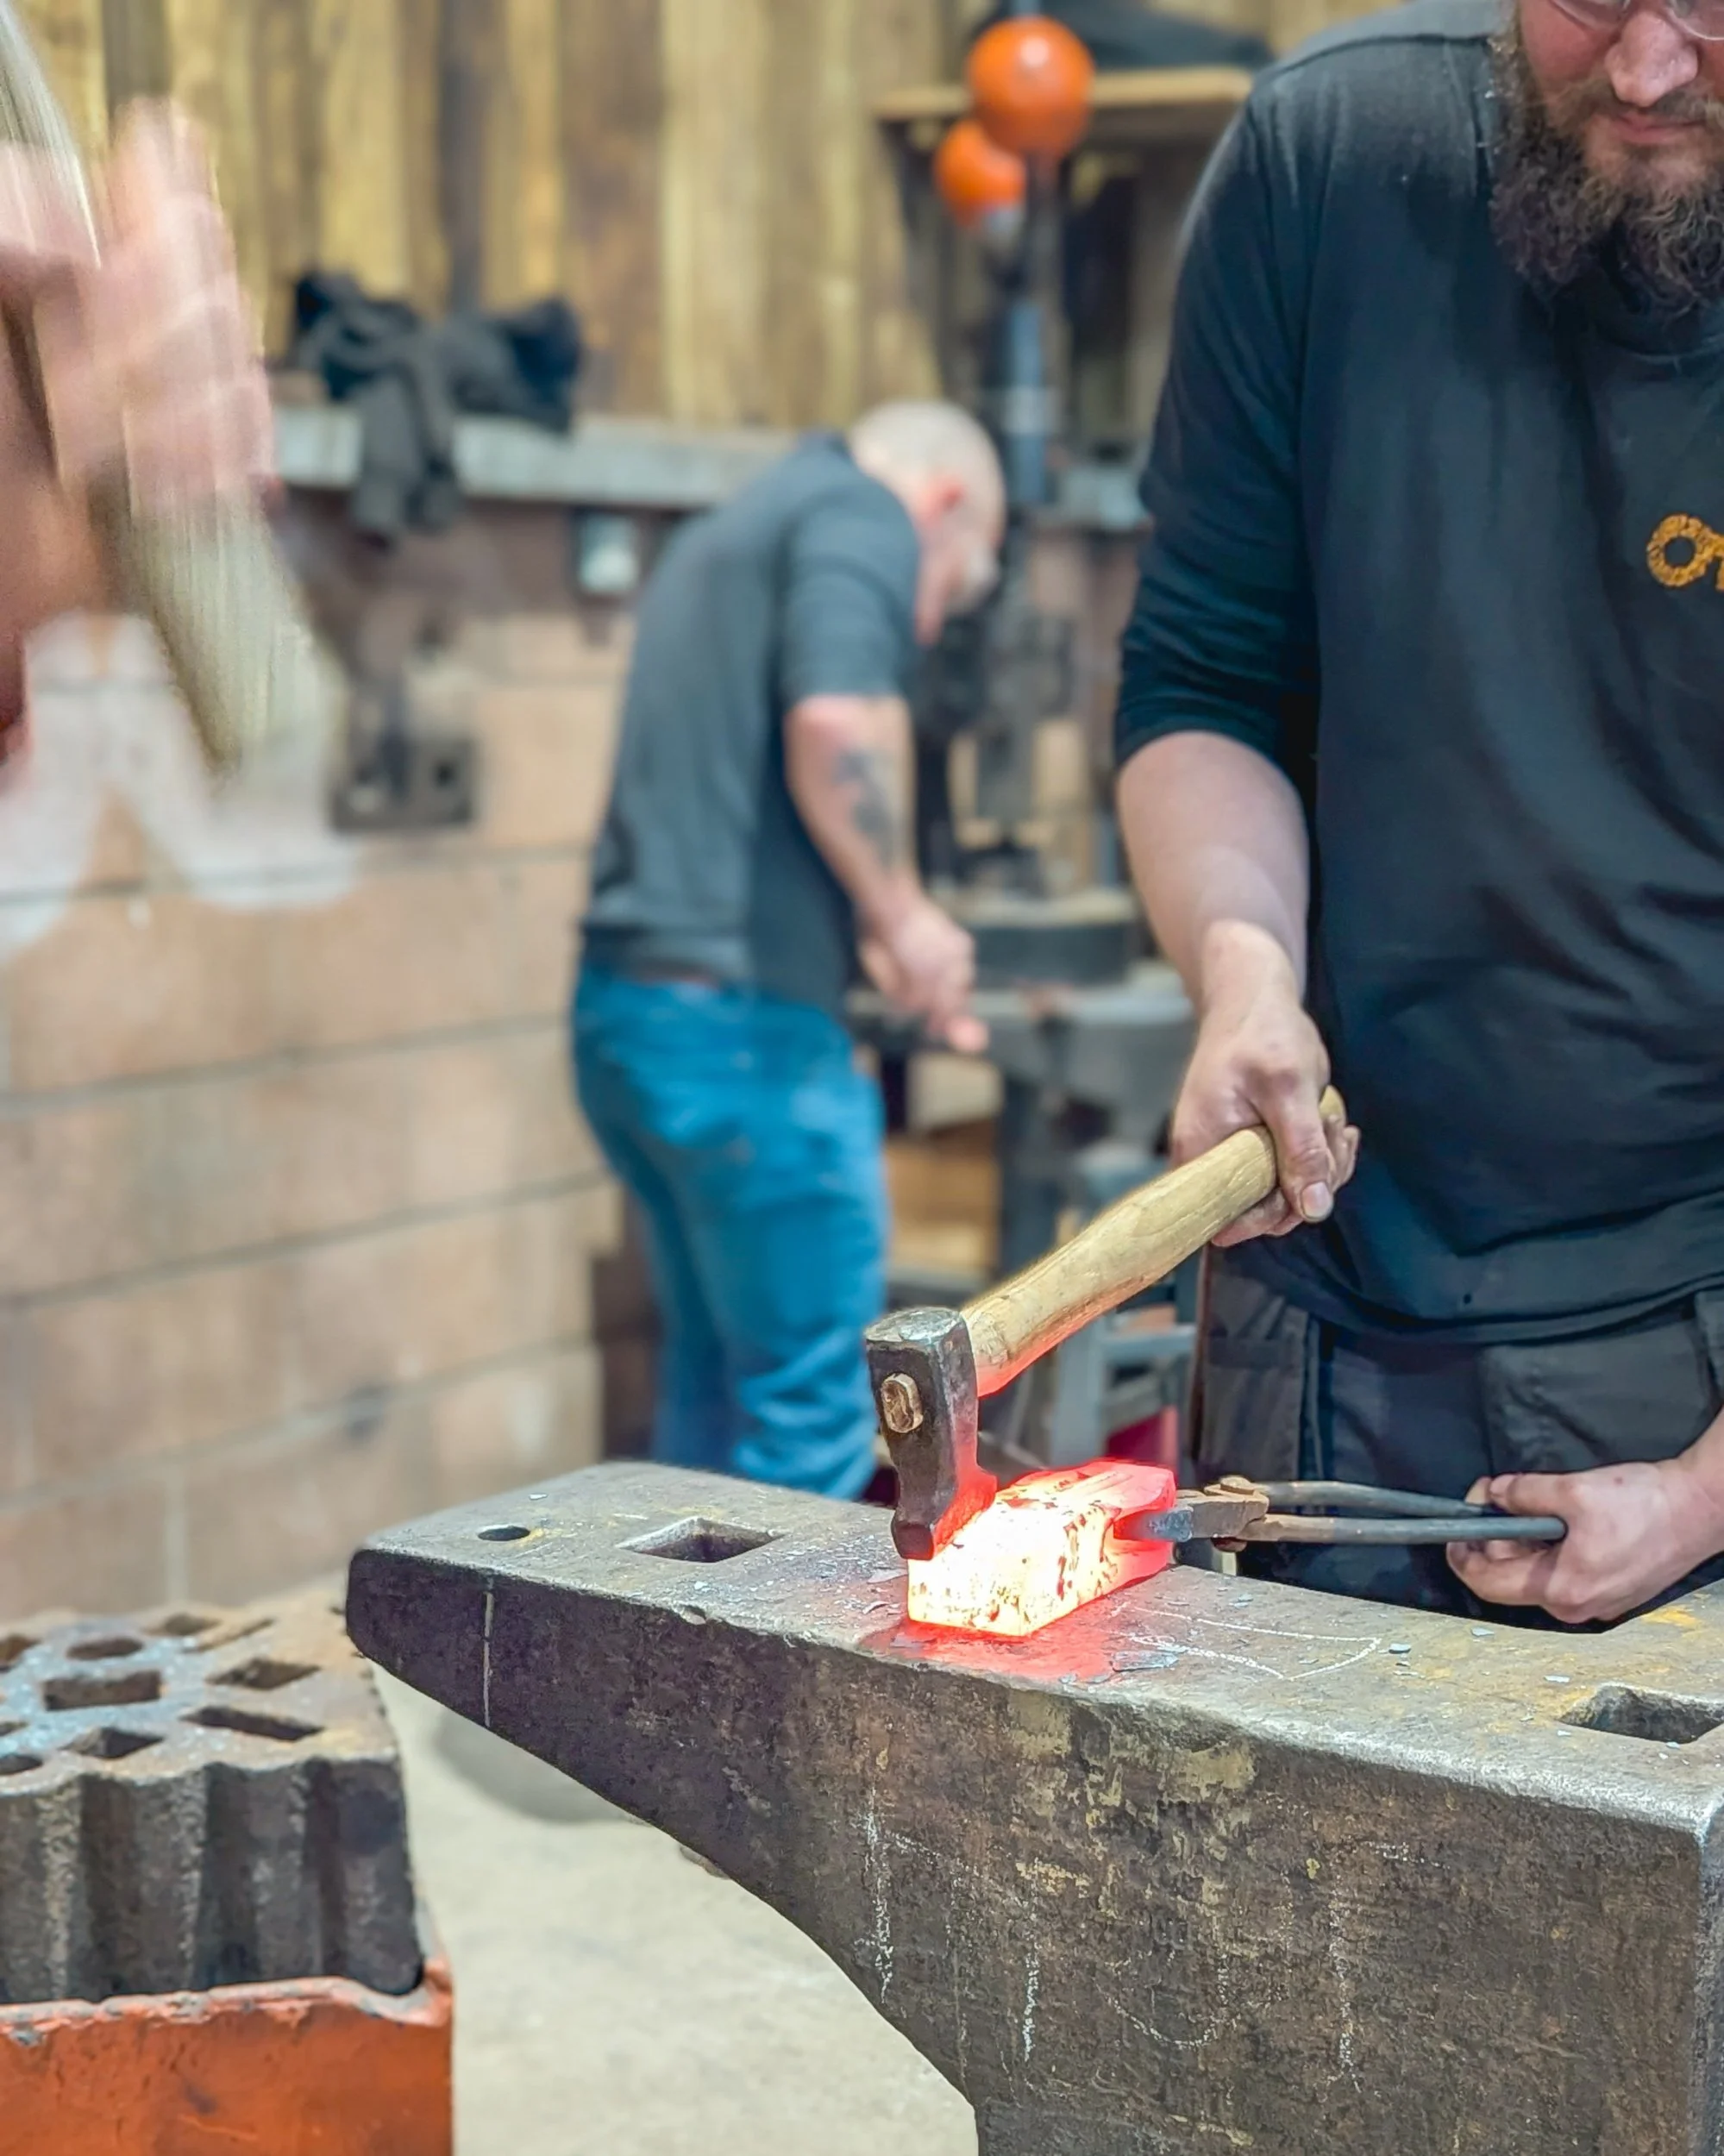
We initially did this traditionally with a sledgehammer, but quickly moved onto using the press (8 tonnes of force, more than we could whack it with!).
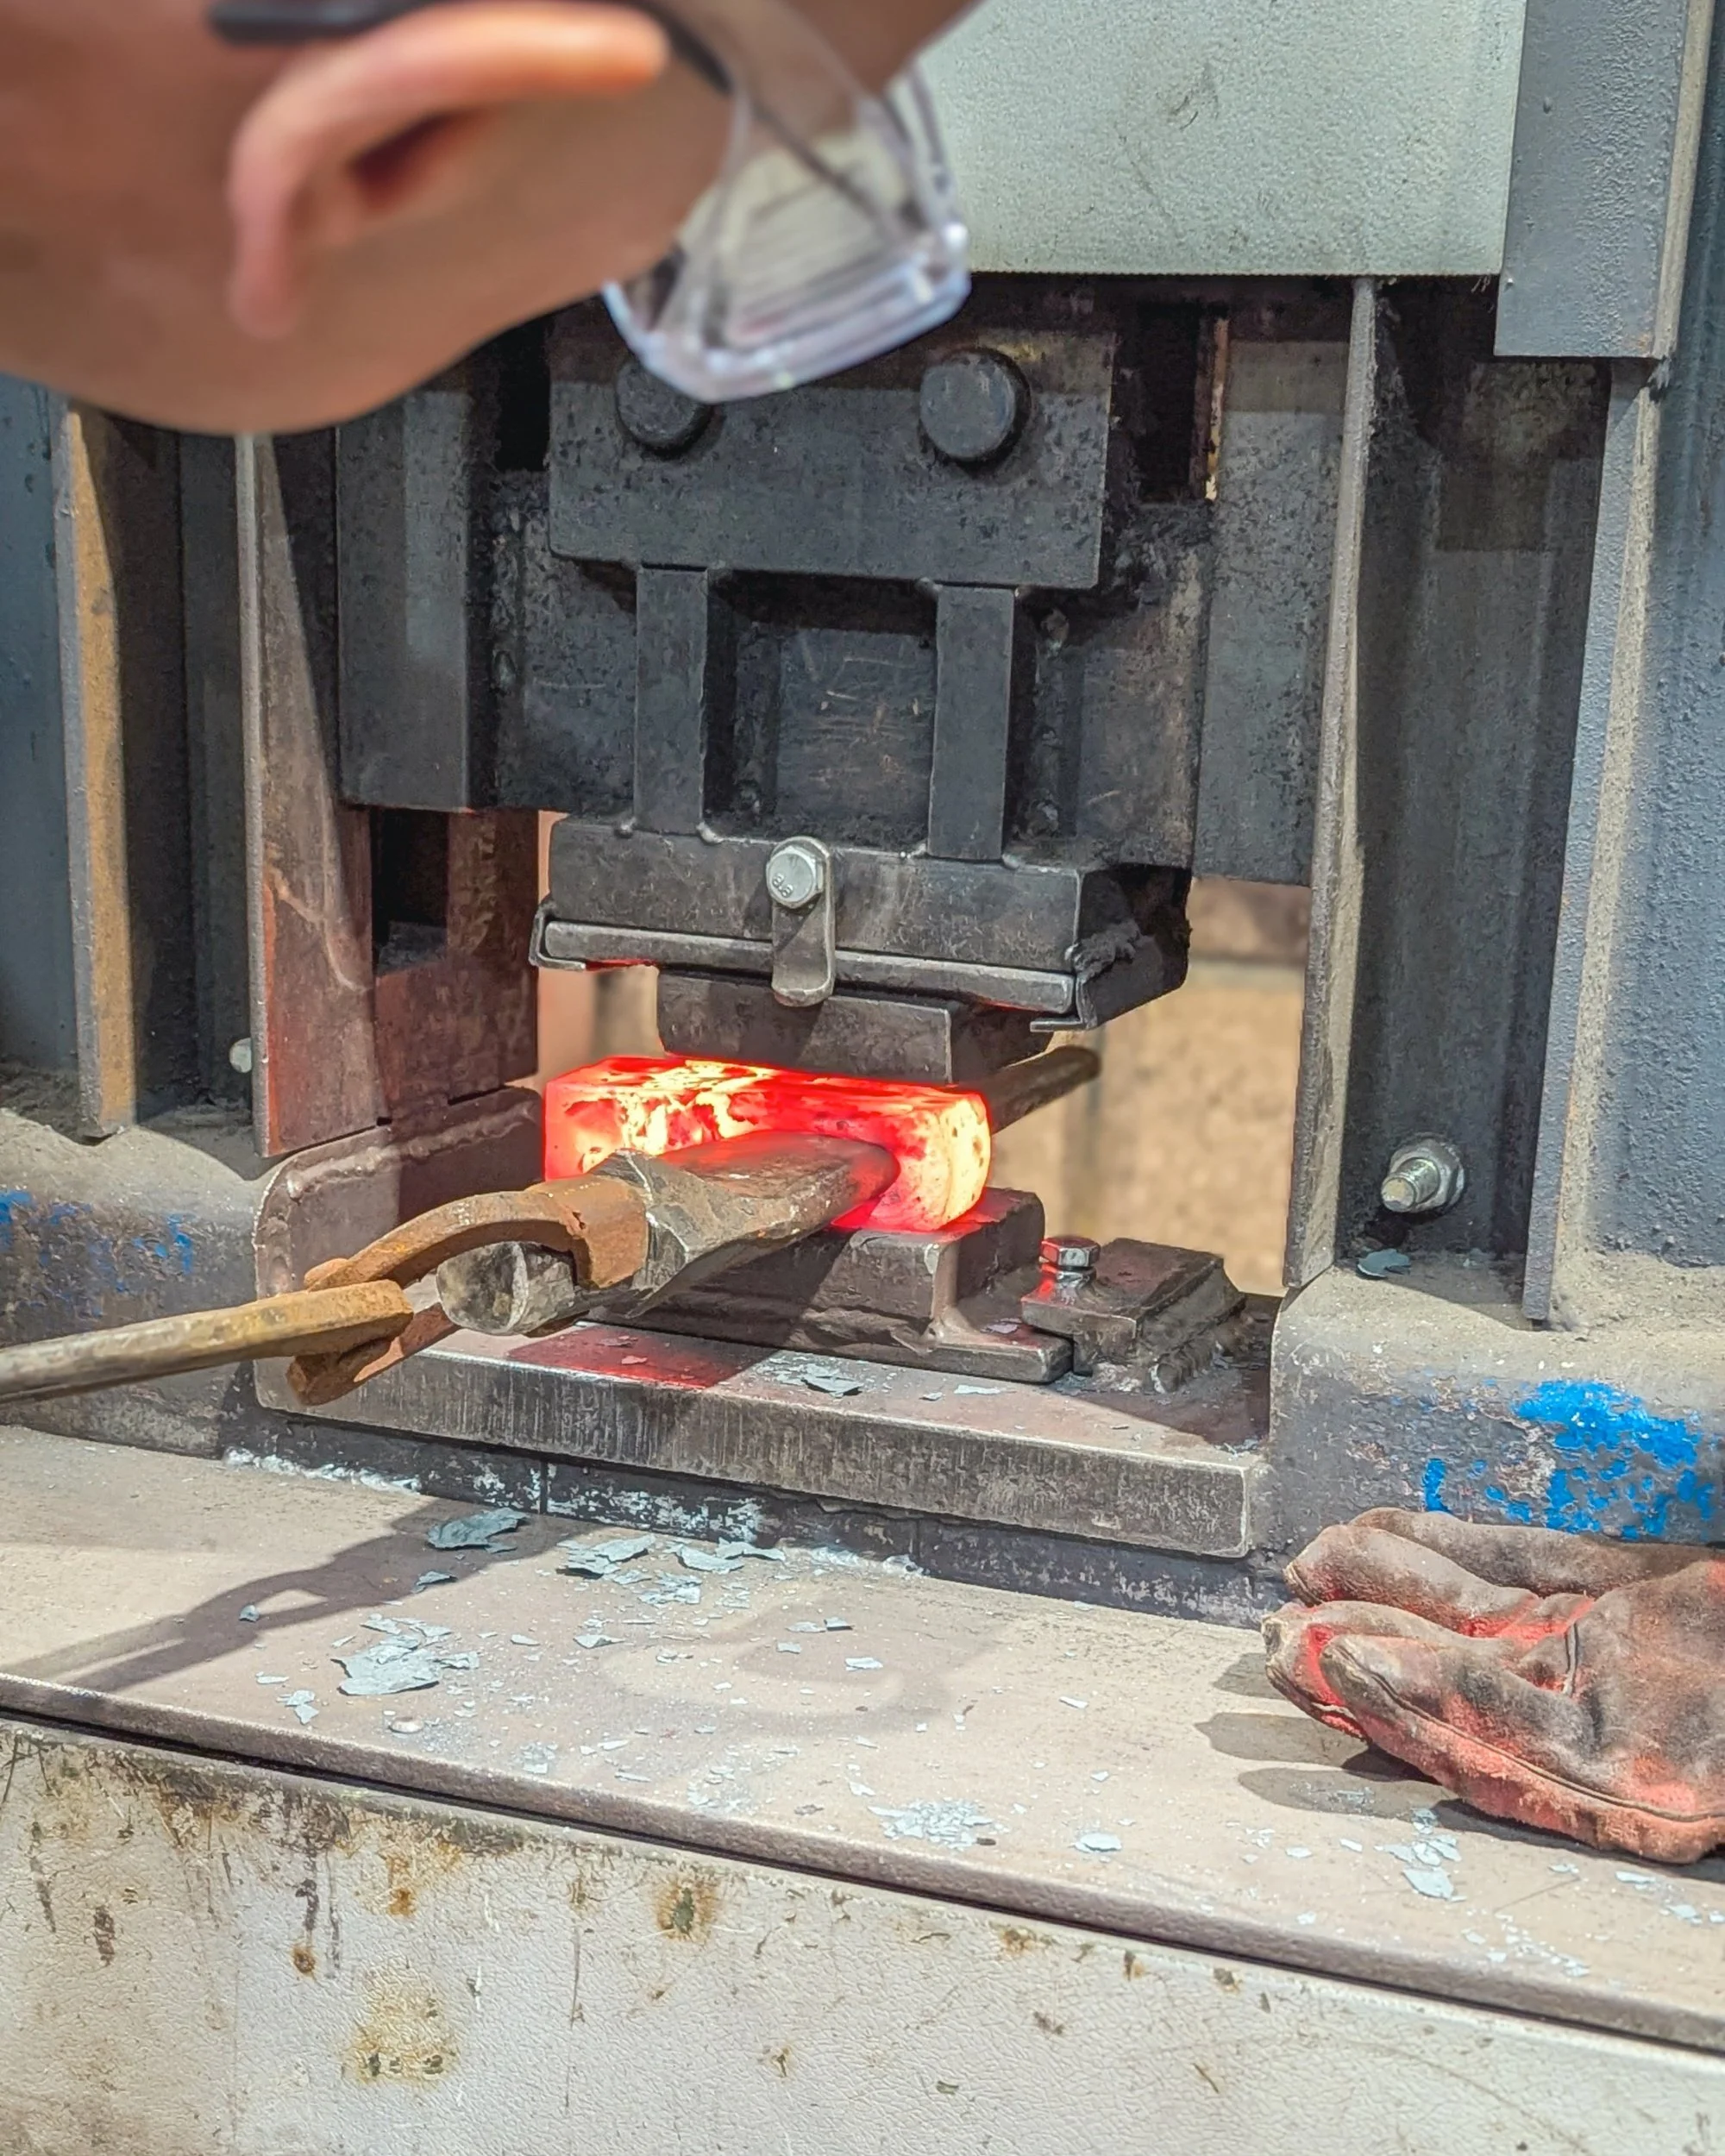
A repeated process of getting about 30 seconds to a minute of shaping, then waiting another 5 minutes for it to heat up again in the forge. It cools down so quickly, losing it's orange glow. You can't work with in this state as it could break!
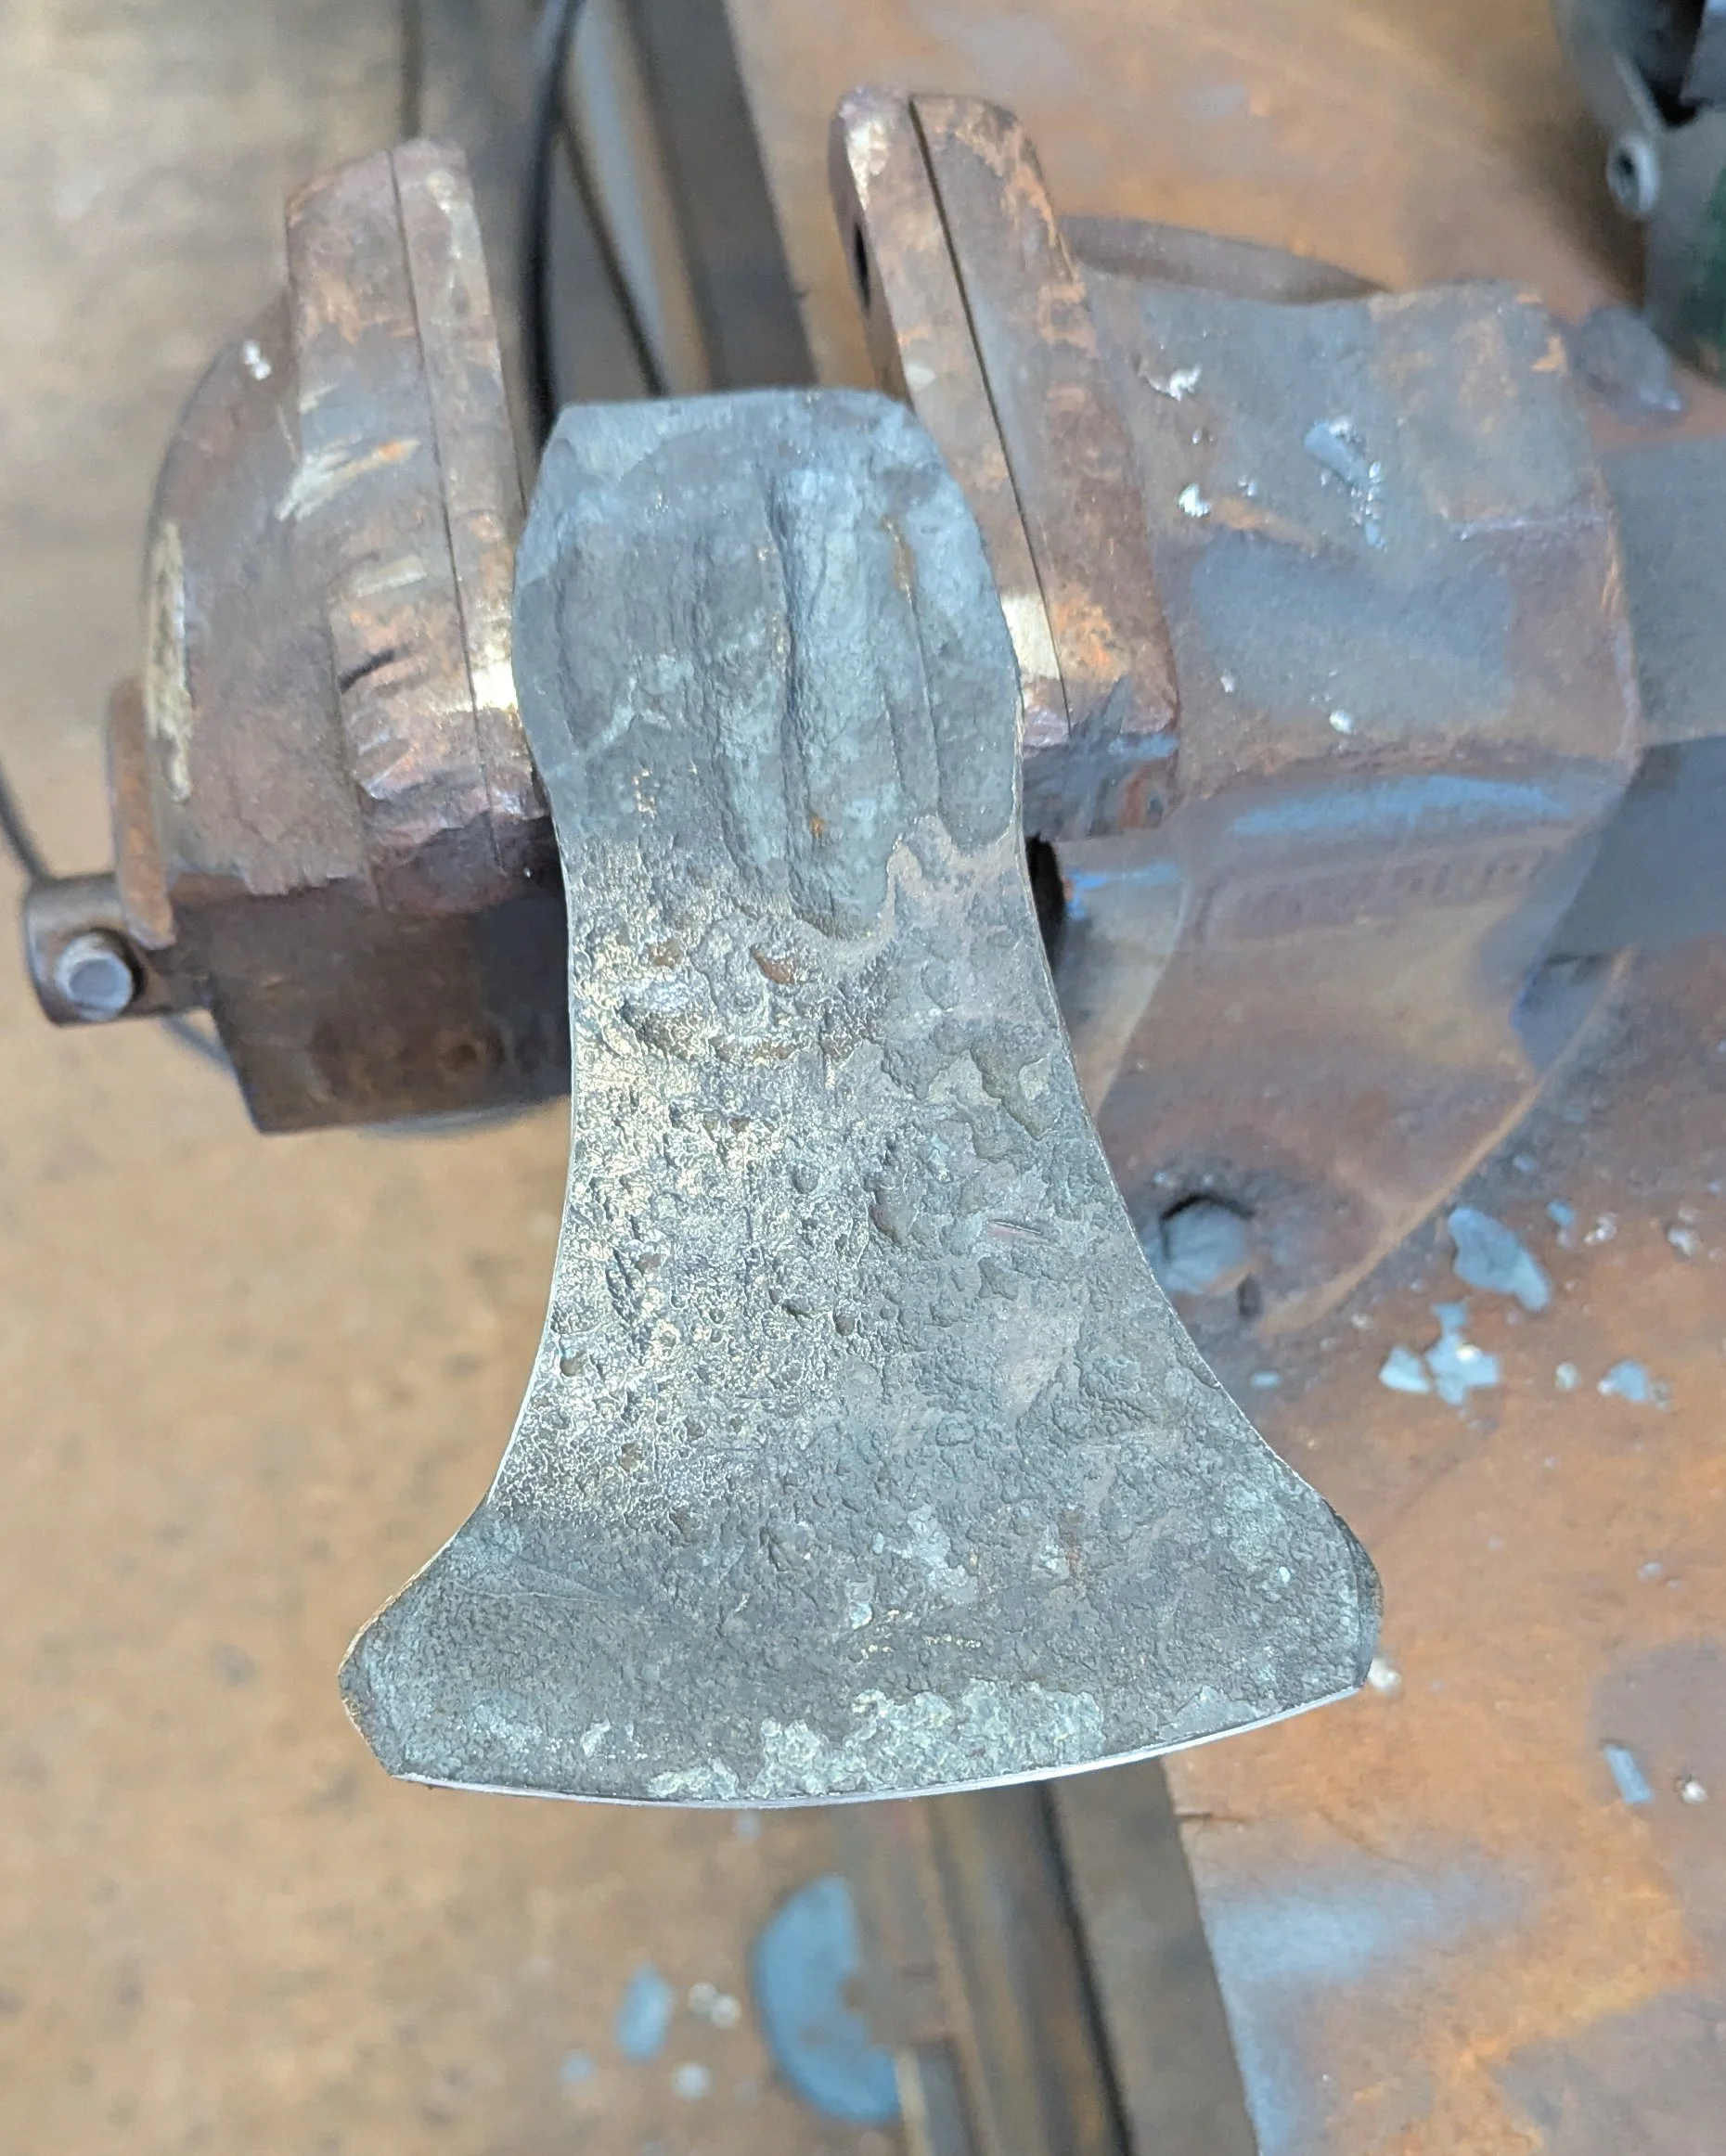
We then started flattening and shaping out the front of the axe. Taking it from a solid lump to a thin axe head takes a lot of effort!
Initially using the traditional technique of hammer and brute force, we also used the press to help flatten it out quicker.
We had a quick break to grab a coffee and delicious lemon and raspberry cake, looking around the shop whilst we waited. We also booked our lunch on the recommendation of our instructor, Matt. I loved the light fittings in the shop, so clever!
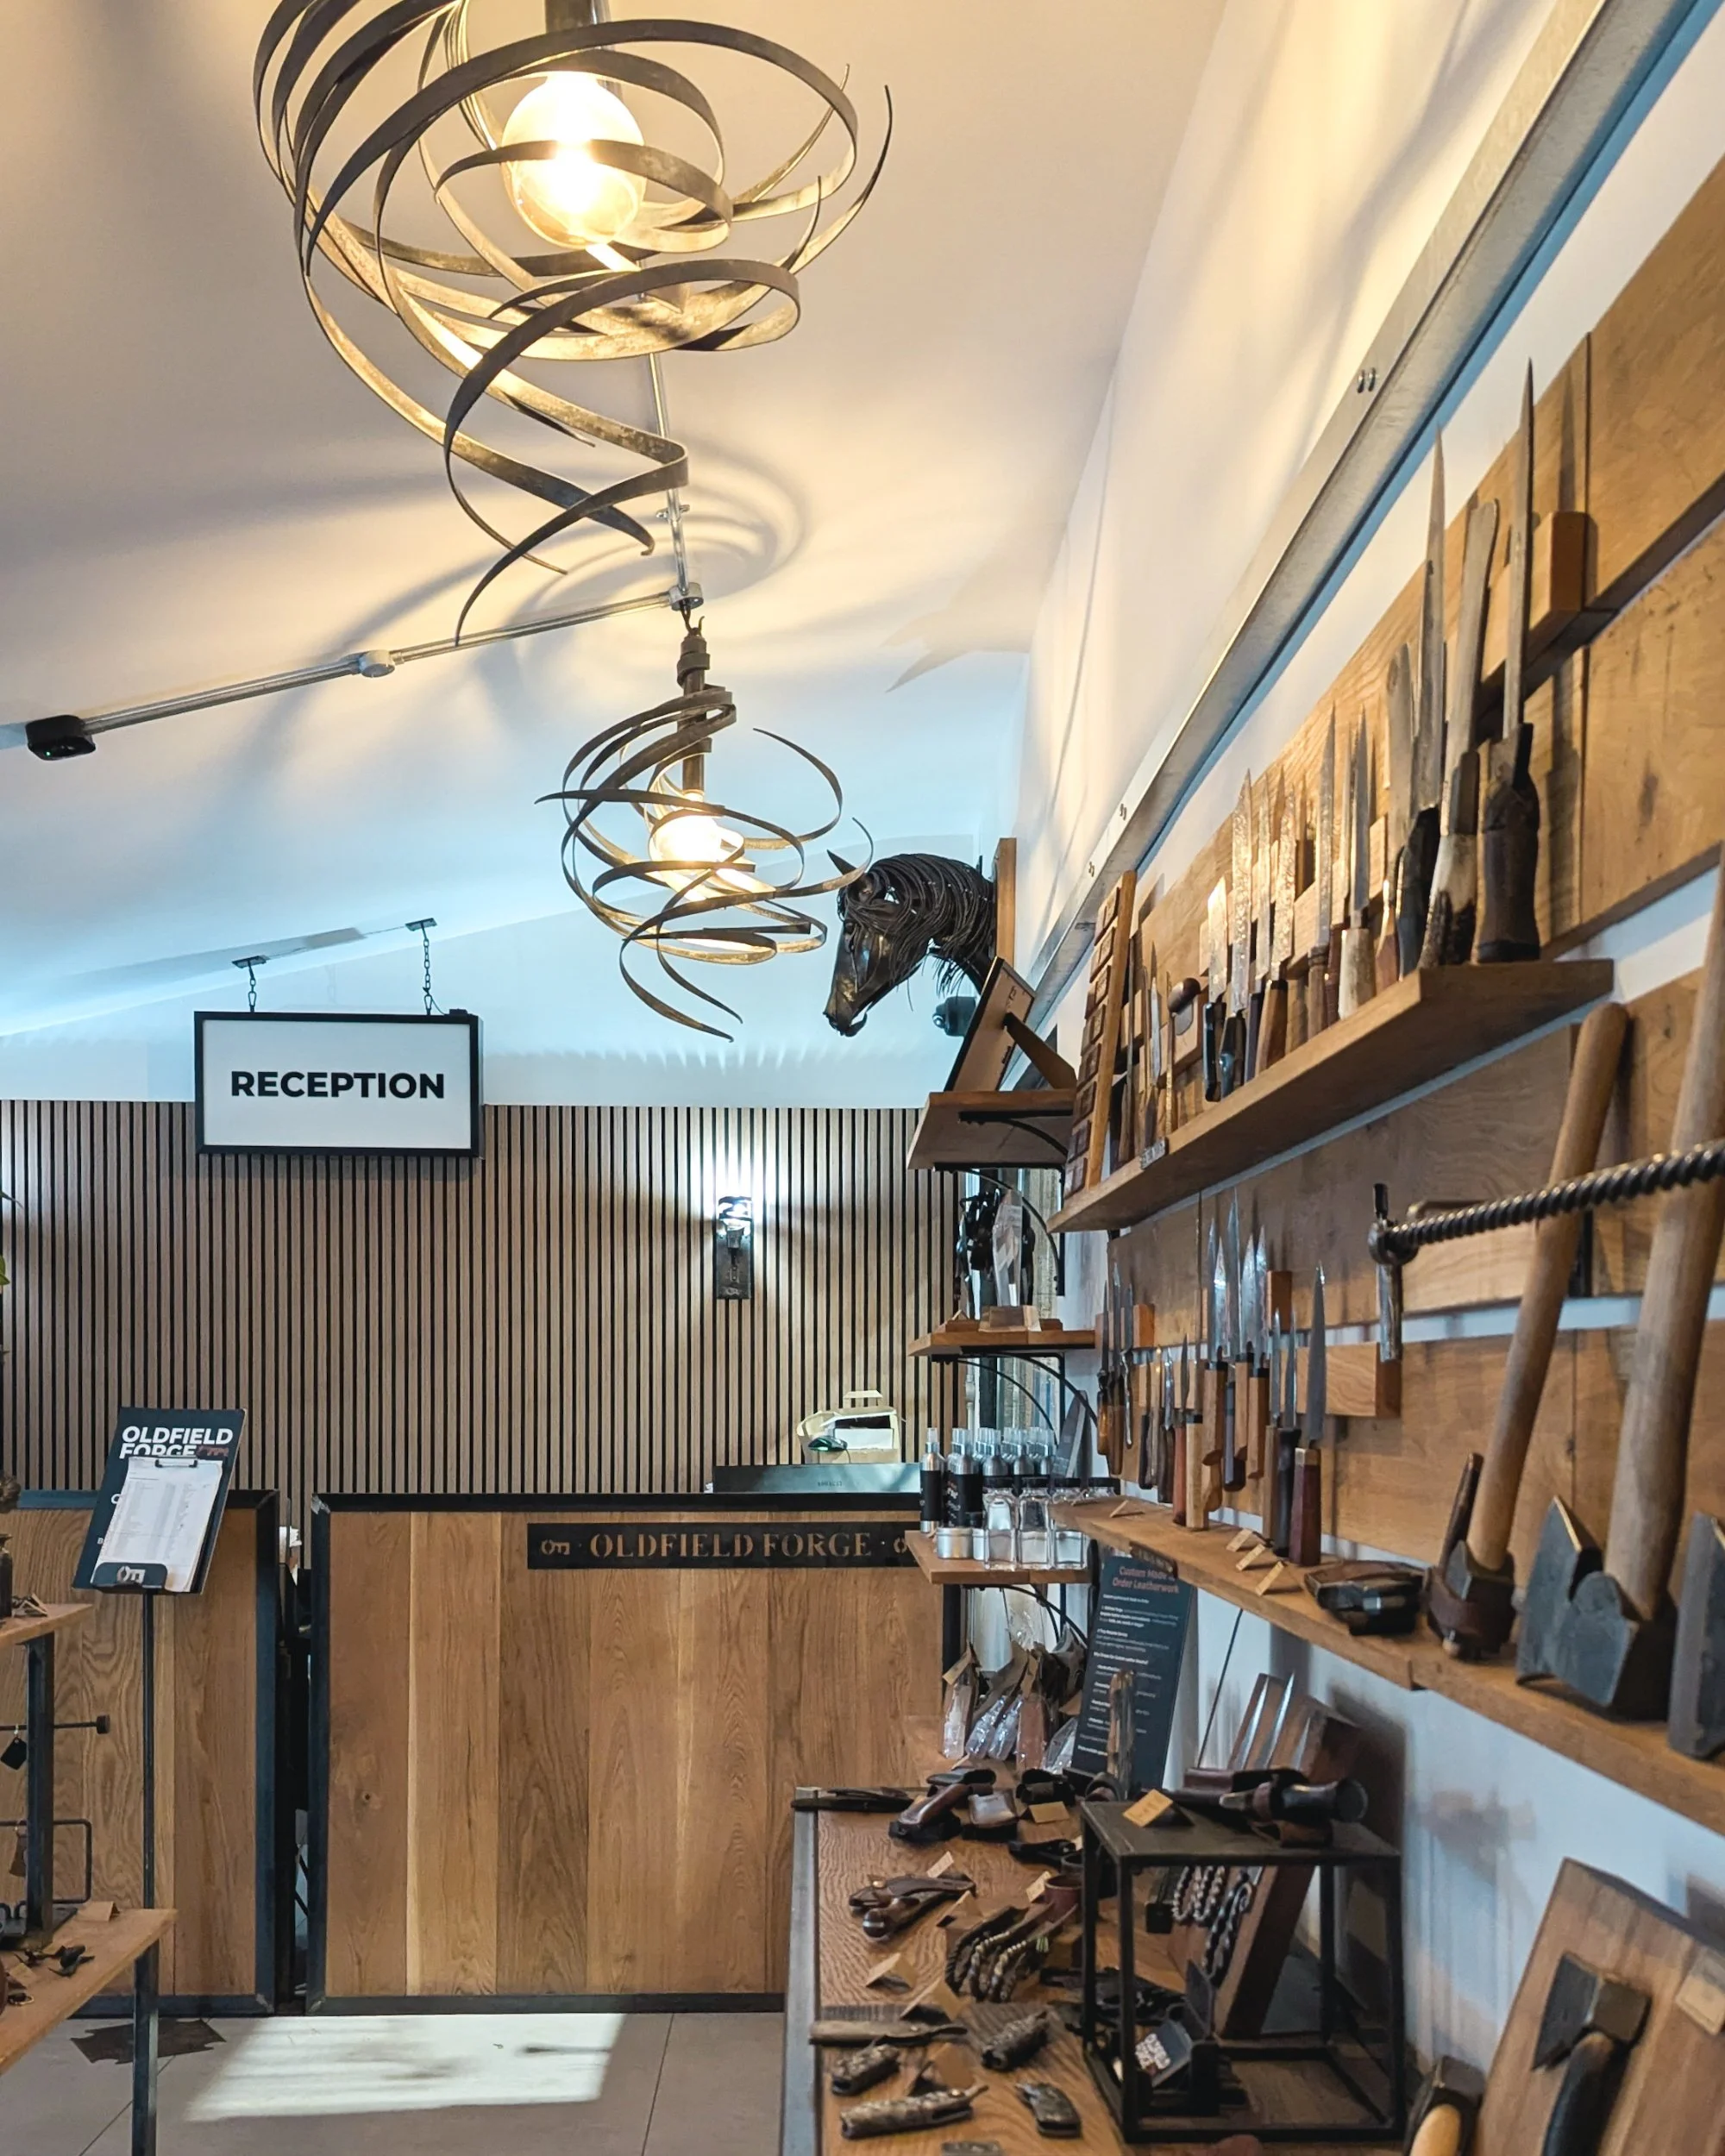
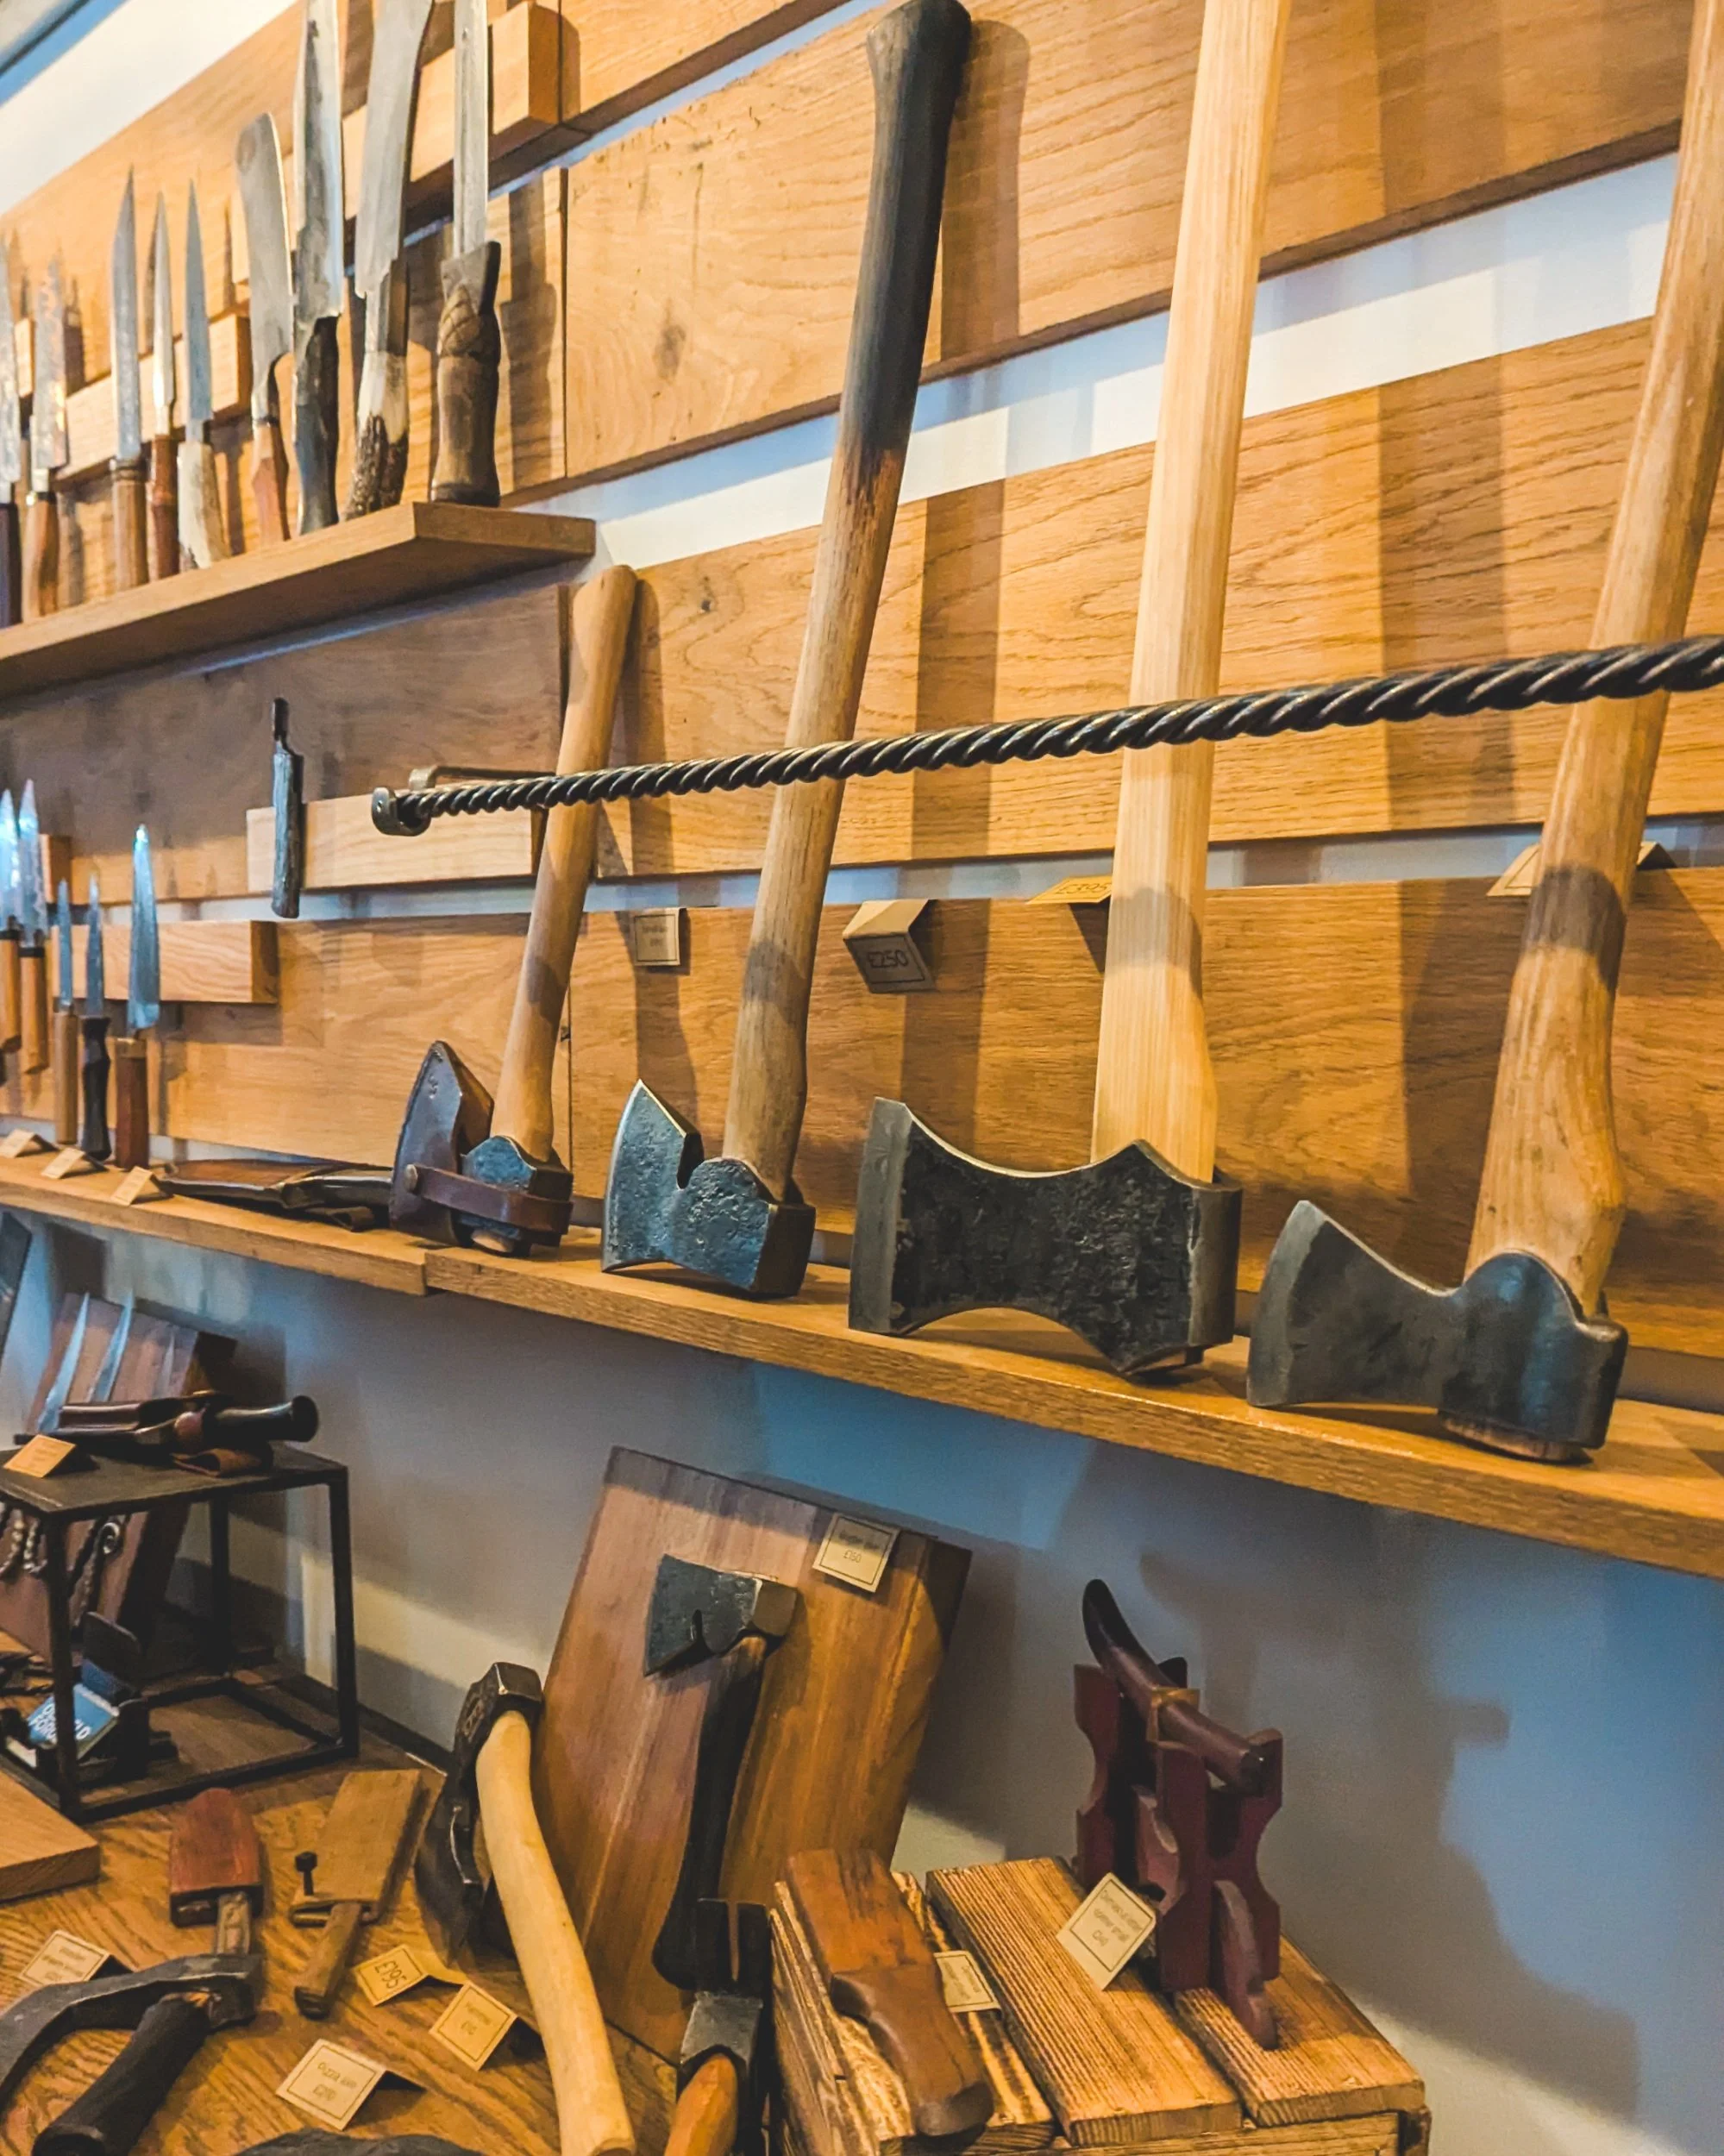
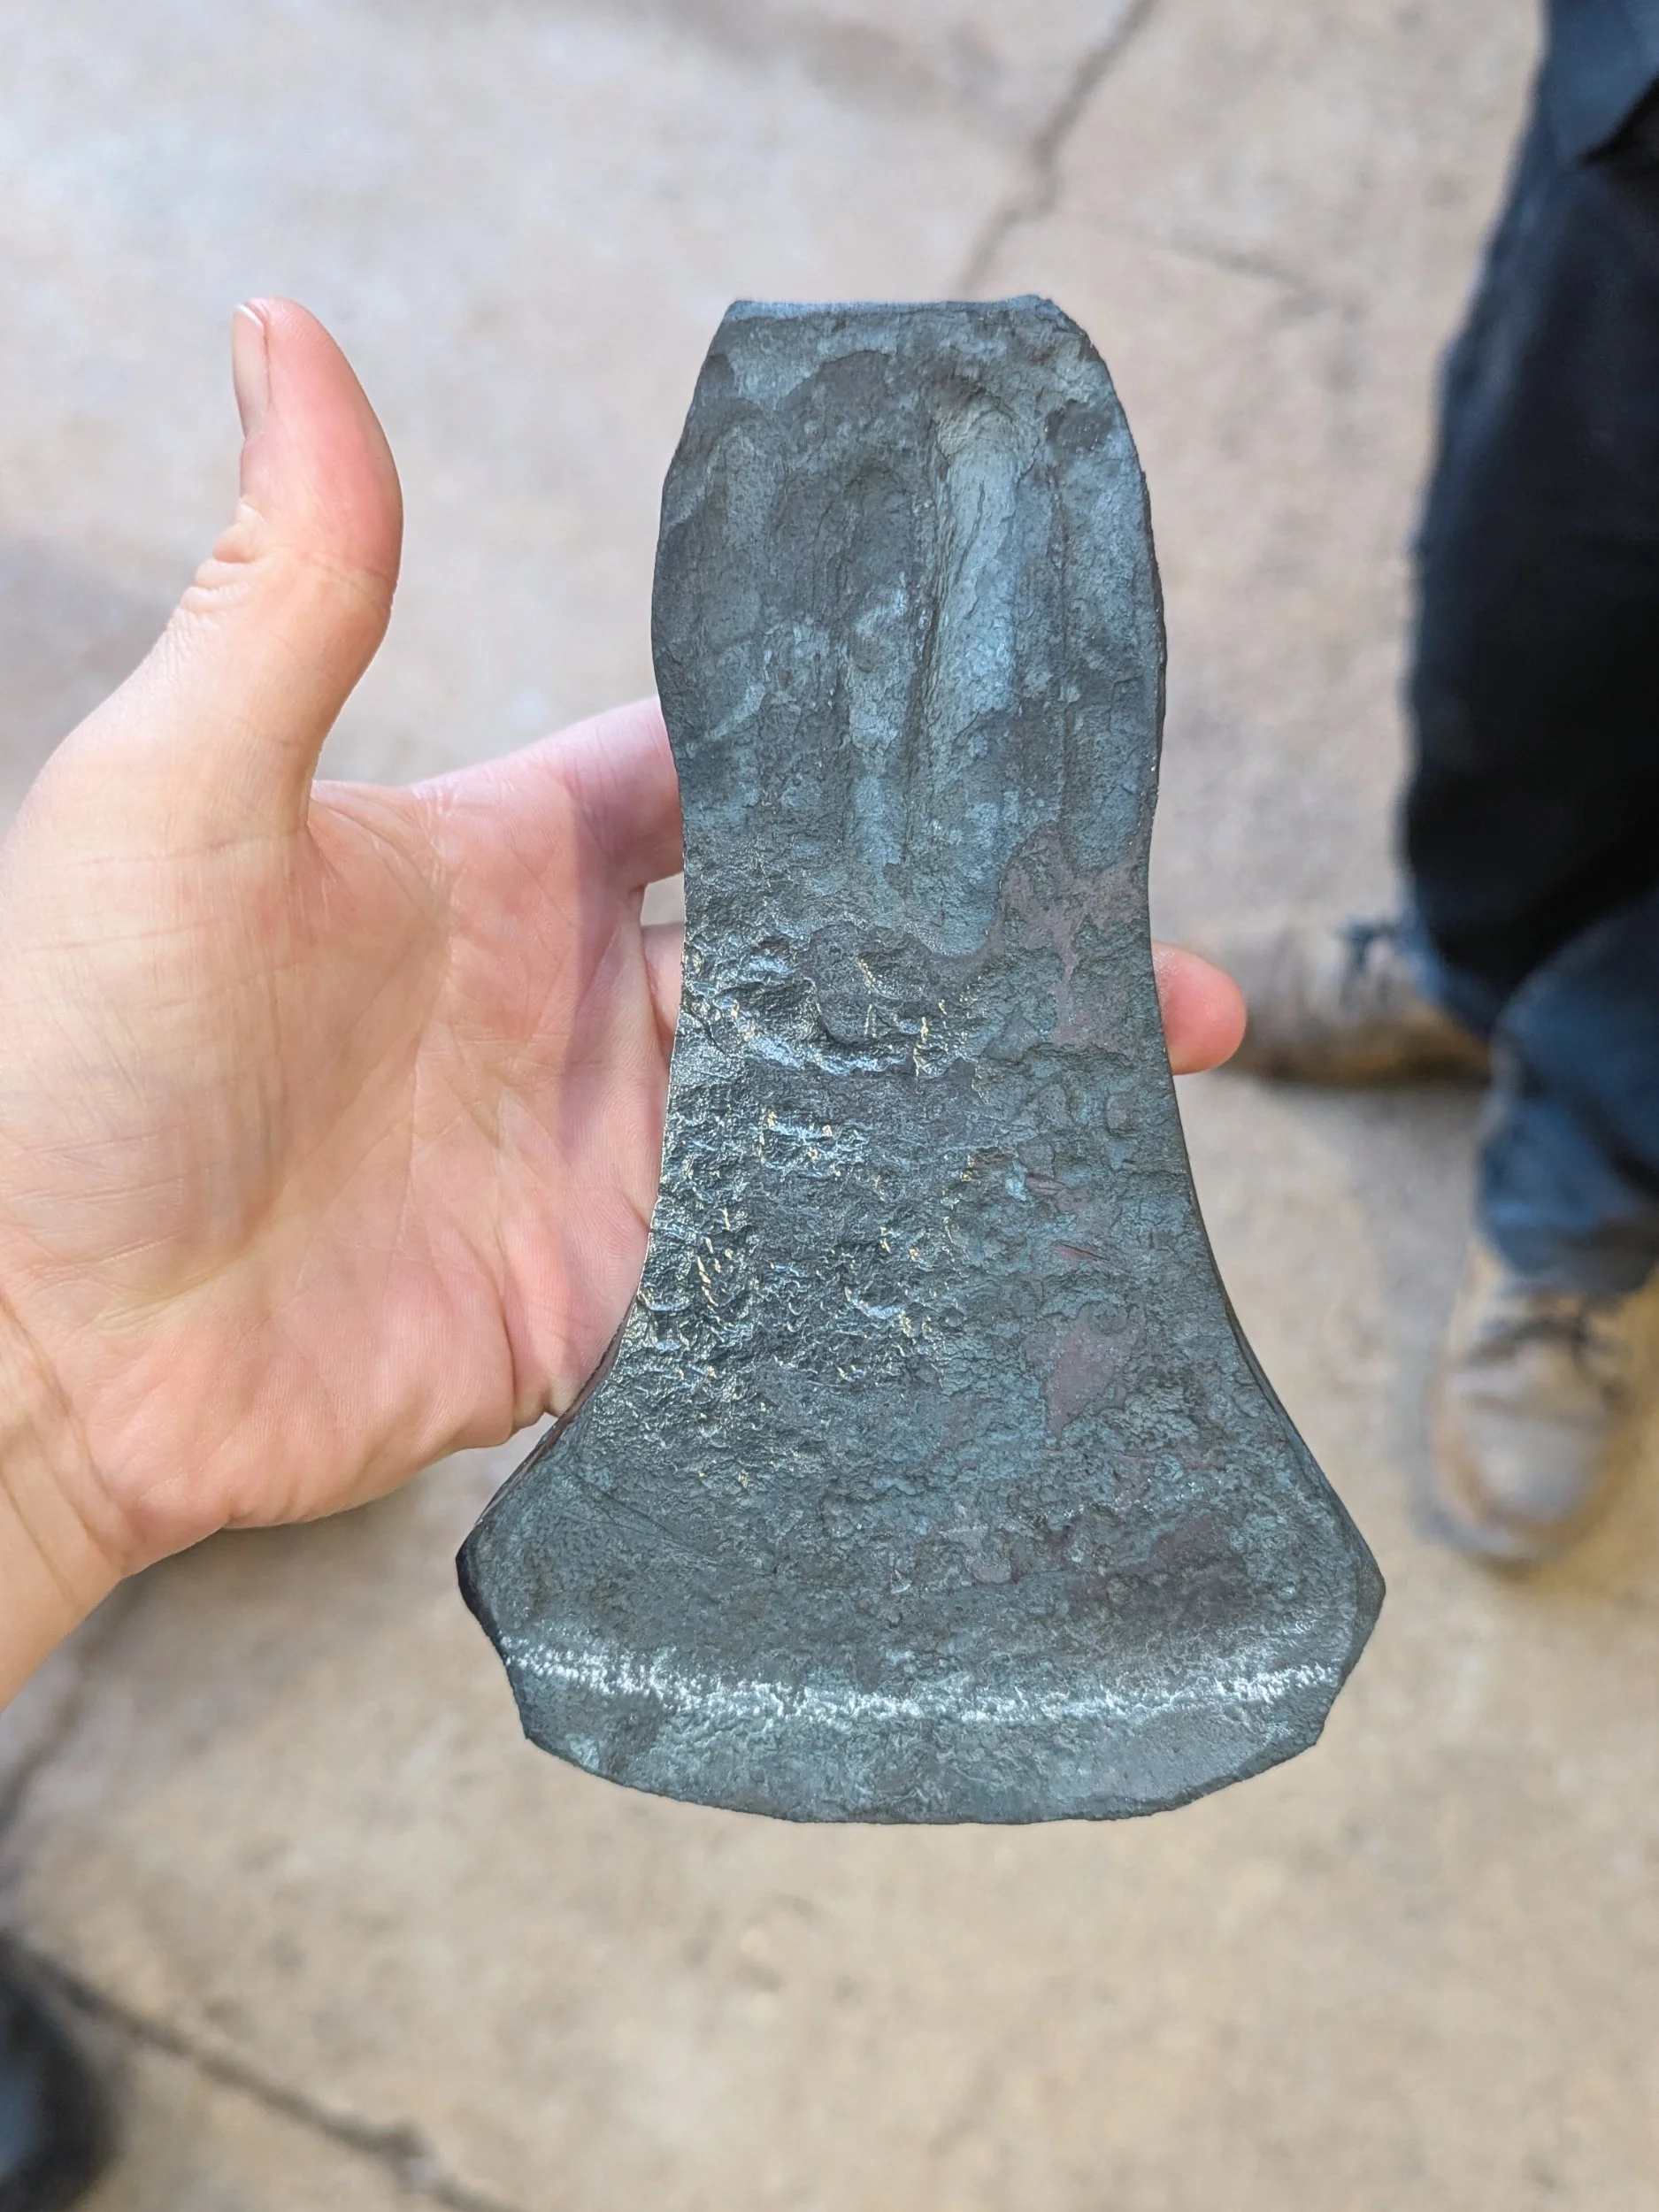
We took some photos of axe heads in the shop so we had a better idea of what we were trying to achieve next door in the workshop.
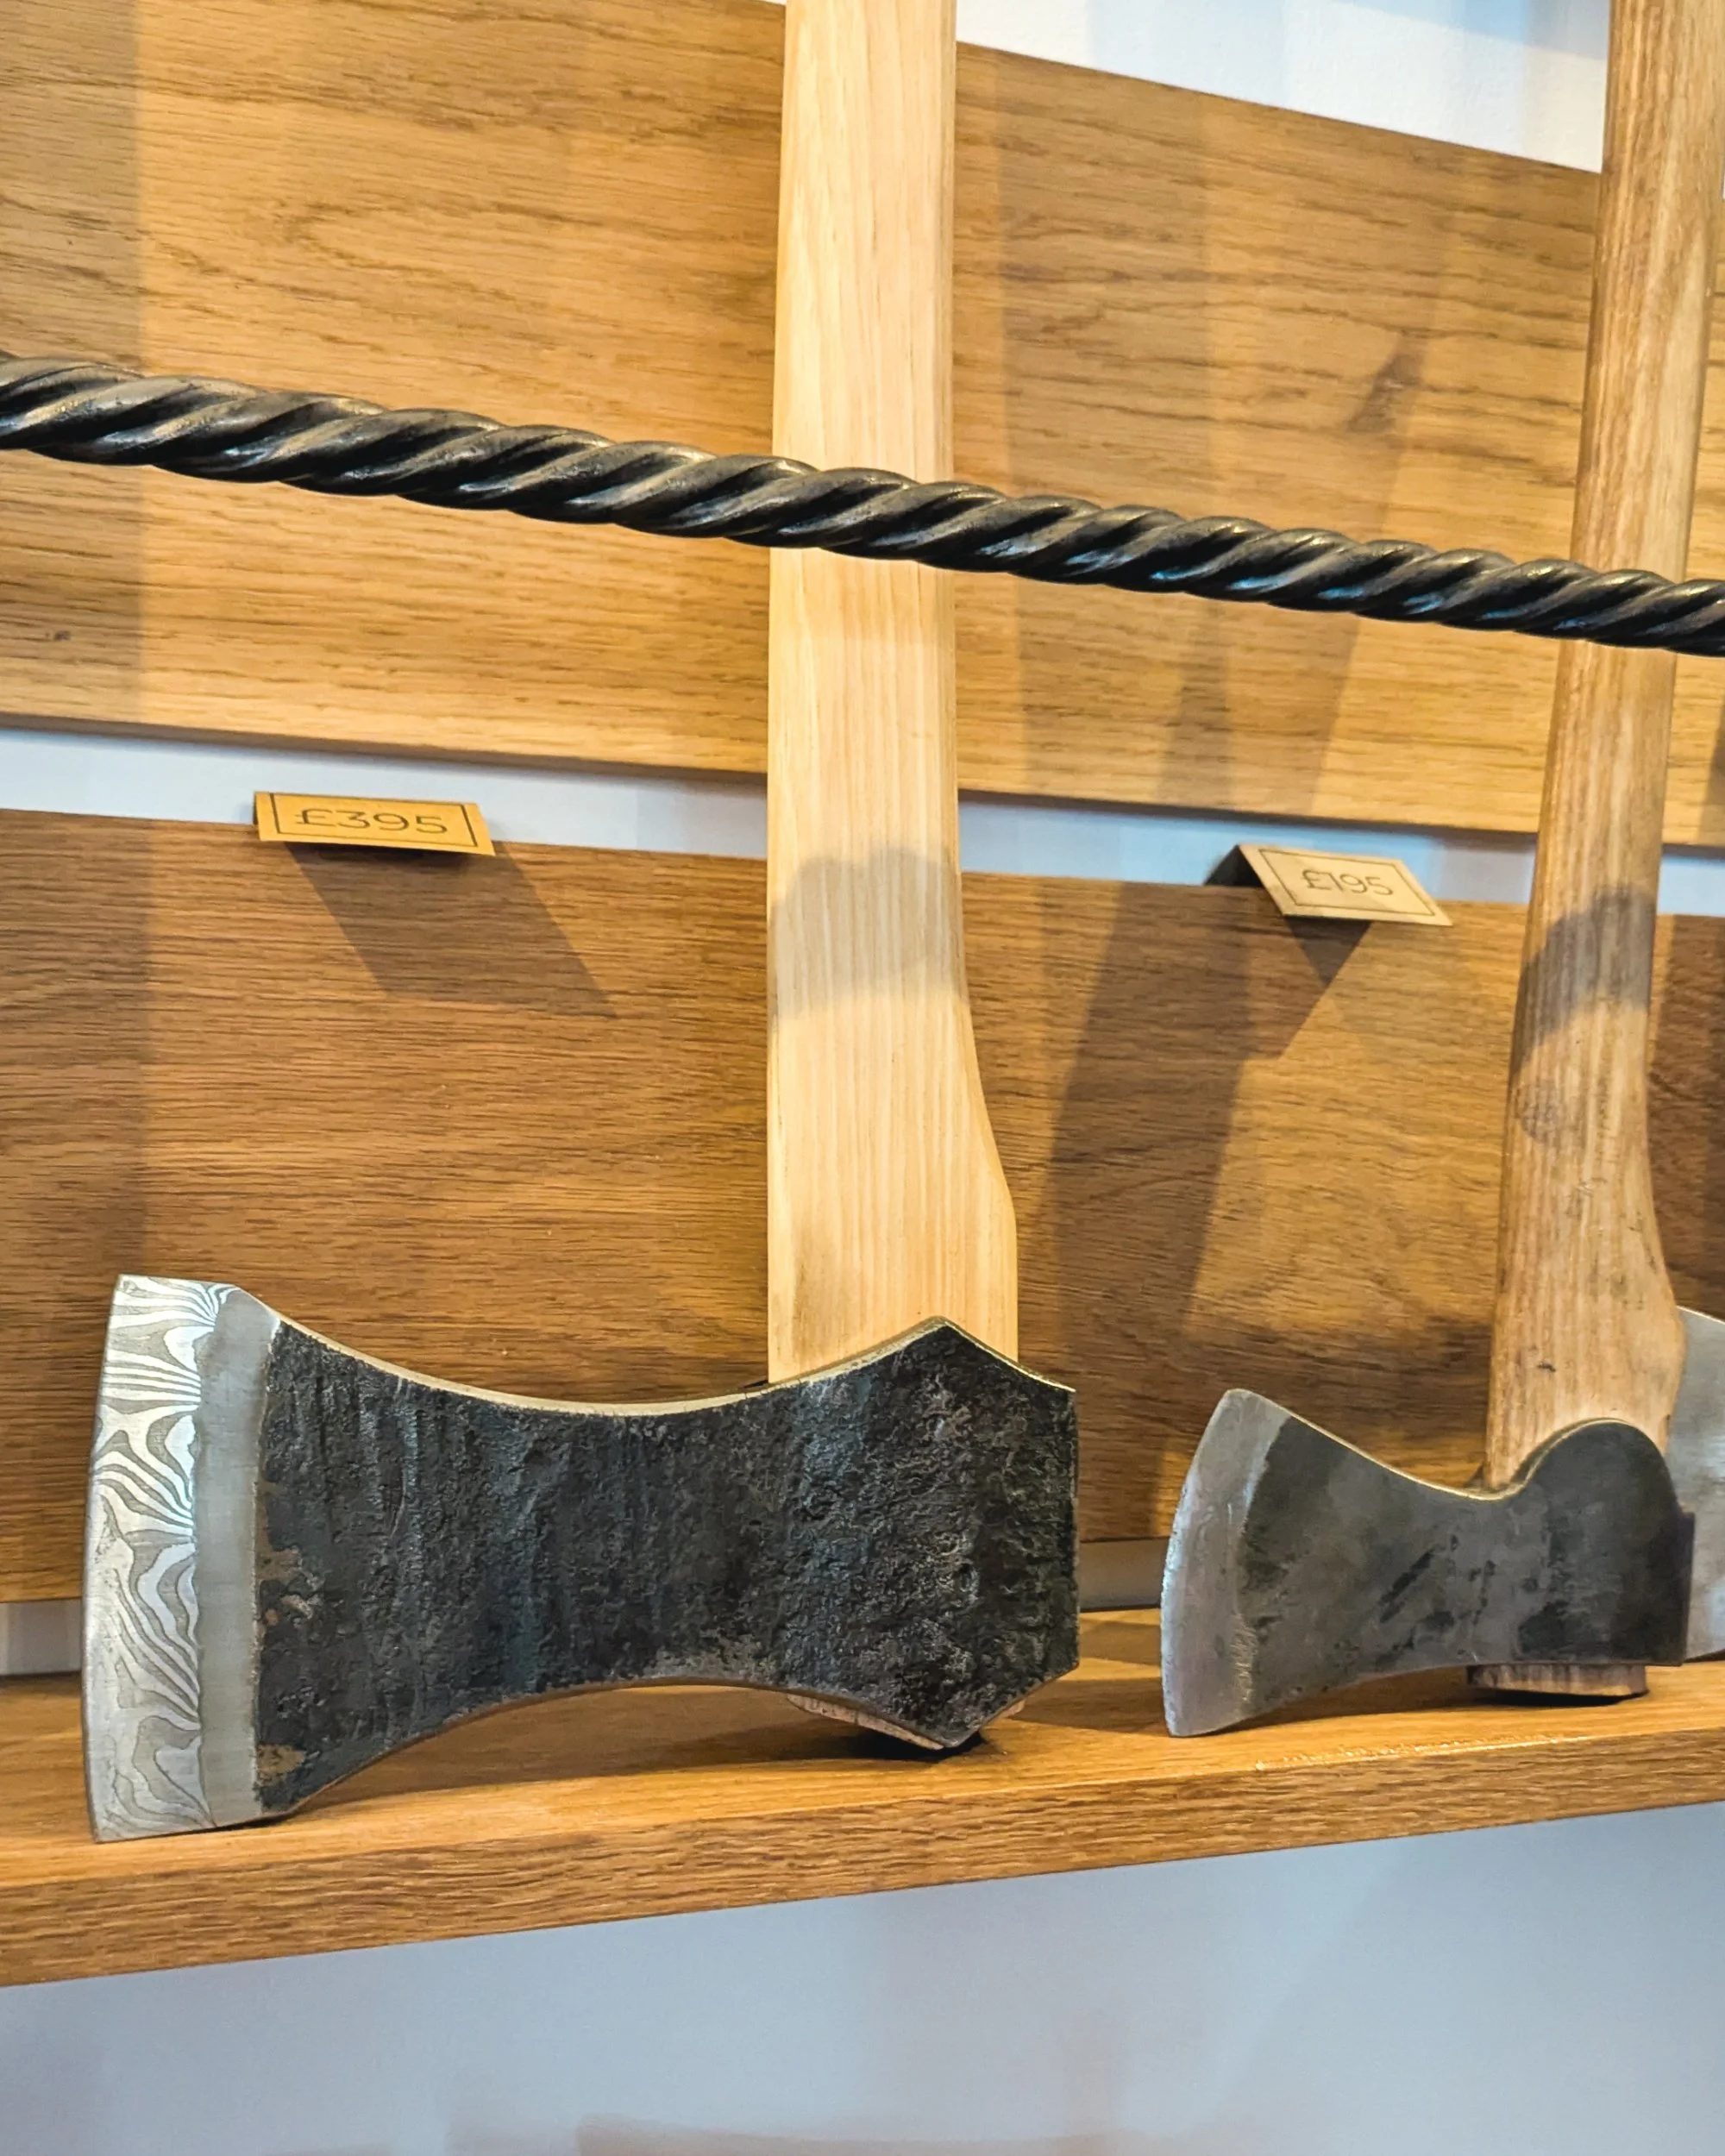
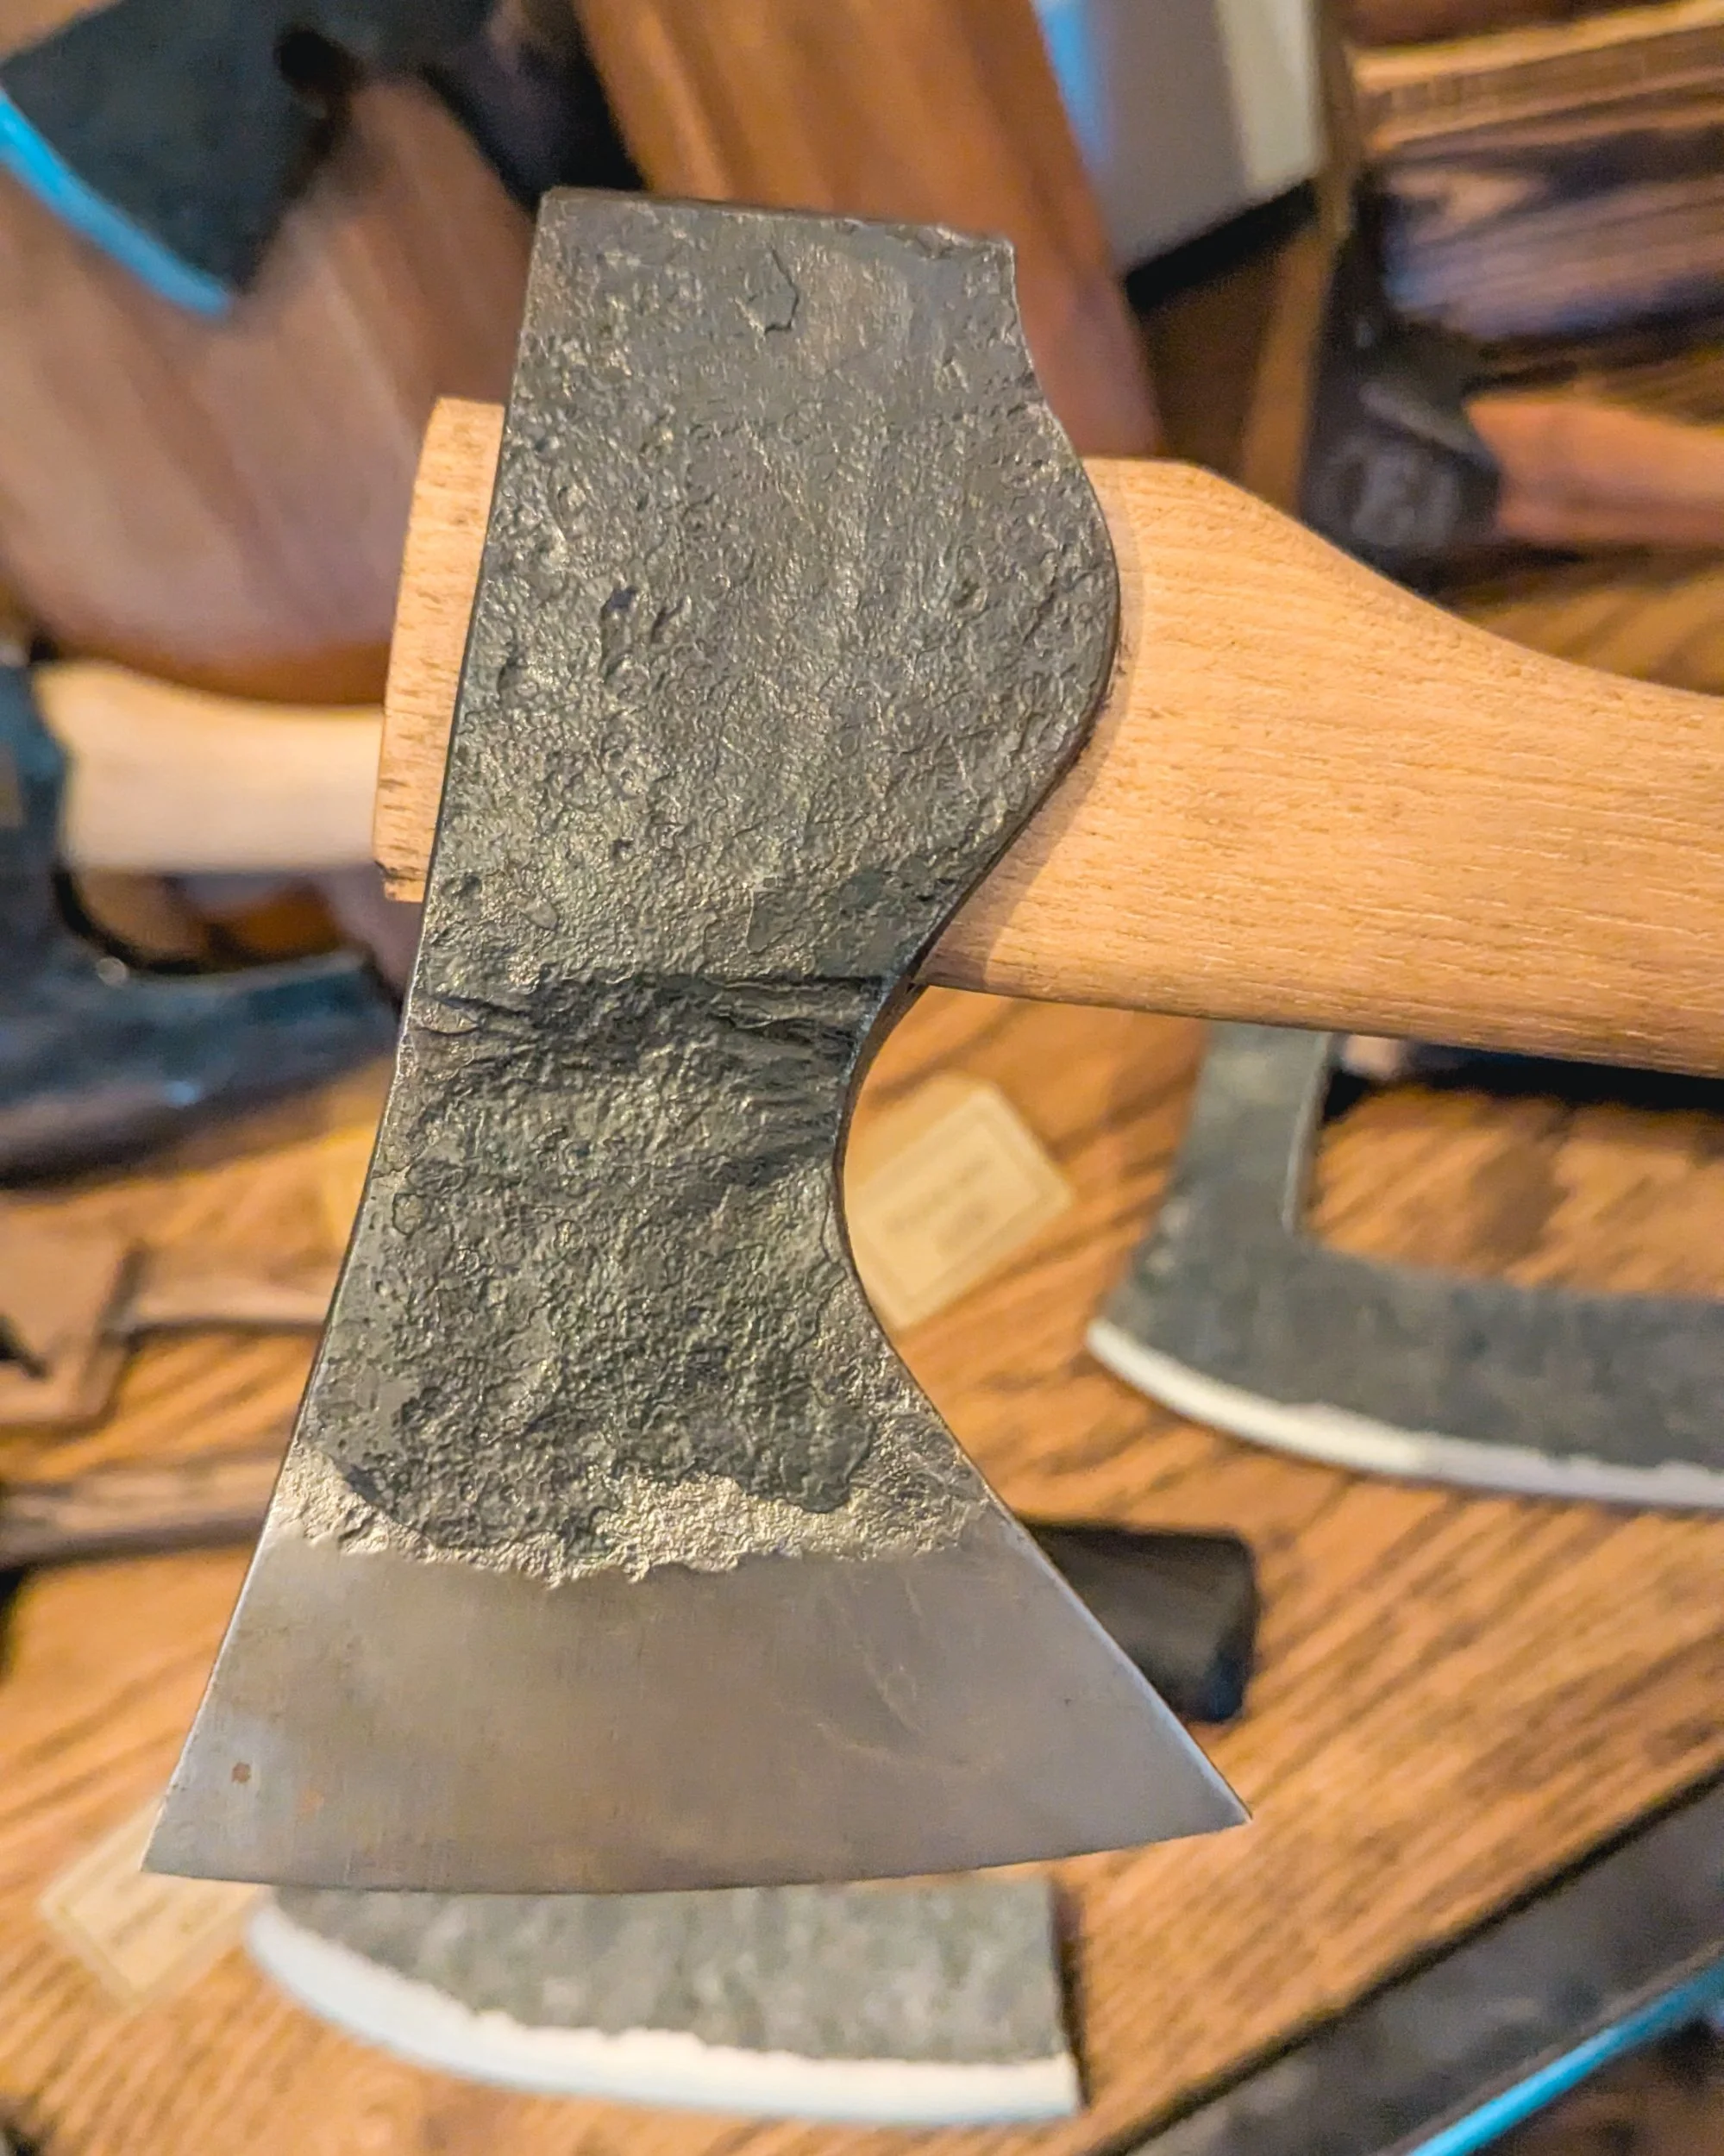
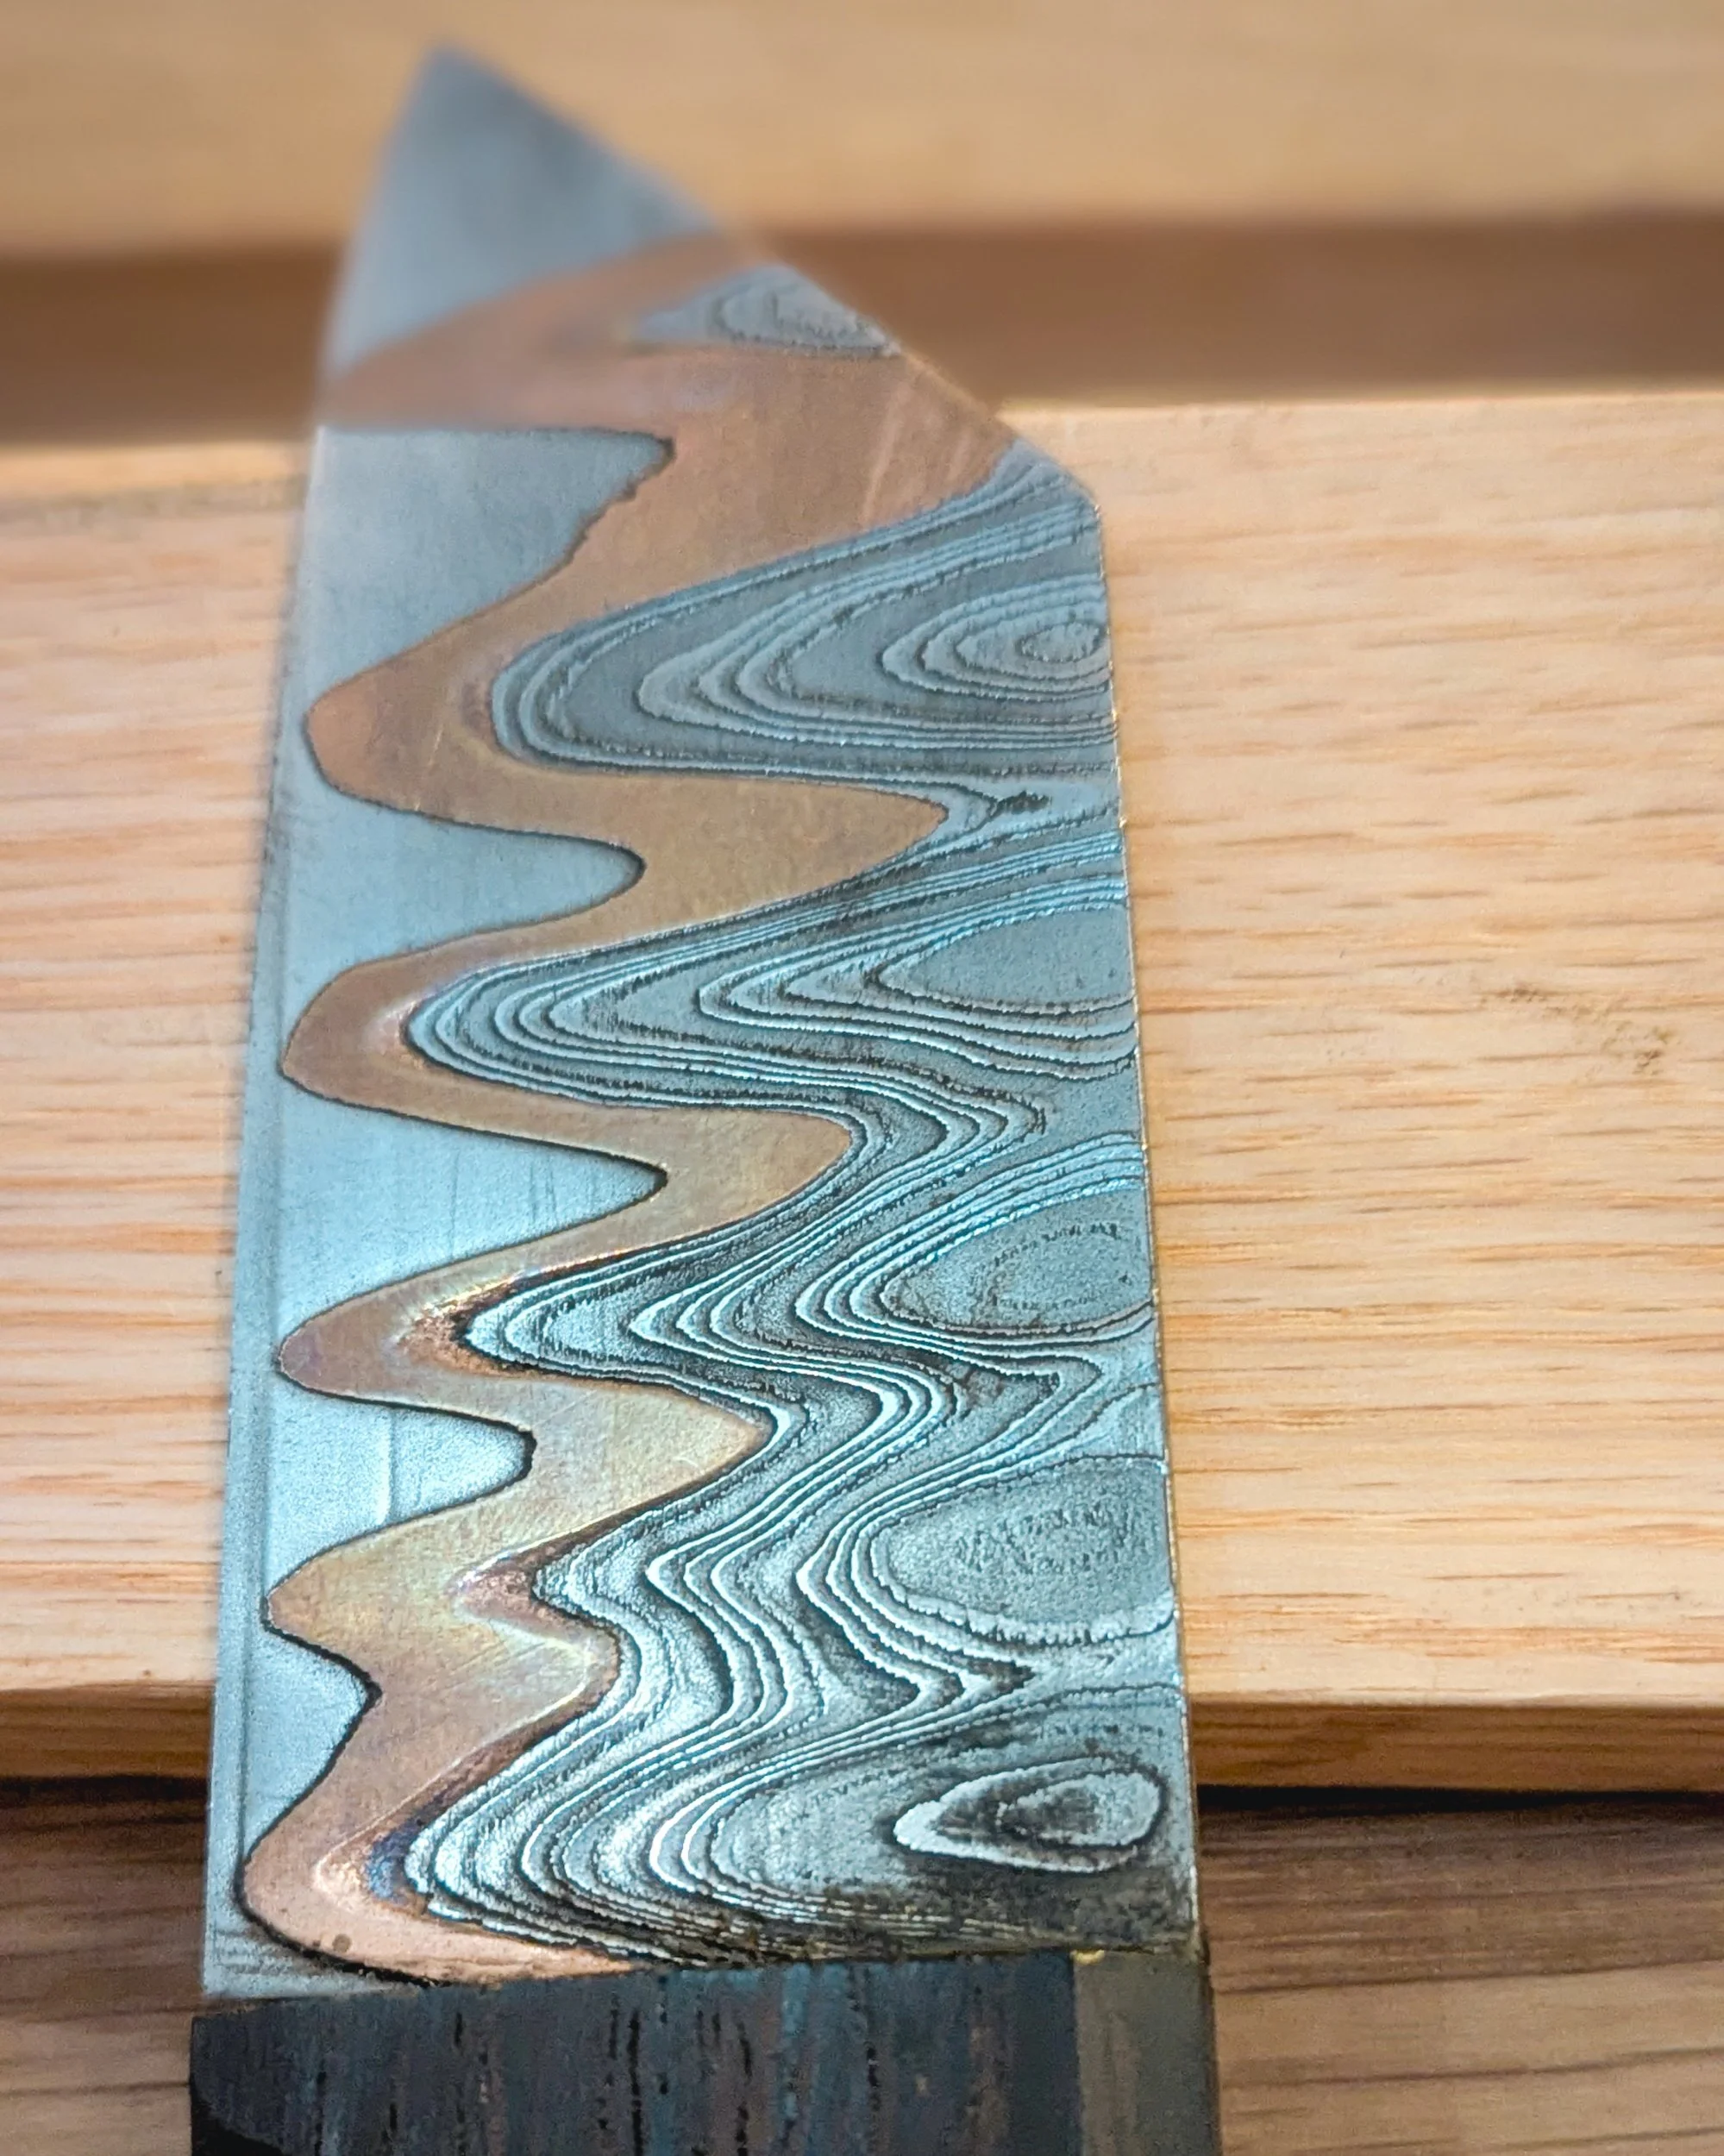
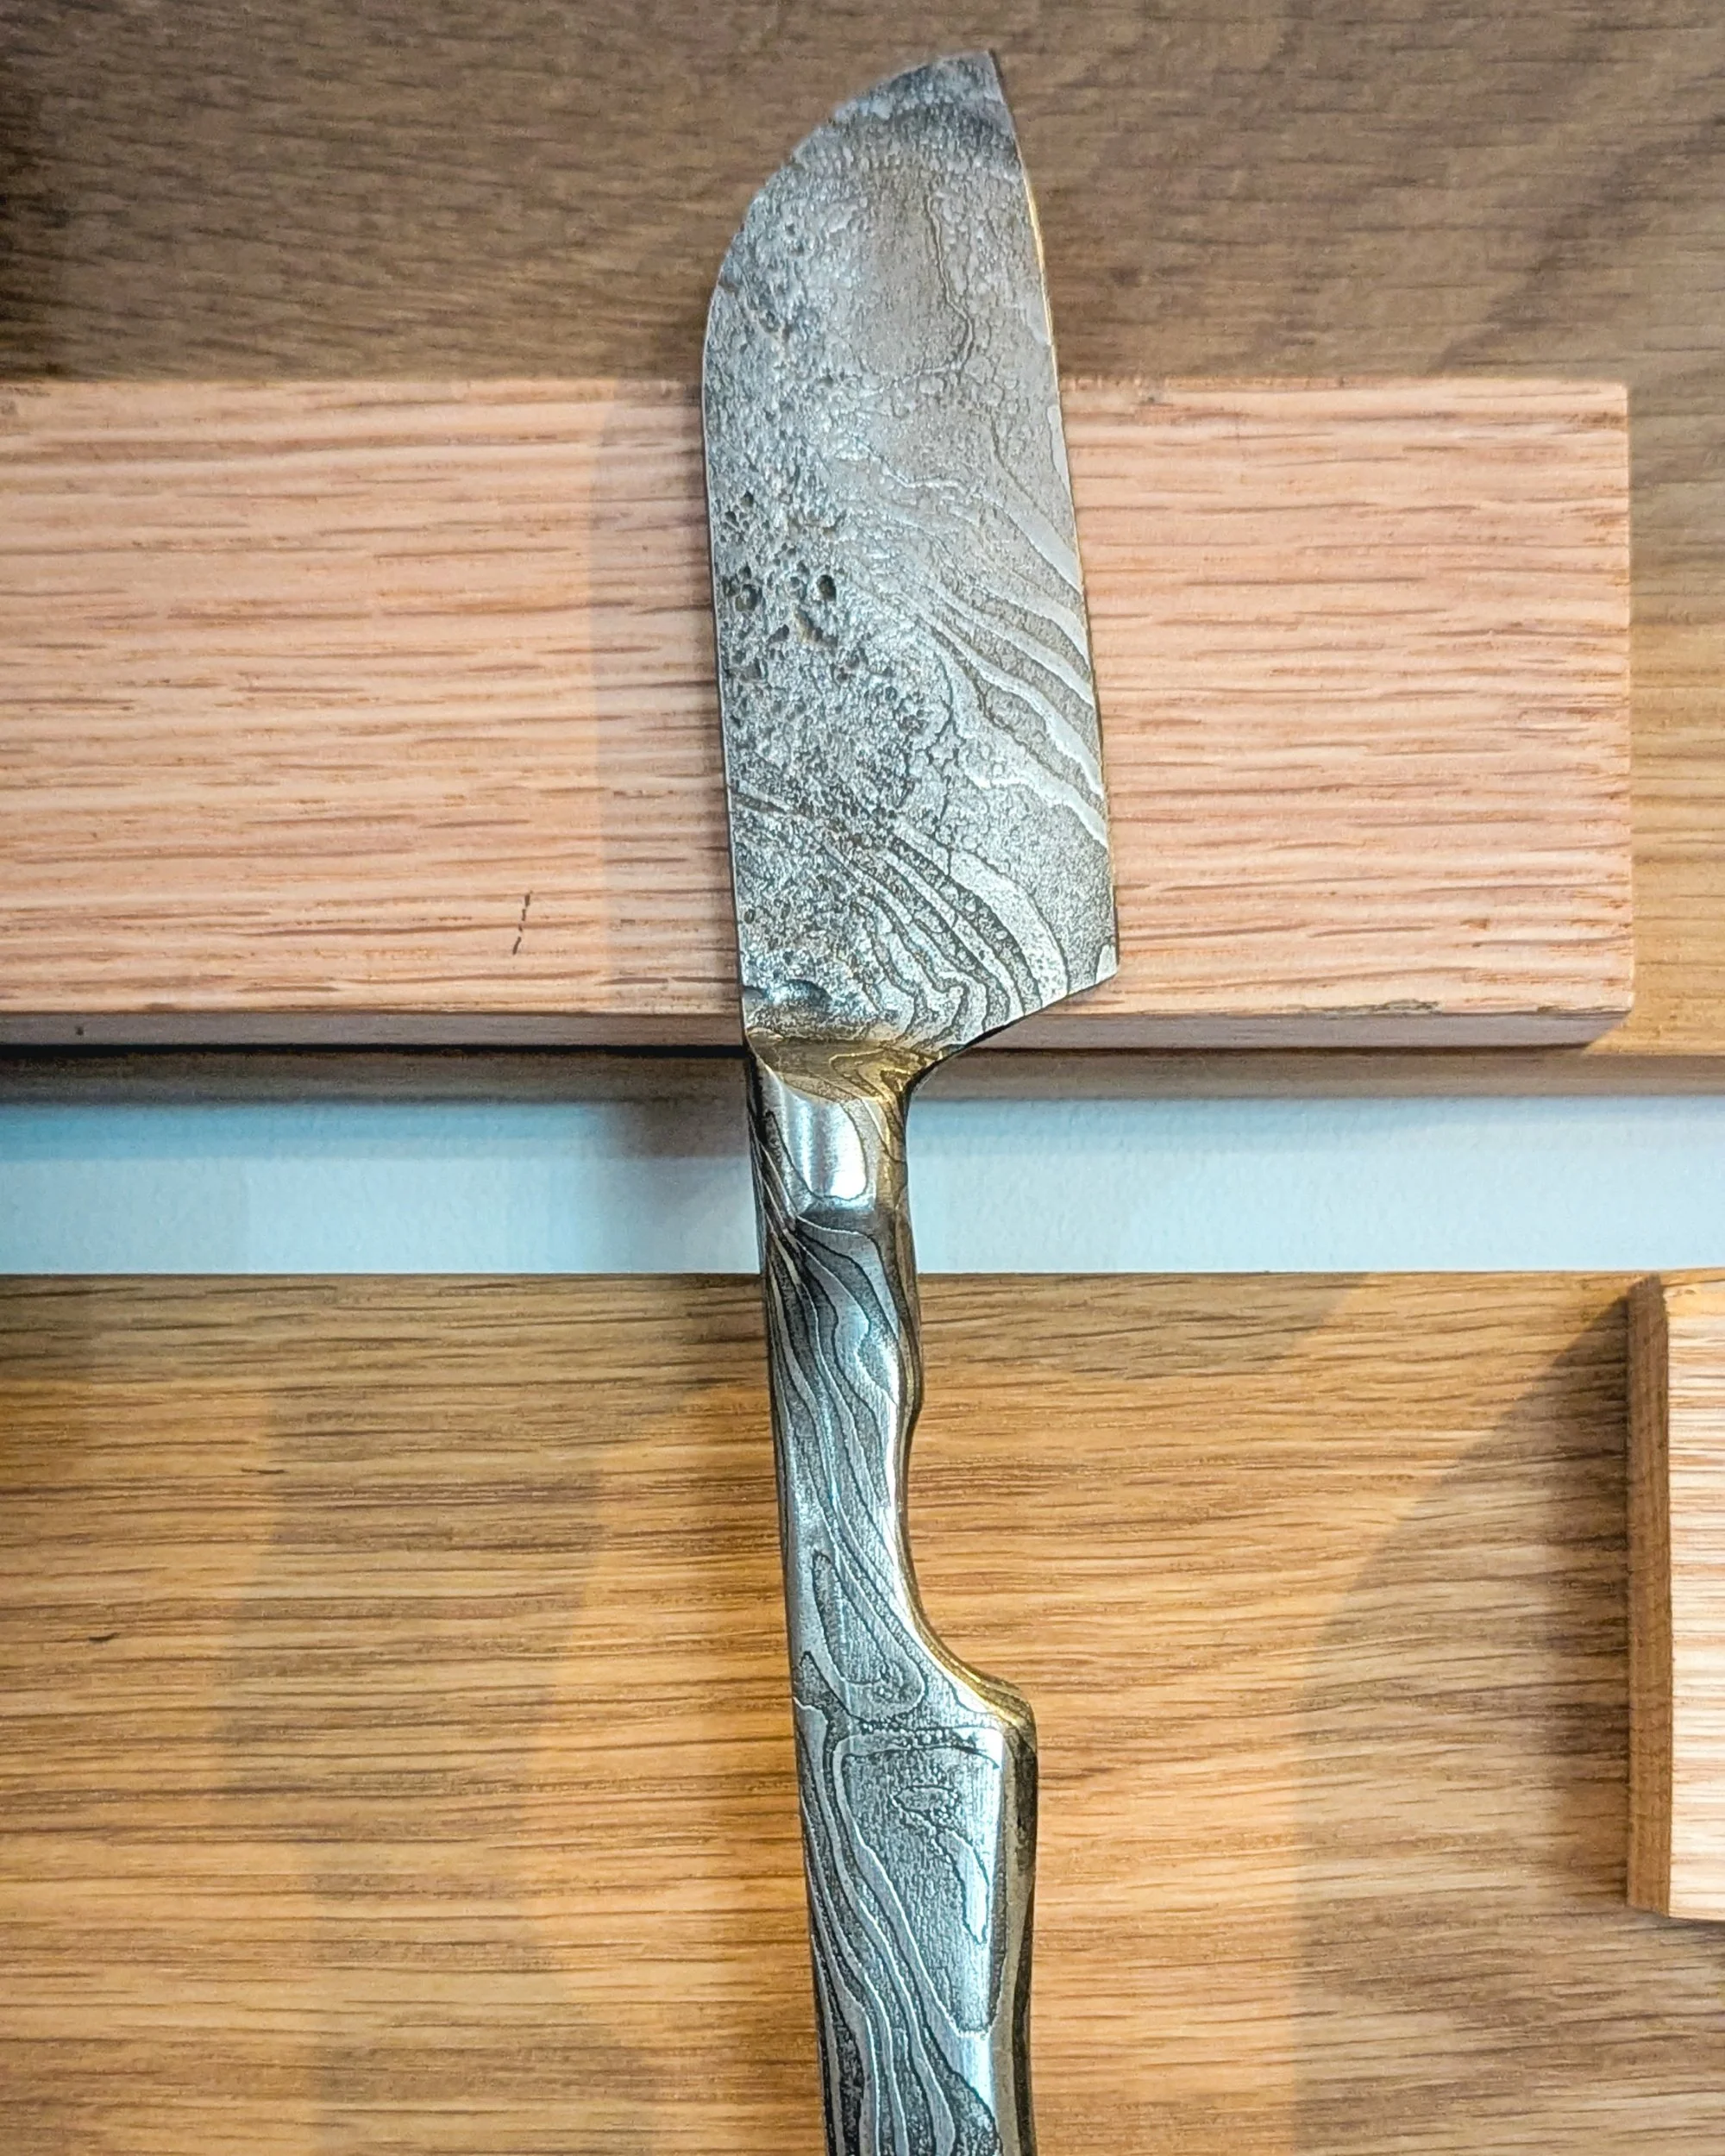
I also took photos of the patterned pieces to ask Matt our instructor how they were made. Below are some of my favourites!
There's also a viewing window from the shop into the workshop. This area at the back is where we were based initially.
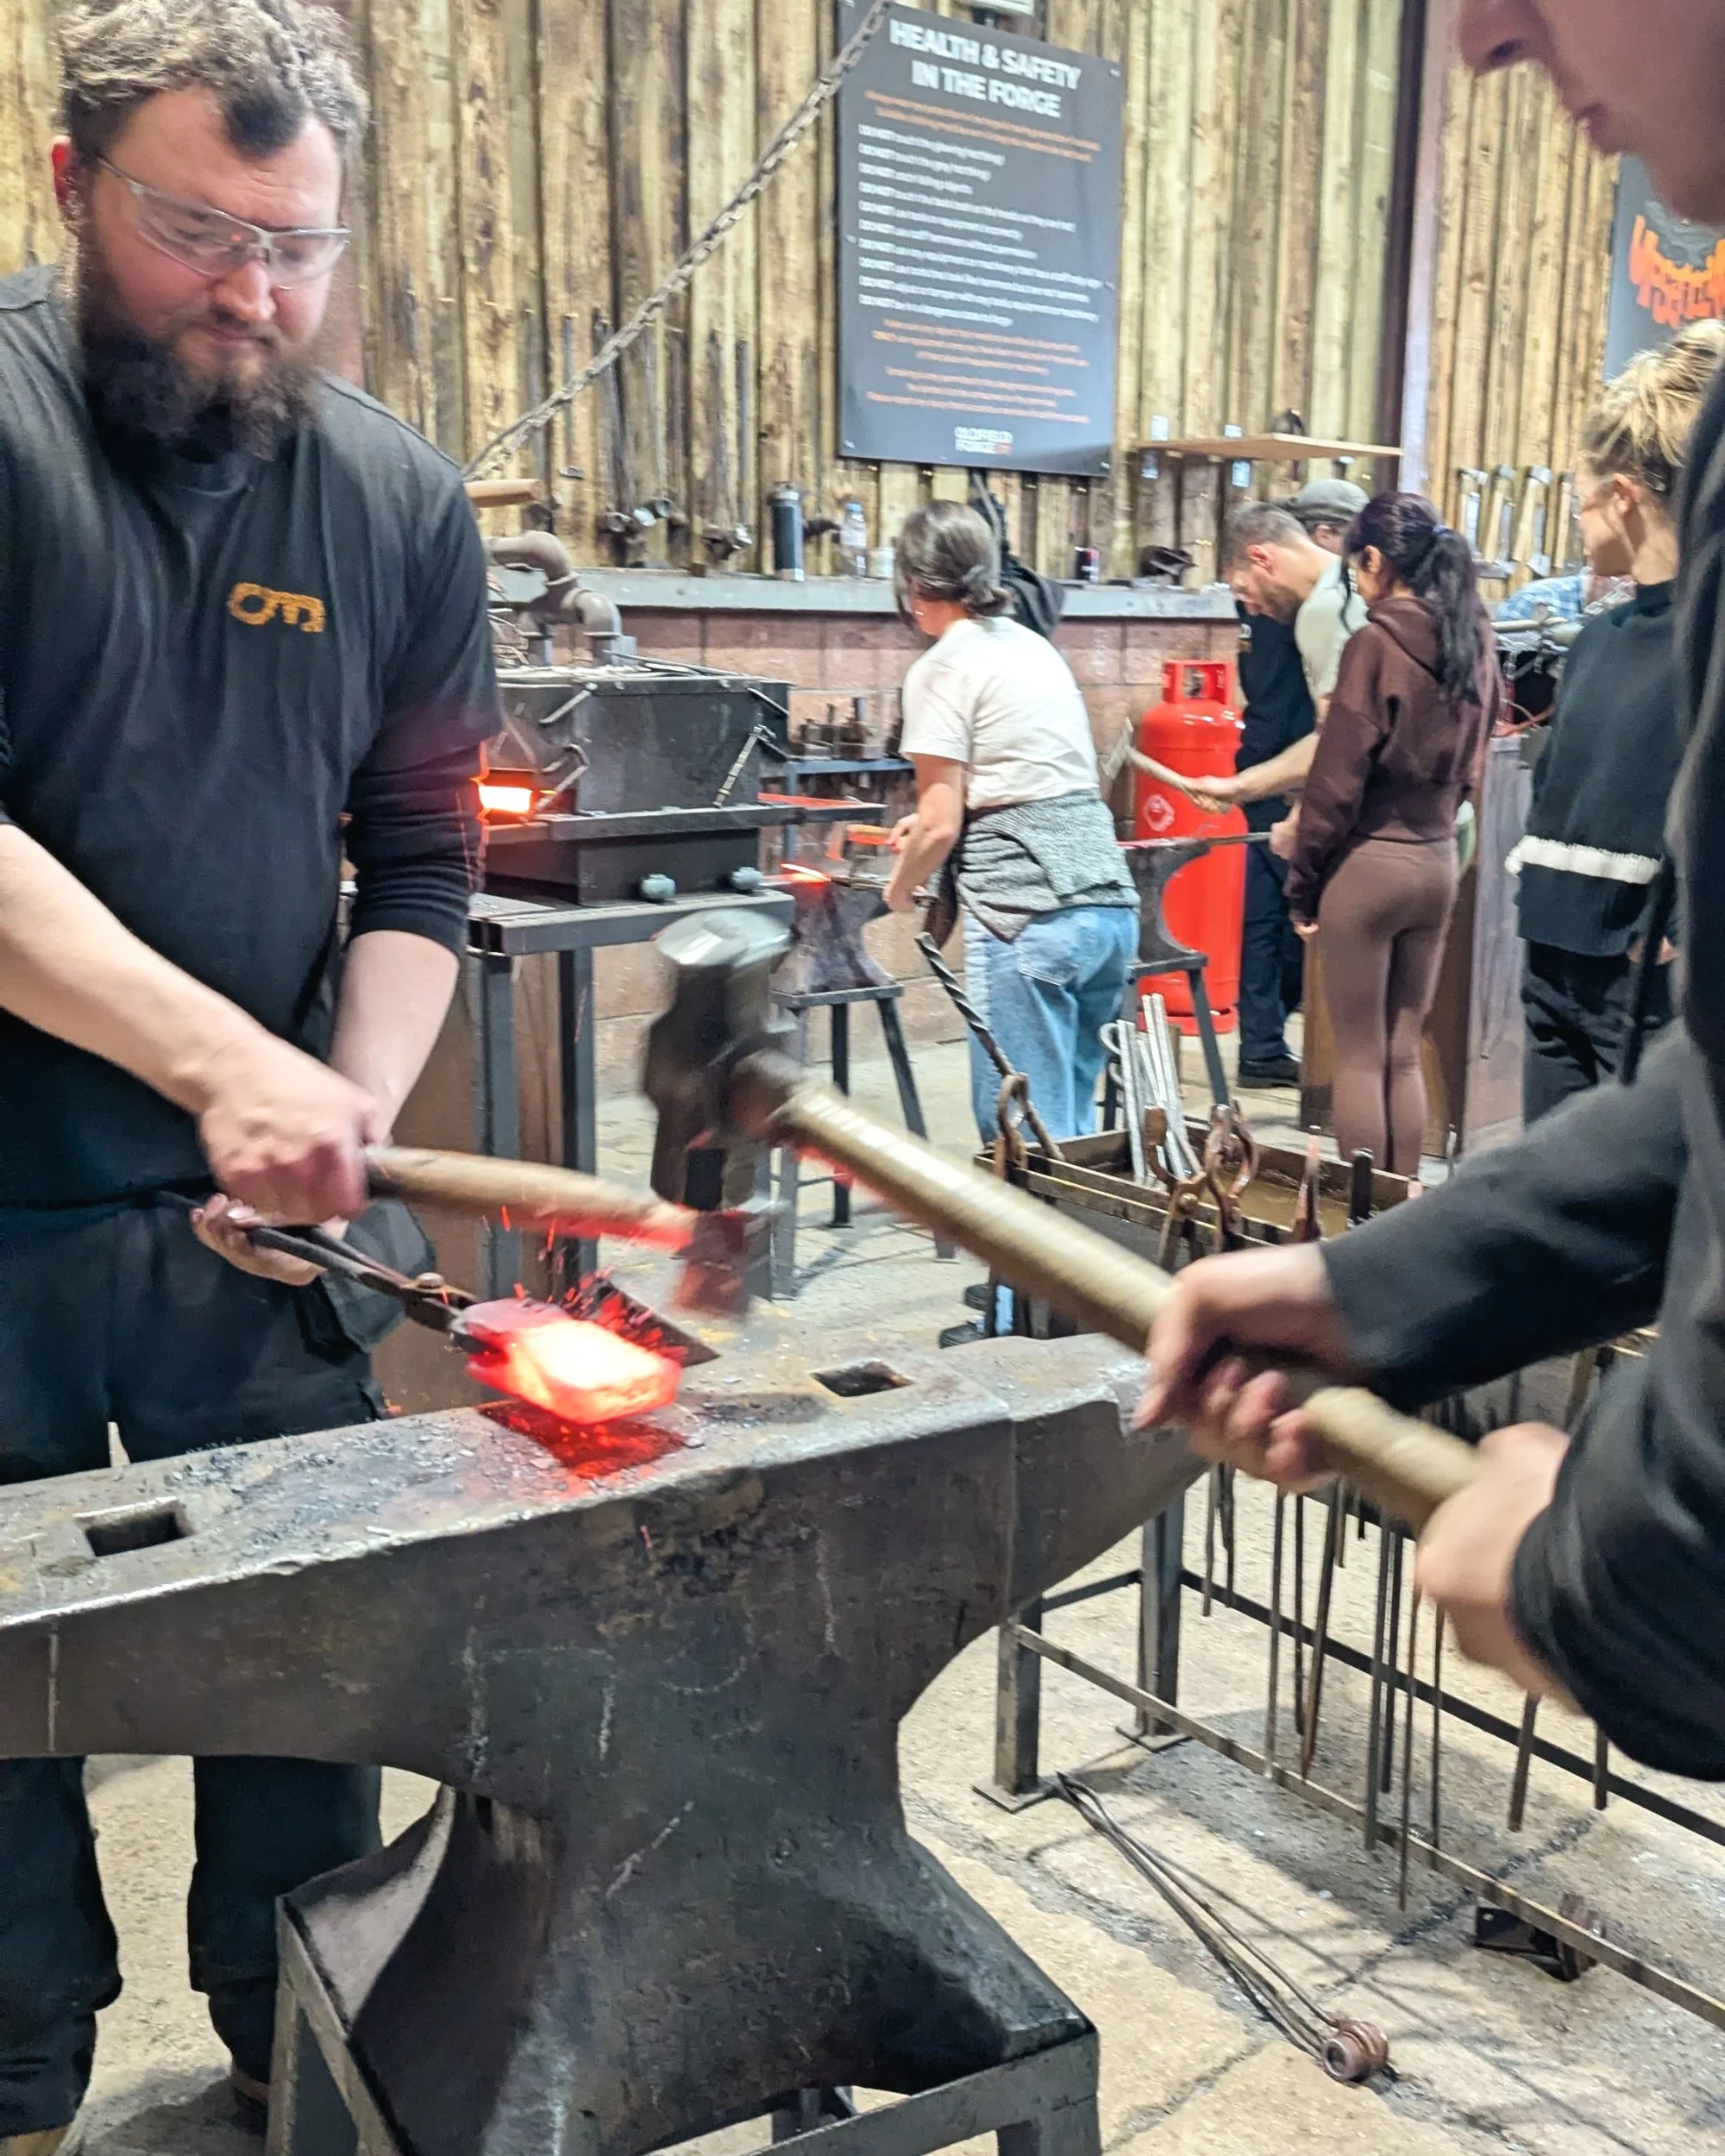
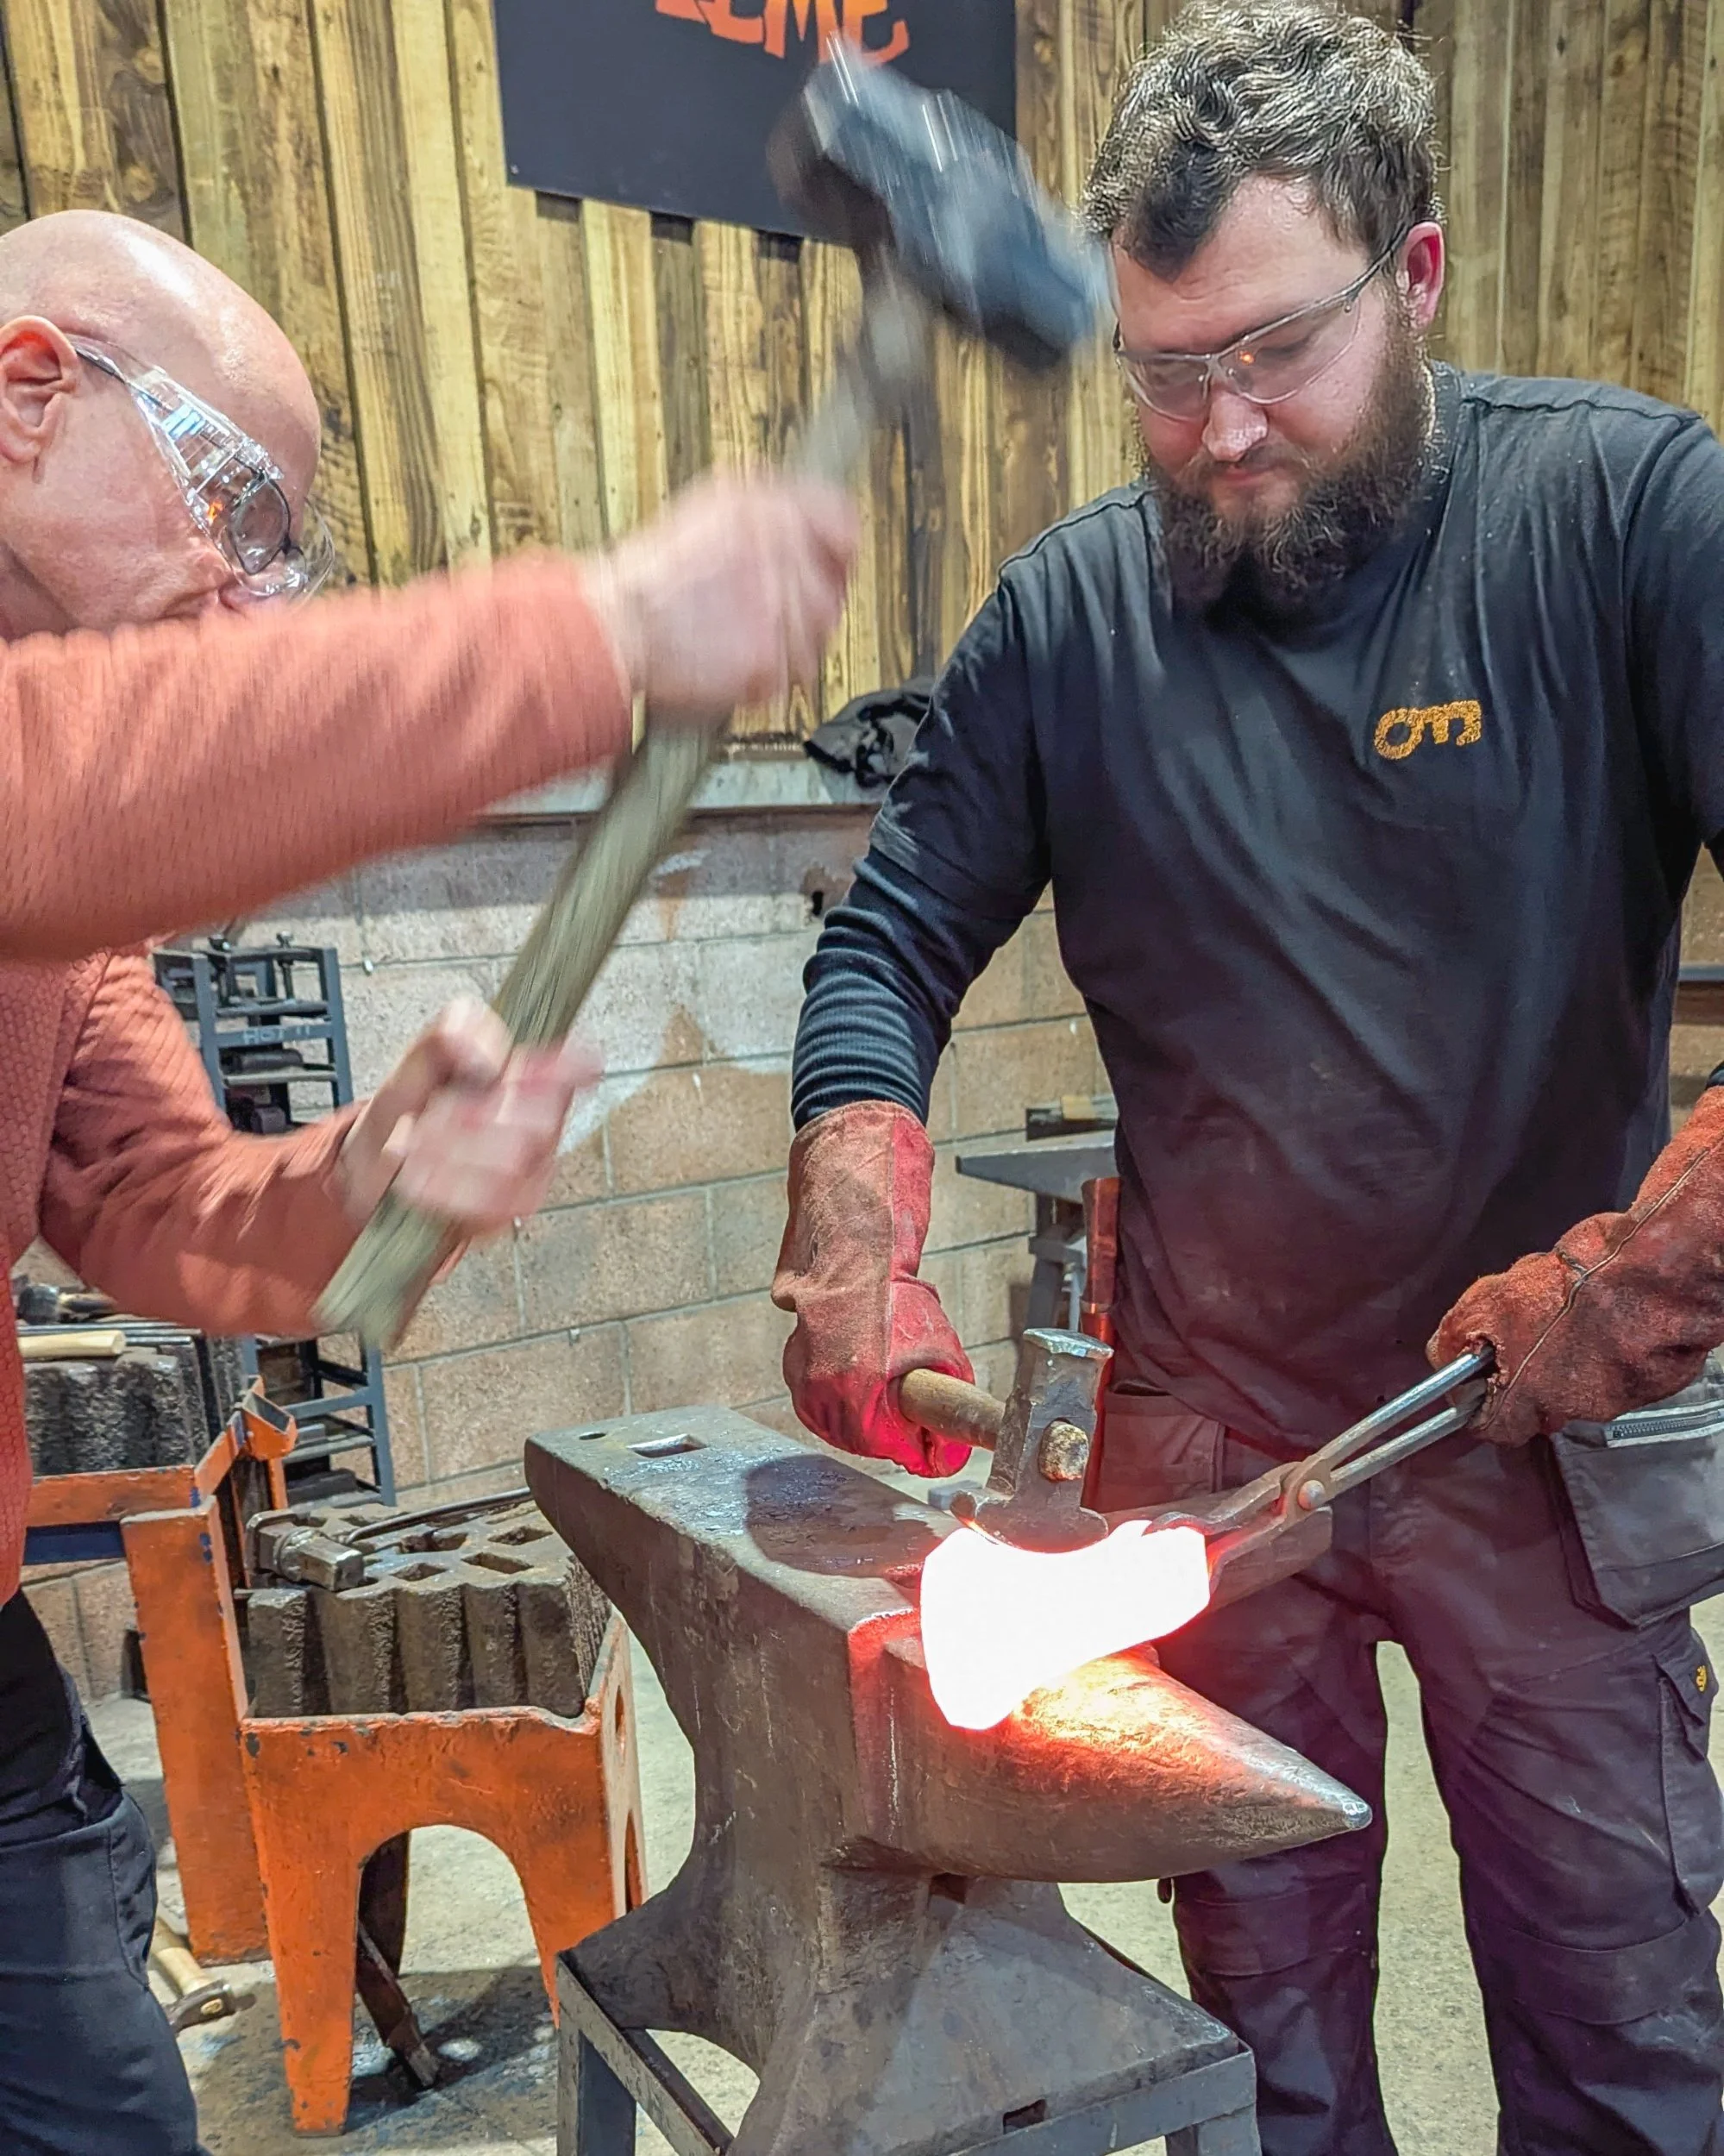
Back into the workshop, fueled with coffee and cake, we used a combination of the press to get the initial front shape thinner, then hammering to flatten it out and even out the grooves.
Even the other instructors got involved to help us with a bit more force & experience!
Chatting to Matt in the downtime, we found out the location of the forge works well because Hereford college (nearby) is one of five of the last blacksmithing colleges in the UK.
Using the press, we made deeper grooves at the front edge and less pressure as we went up the head to create the taper. It was hard to know how long to leave it in the press for. We got a couple of really deep grooves that later we would realise we couldn't get out! But all added to the character of being handmade.
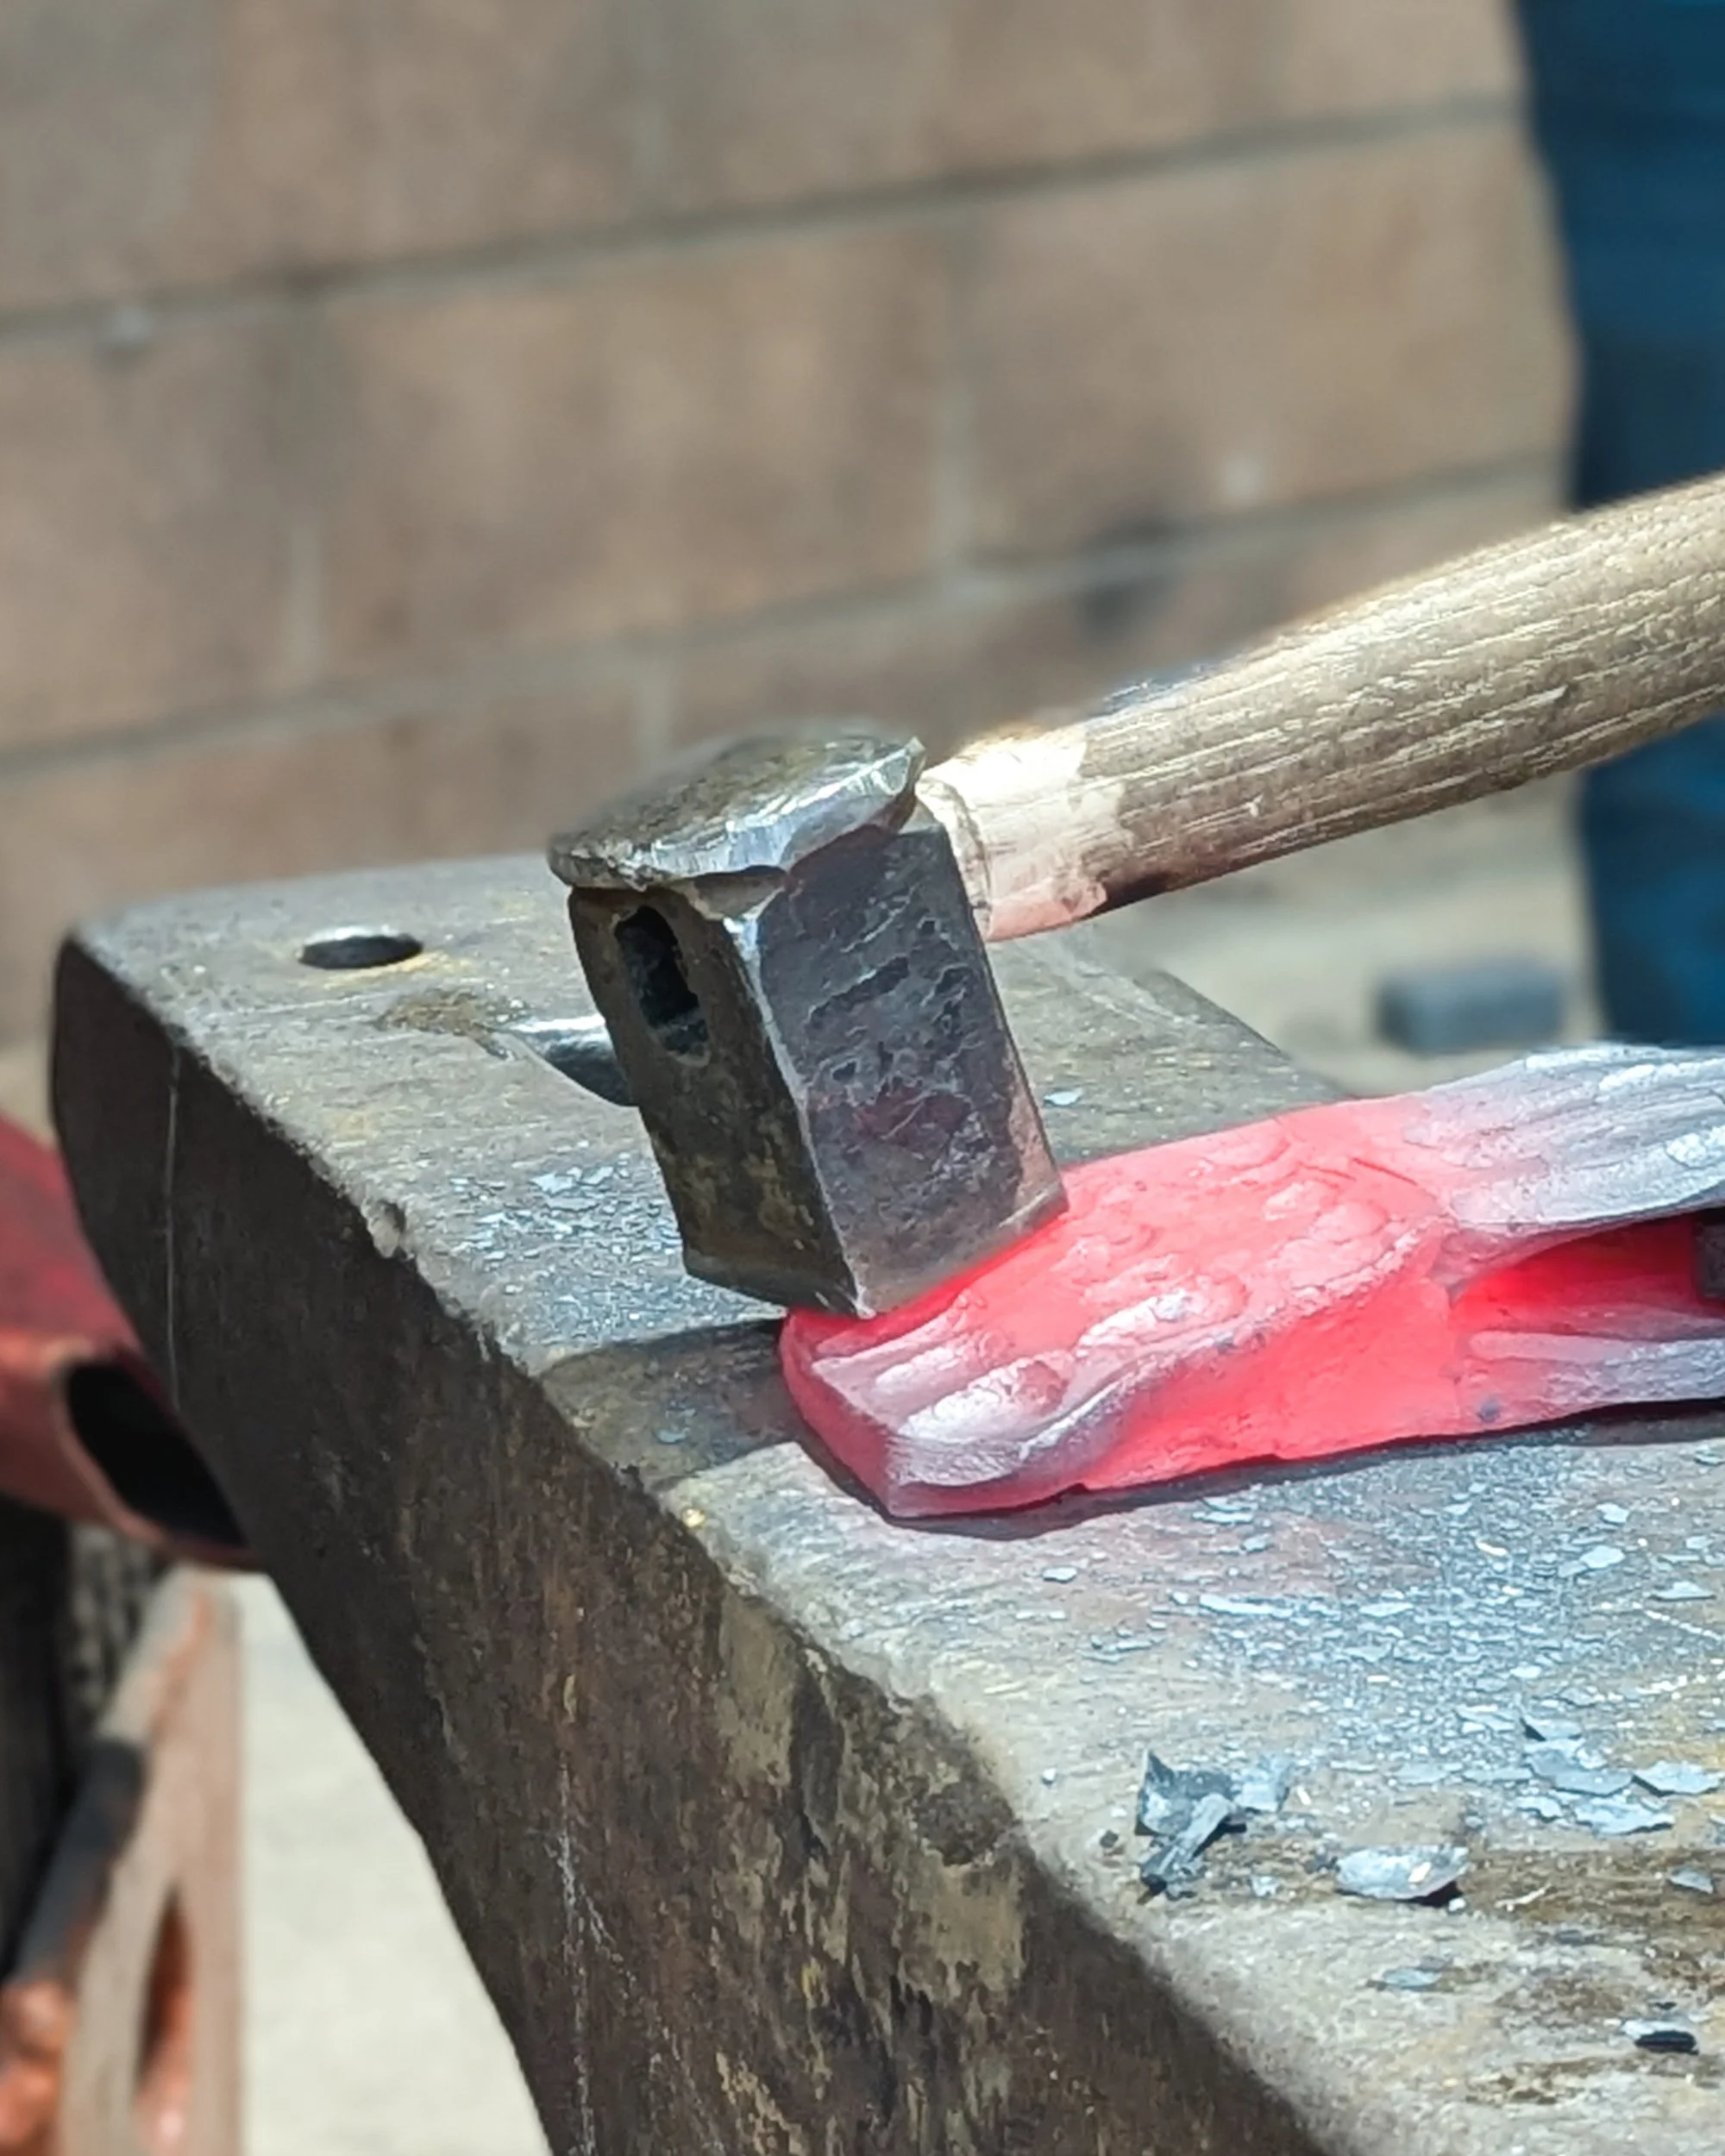
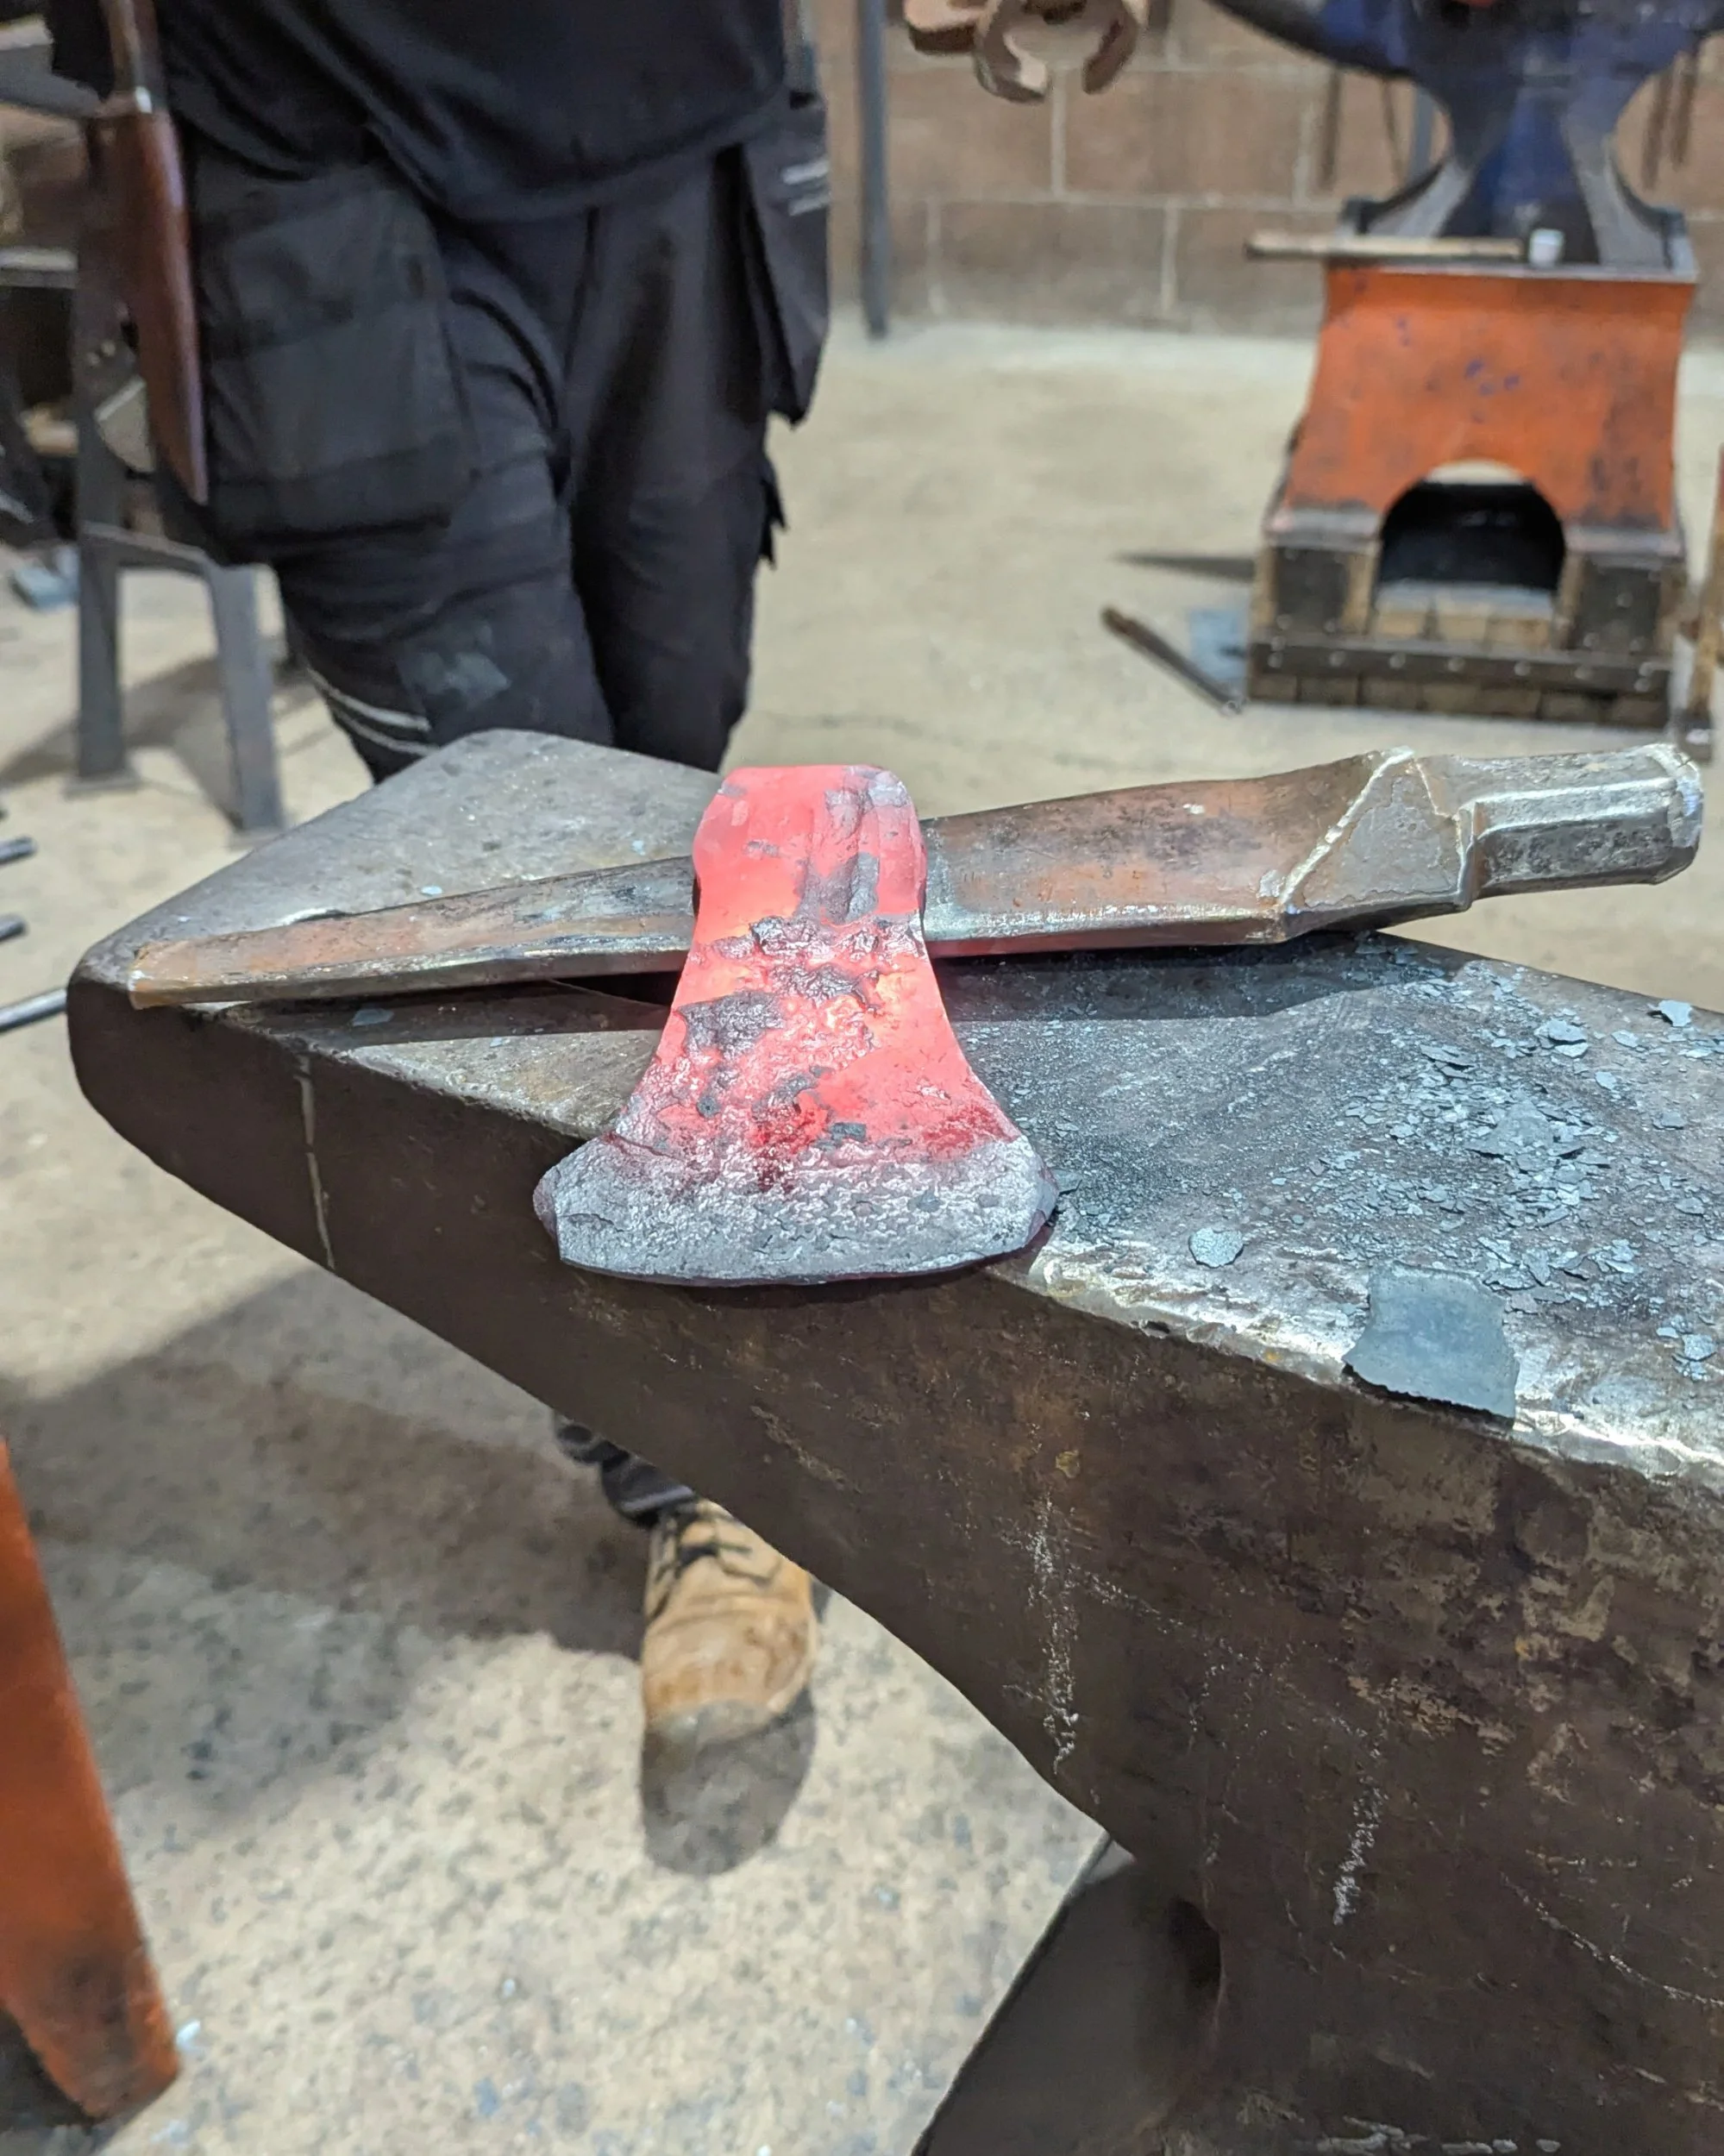
After a lot of hammering, pressing and heating in the forge, the front lump started to resemble a thinner axe head kind of shape! We had used the press on an axis to kind of mimic a semi circle when pressing, which helped give the axe head a slight curve as we pressed.
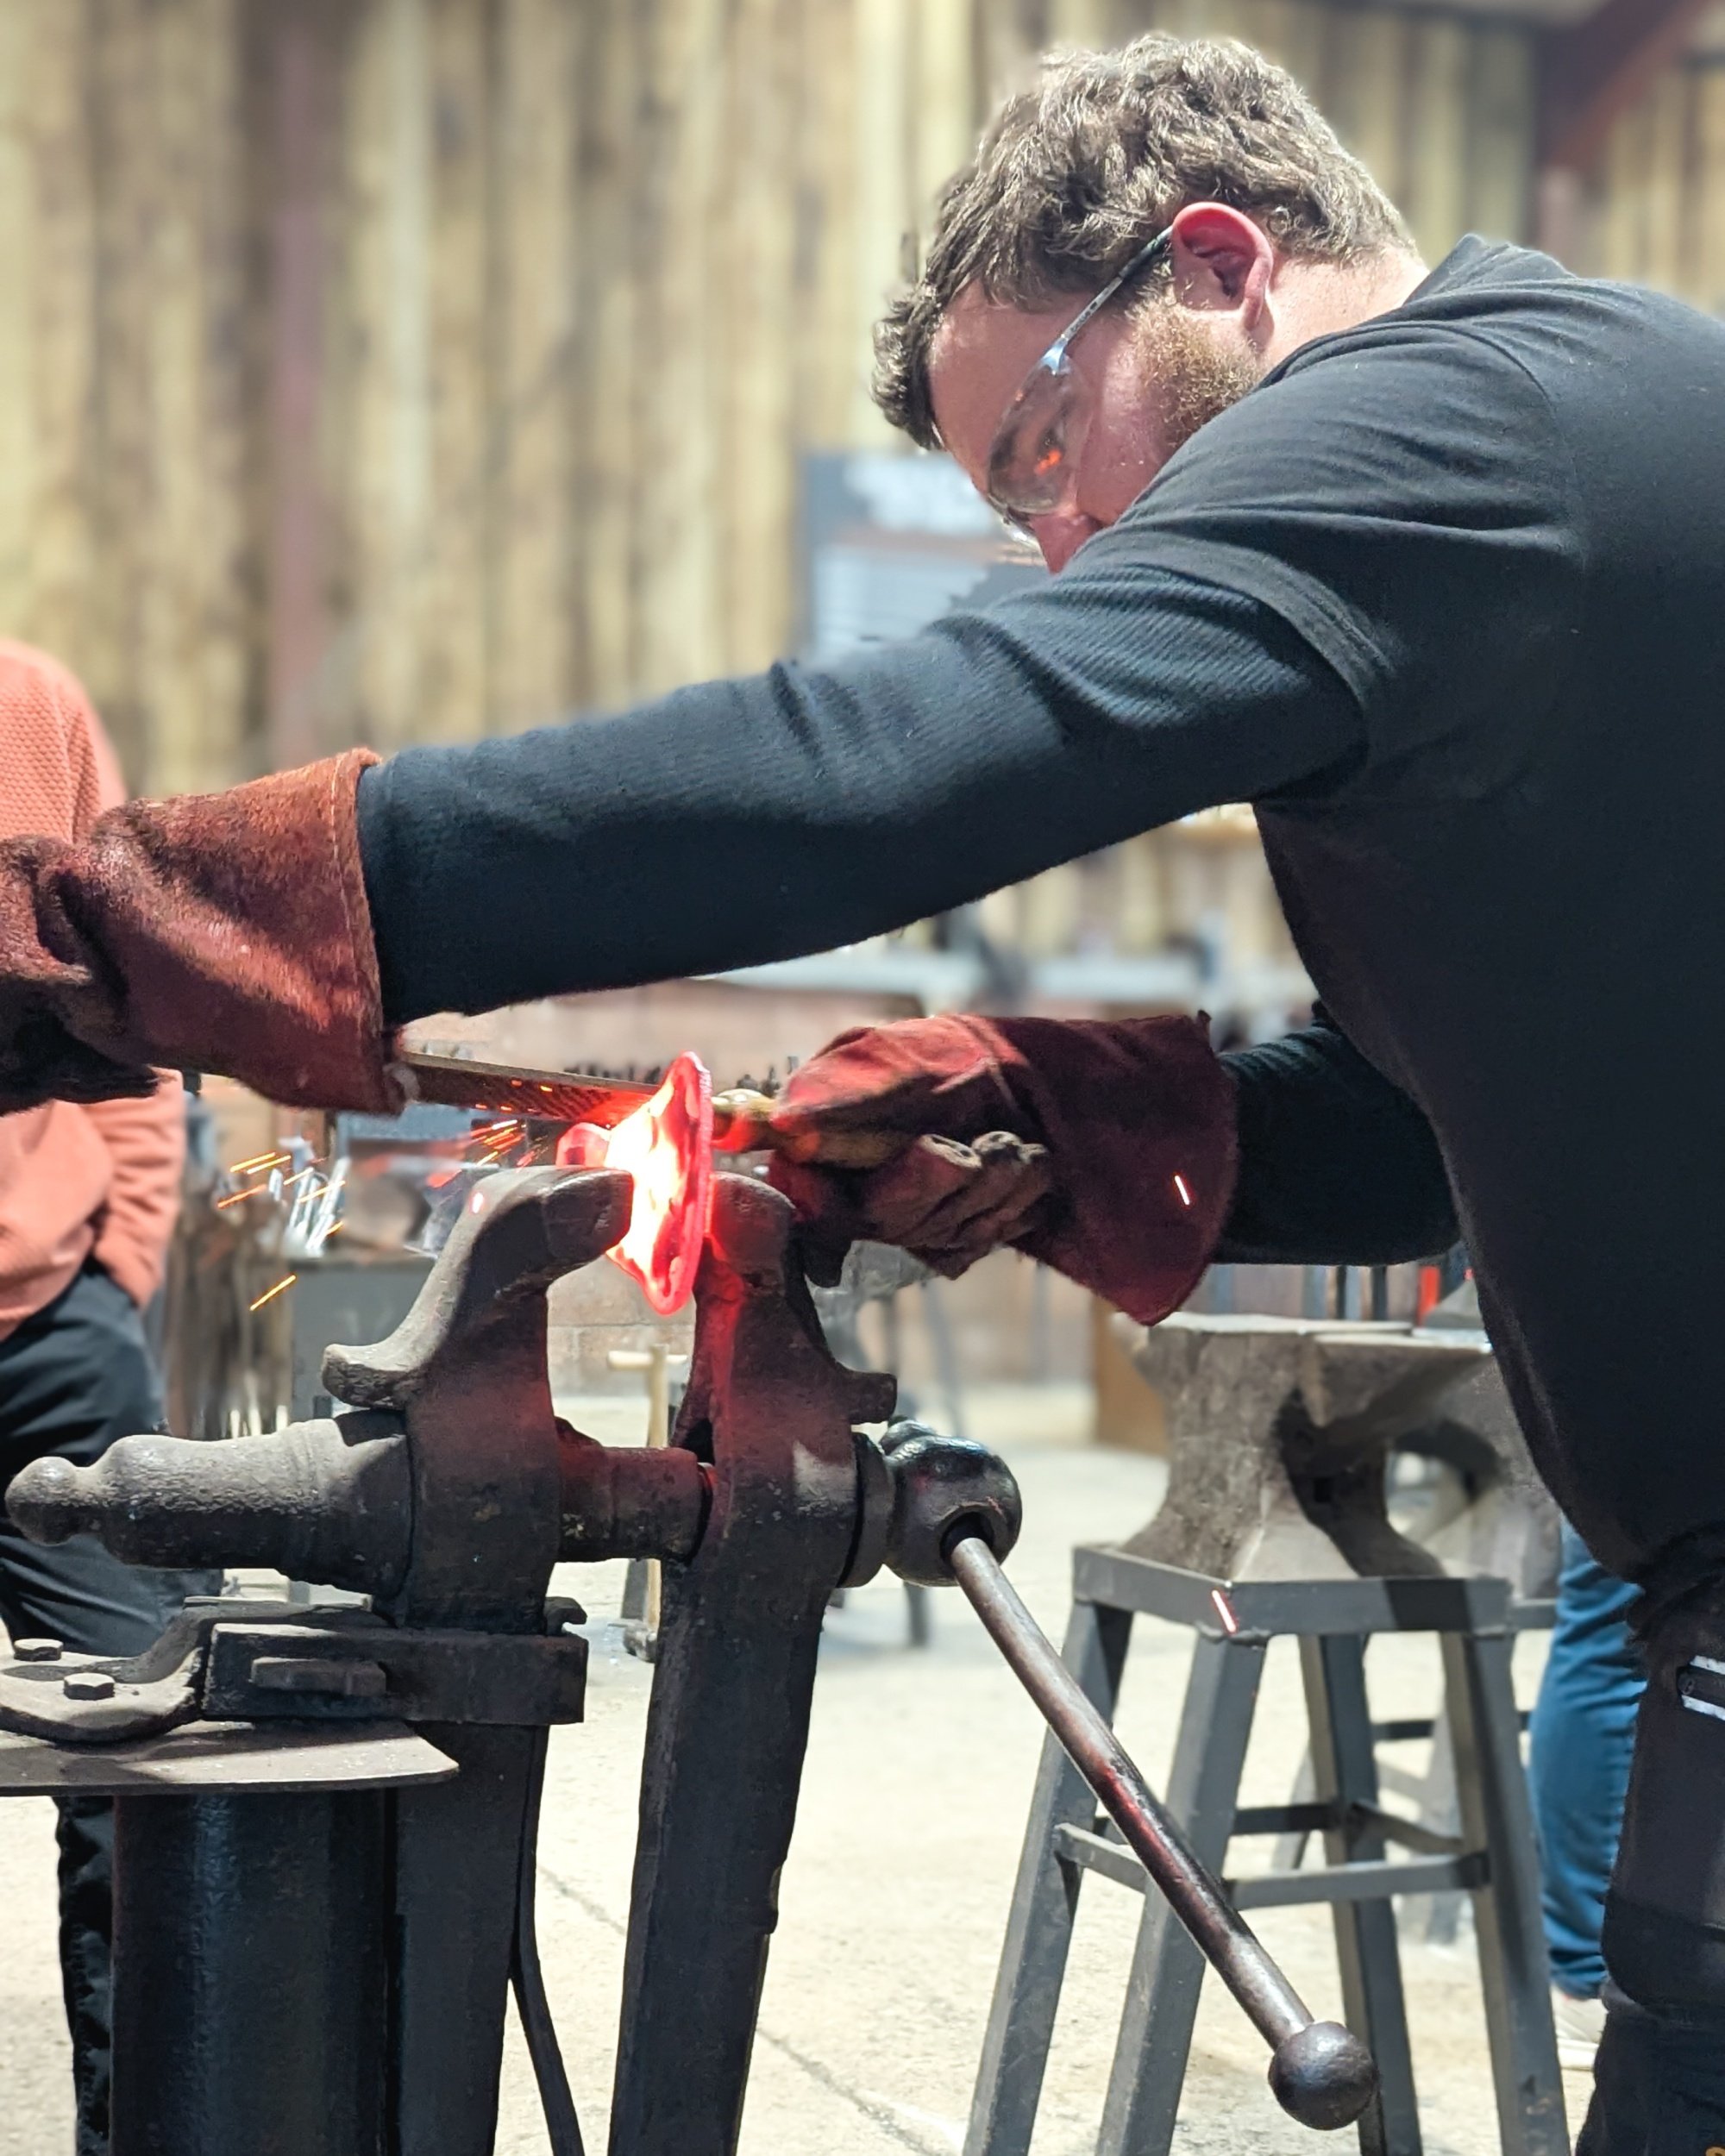
It went back into the forge again to heat up and Rod did some hammering to shape the side curve into the axe head, using a curved tool.
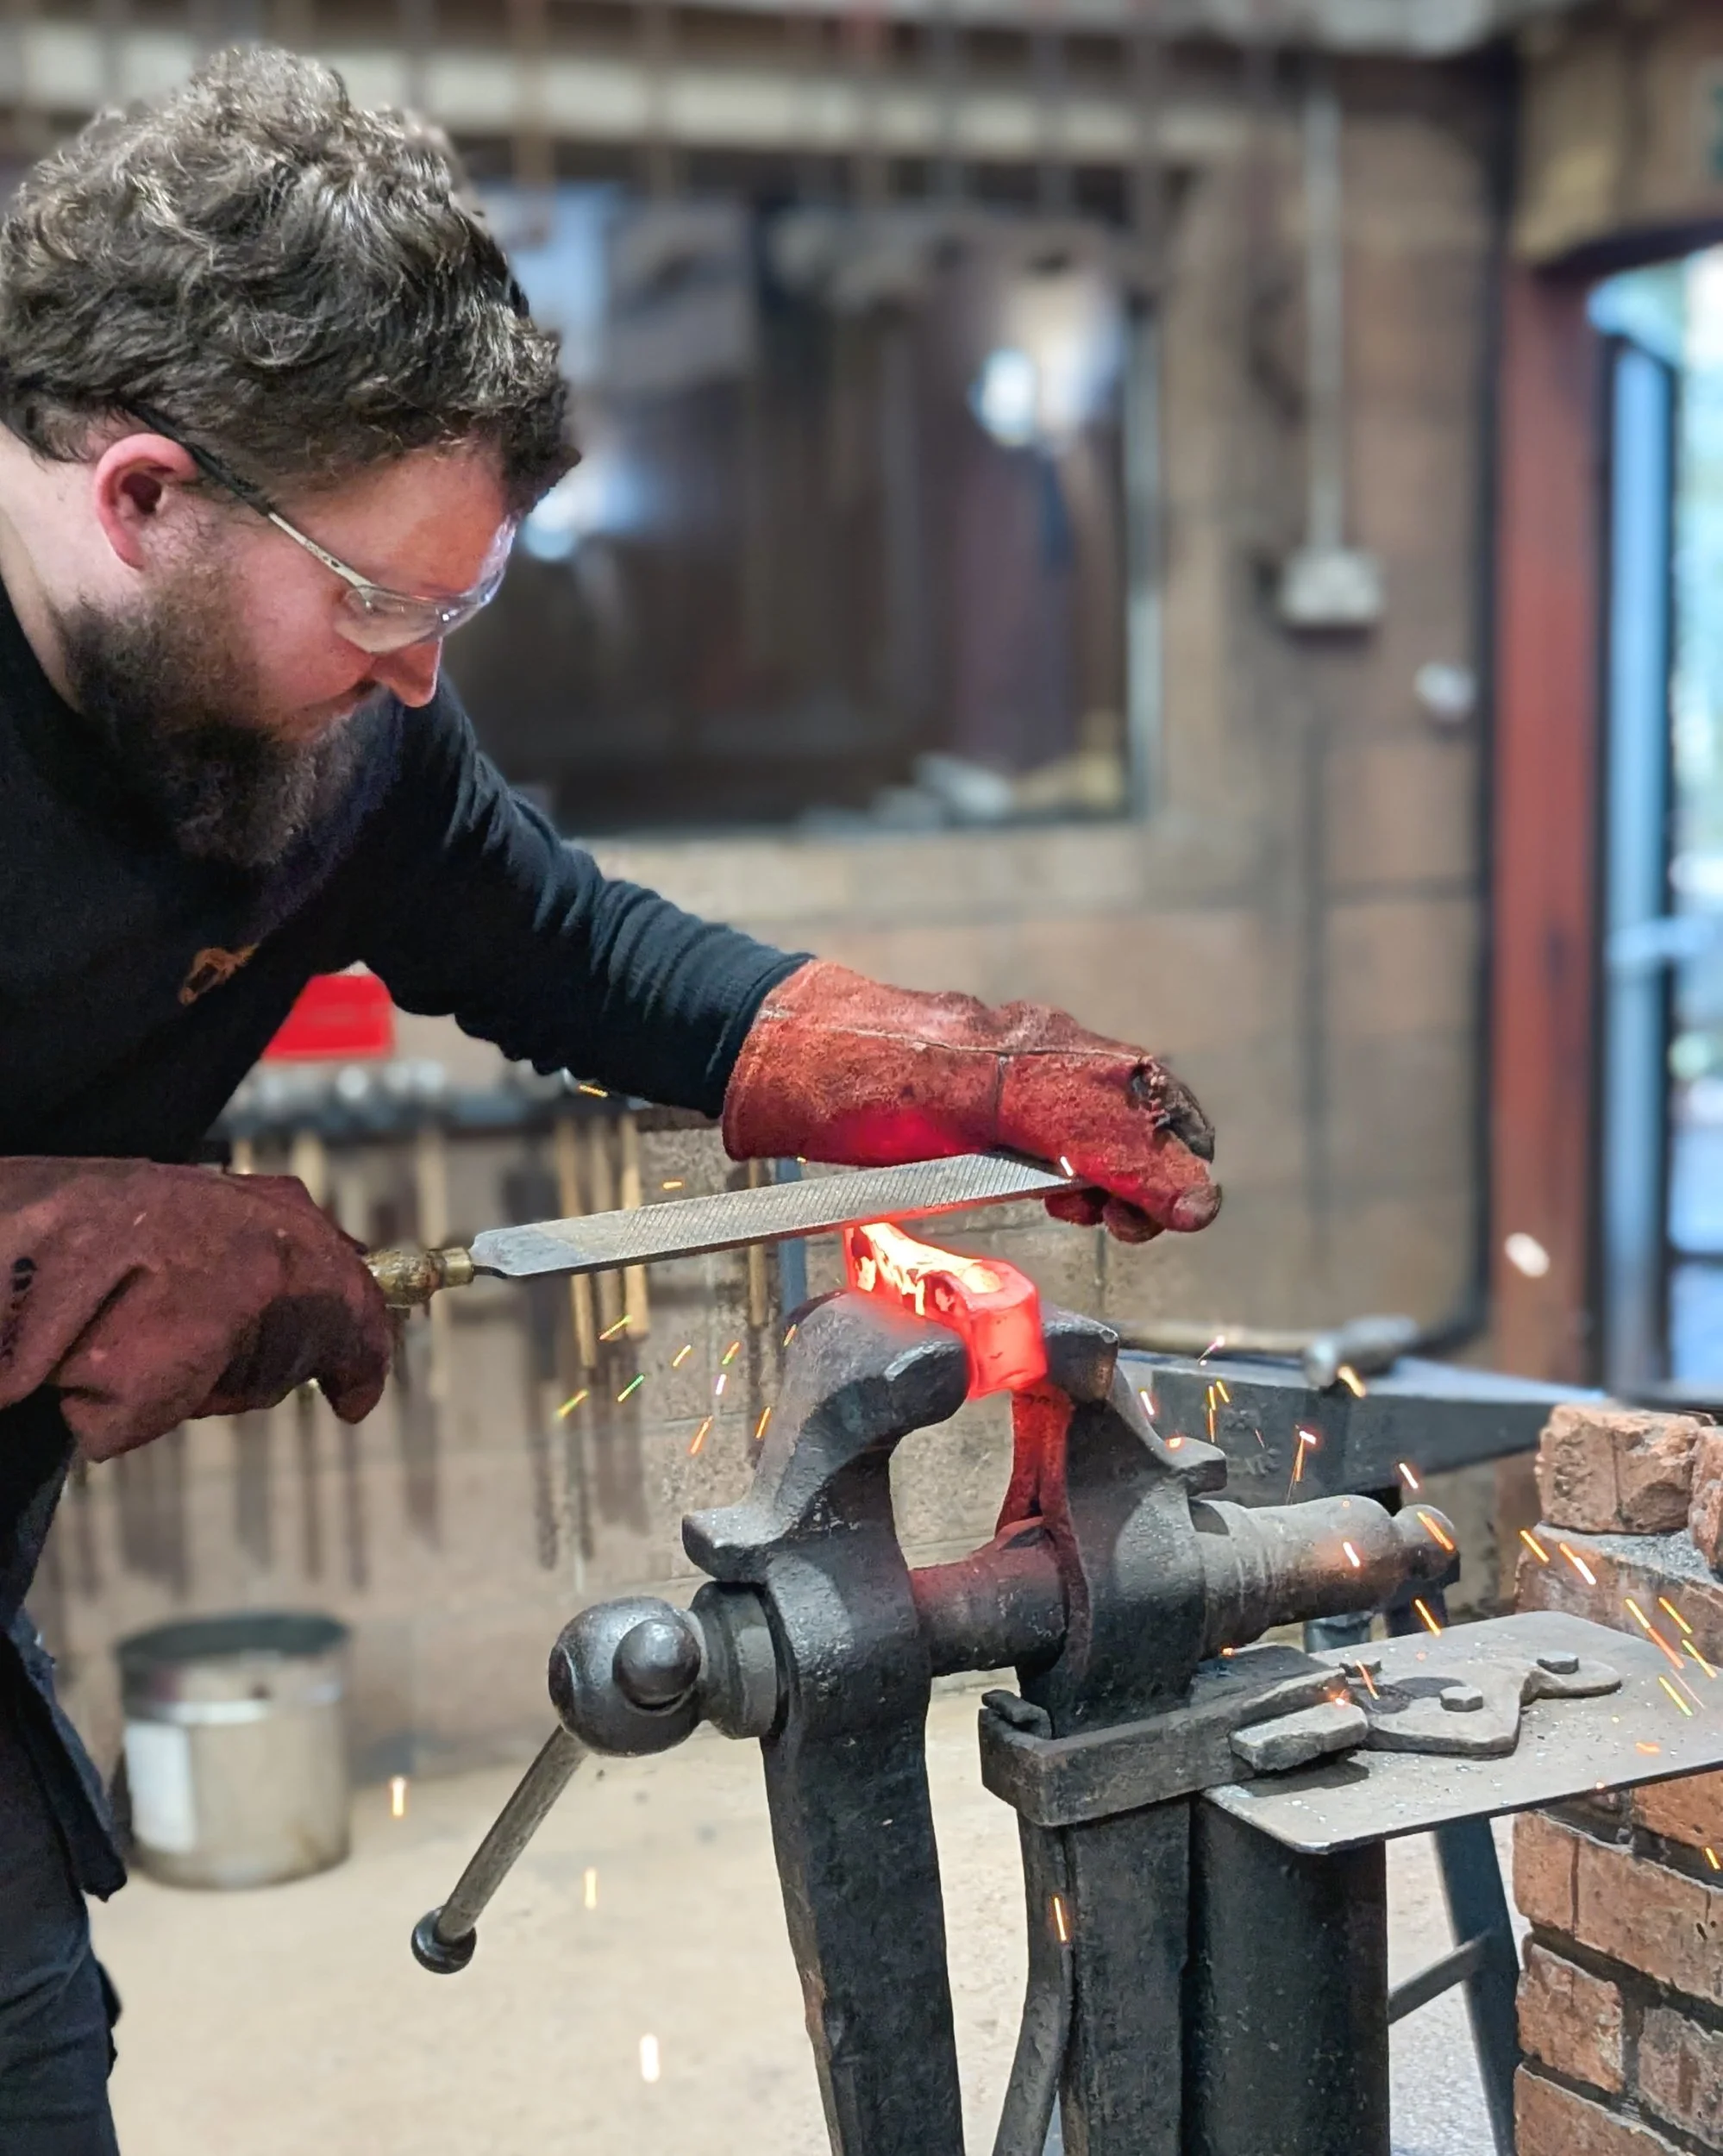
Then Matt (our teacher) did some hot rasping (involving using a metal rasp with your hands near to 600° + metal block - very dangerous and not something we were allowed to do!). Gladly let him do that.
Some grinding was also done by Matt to bring the shape a bit more in line with what we were looking for.
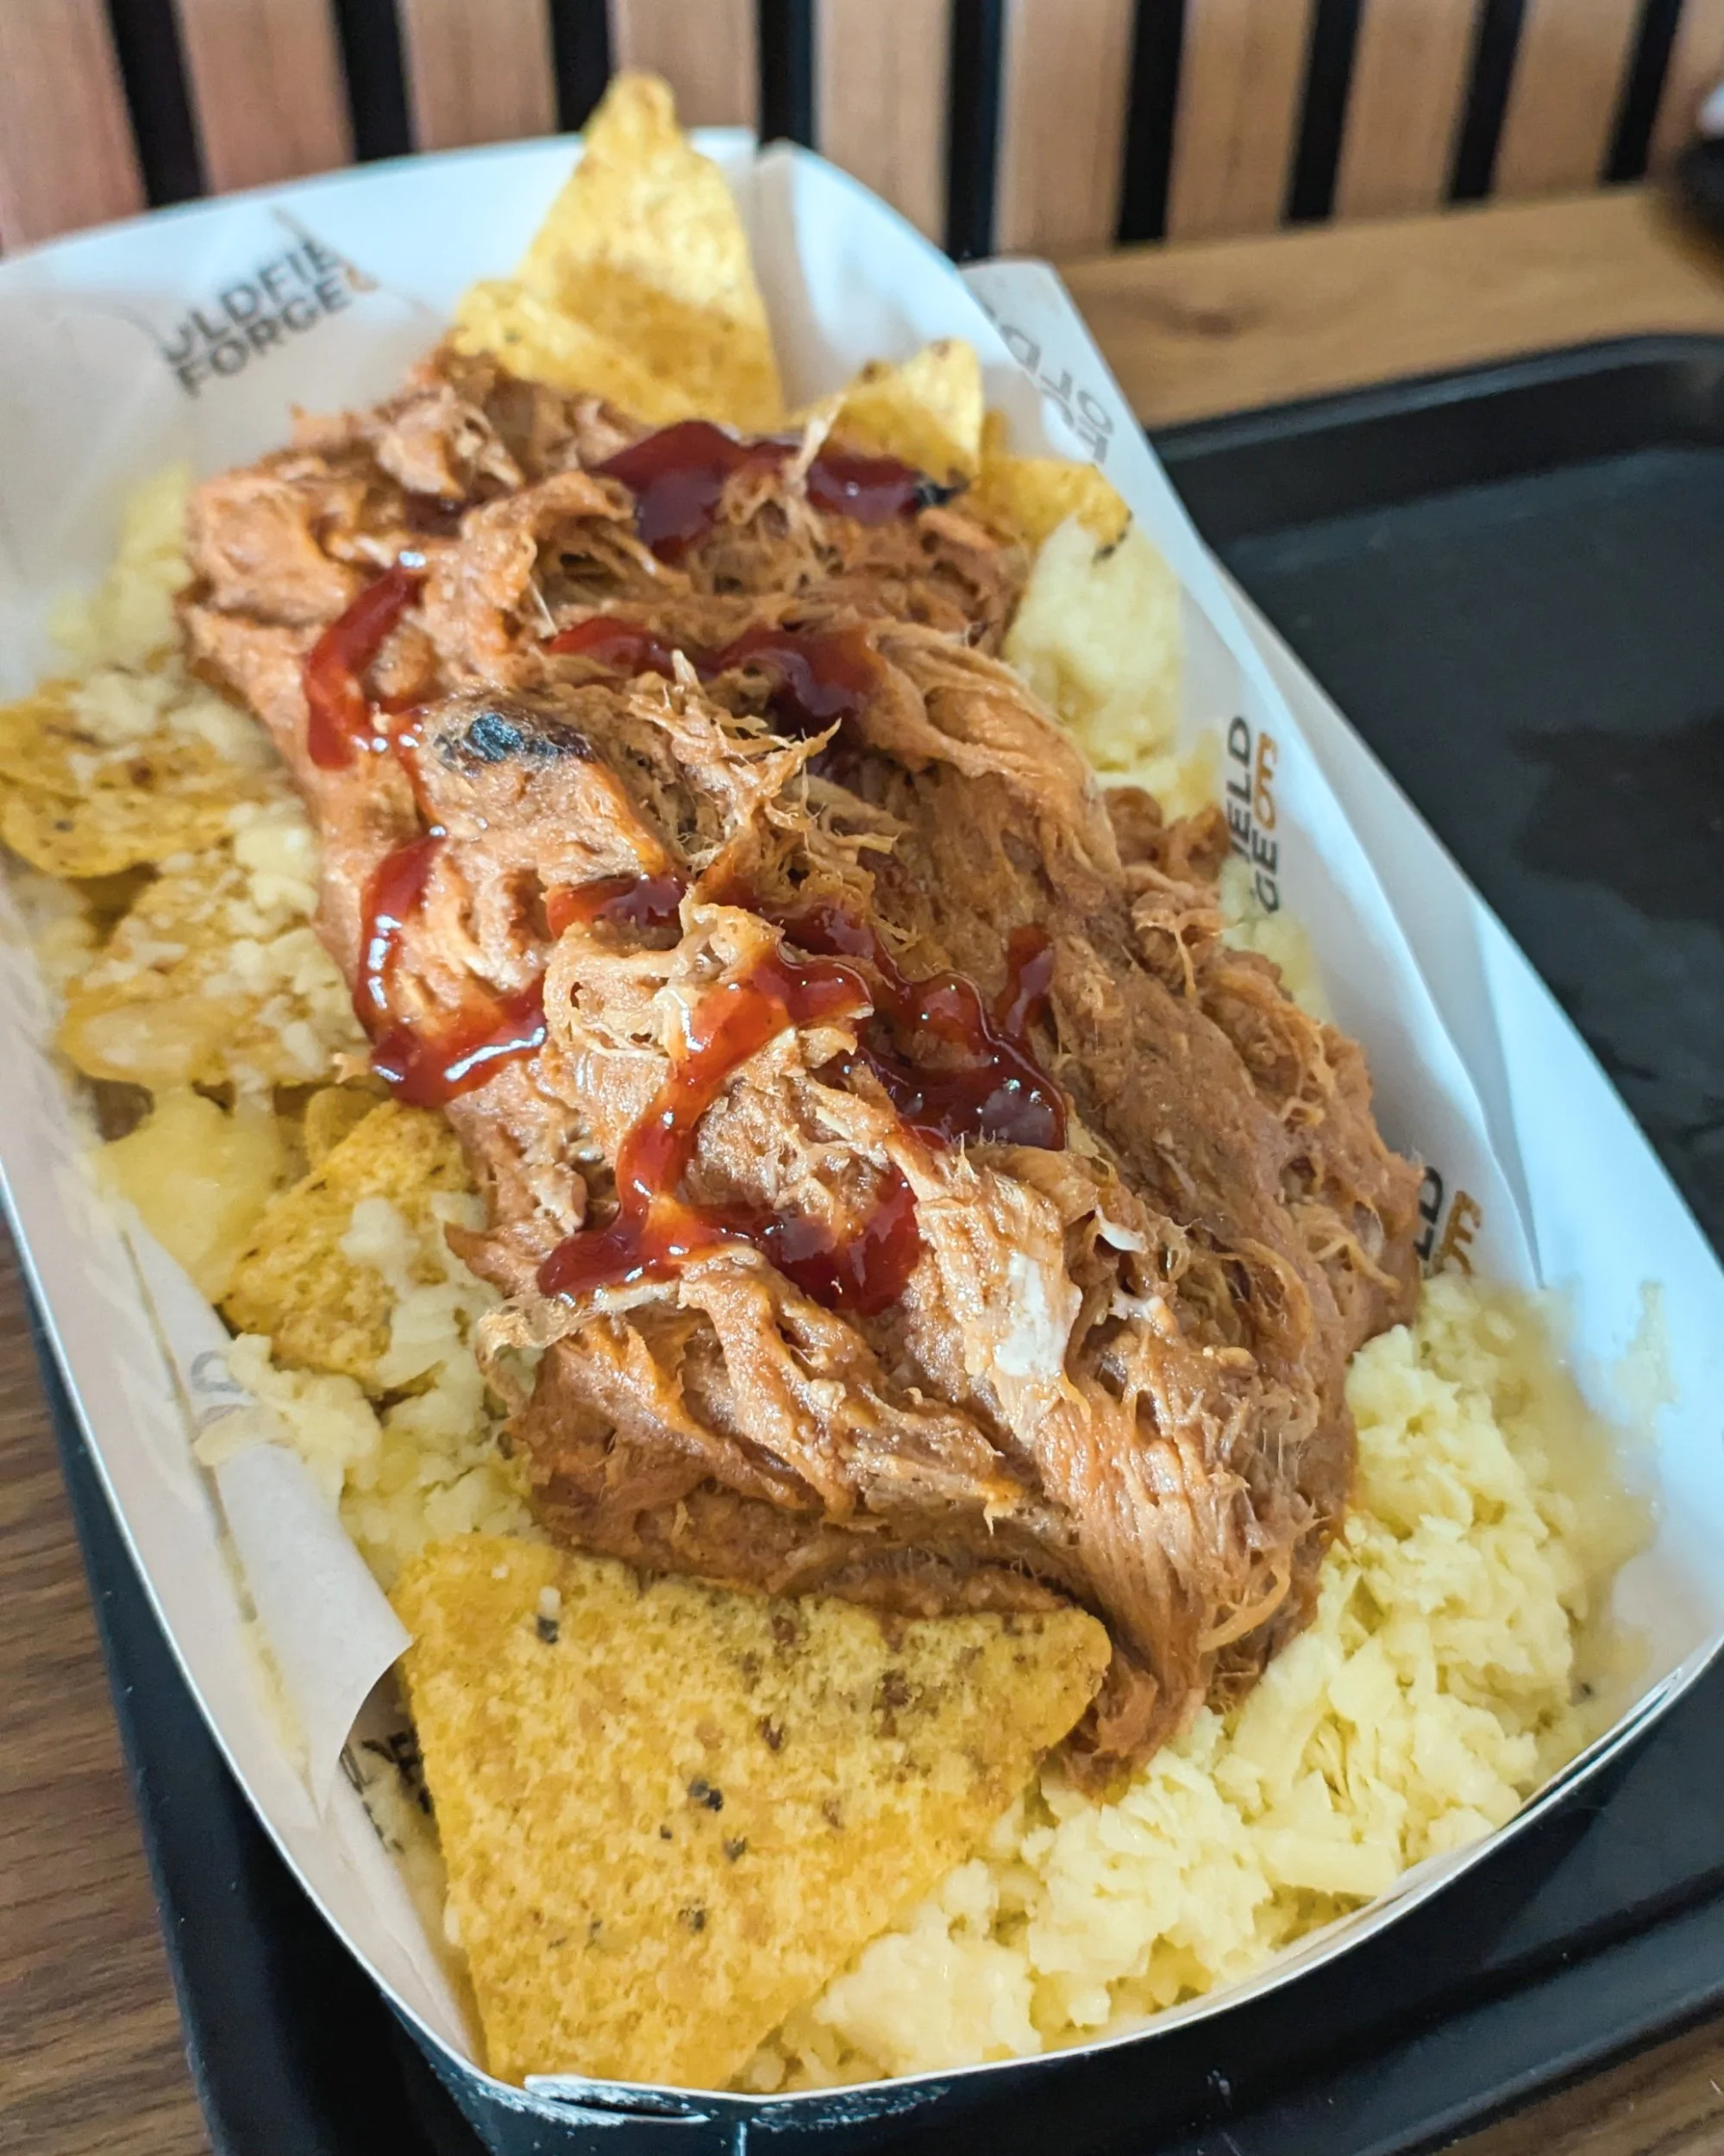
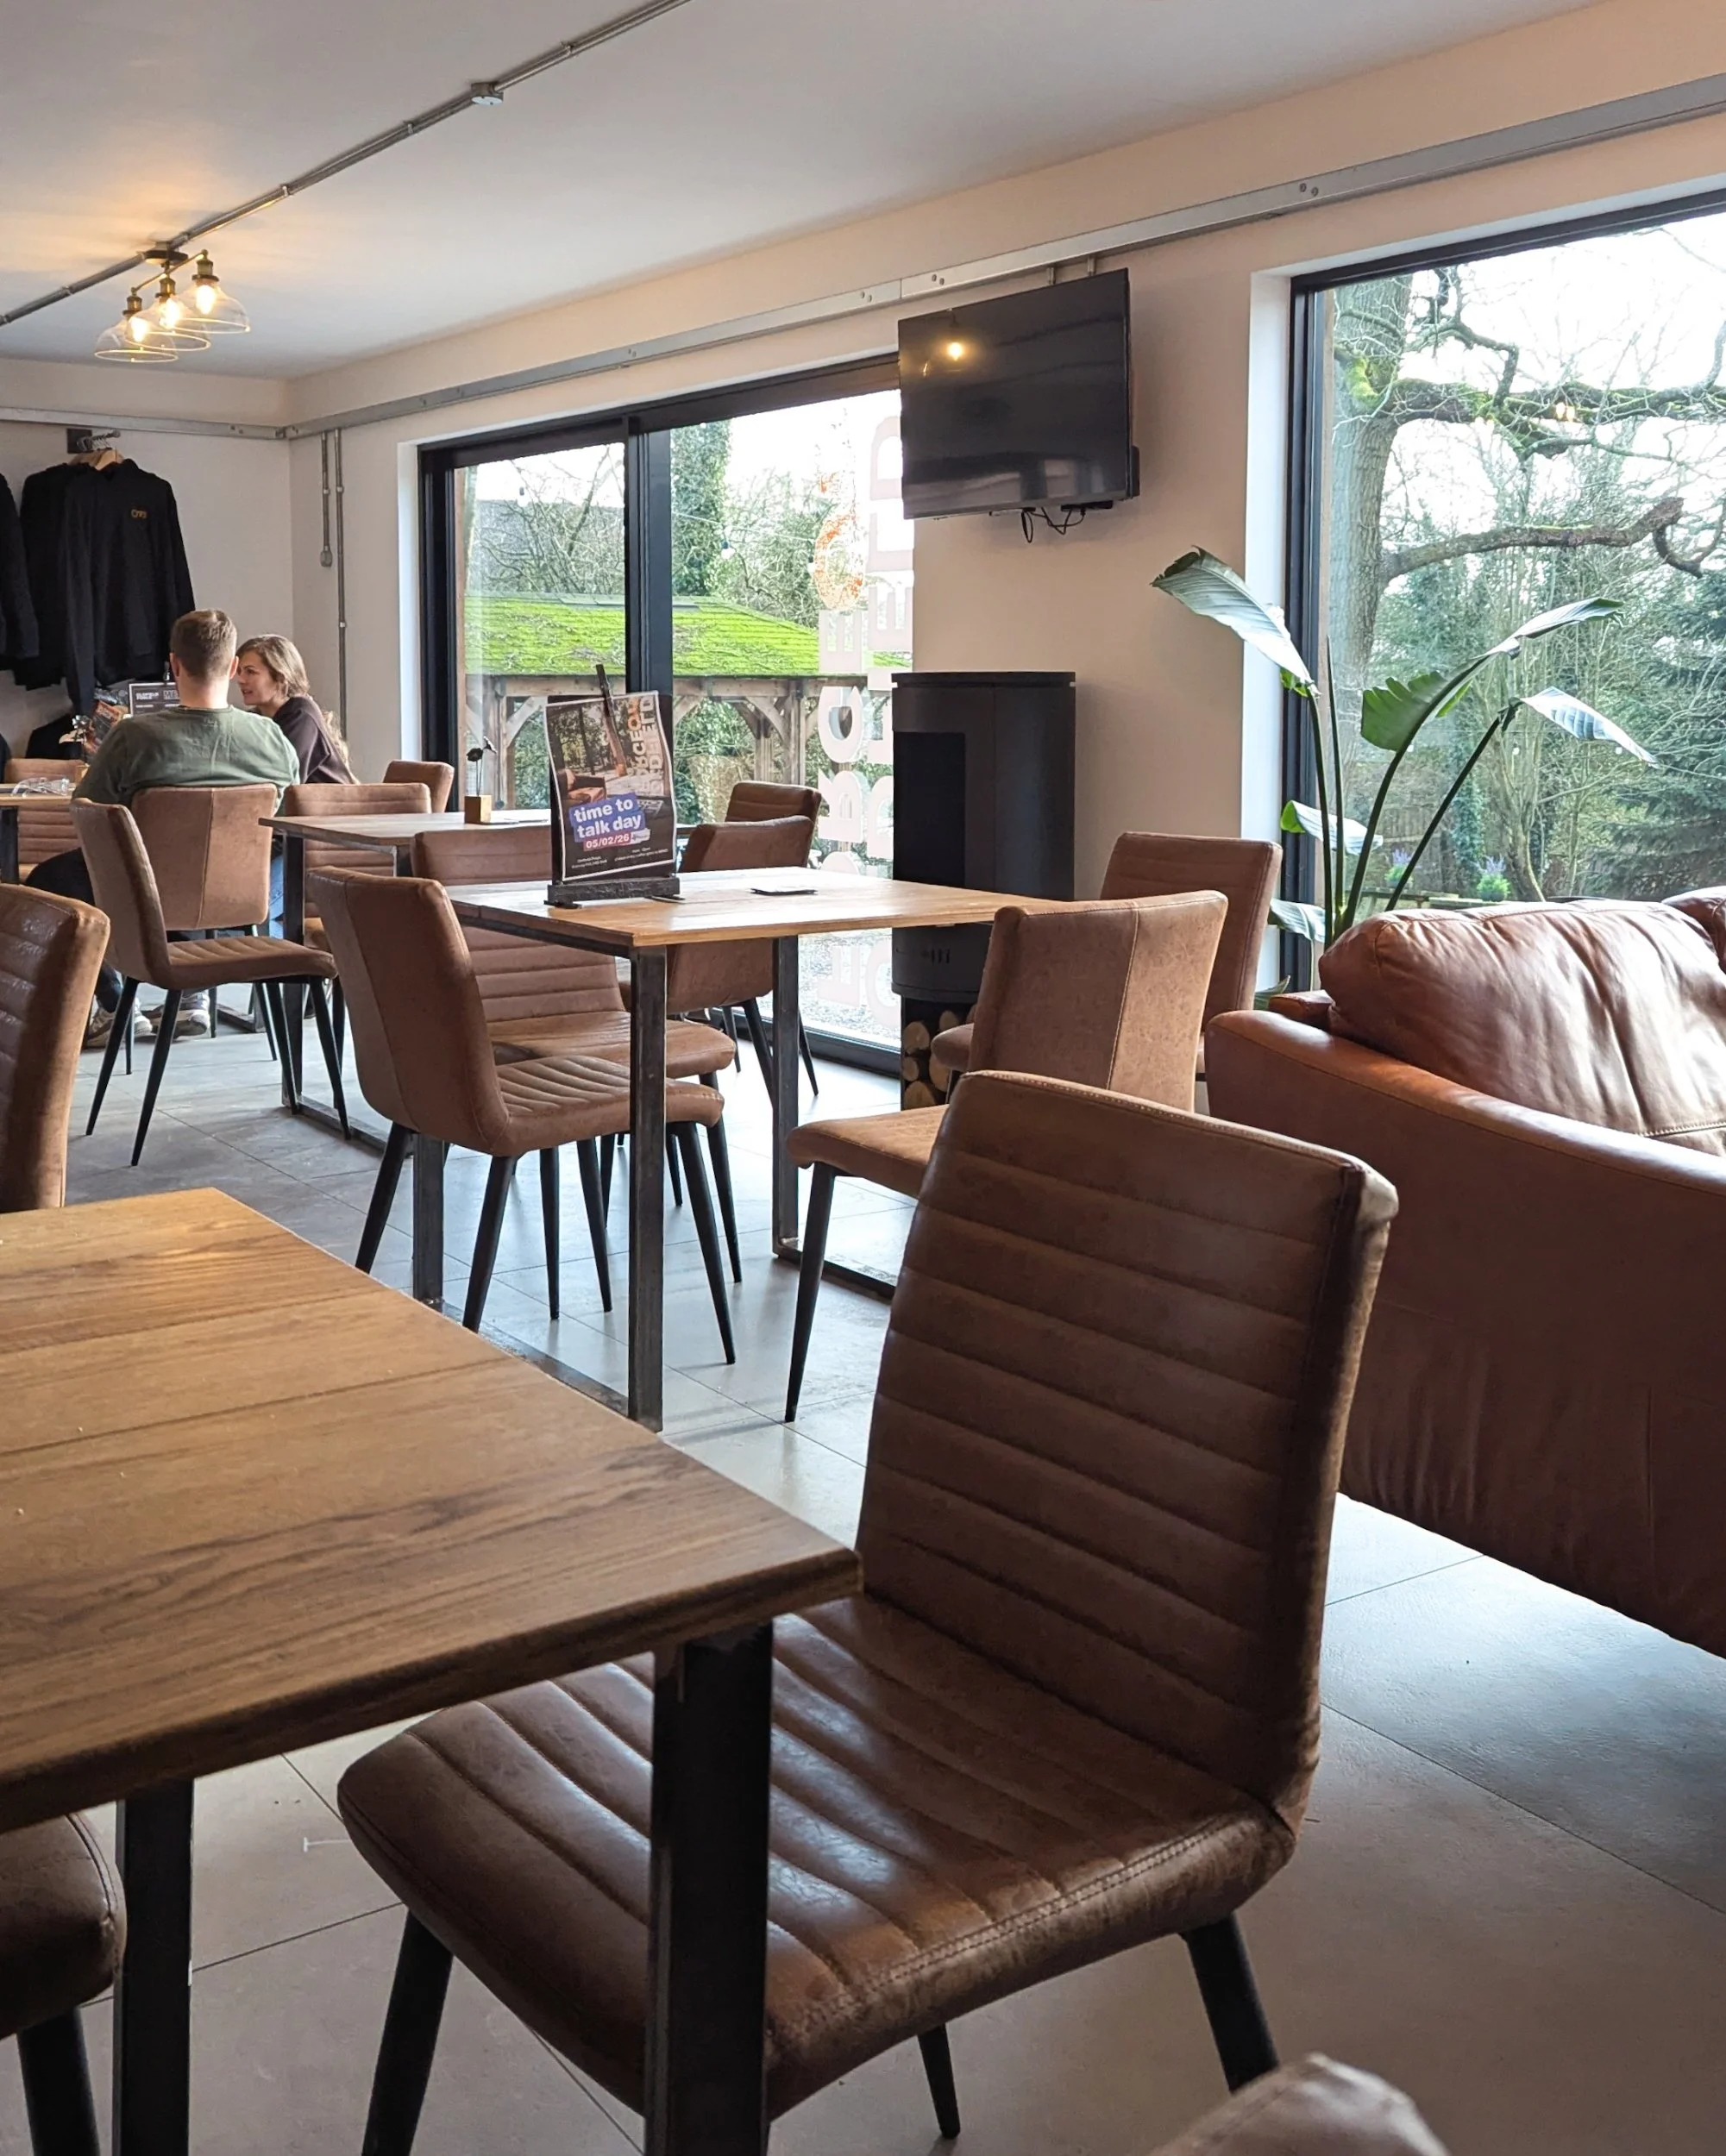
We then stopped for a long lunch break to let it cool down so we could move onto the next stage. Despite pre-ordering, when we walked into the café, it quickly became apparent a lot of people were still waiting for food. We were one of the last groups out to lunch, so despite pre-ordering, they had actually run out of the wedges that my dad ordered! Instead we both had pulled pork nachos, which were great, but such a large portion size! We both ended up saving half and having them for tea too. Could definitely have shared a portion.
Thankfully the café quietened down as we were eating and other groups returned to the workshop. One benefit of having a slightly later lunch and being in a smaller group!
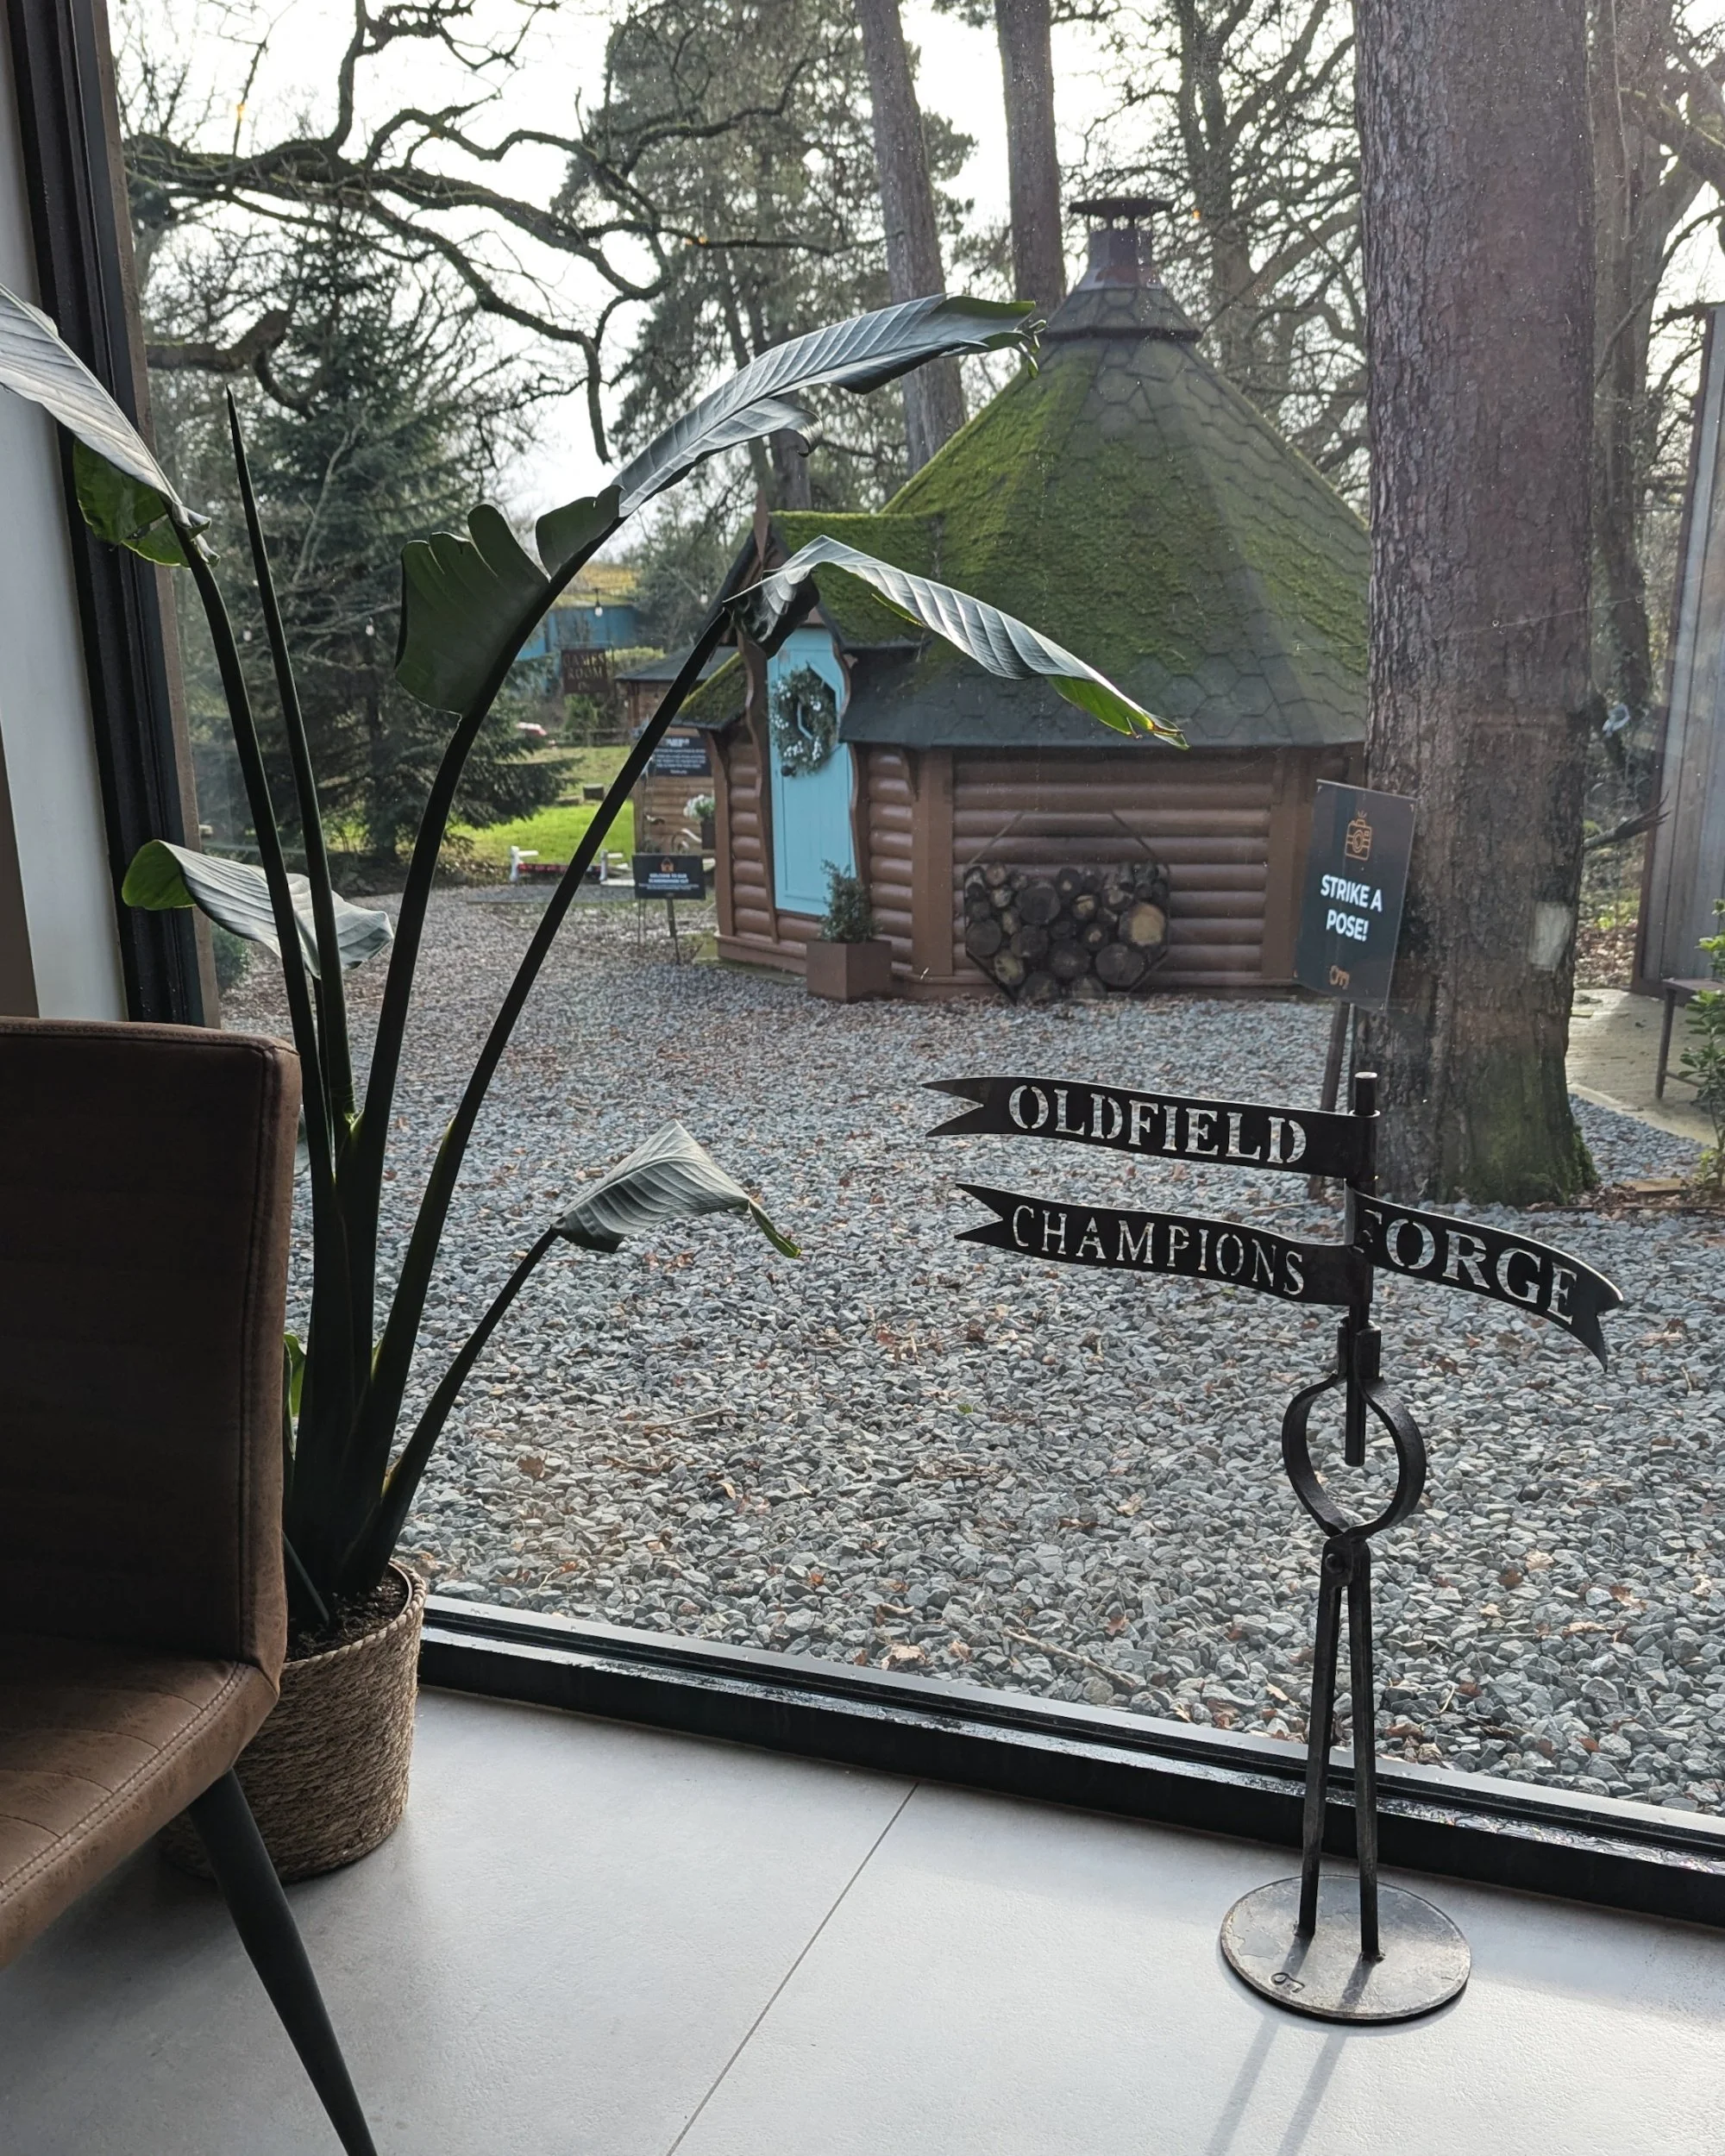
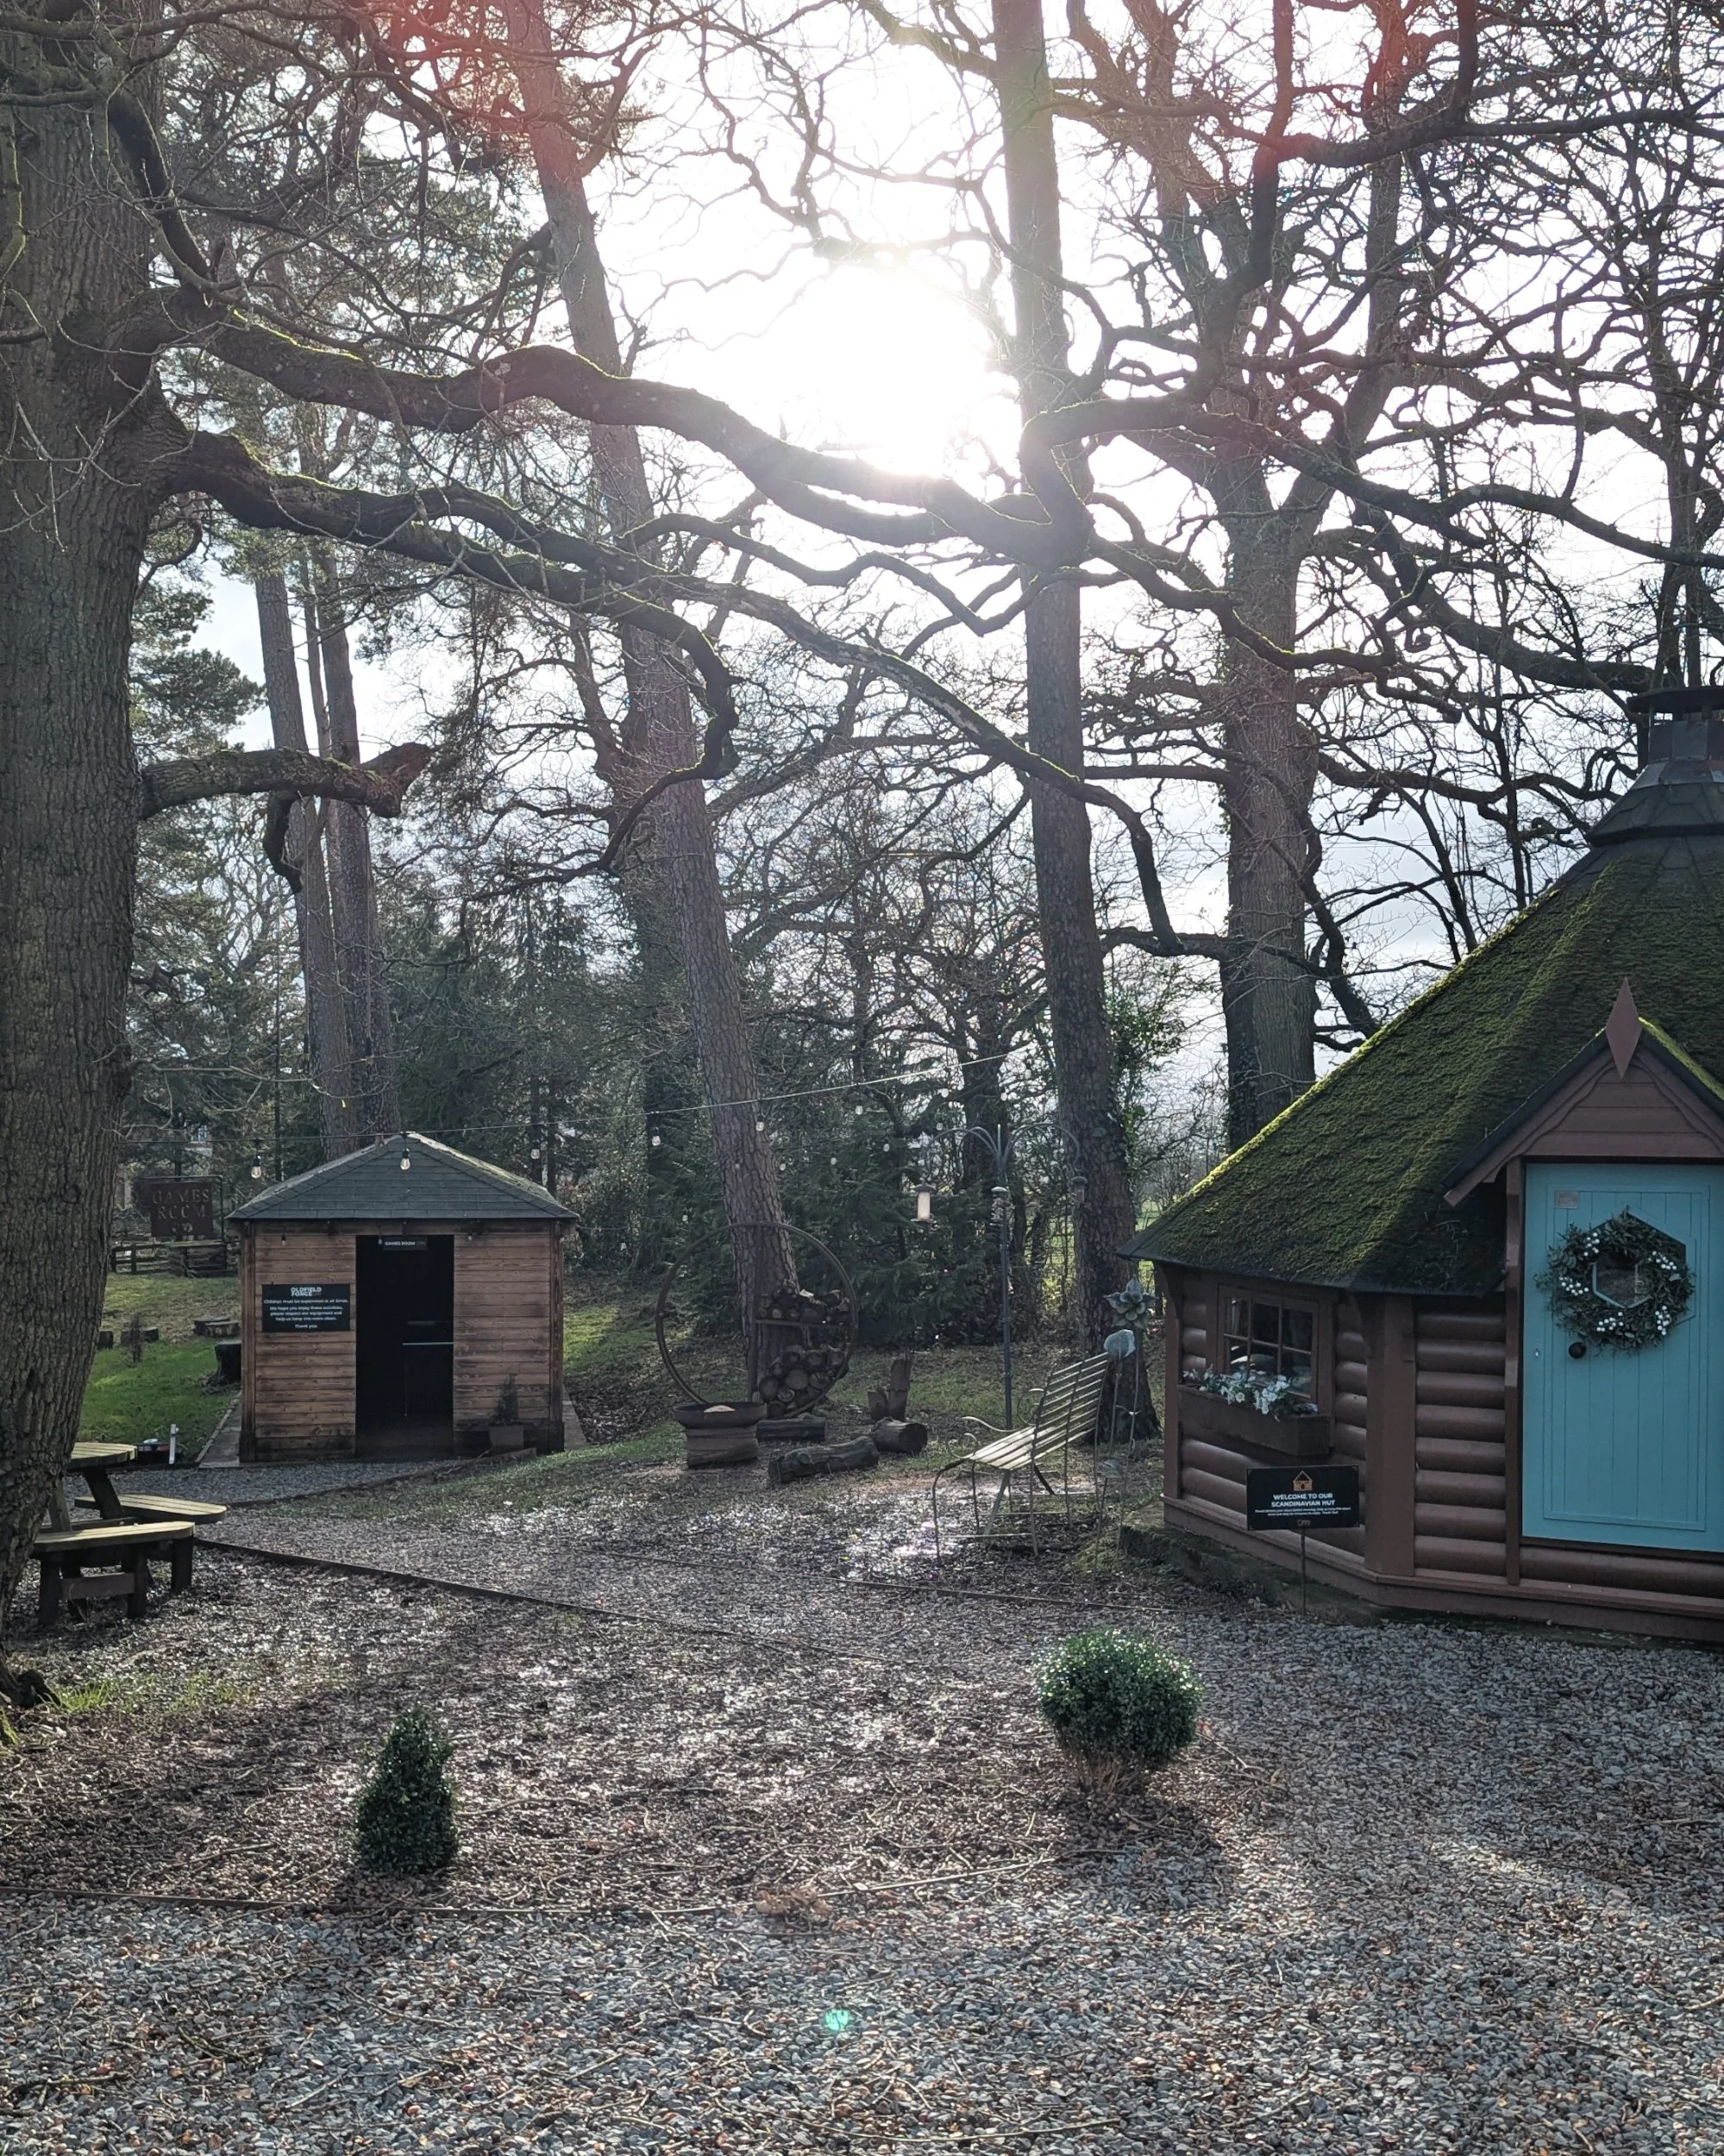
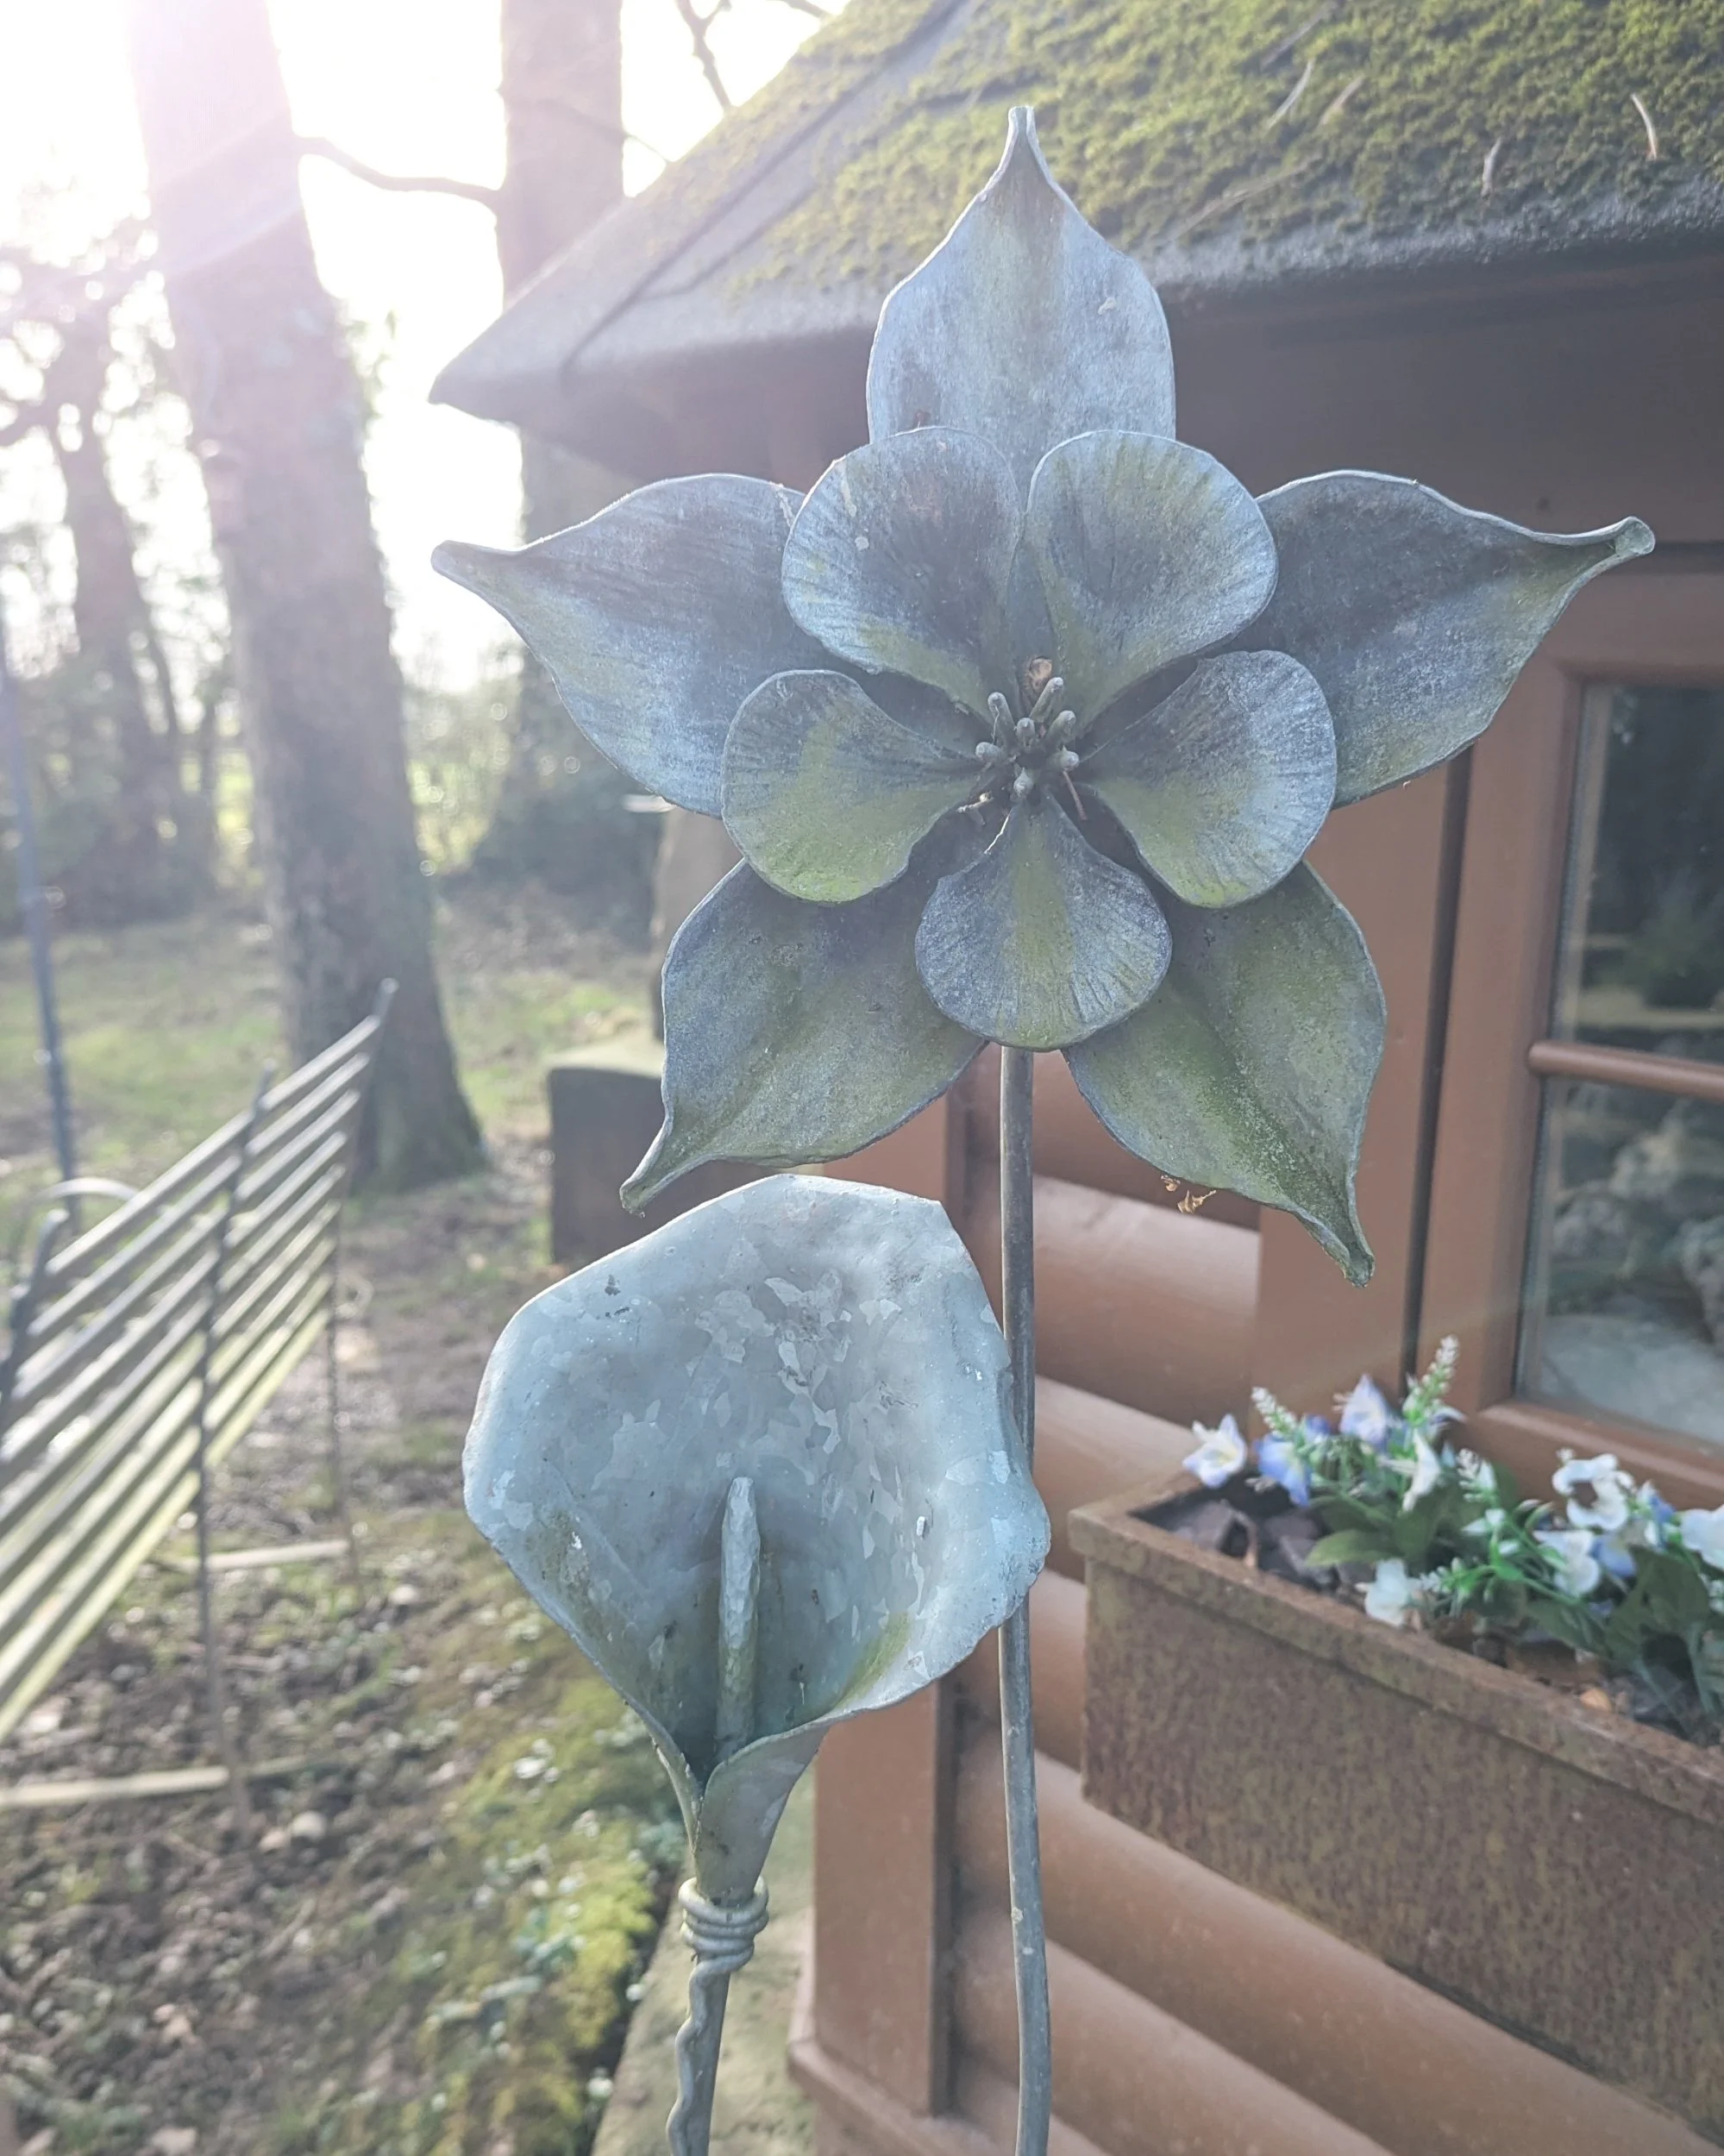
After lunch we looked around the grounds at the quirky lodge, games room and metal sculptures to kill a bit more time whilst our piece cooled down.

We also had another look around the shop. They have great pieces of handcrafted metalwork in the shop, ideal for inspiration. I loved the Damascus patterns, which Matt explained were done by pressing layers of metals together, that when shaped created distinct patterns. There's lots of ways of creating patterns, including twists, raindrops and feather patterns.
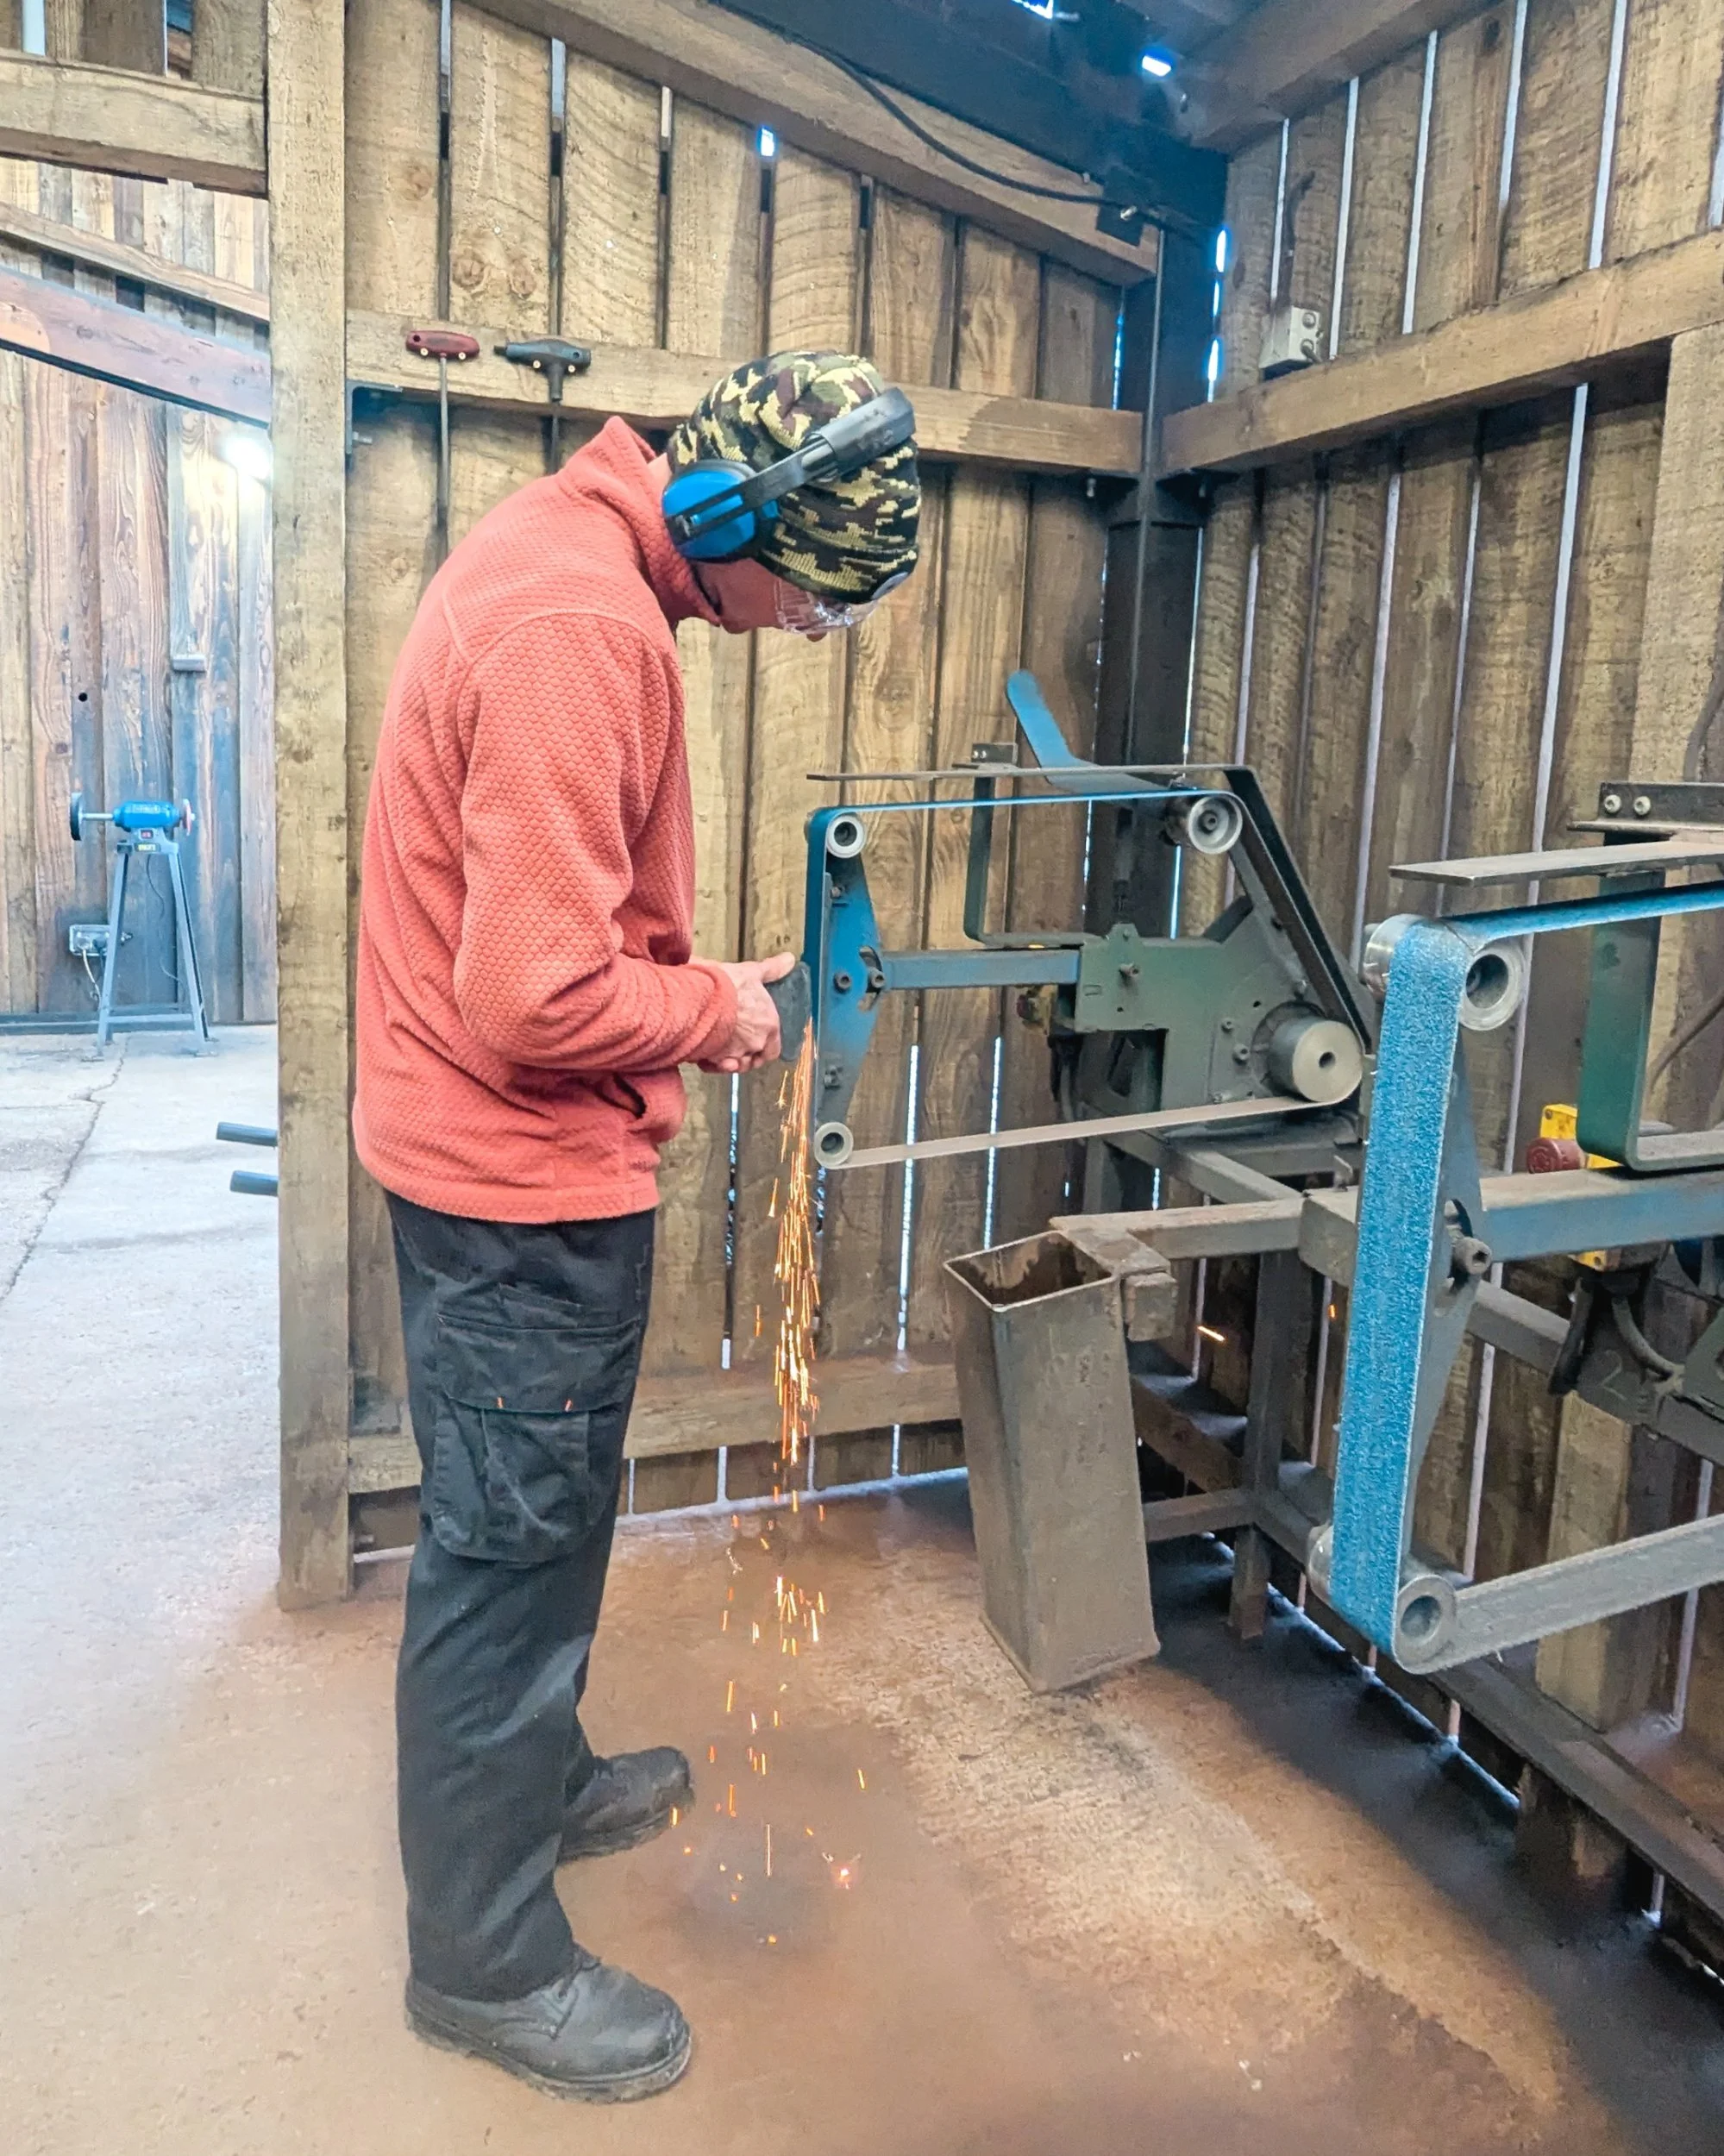
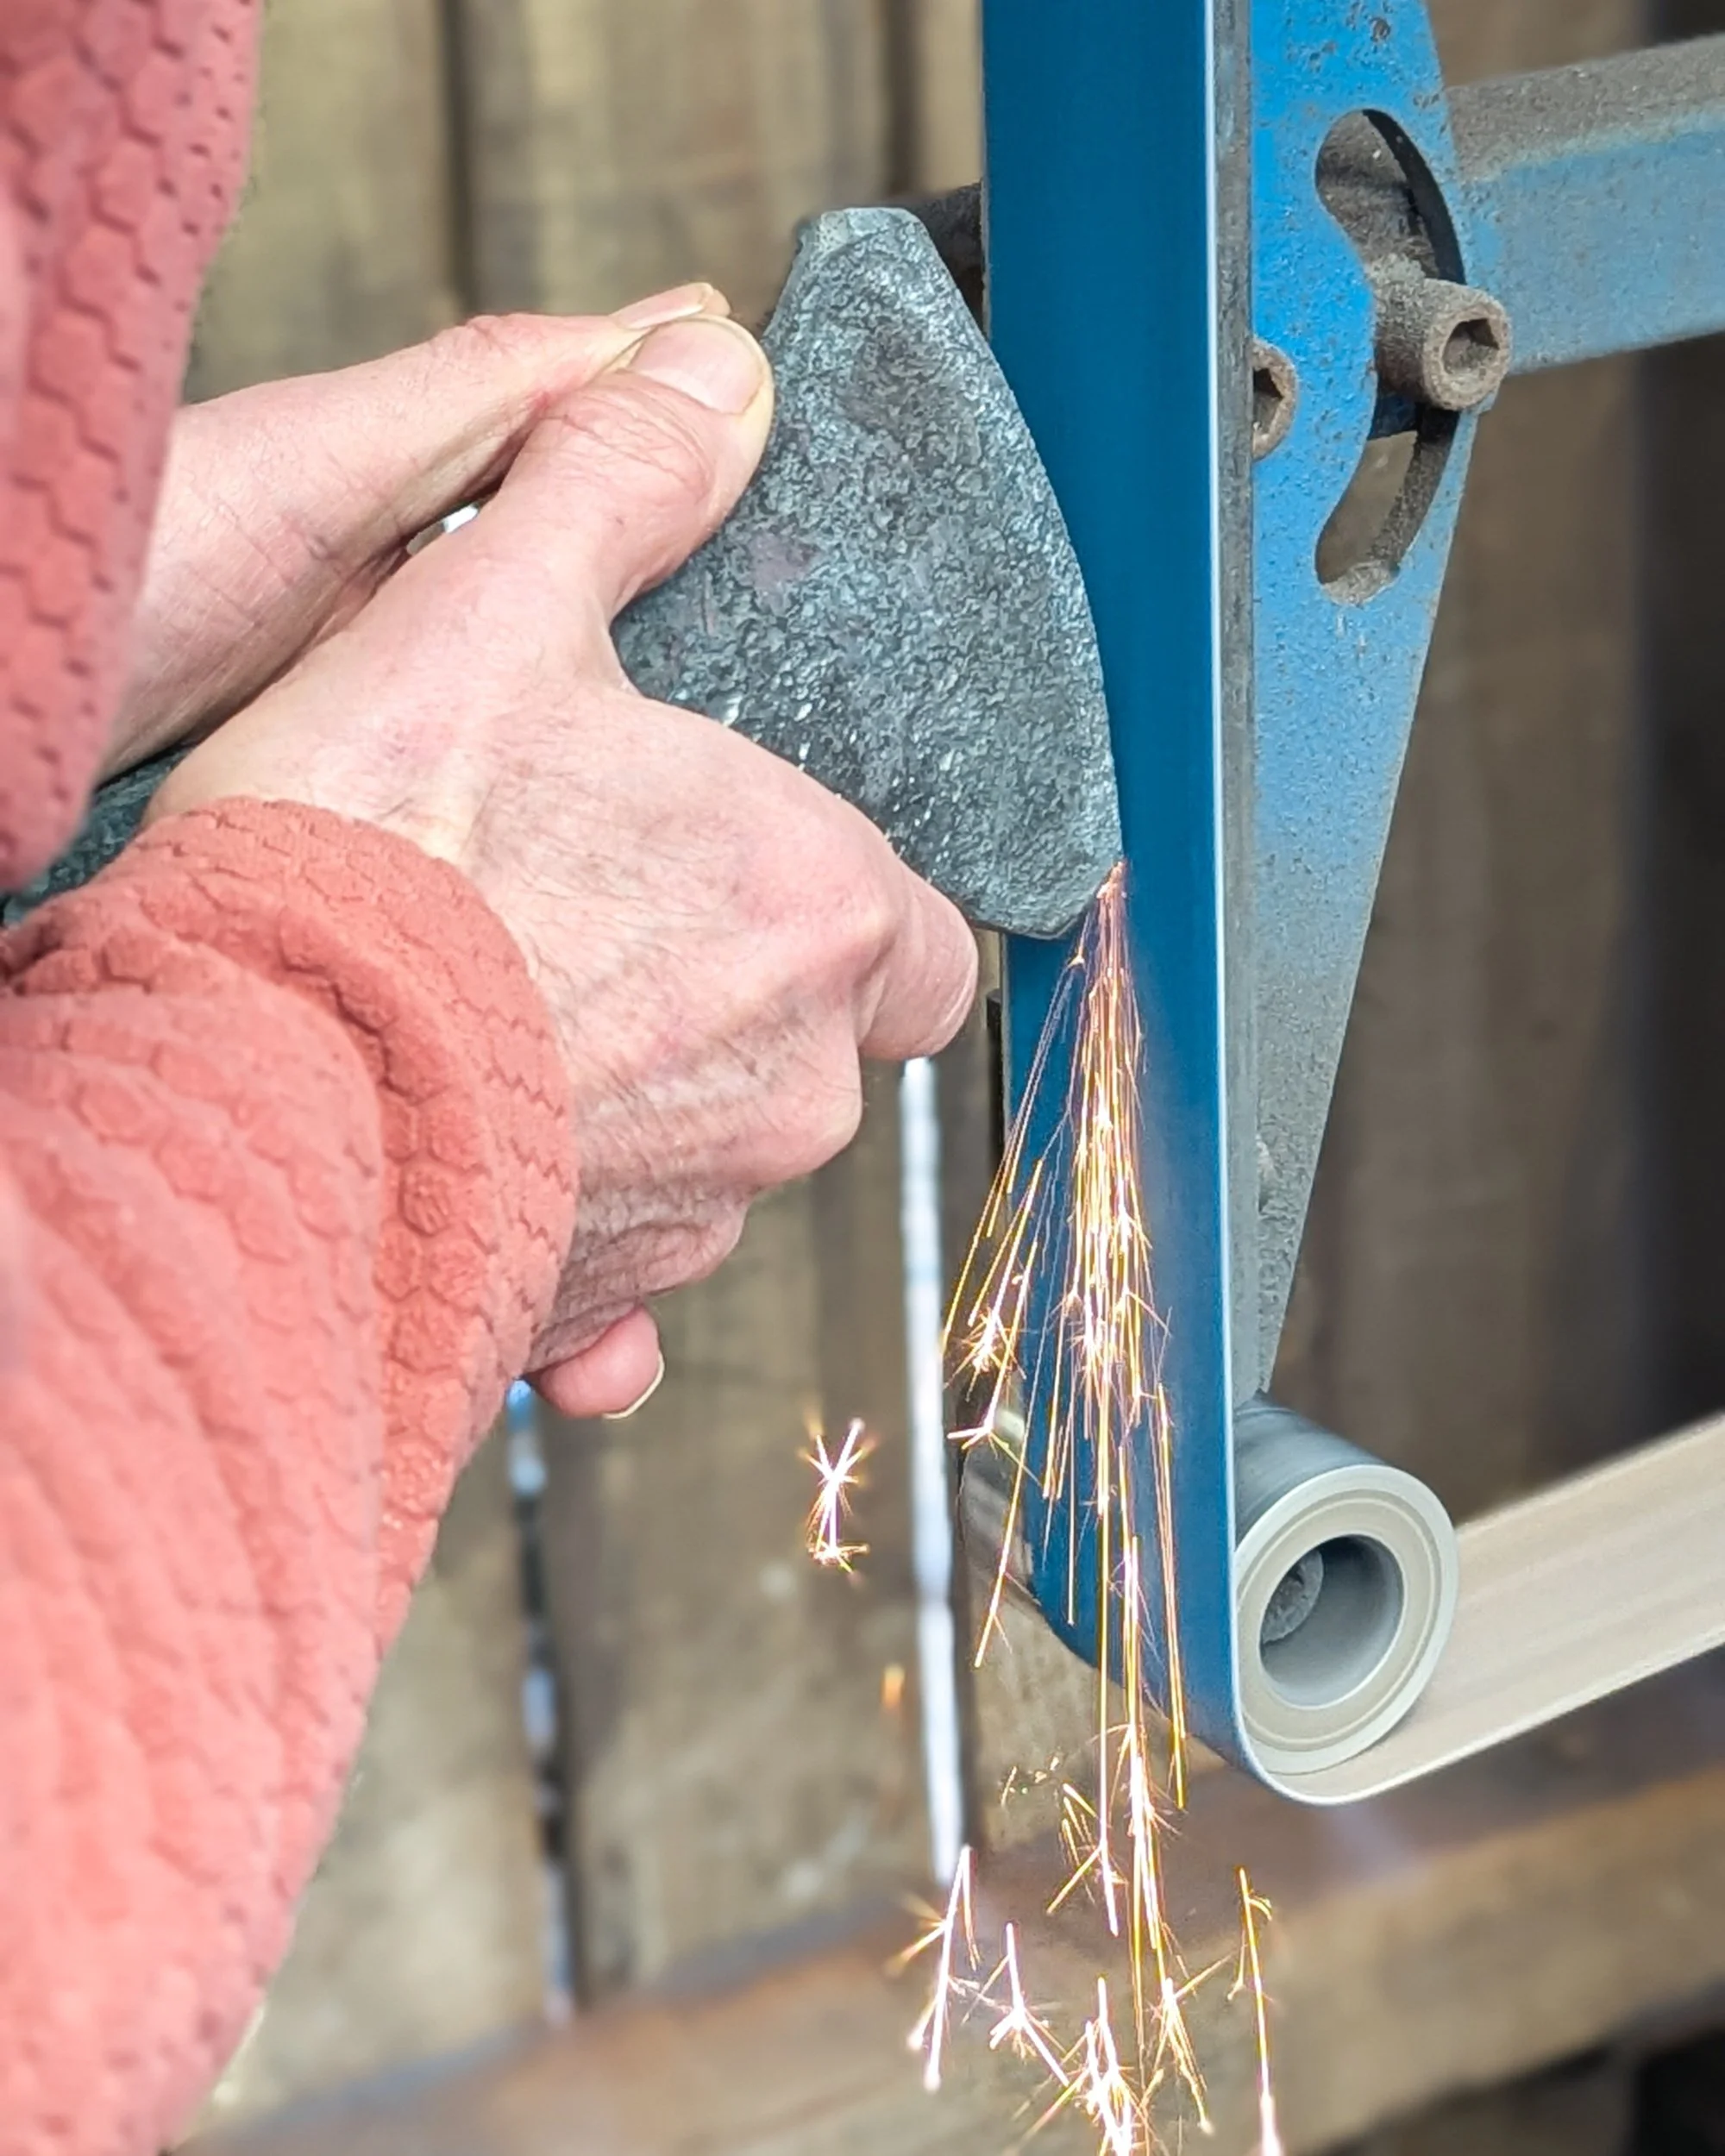
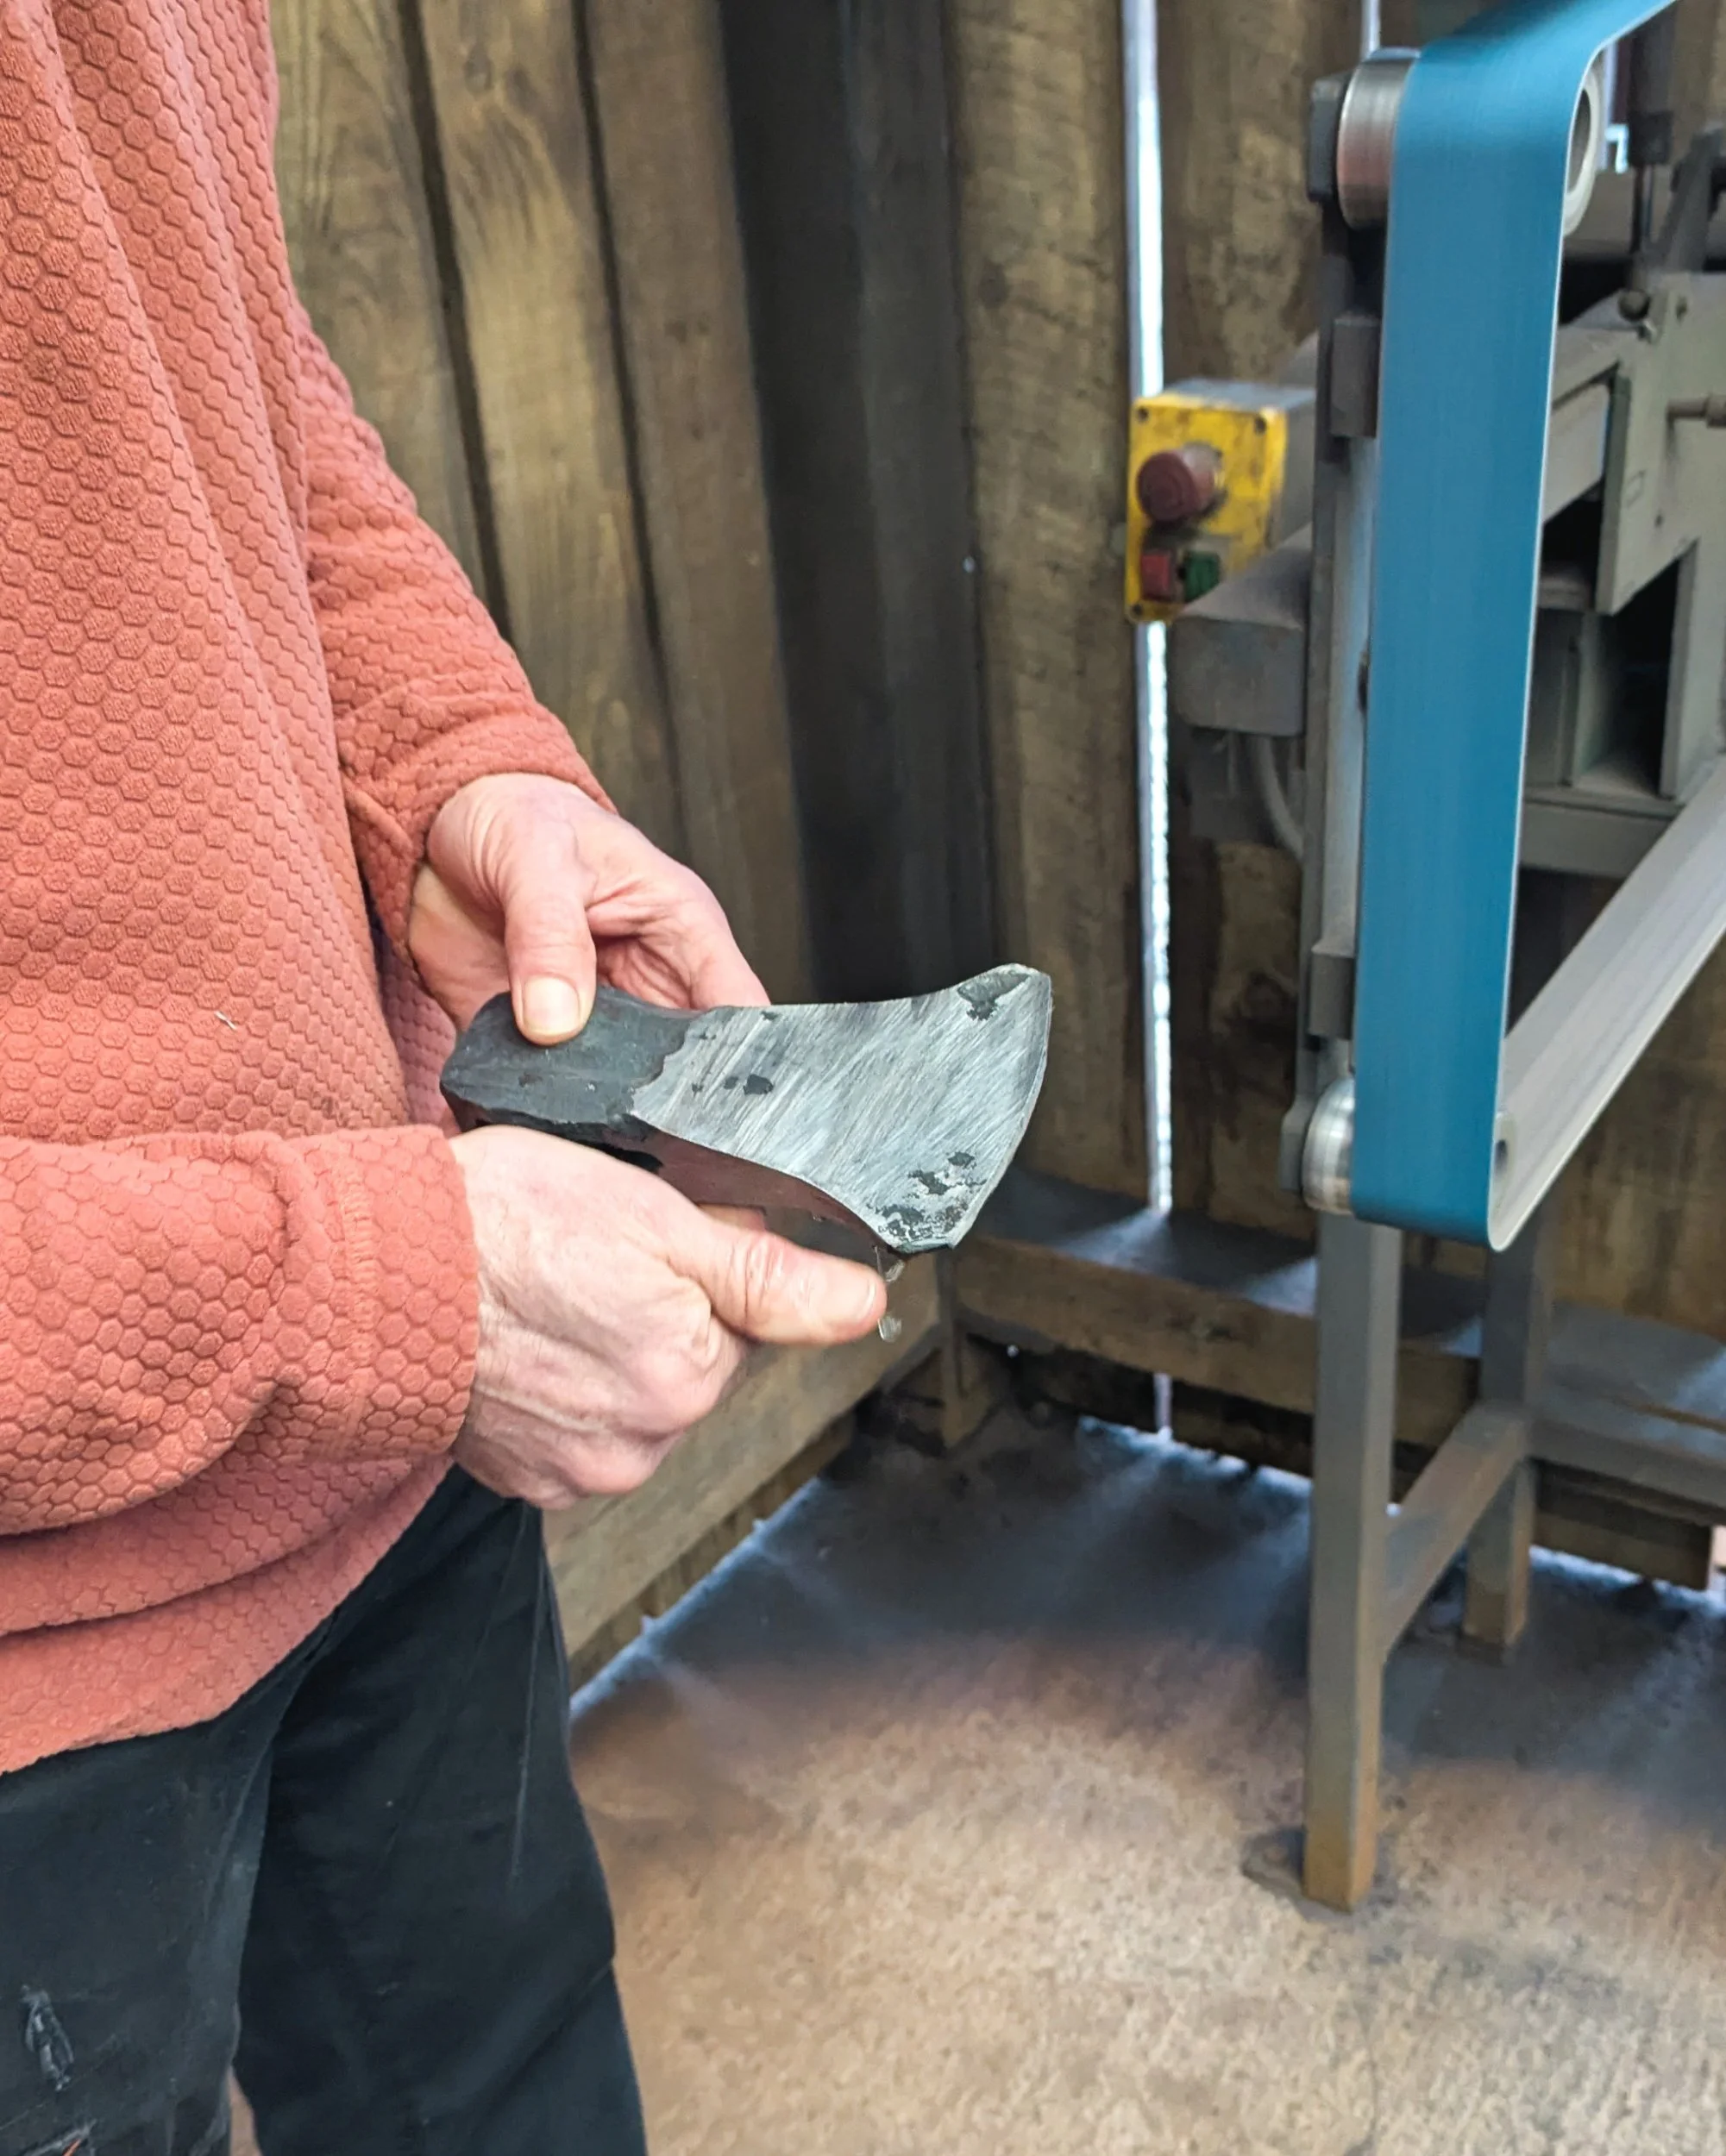
After lunch (about an hour's break), our piece has finally cooled down enough to handle. We moved onto the sanders to refine it to the shape we want. Starting with the outside shape, we used the belt sanders to neaten the front and create a bit more of a curve. We marked roughly where we were aiming for with a chalk line.
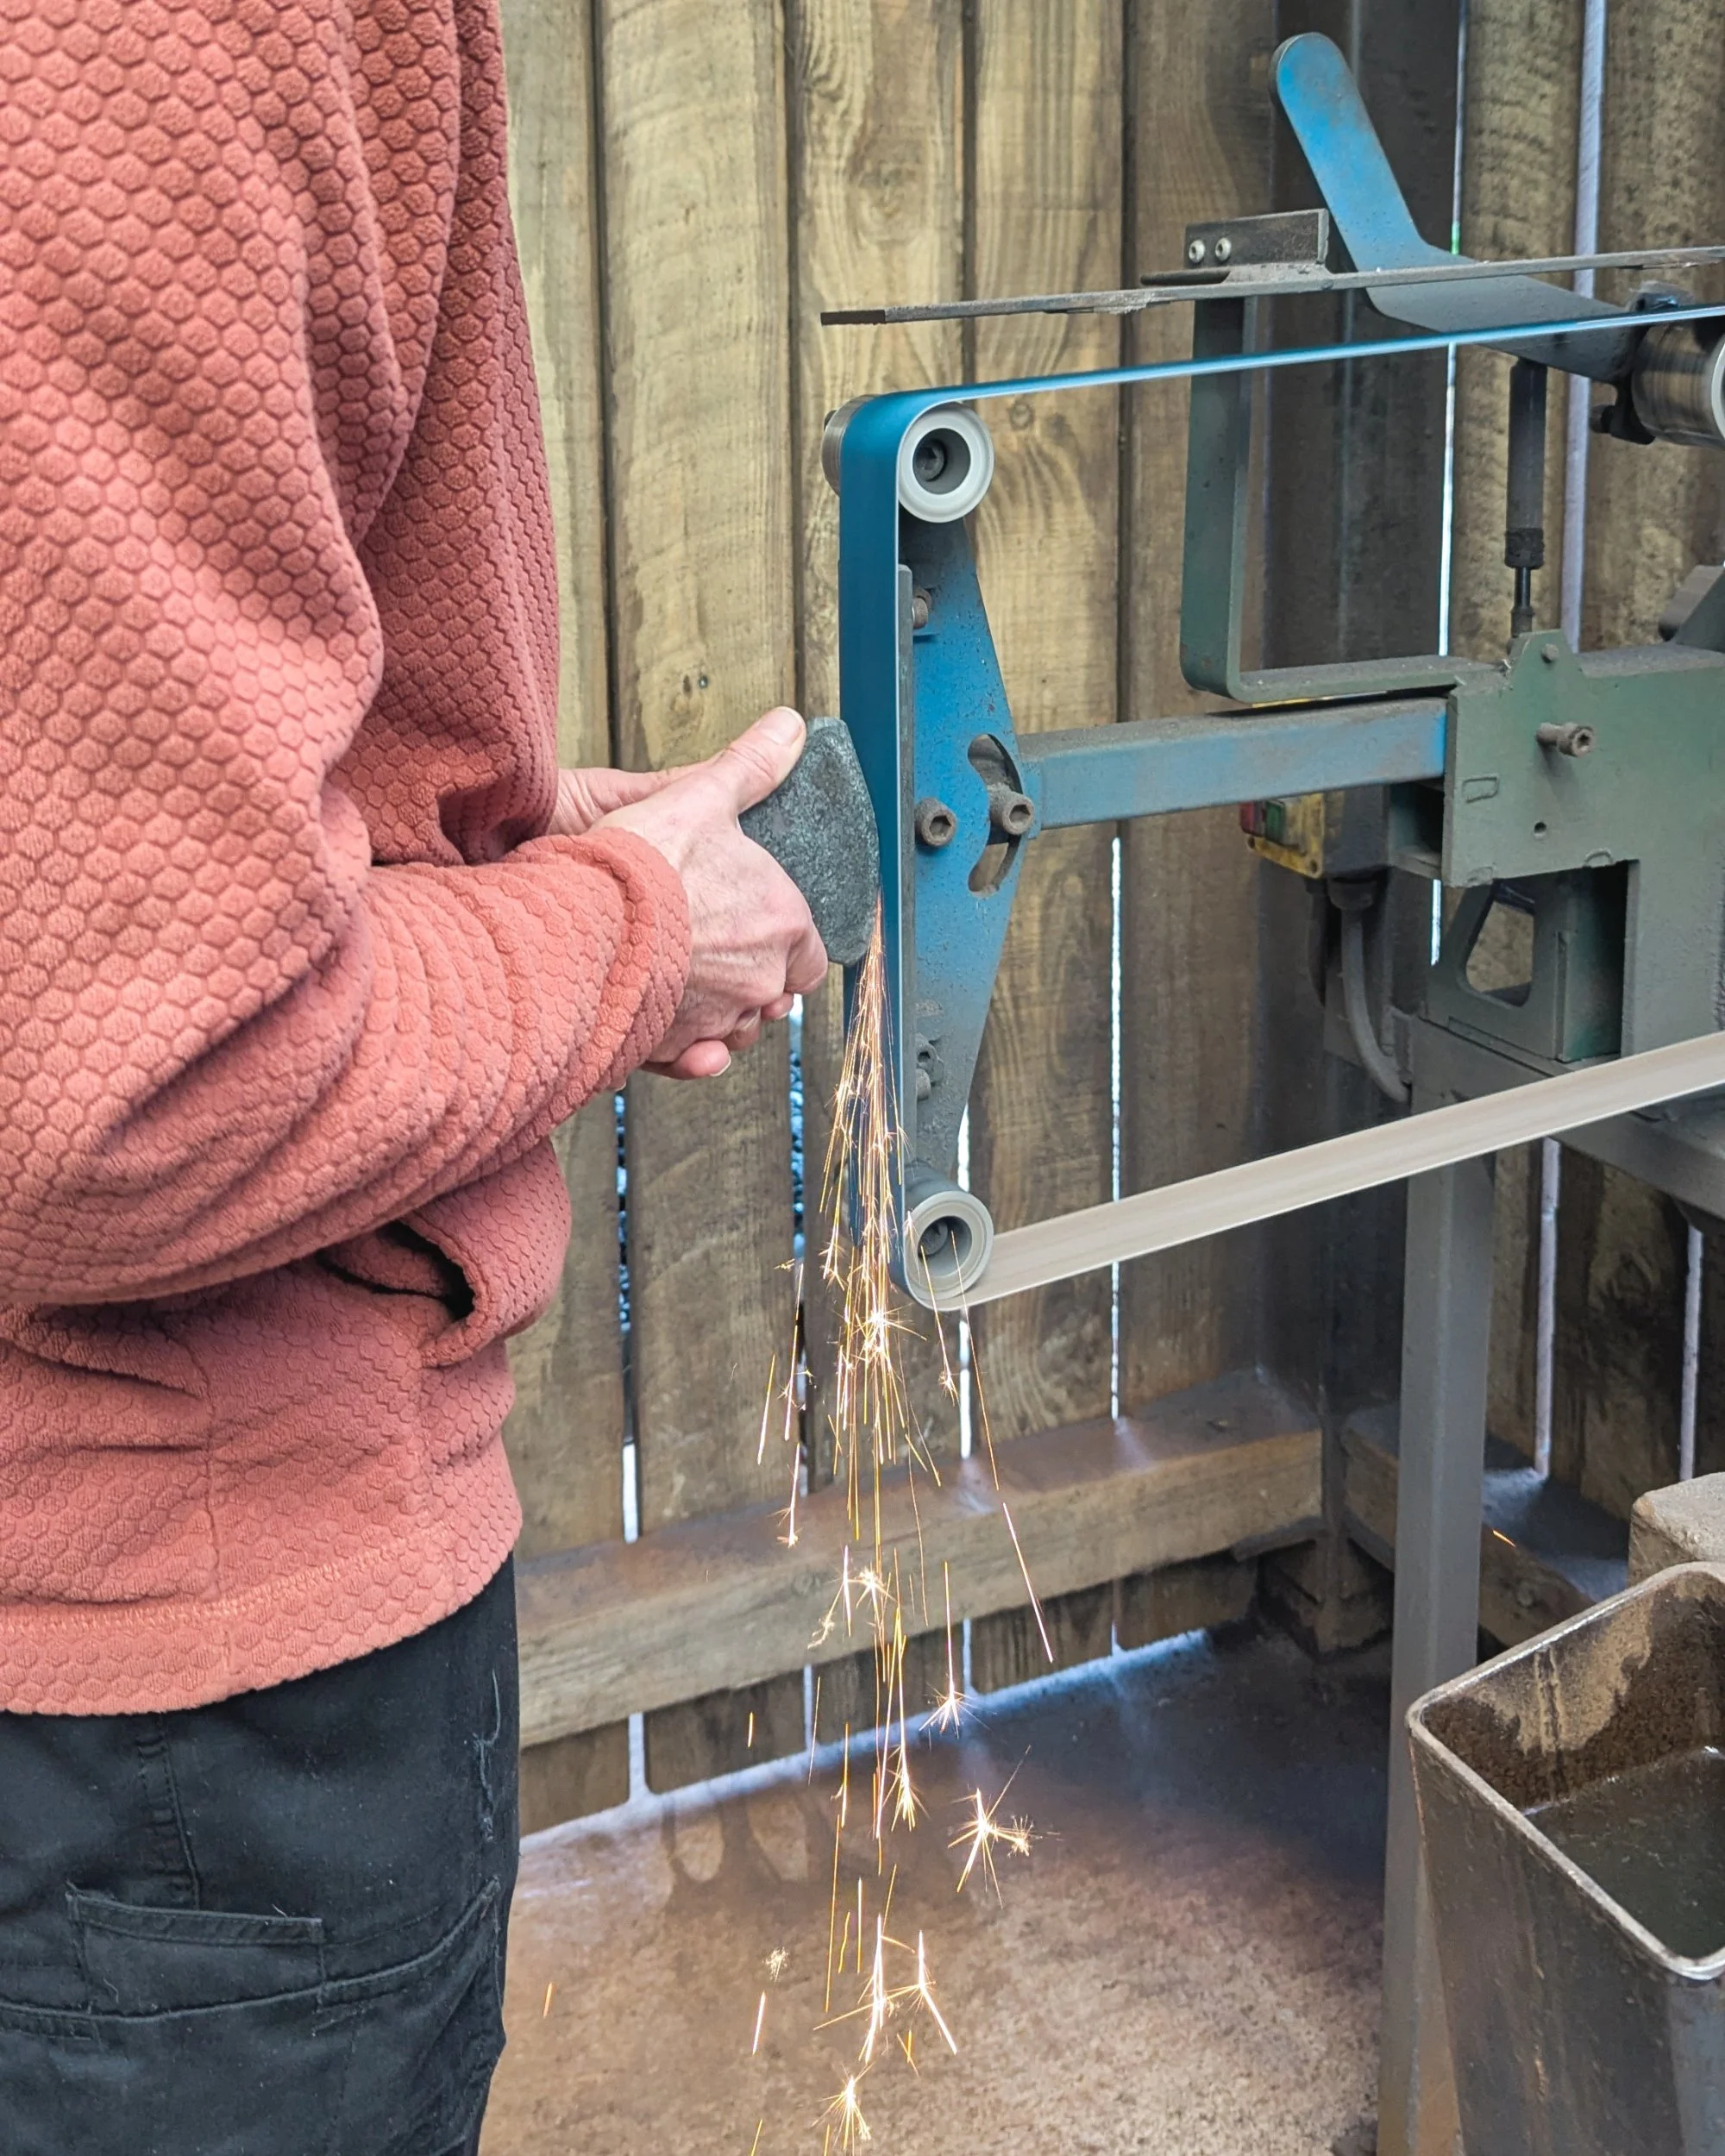
As its metal, the friction can cause it to get quite hot, quite quick! We used the water buckets to the side of the sanders to cool it down when needed.
We had some chamfer return edges we weren't sure what to do with so we kept them in for now. It would be easy to spend hours shaping in here, so we’ve got to pick our battles!
Then we ground the back face flat to work for the style of axe dad was looking for (a tool for his green ‘bodging’ woodworking).
This took a while as it's hard to ignore the deeper indents when you have such a shiny face!
We also did the return curves to neaten these up slightly. The room getting busier as other groups started using the sanders. There were people making rings, knives, daggers and more. A real variety.
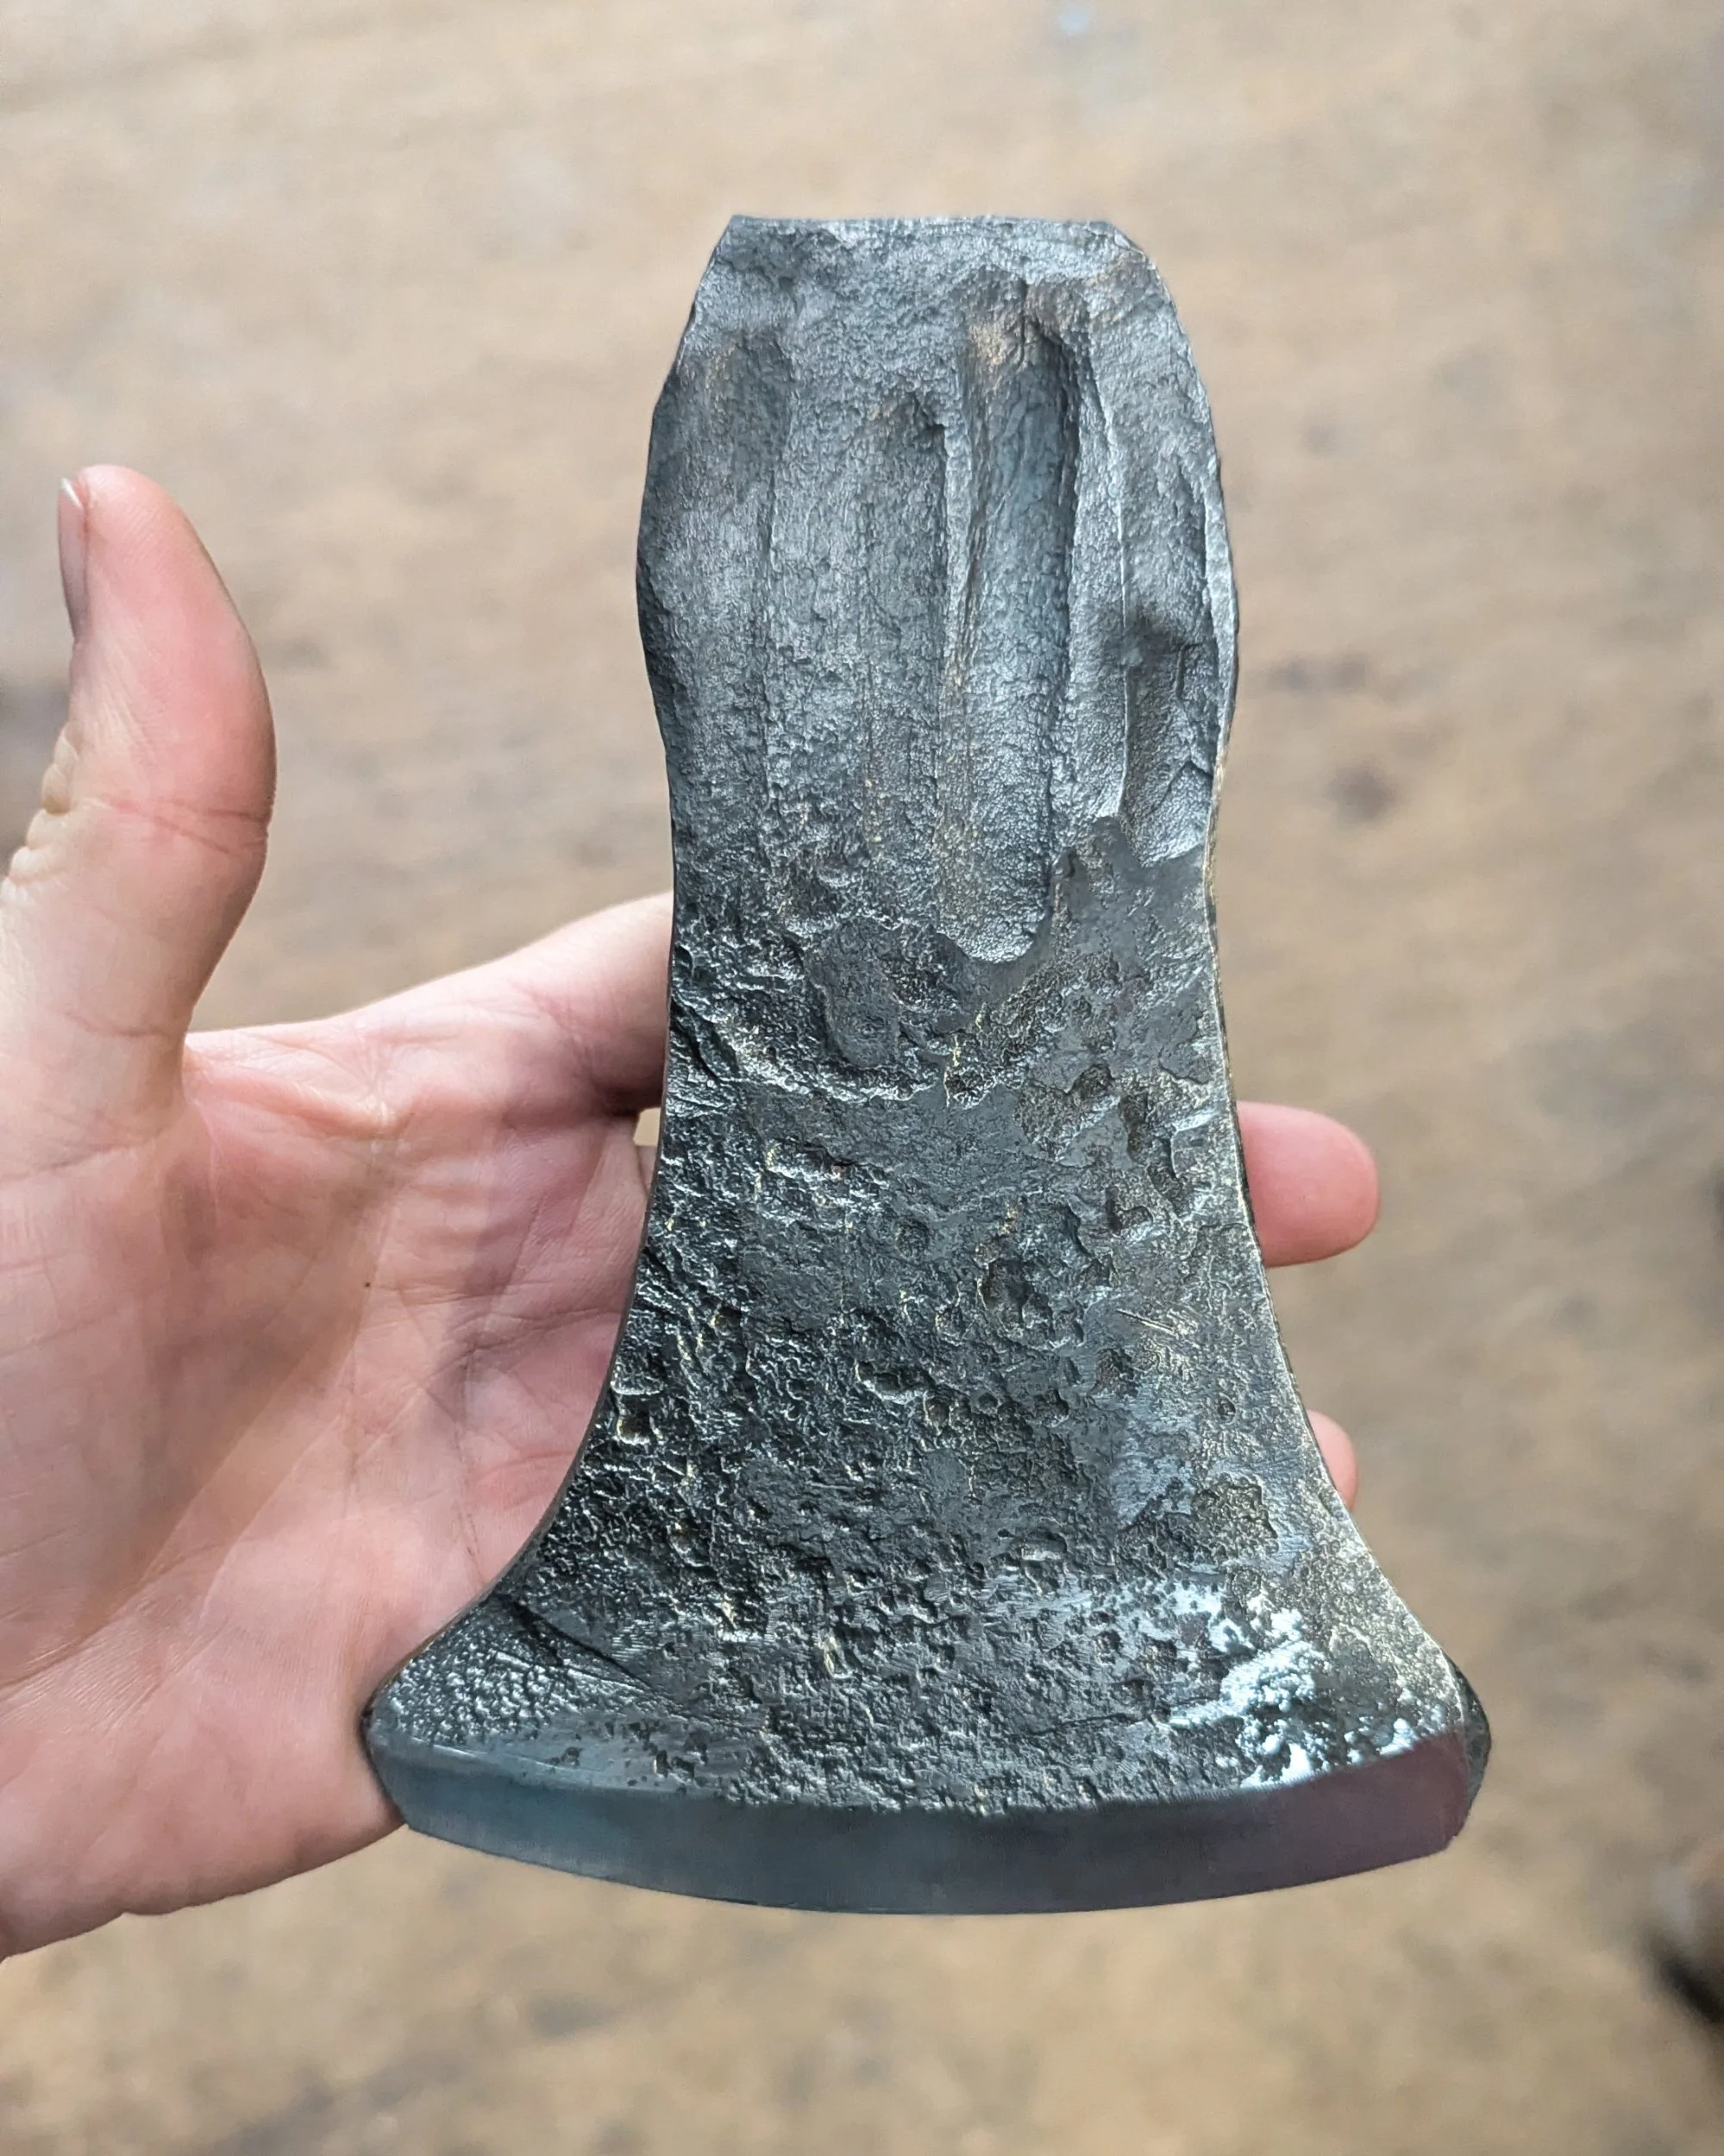
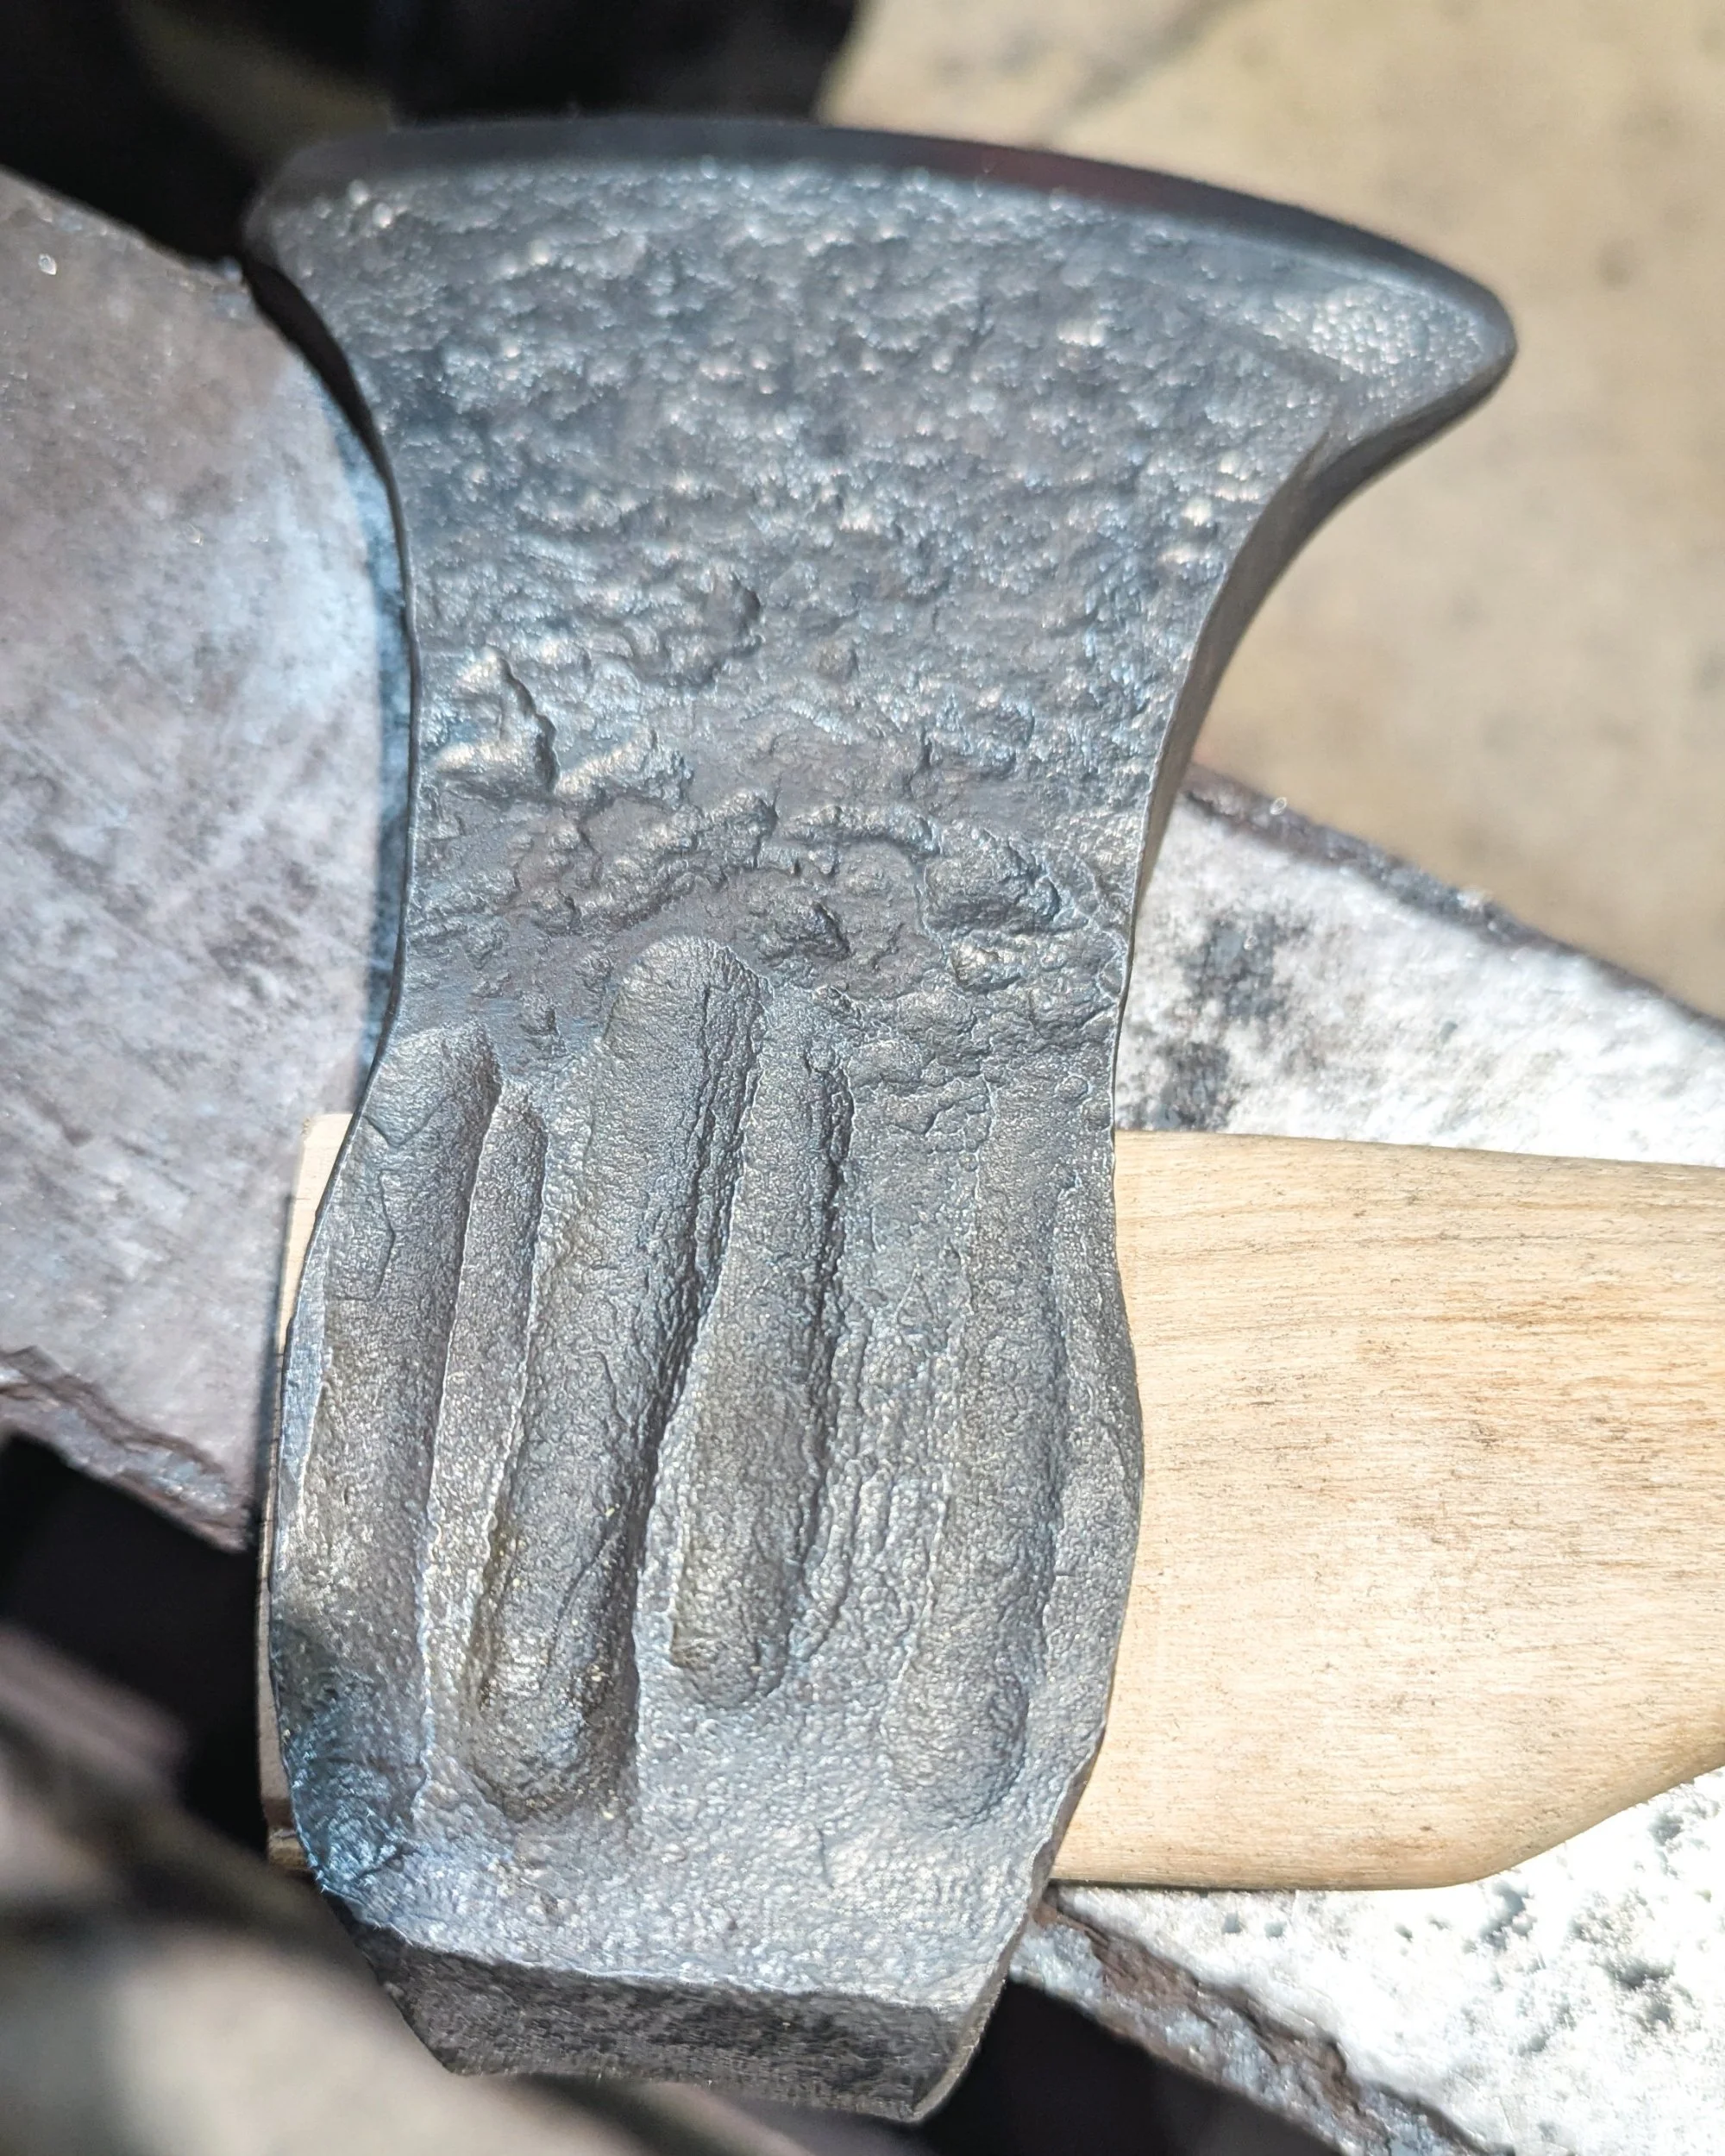
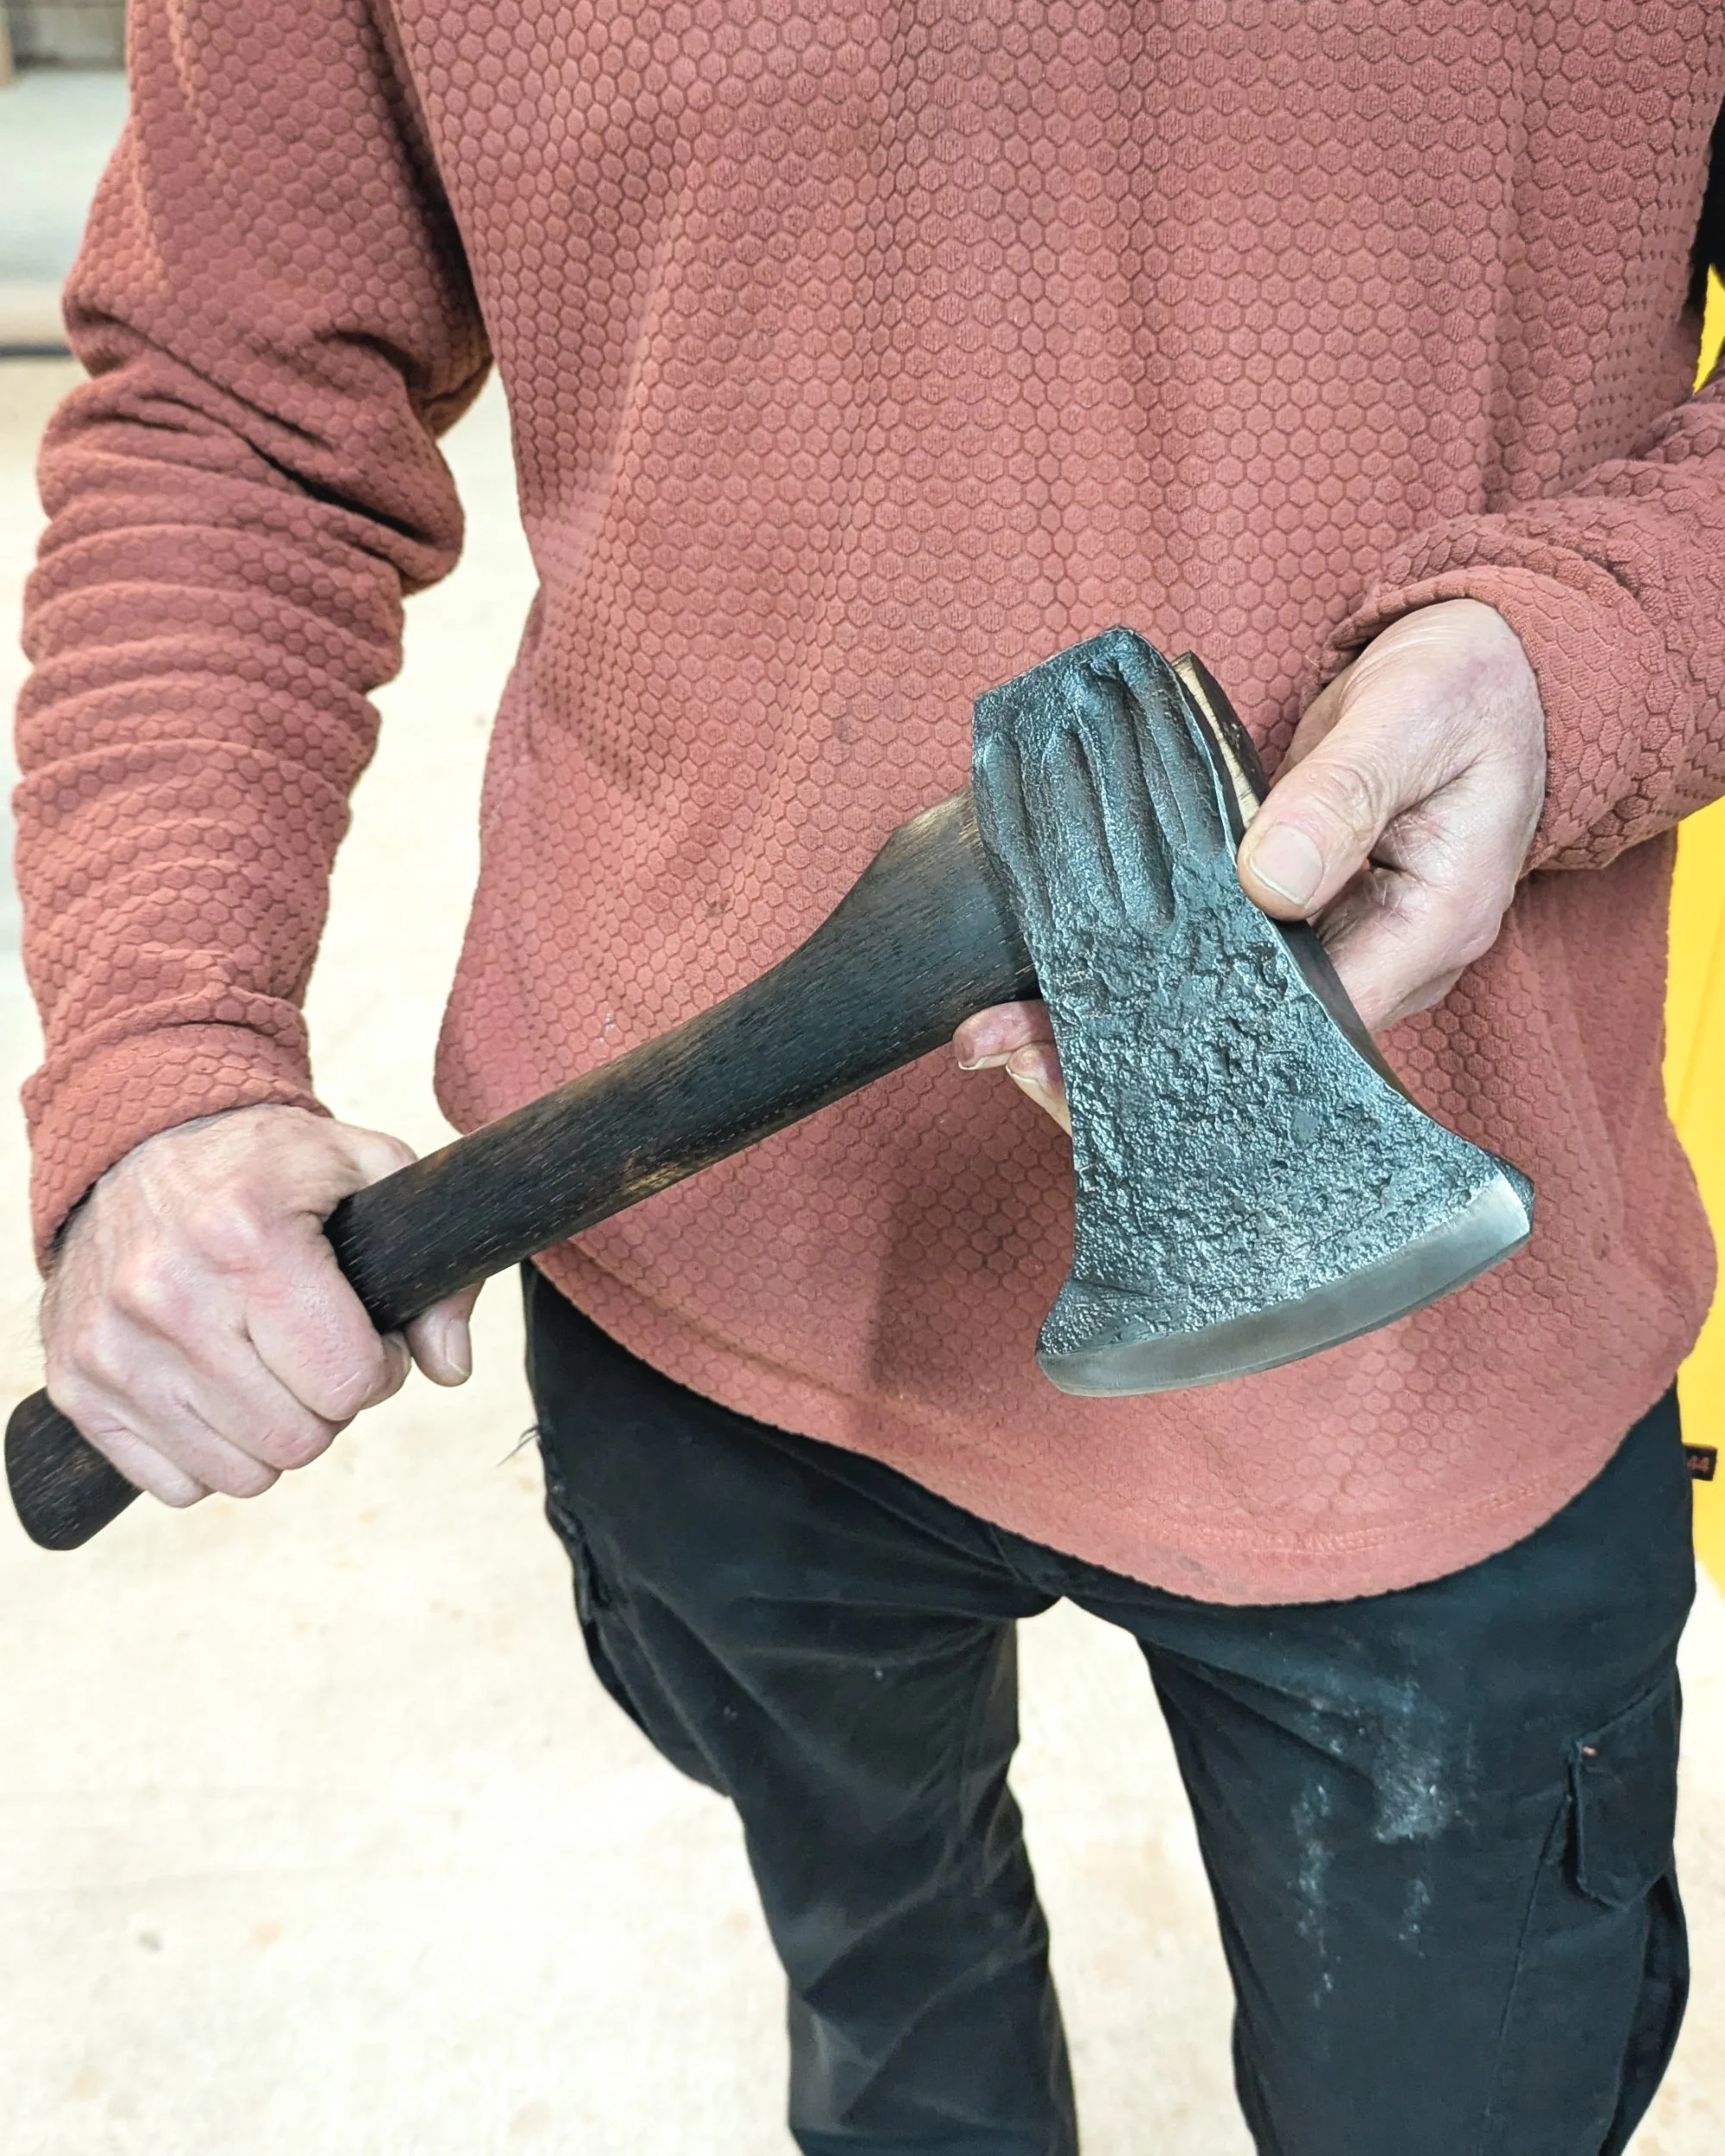
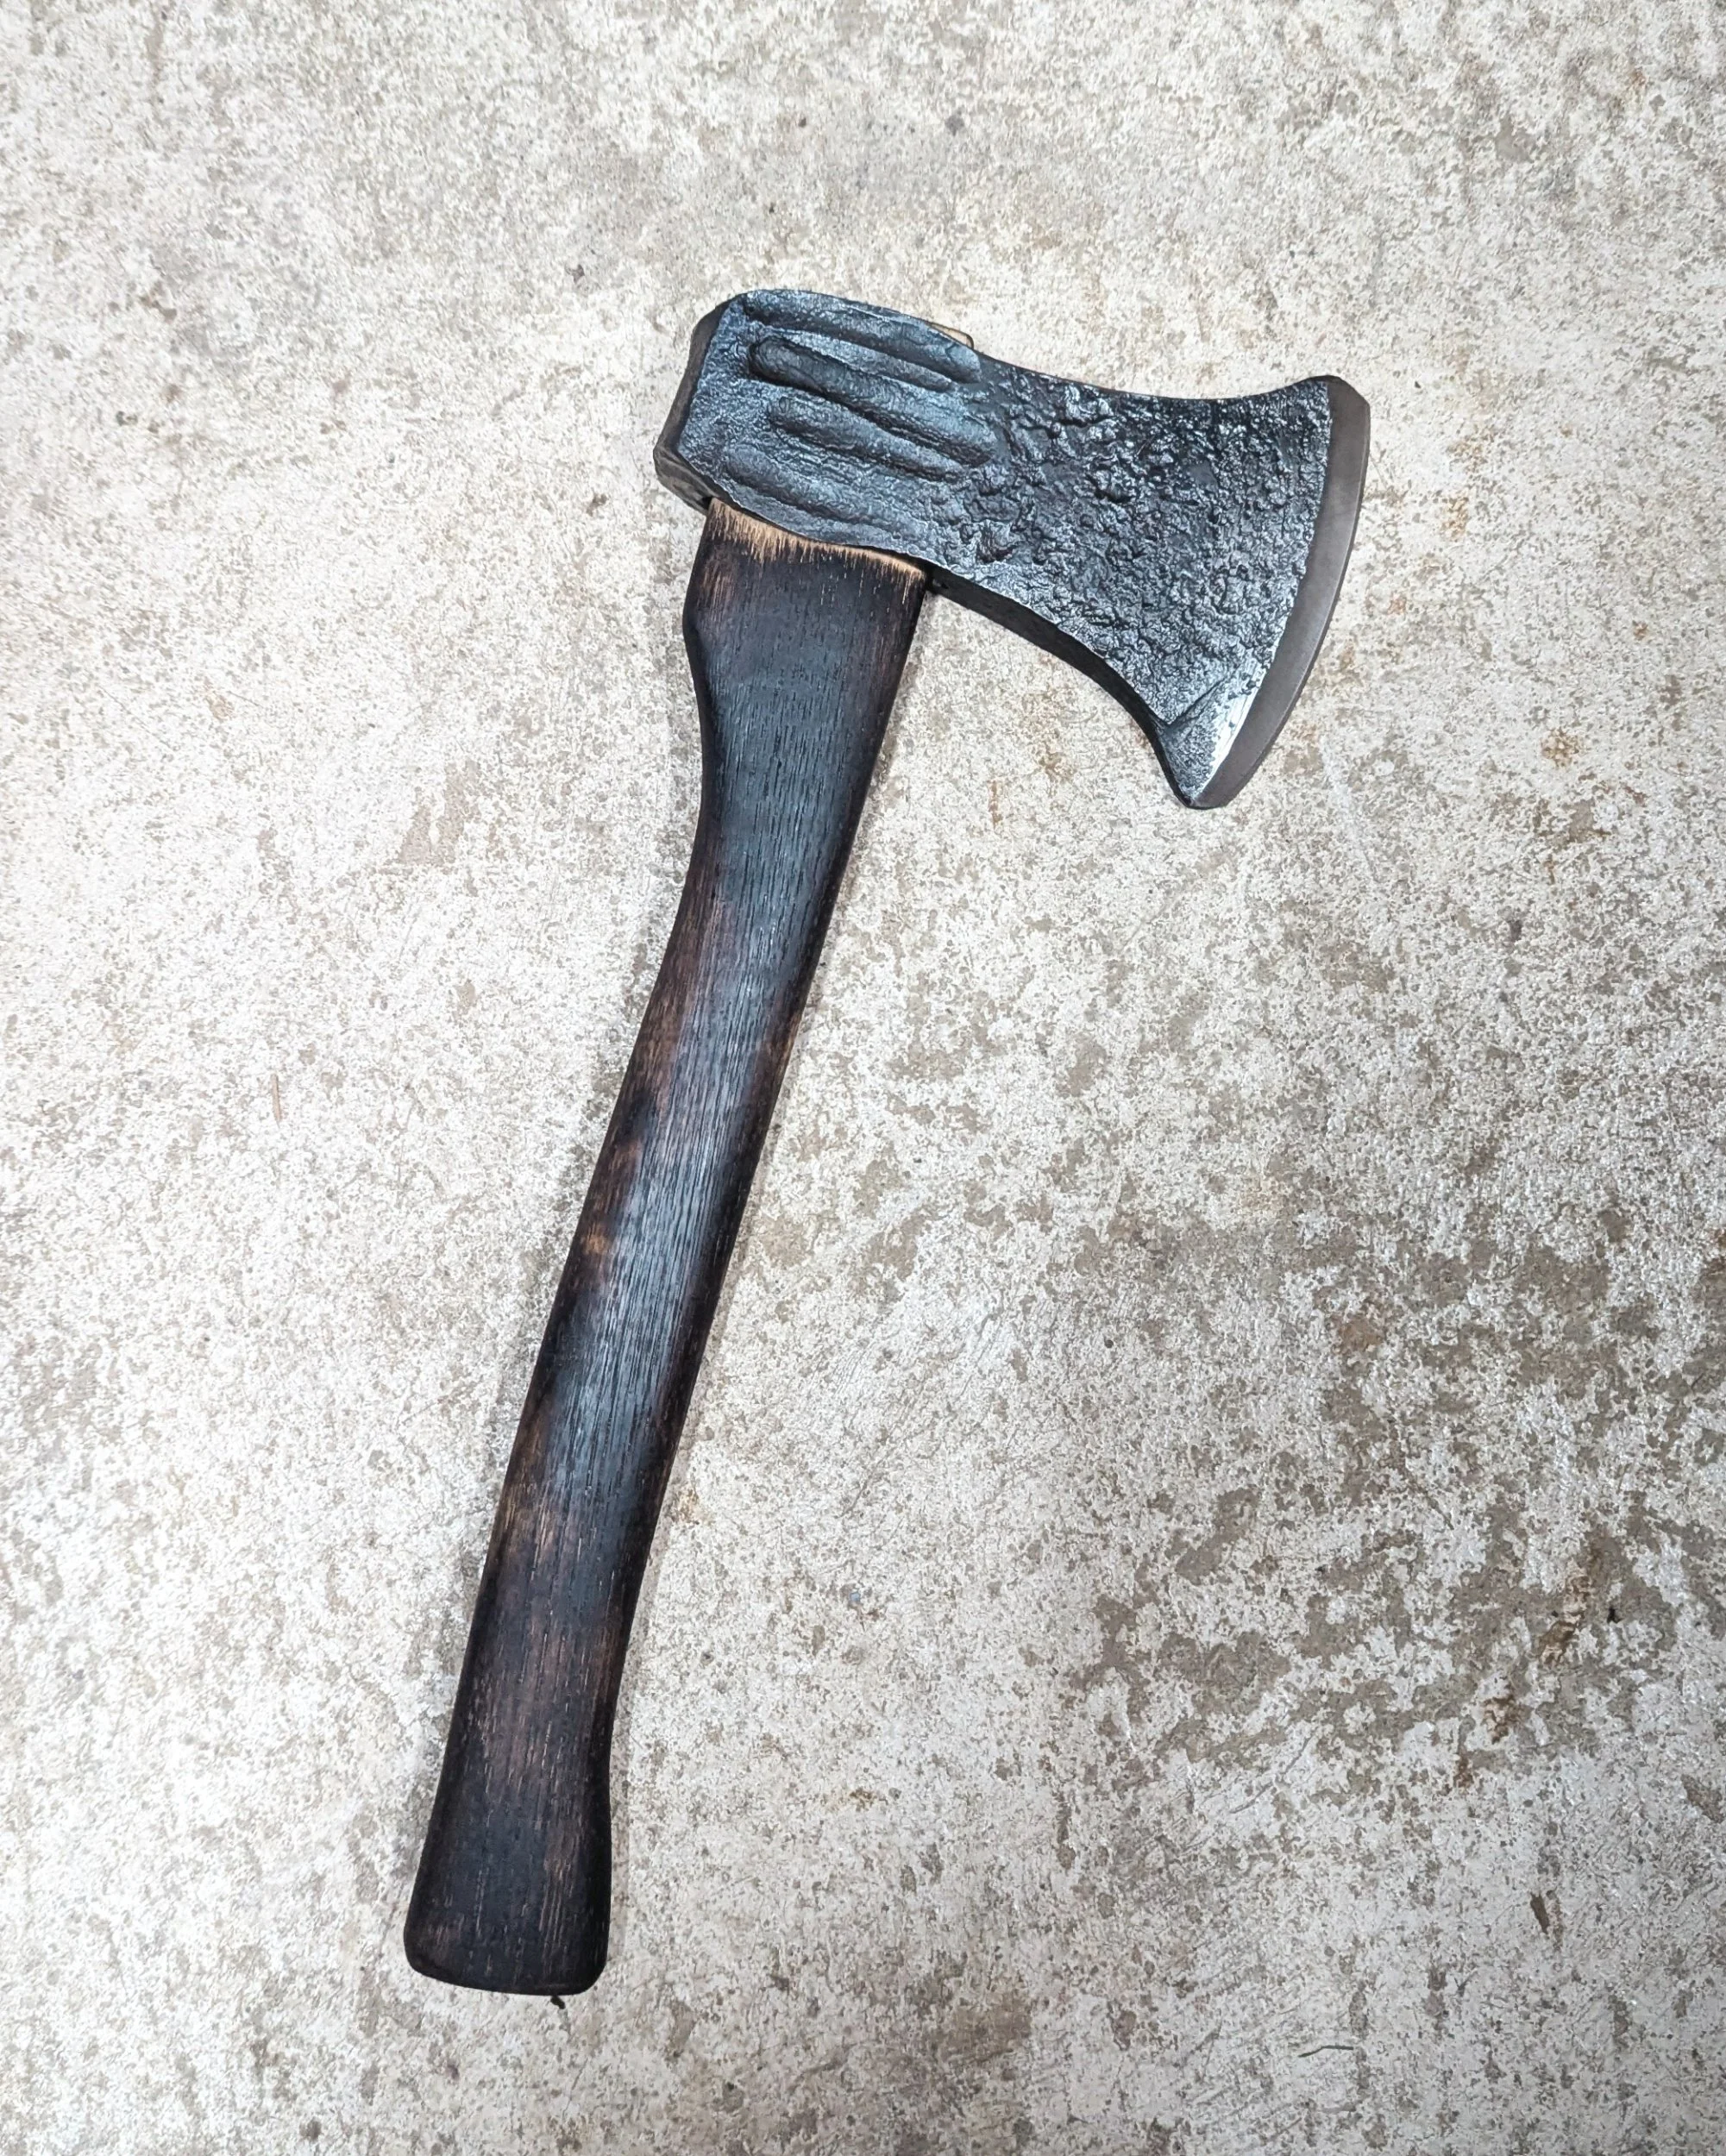
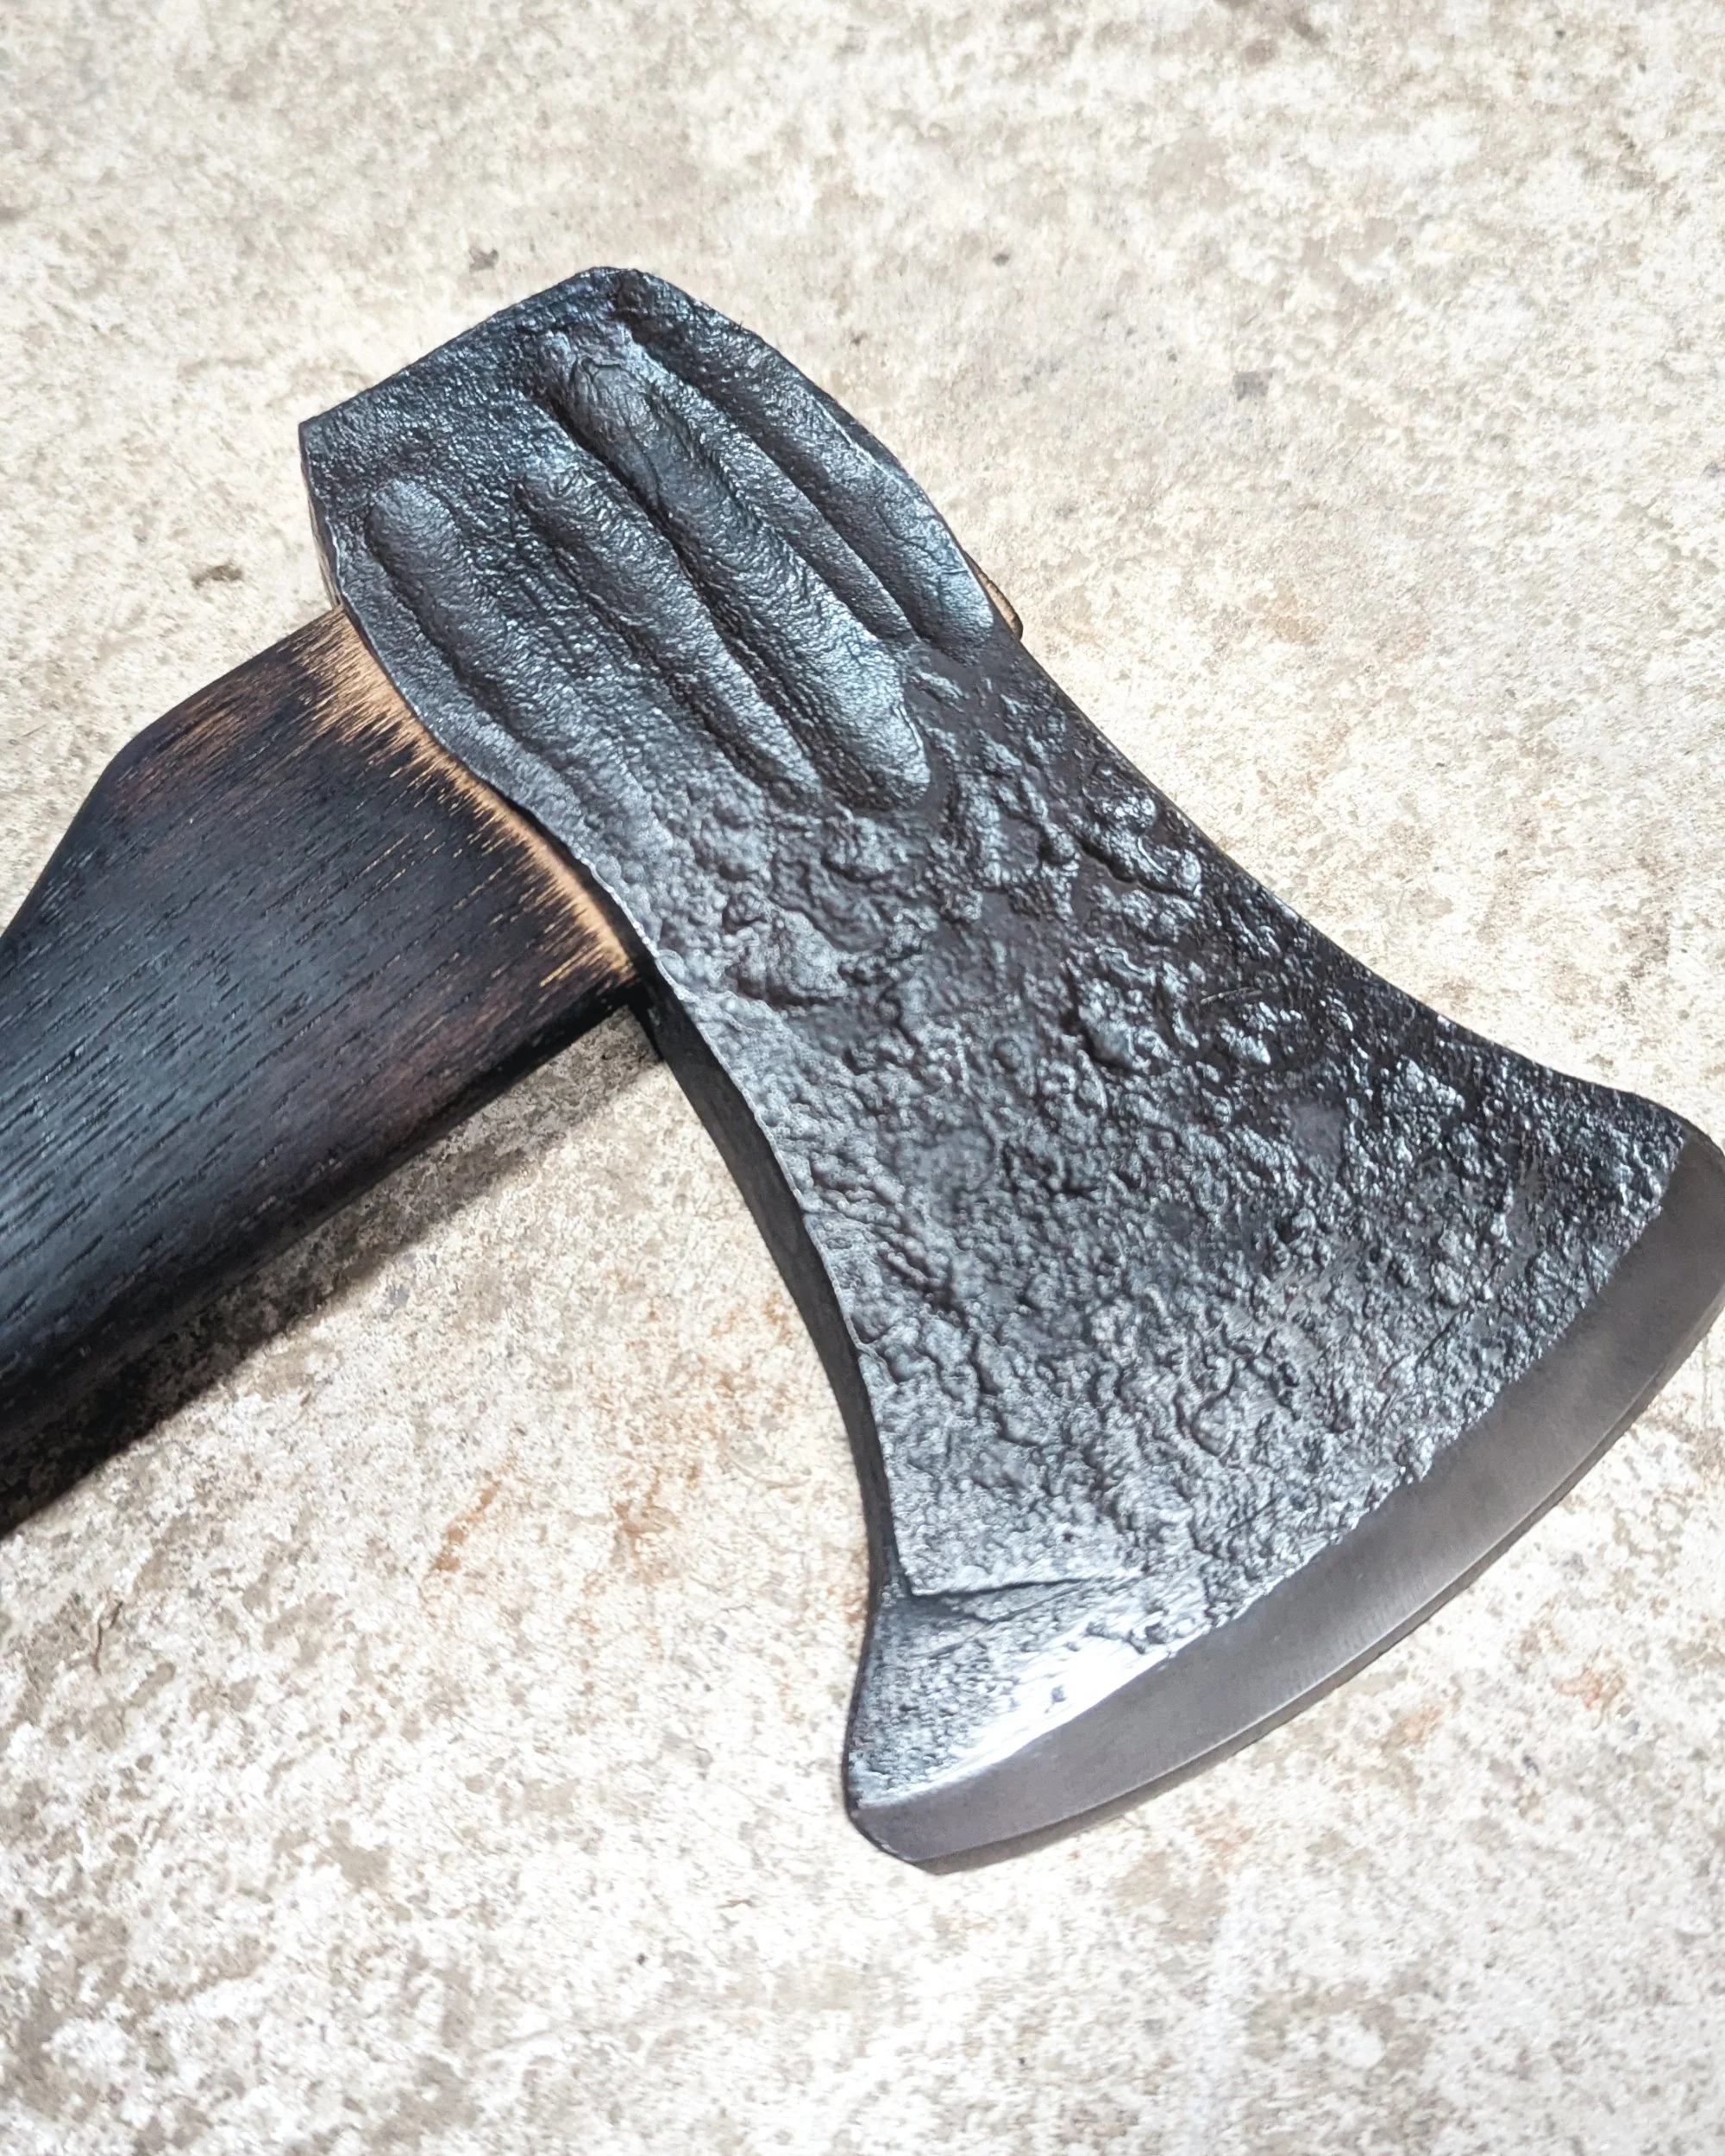
Seeing how long it took to do the back, we decided to keep the front with the hammer marks, adding texture and a handmade effect, knowing that we had made those marks.
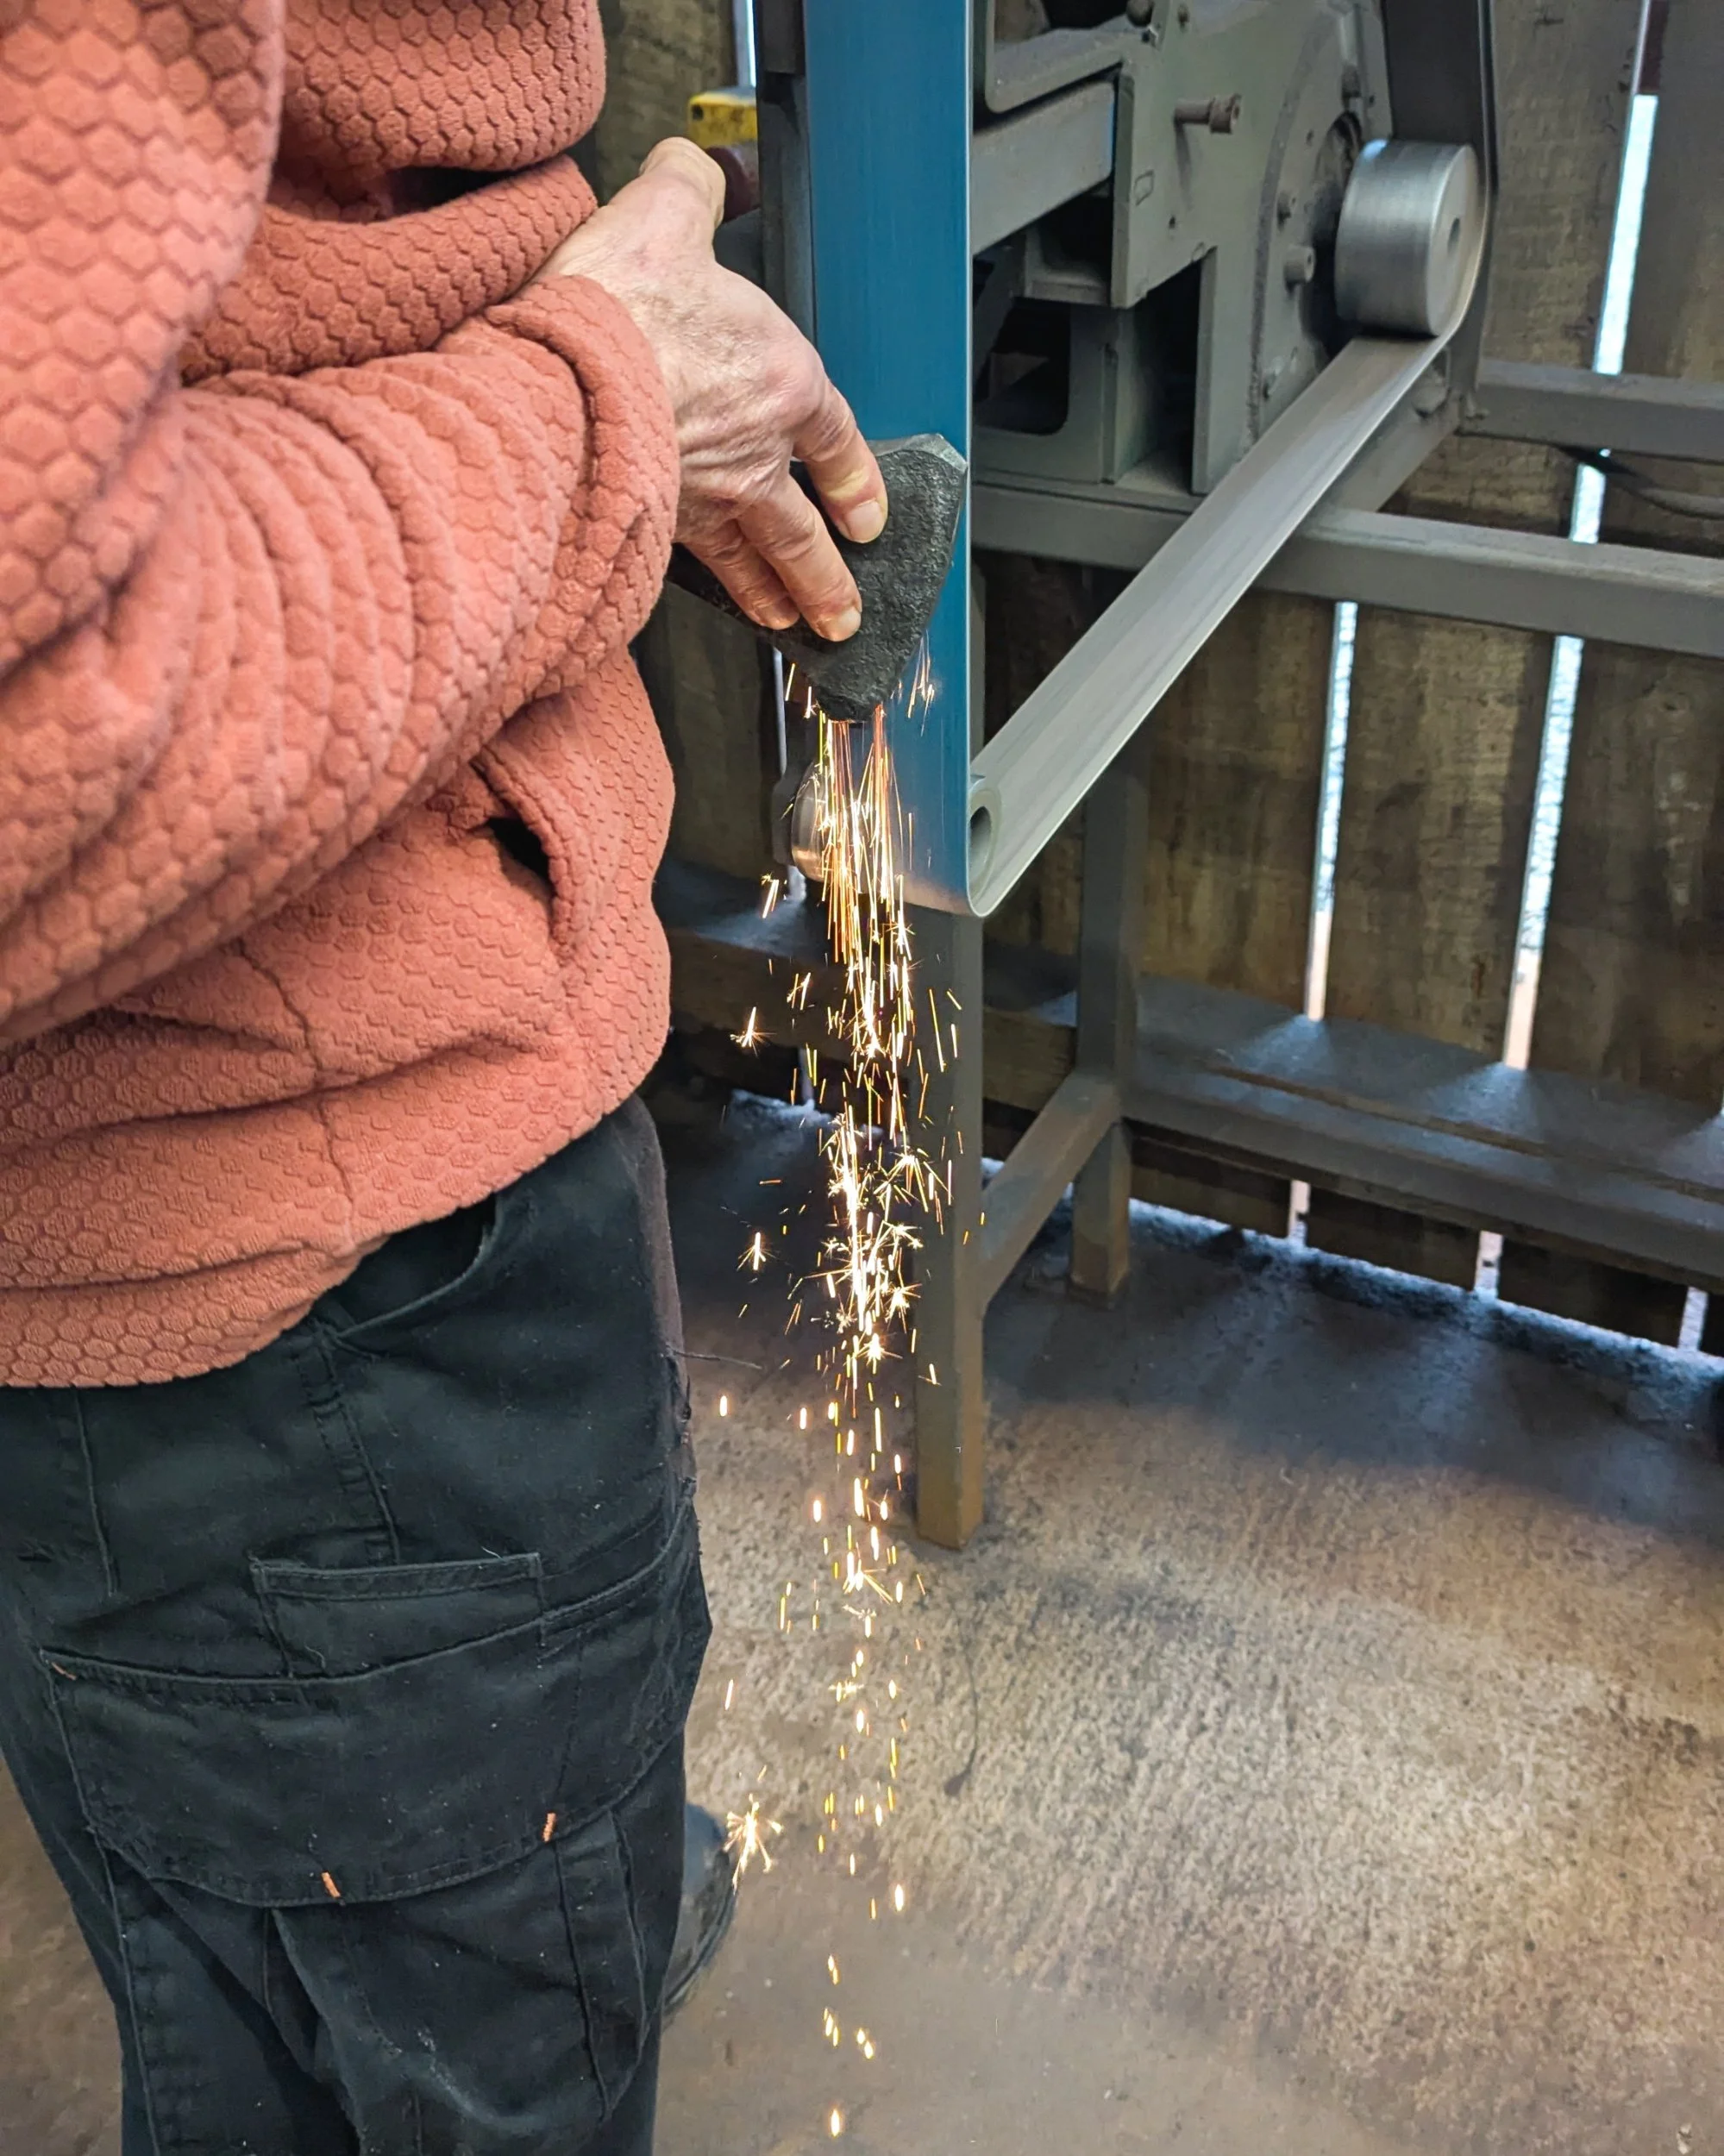
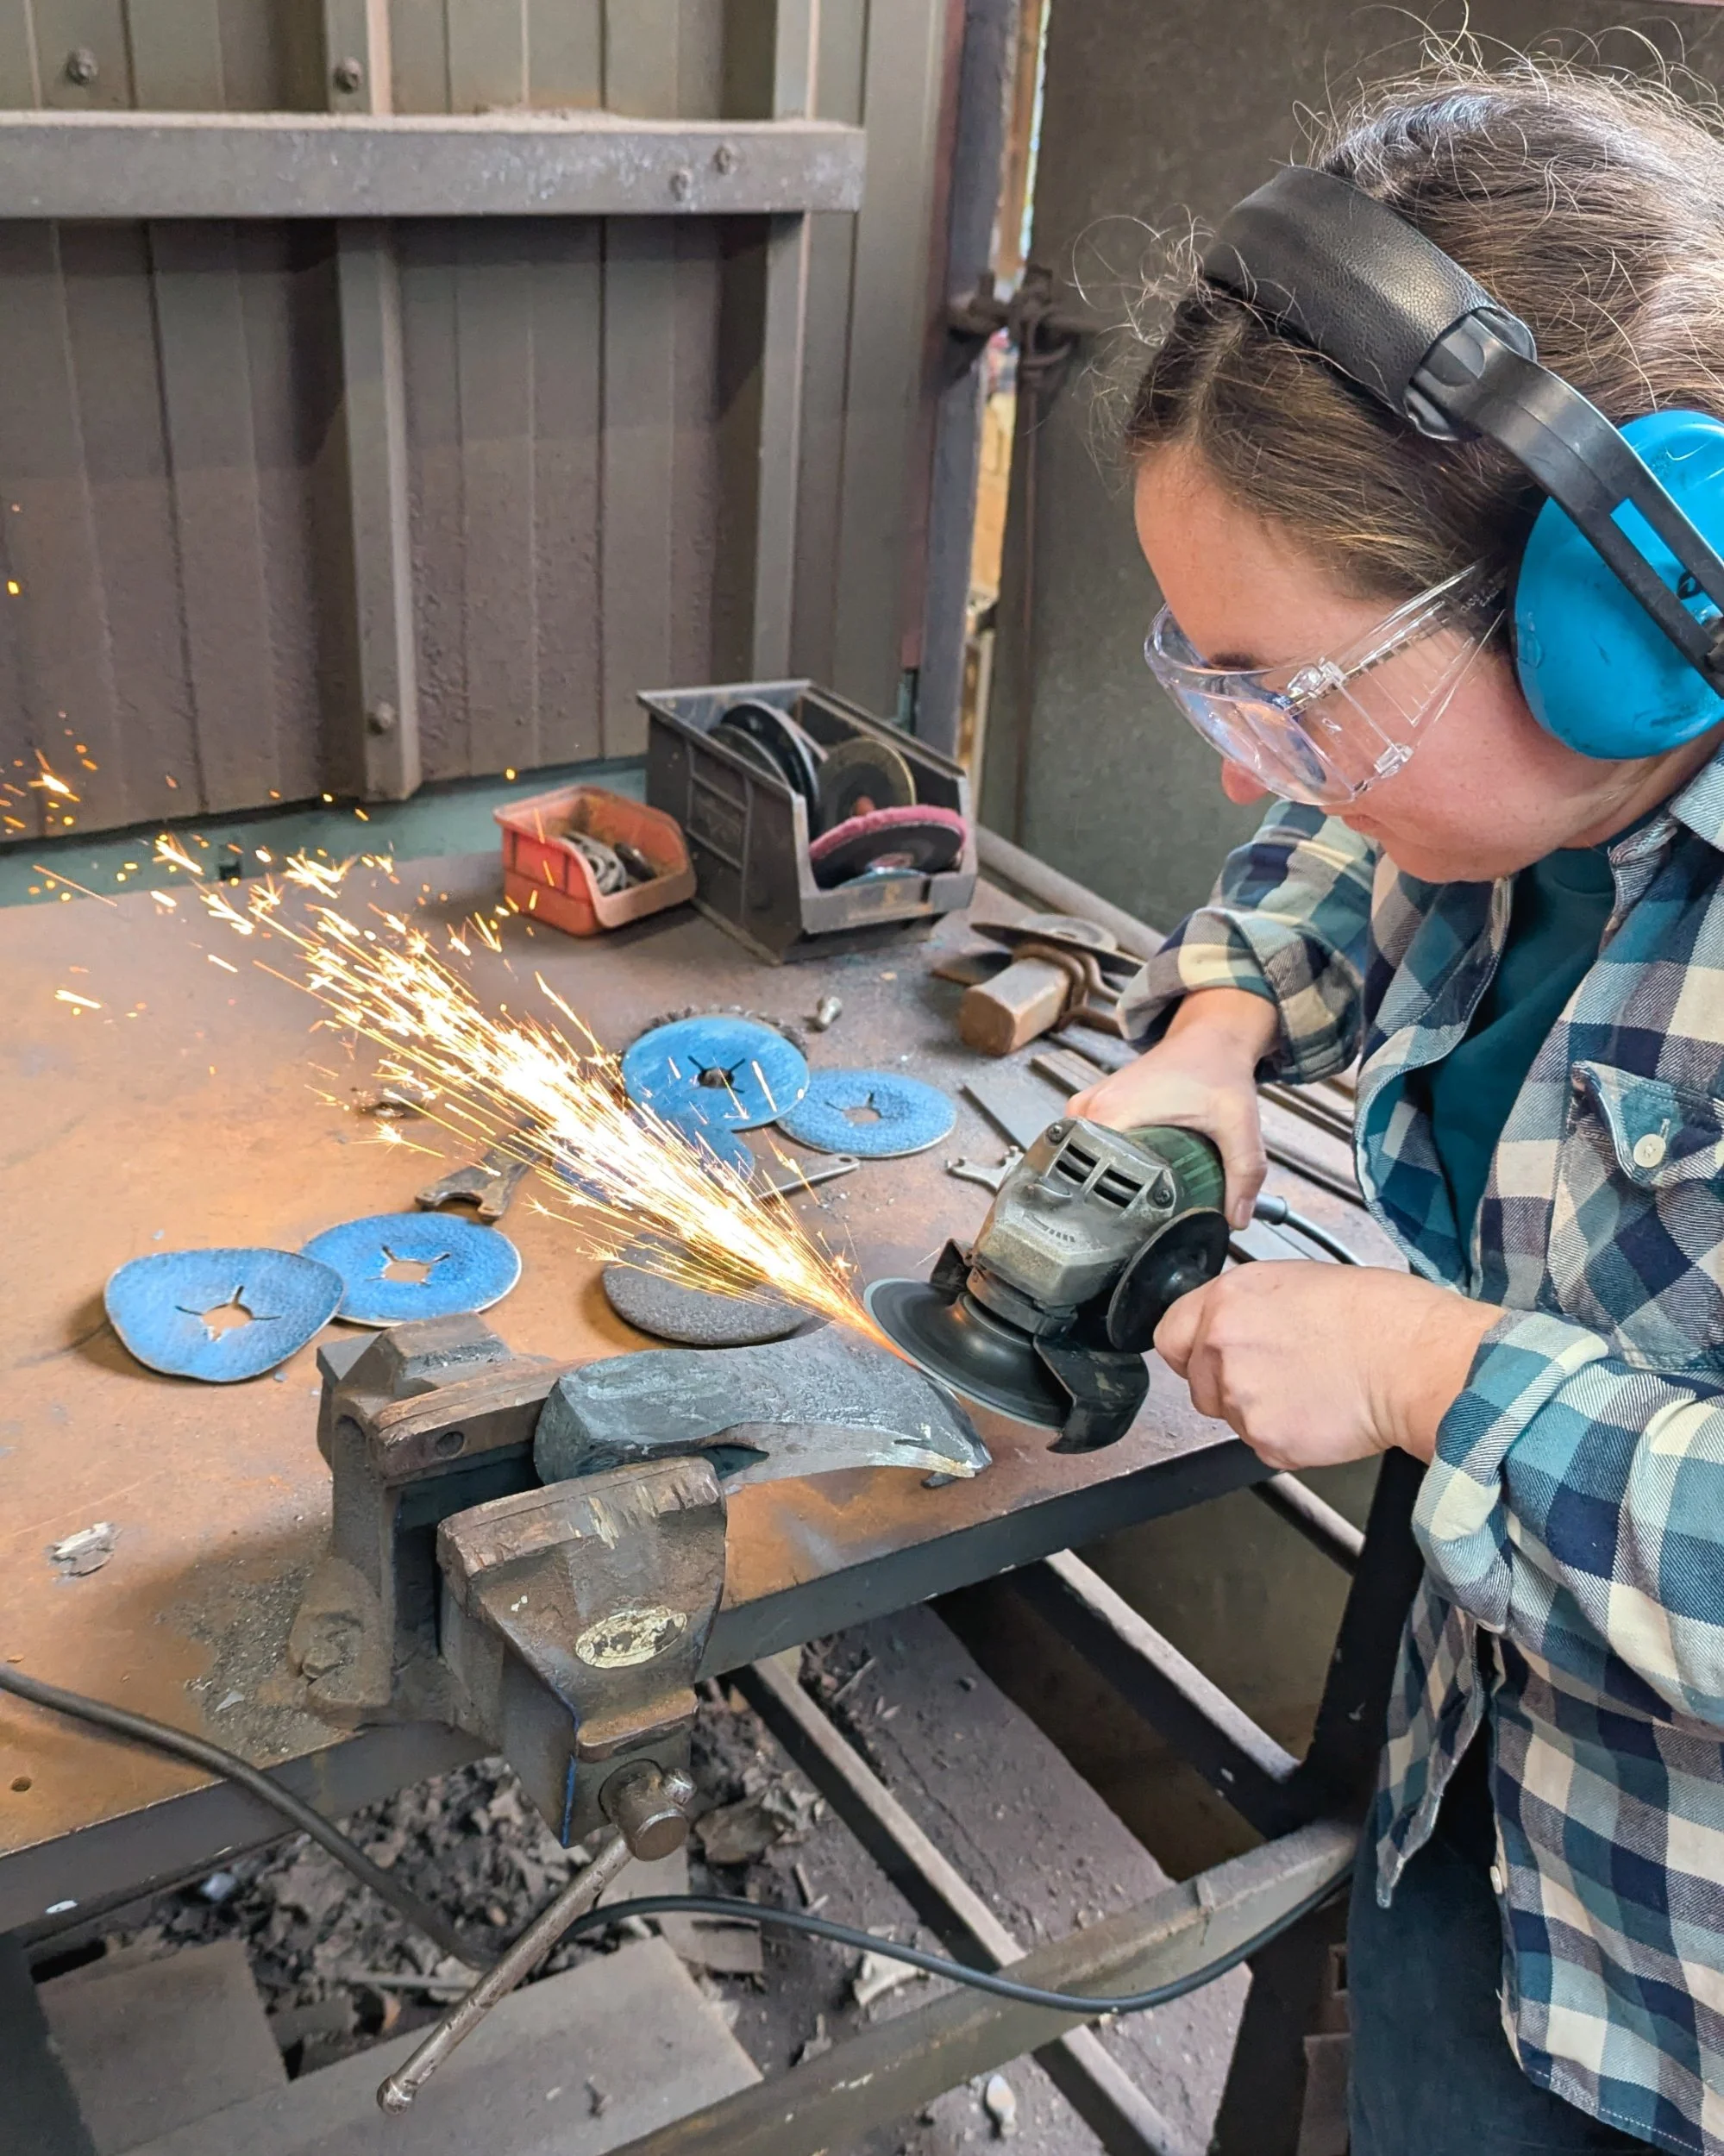
Next we headed round to the grinders and added a front chamfer on, taking it down to leave a mm on the front edge (gets sharpened later).
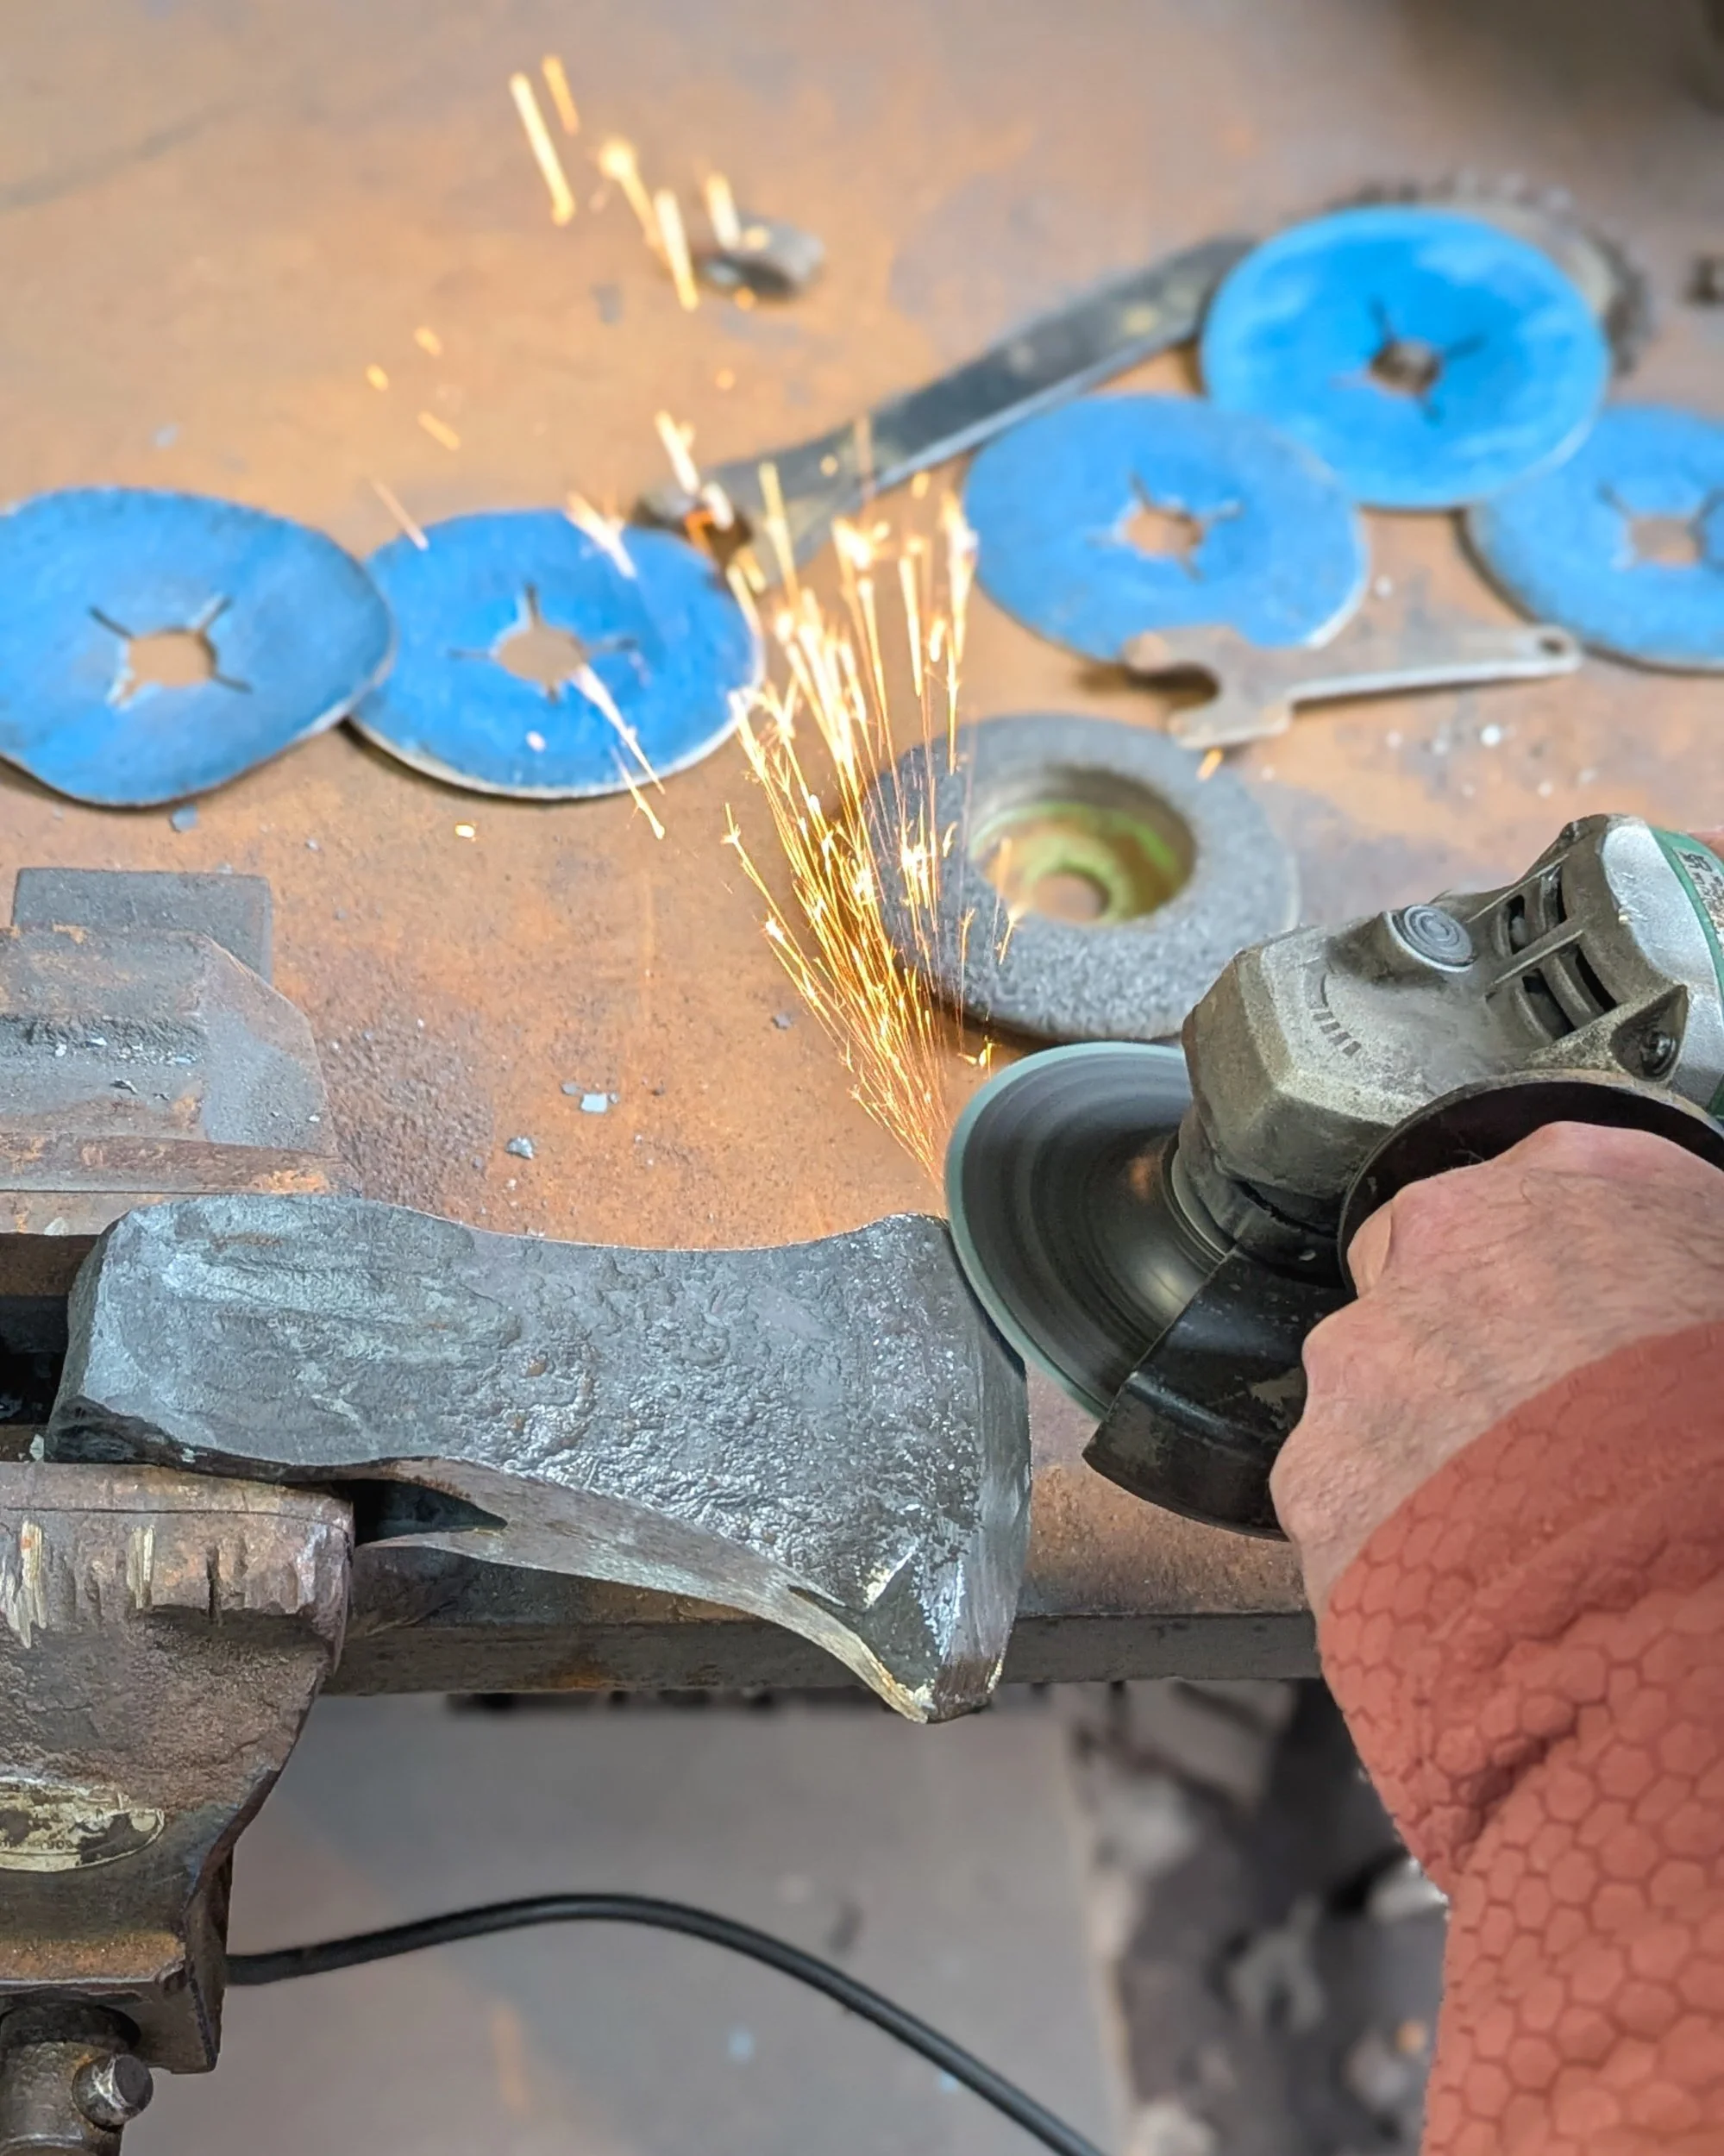
My first time using a grinder!
Matt then buffed the face with a wire brush type spinning disc belt to clean up the faces.
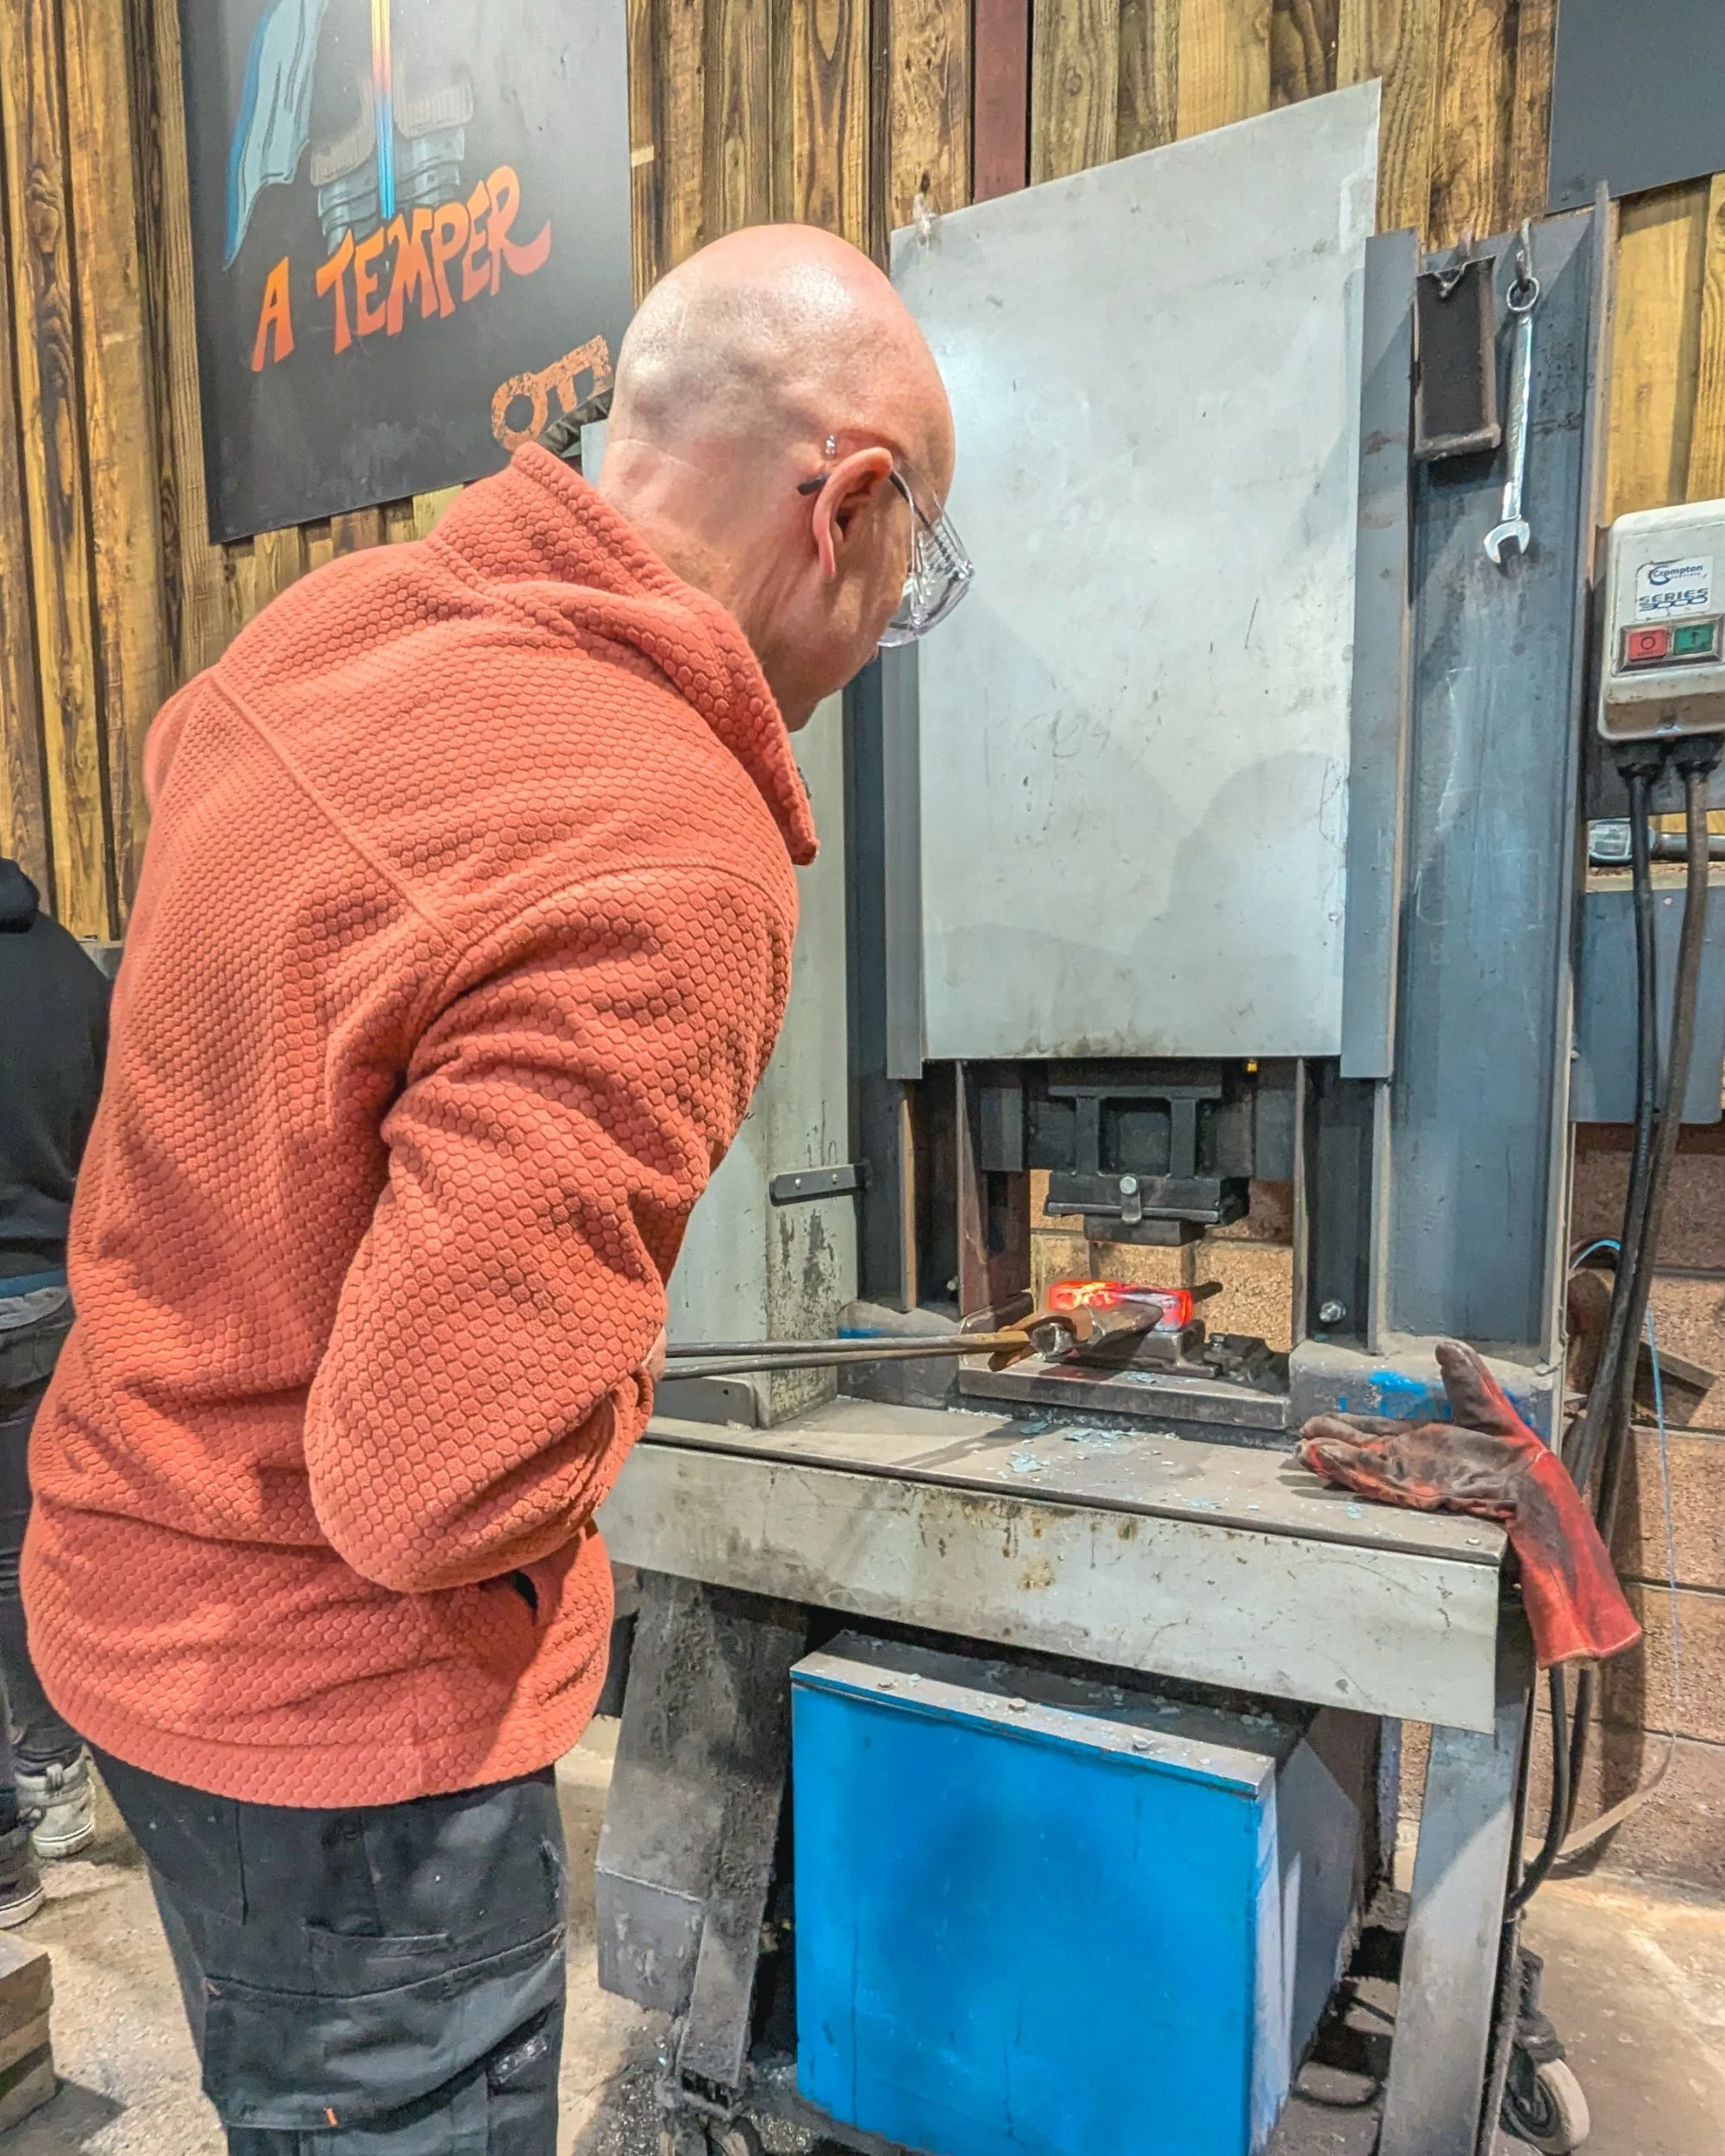
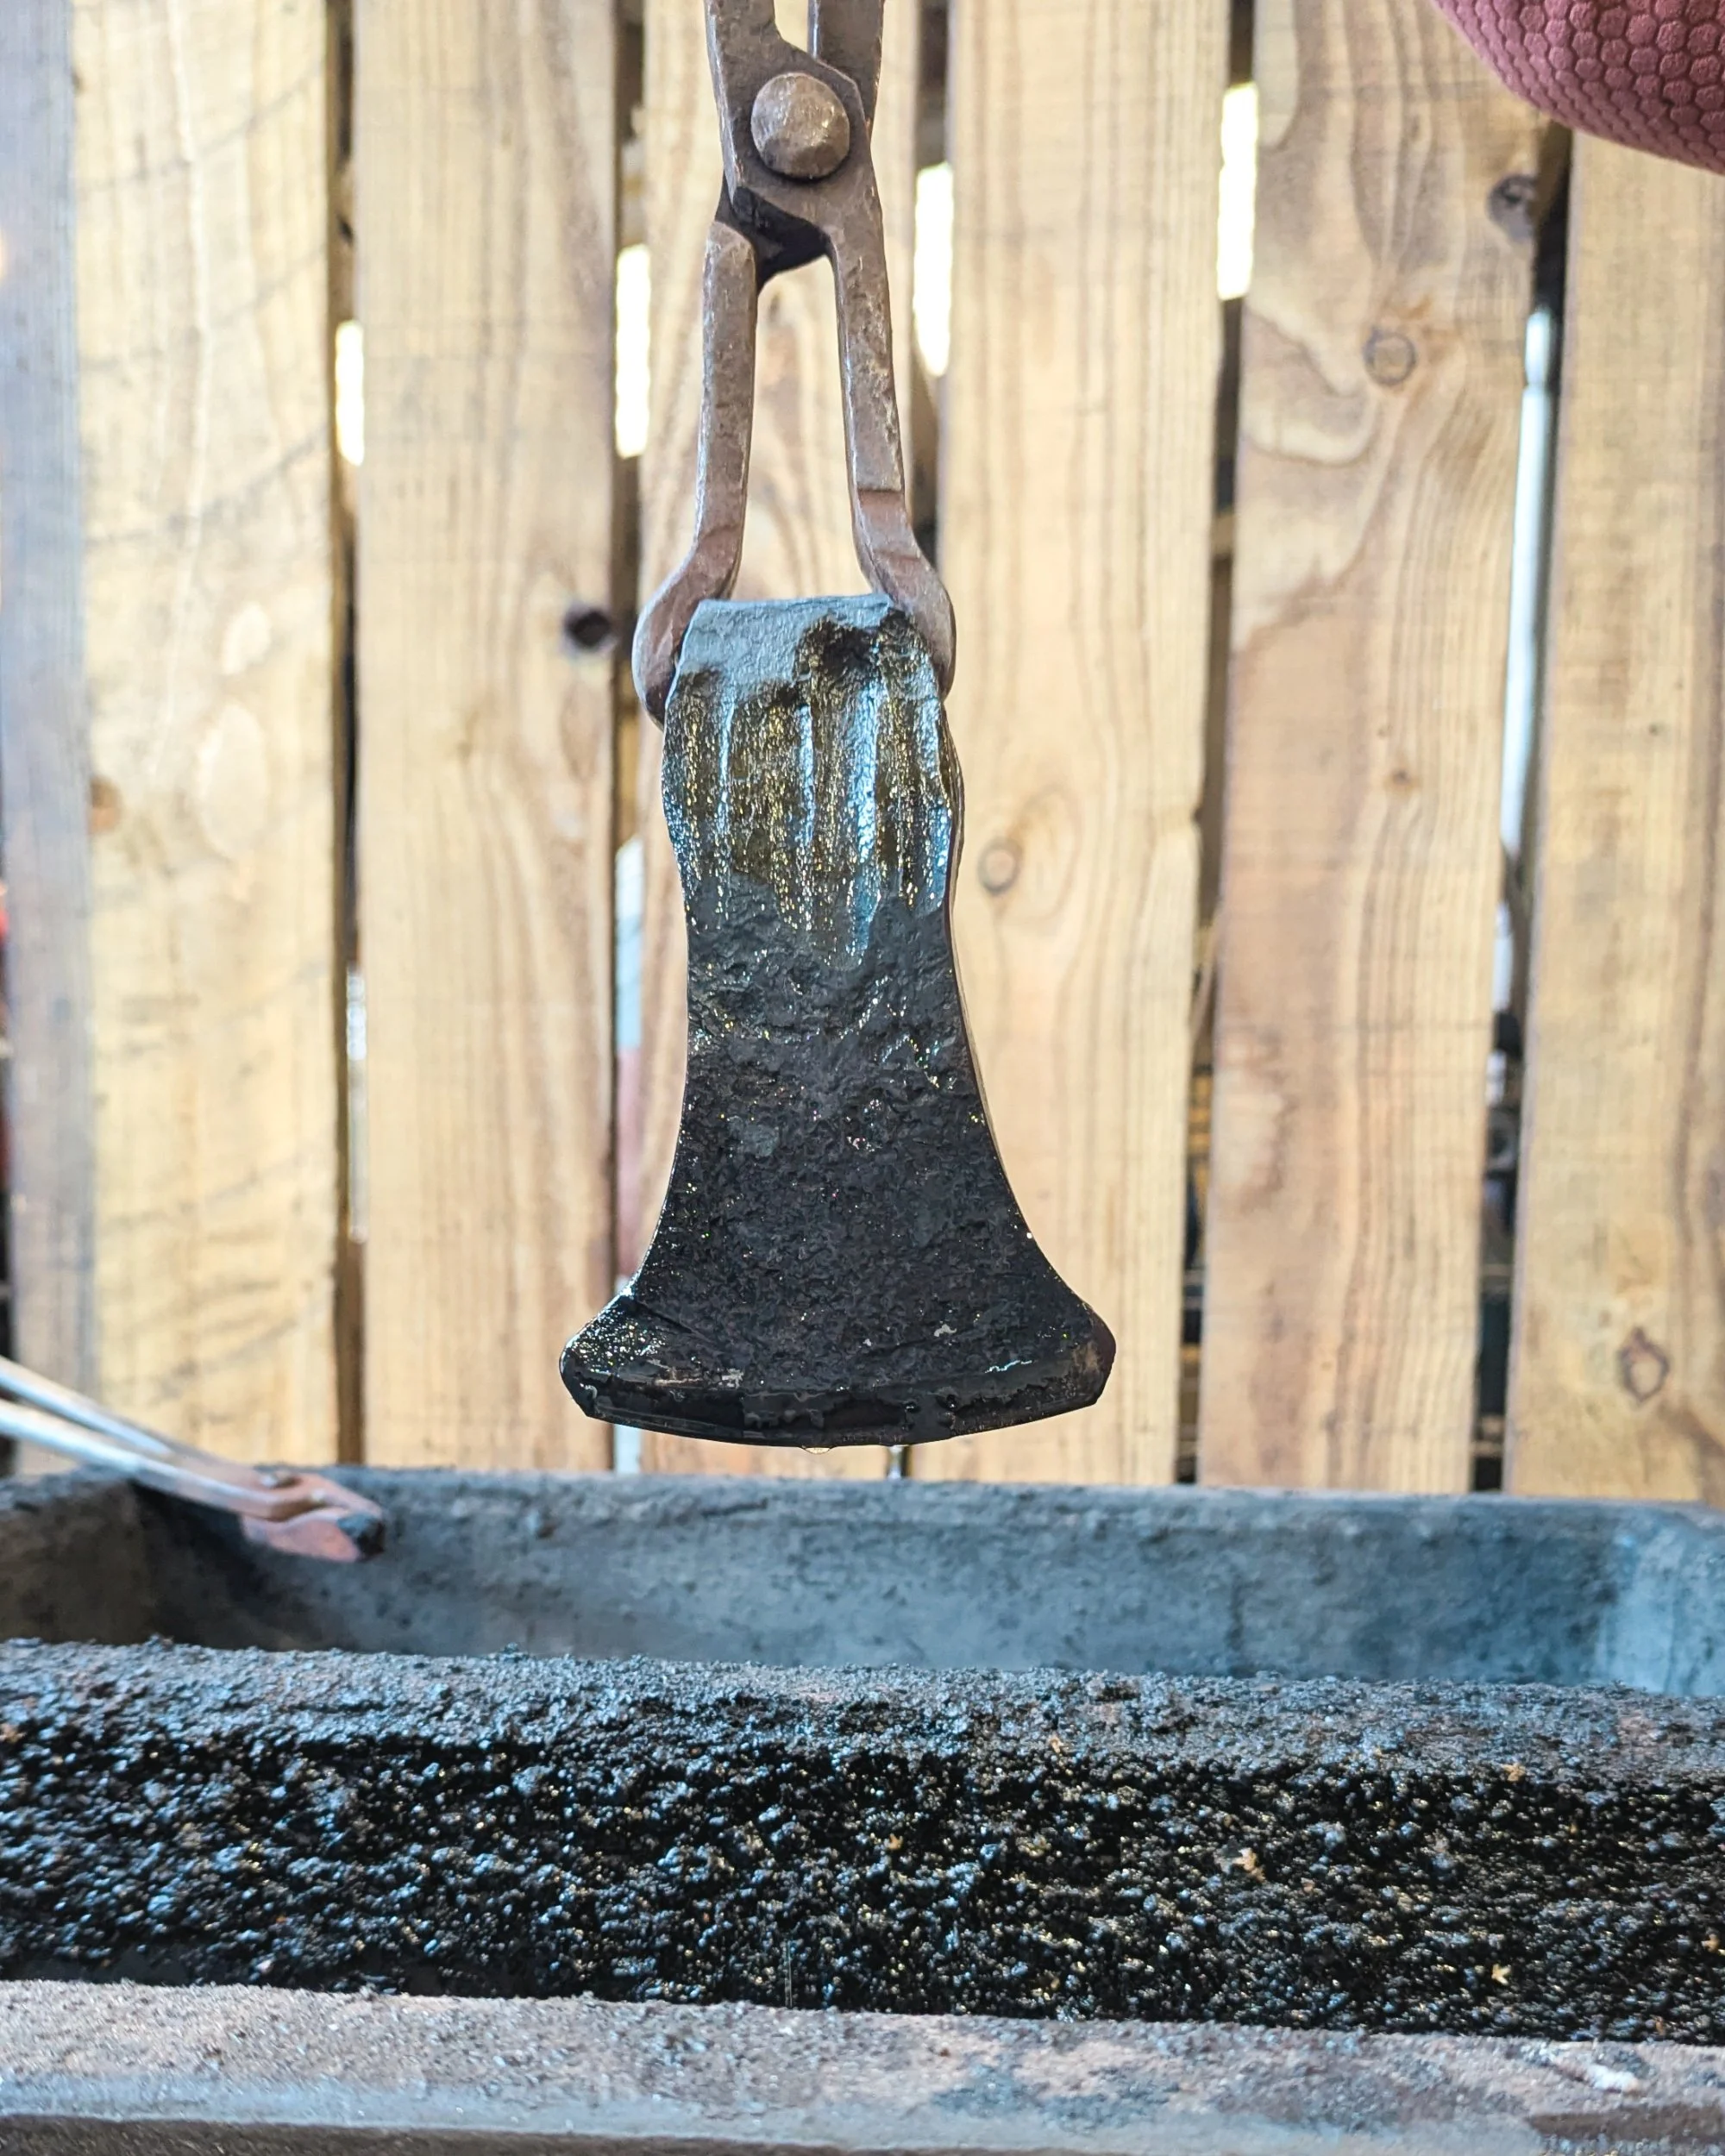
Next, we went around to do the hardening. Heating up the end in the oven forge until it was glowing a bright yellow, then dunking it and holding it in a vat of vegetable oil for 2 minutes (Rods arms knew it!). Then we covered it in the material next to it and let it cool for a while.
We stood next to the fire to keep warm as the temperature was dropping, whilst we waited for the temperature of the metal to decrease. When it was nearly cool enough, it got dunked in some water to speed up the cooling and harden it. Don't do this with Damascus (the layered metal effects) as it will explode!
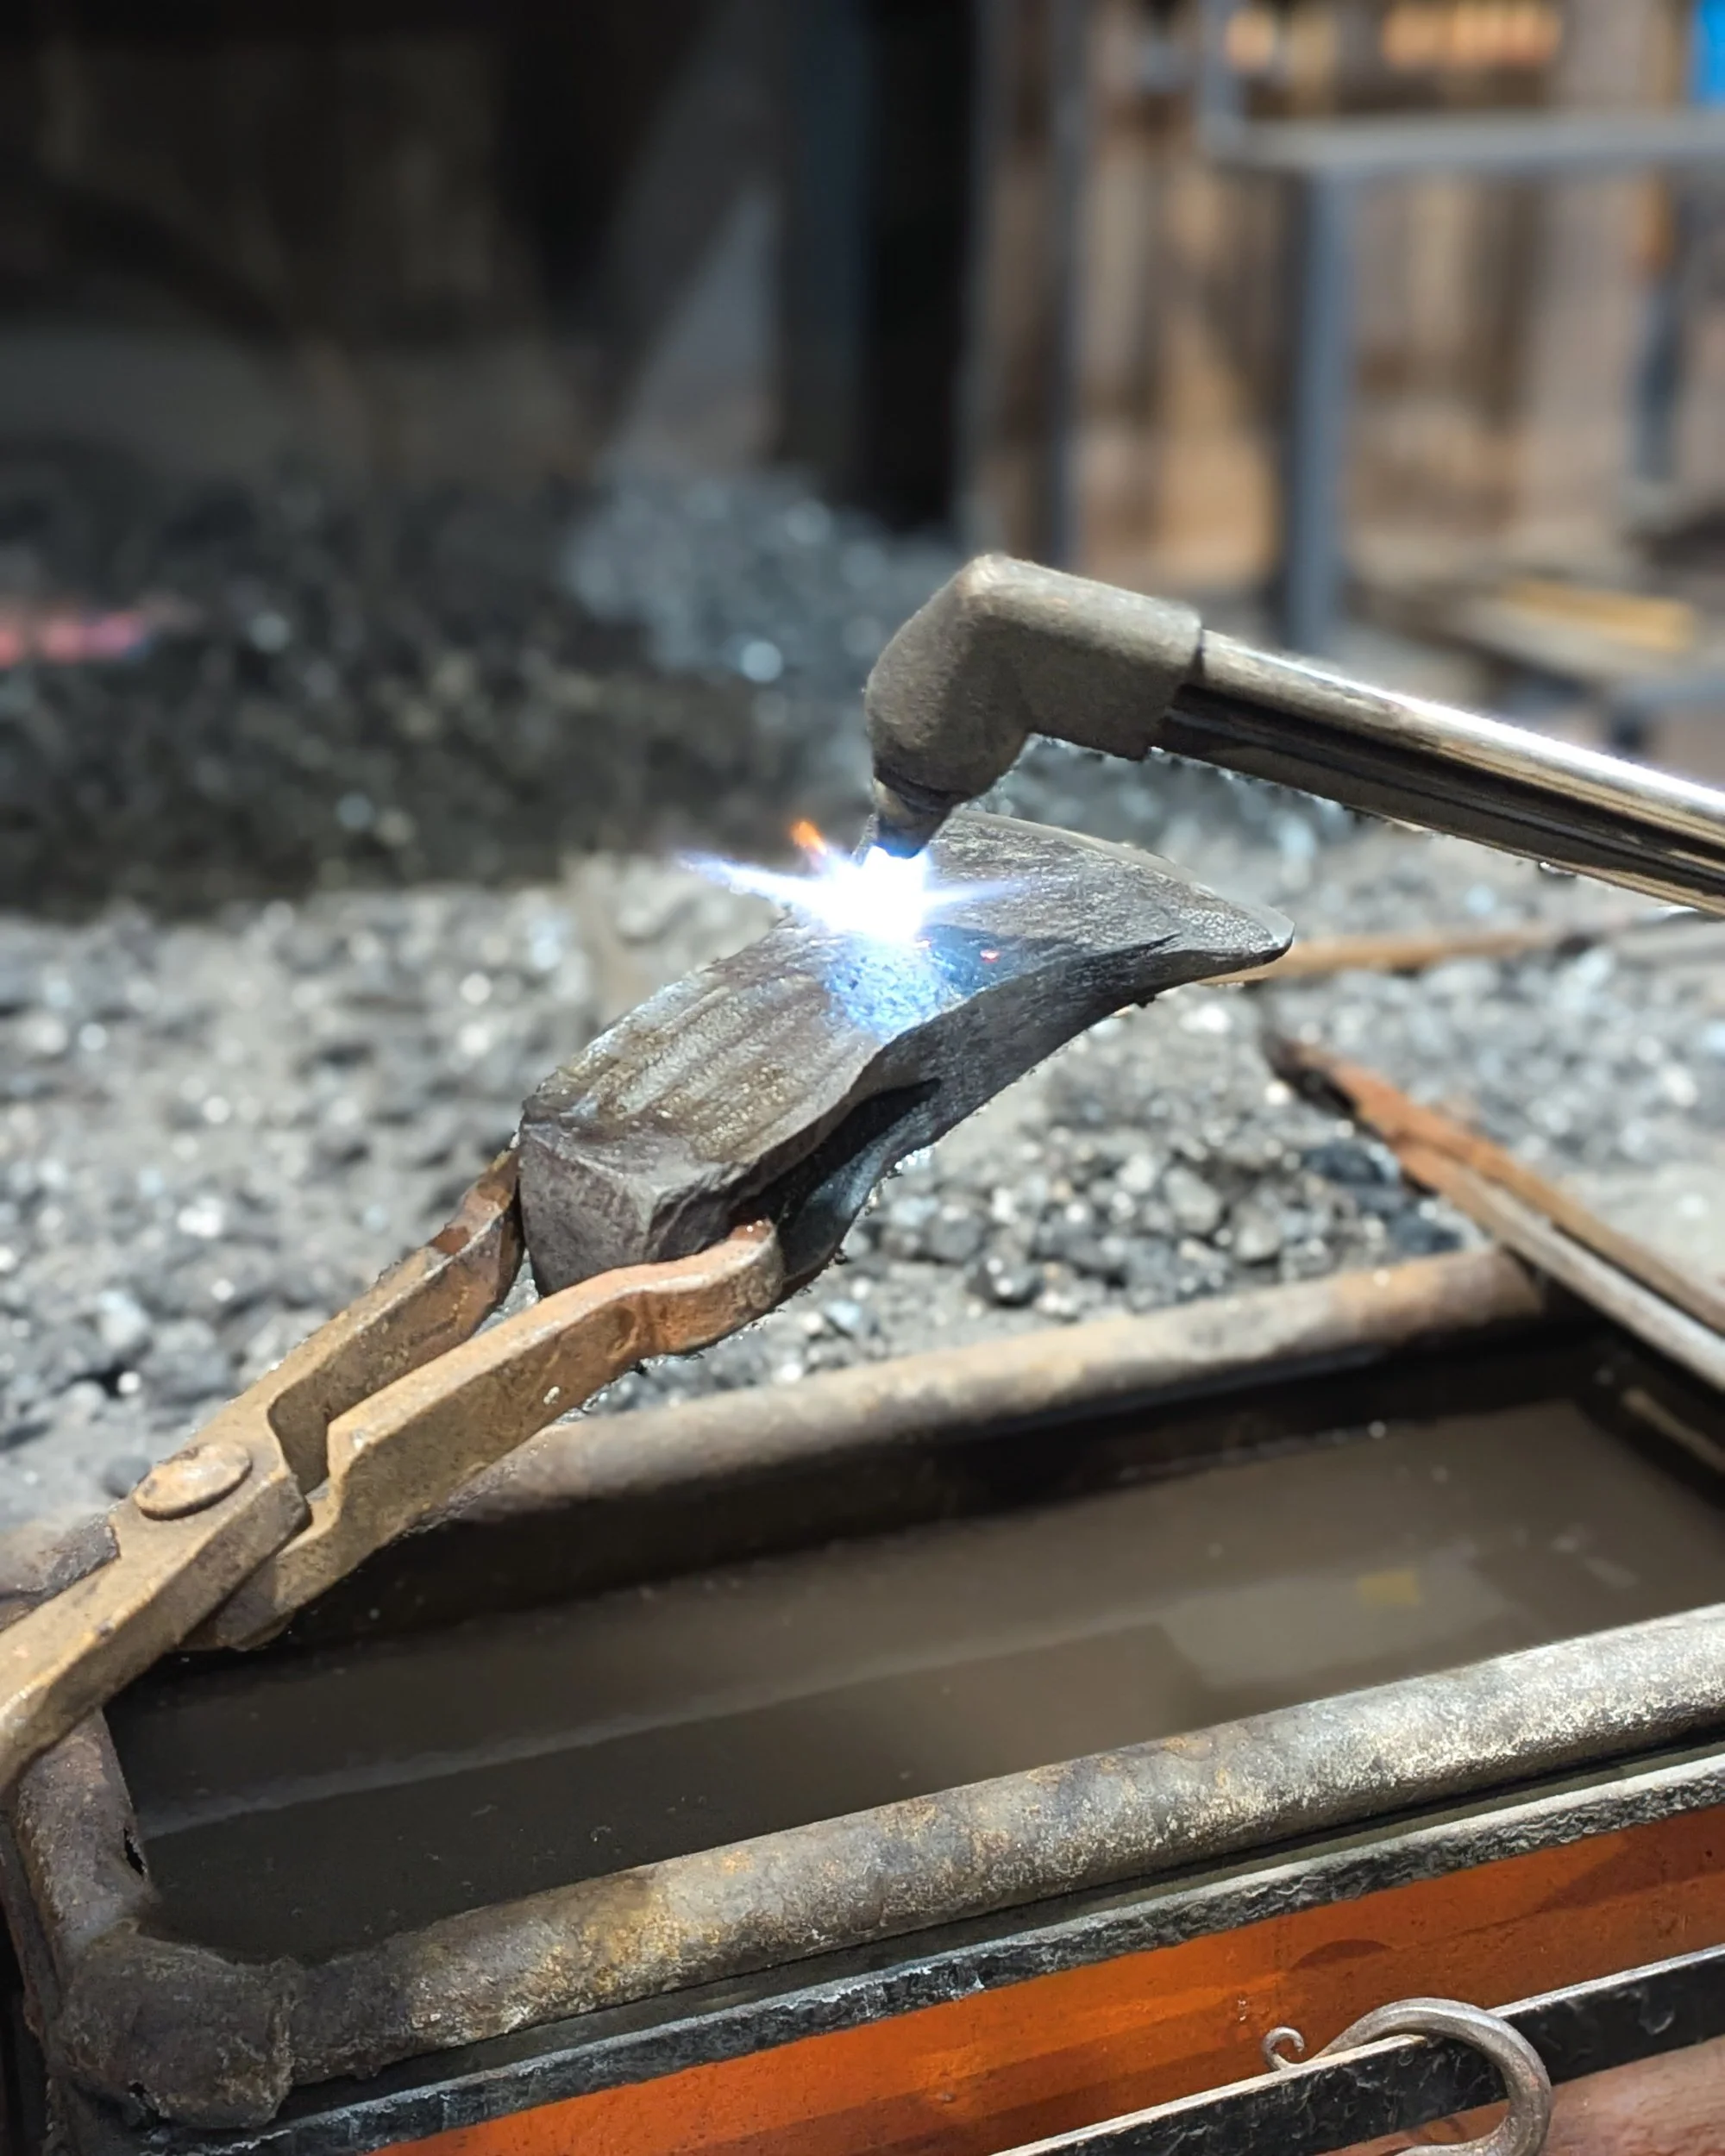
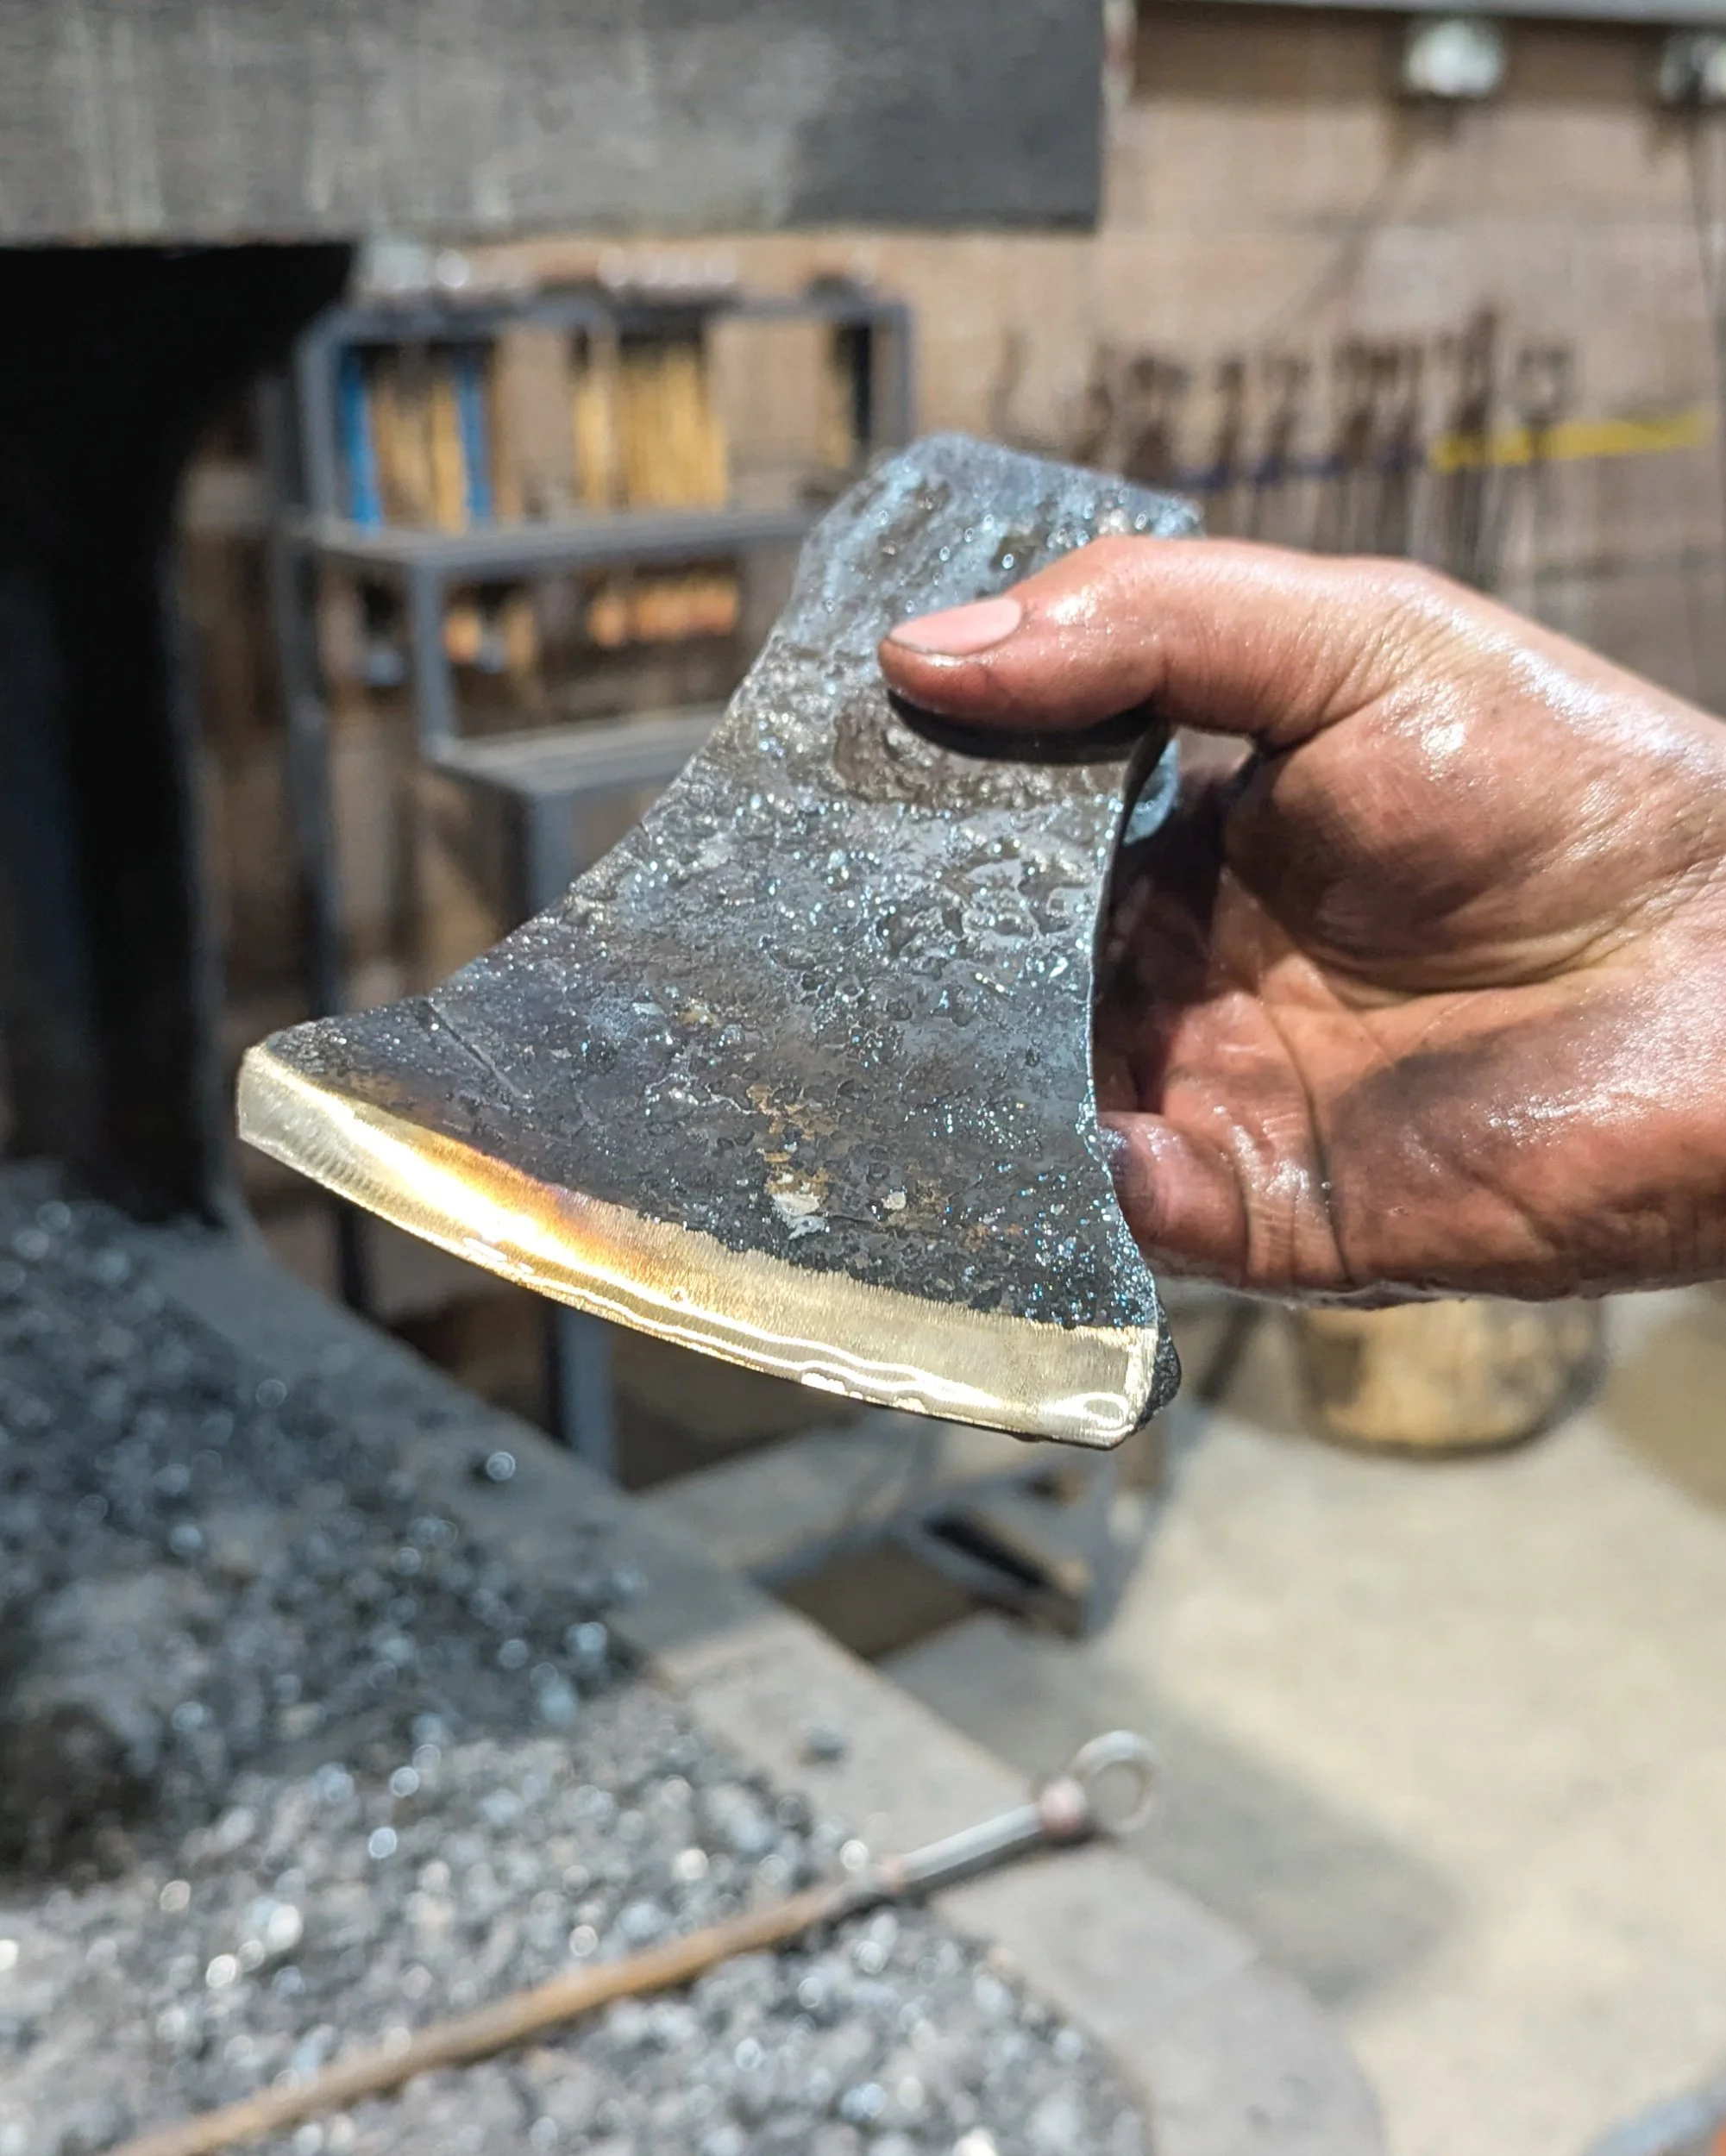
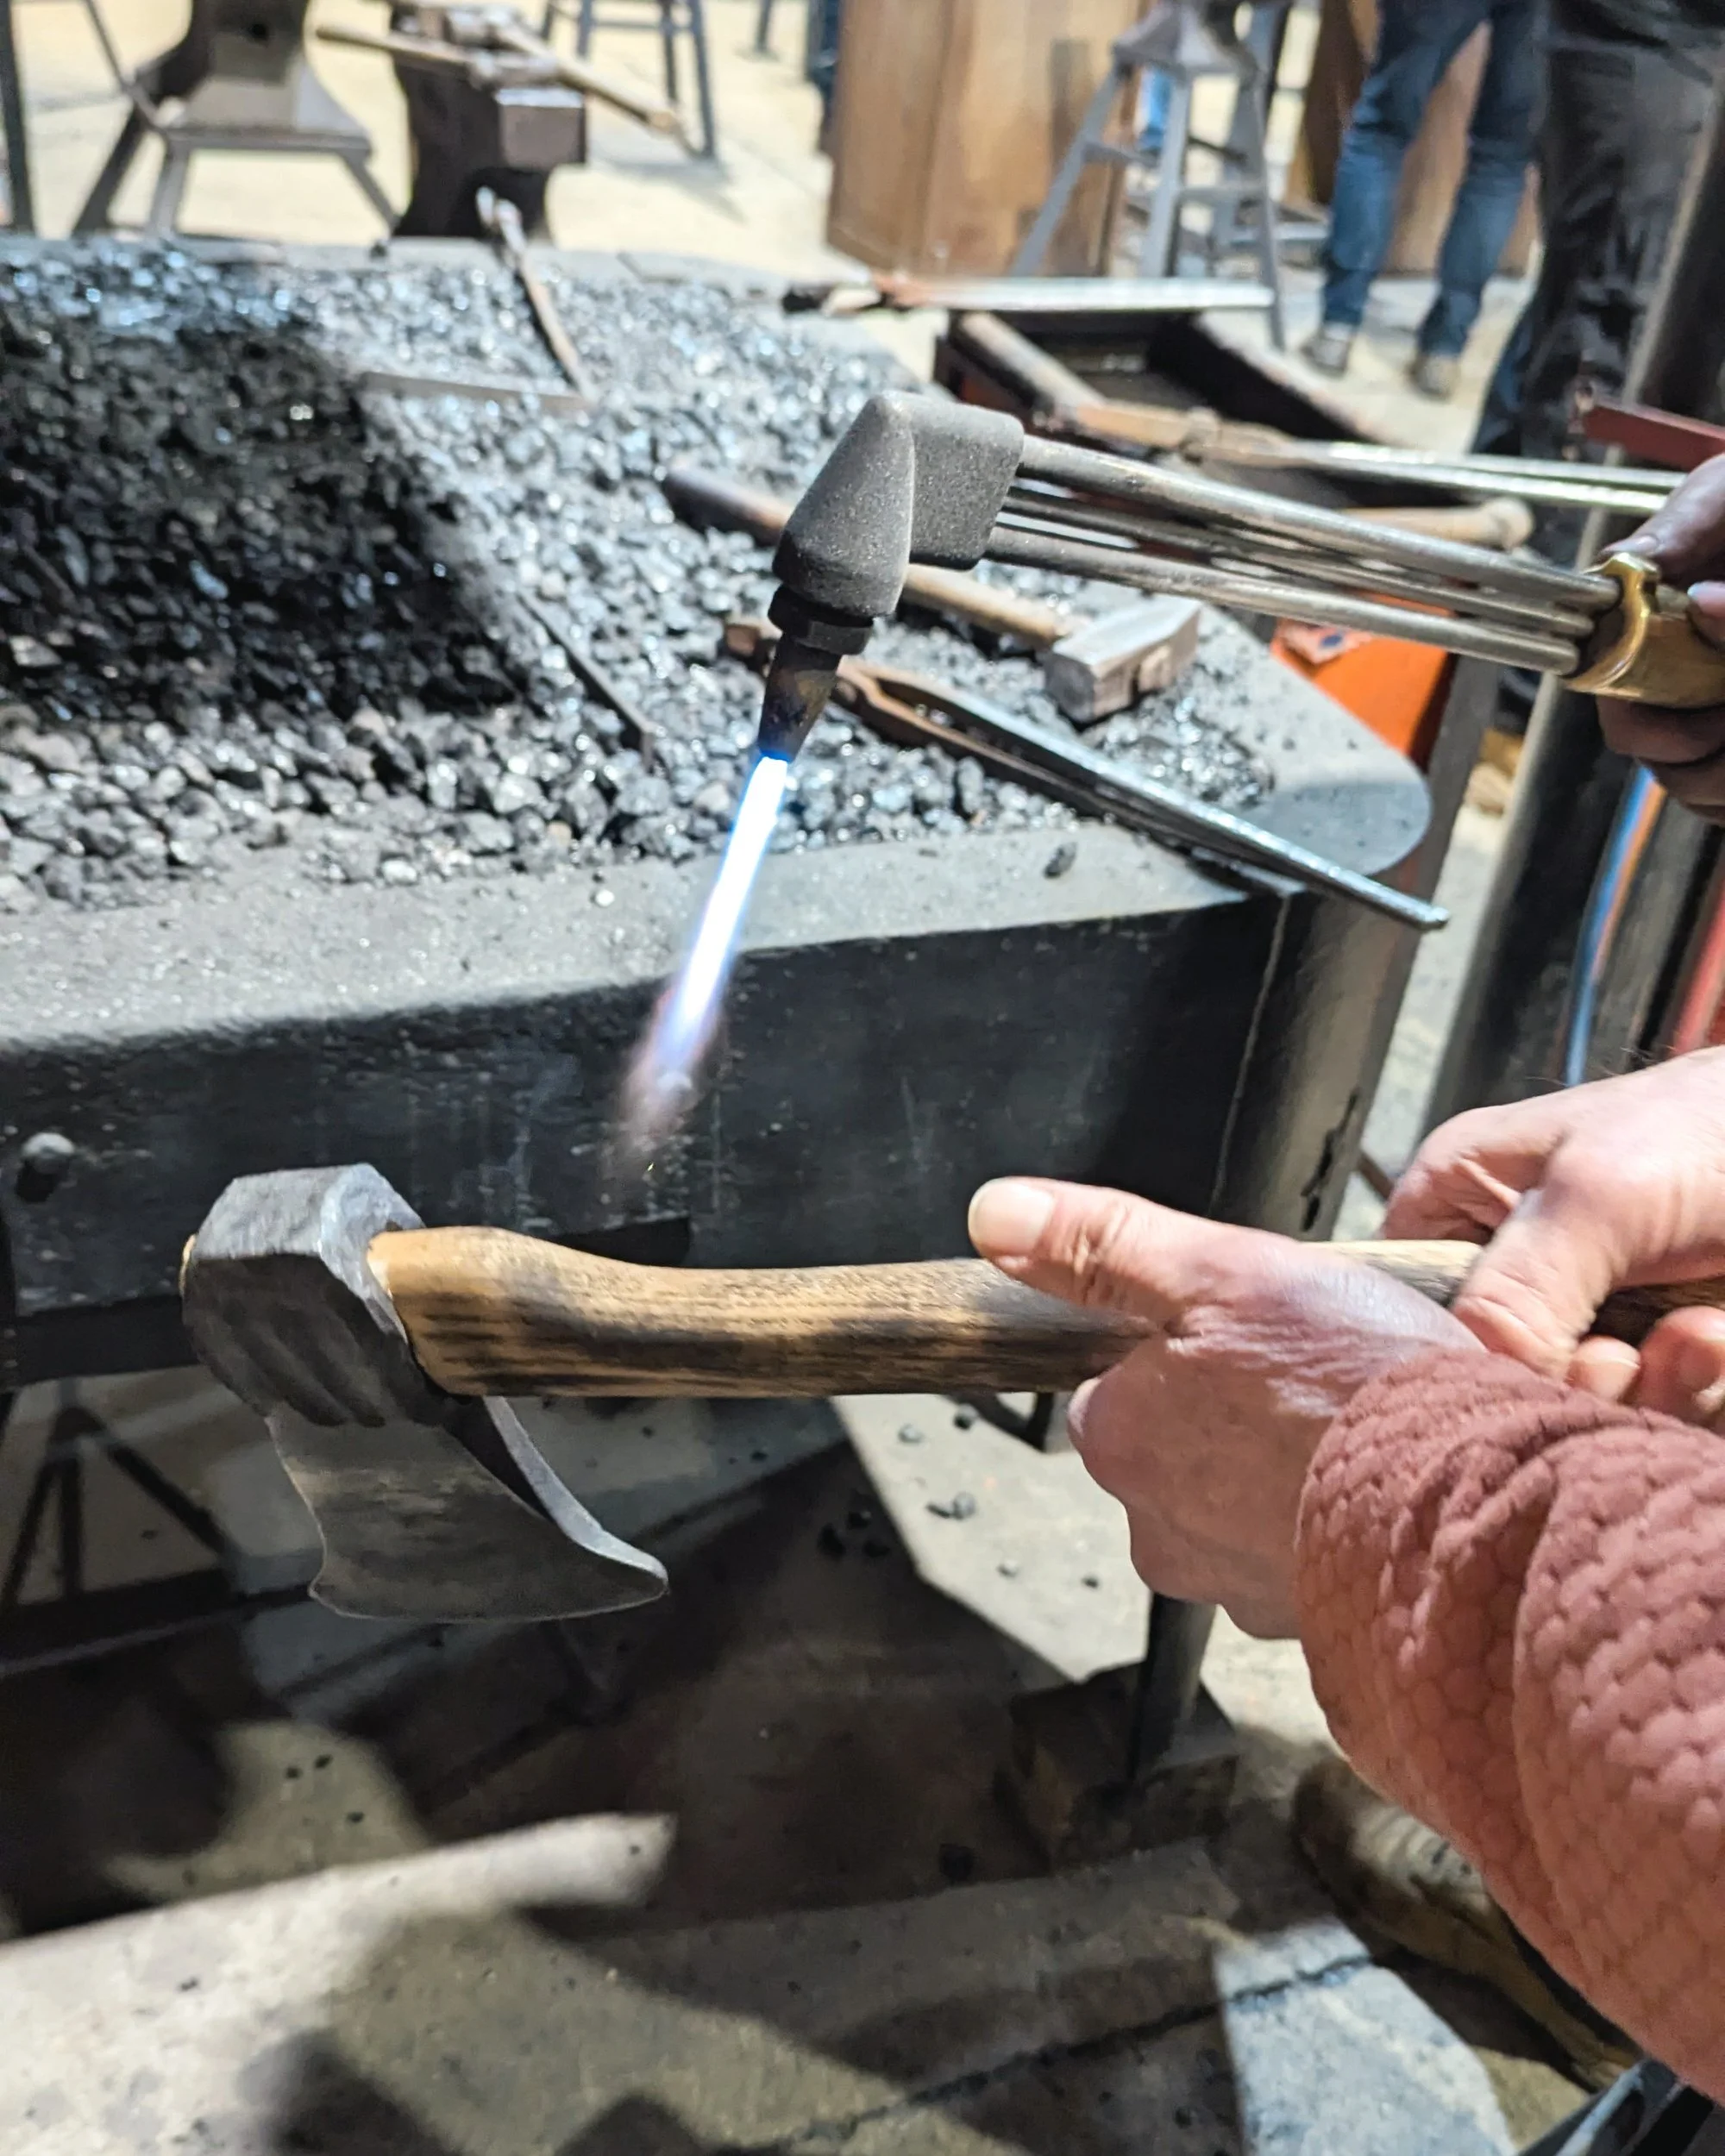
Next it got tempered. We took it over to the open forge and Matt used a flame from gas bottles to get it hot all over the working area of the axe head and then dunked it in water. We were looking for a lovely golden yellow colour and we got it!
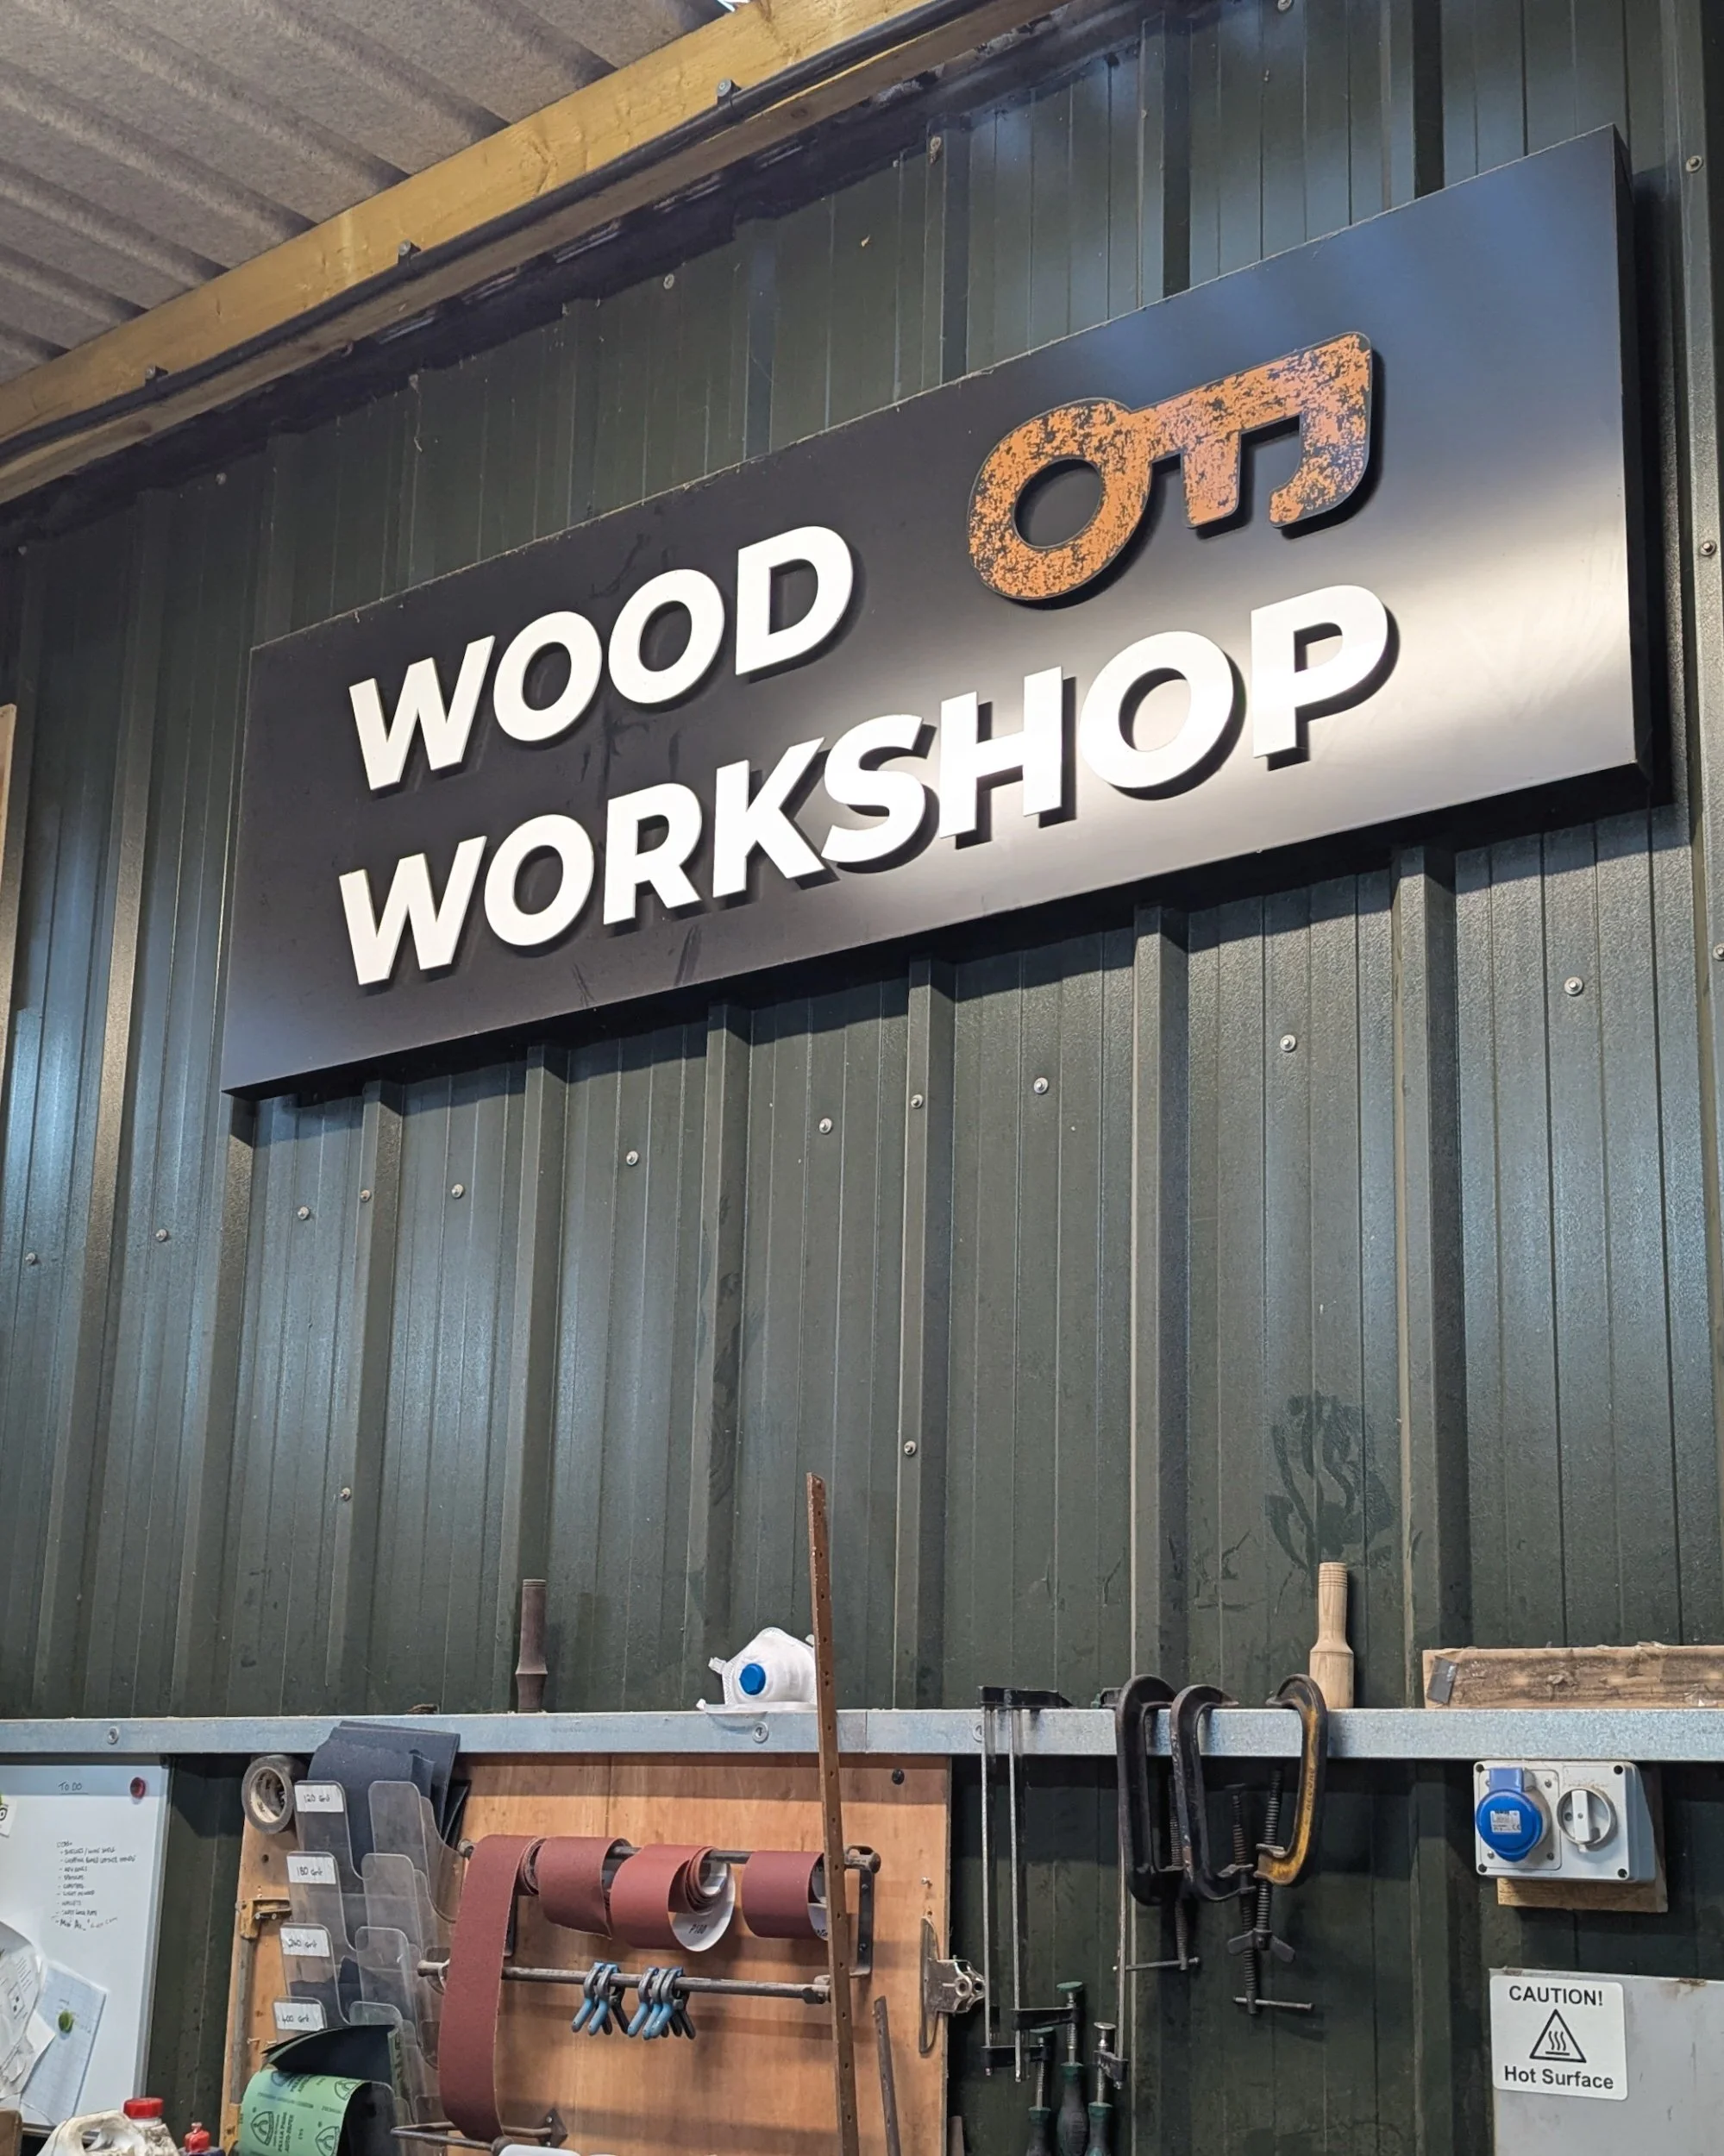
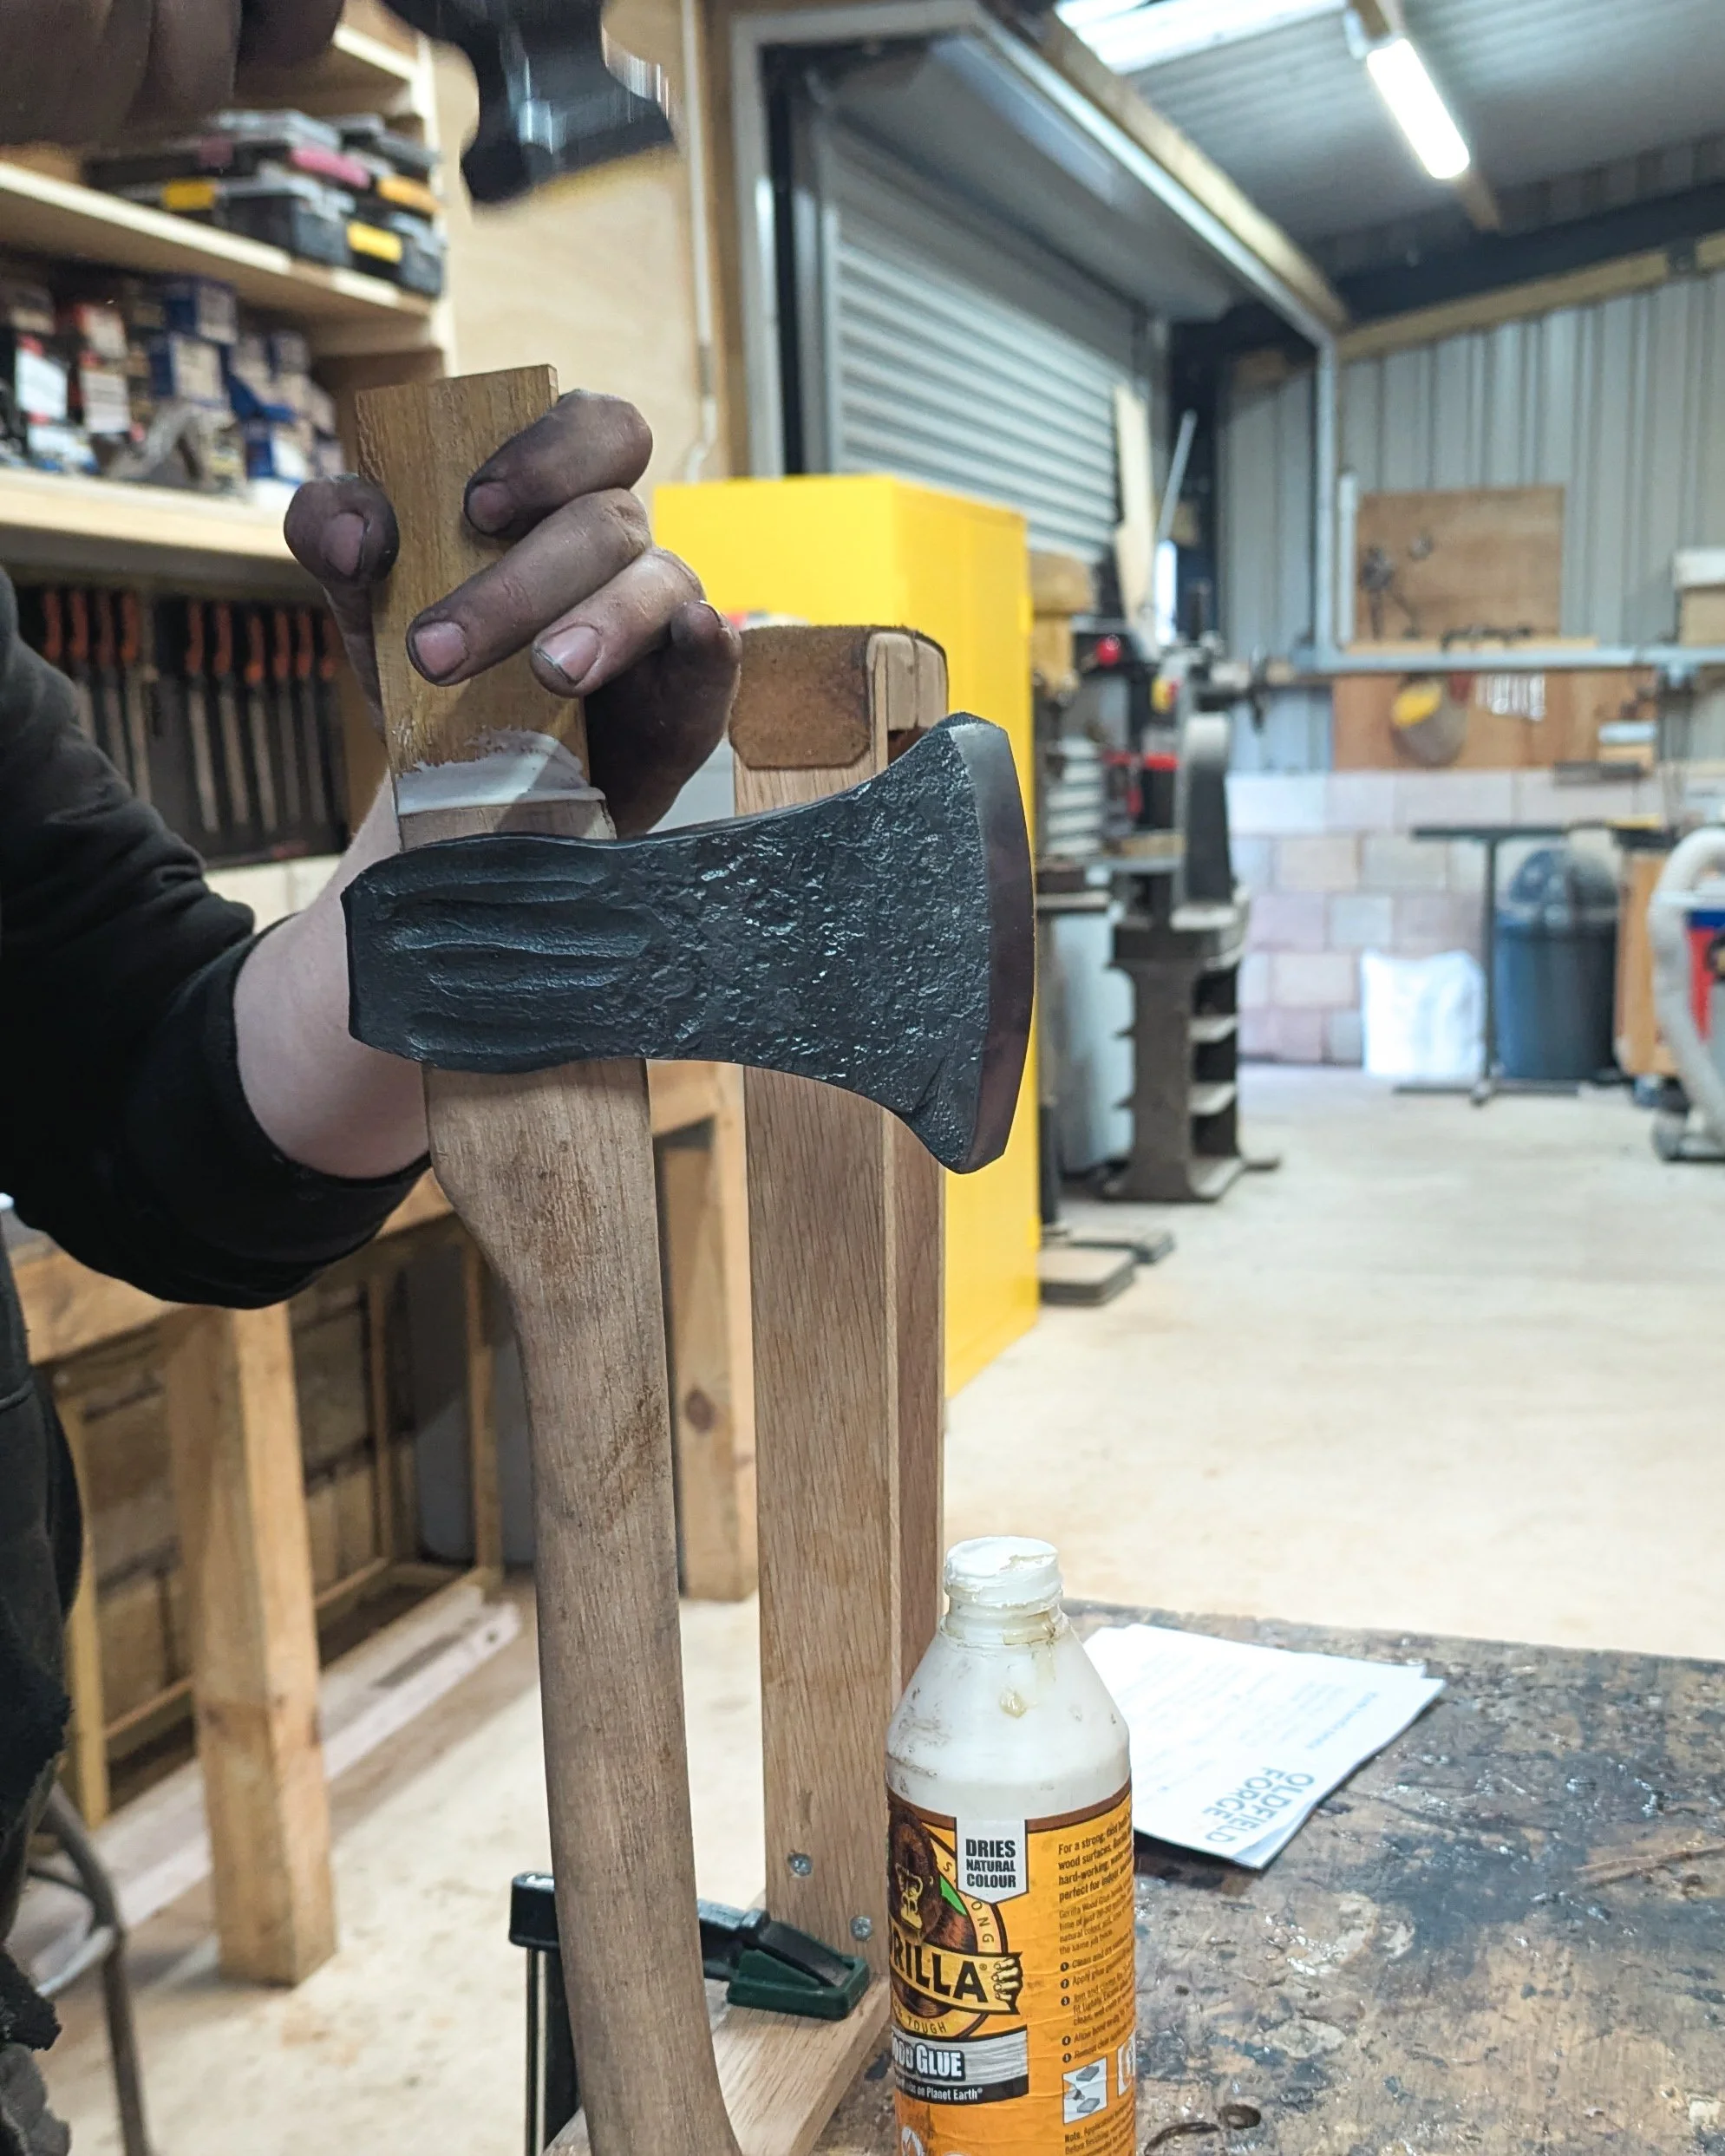
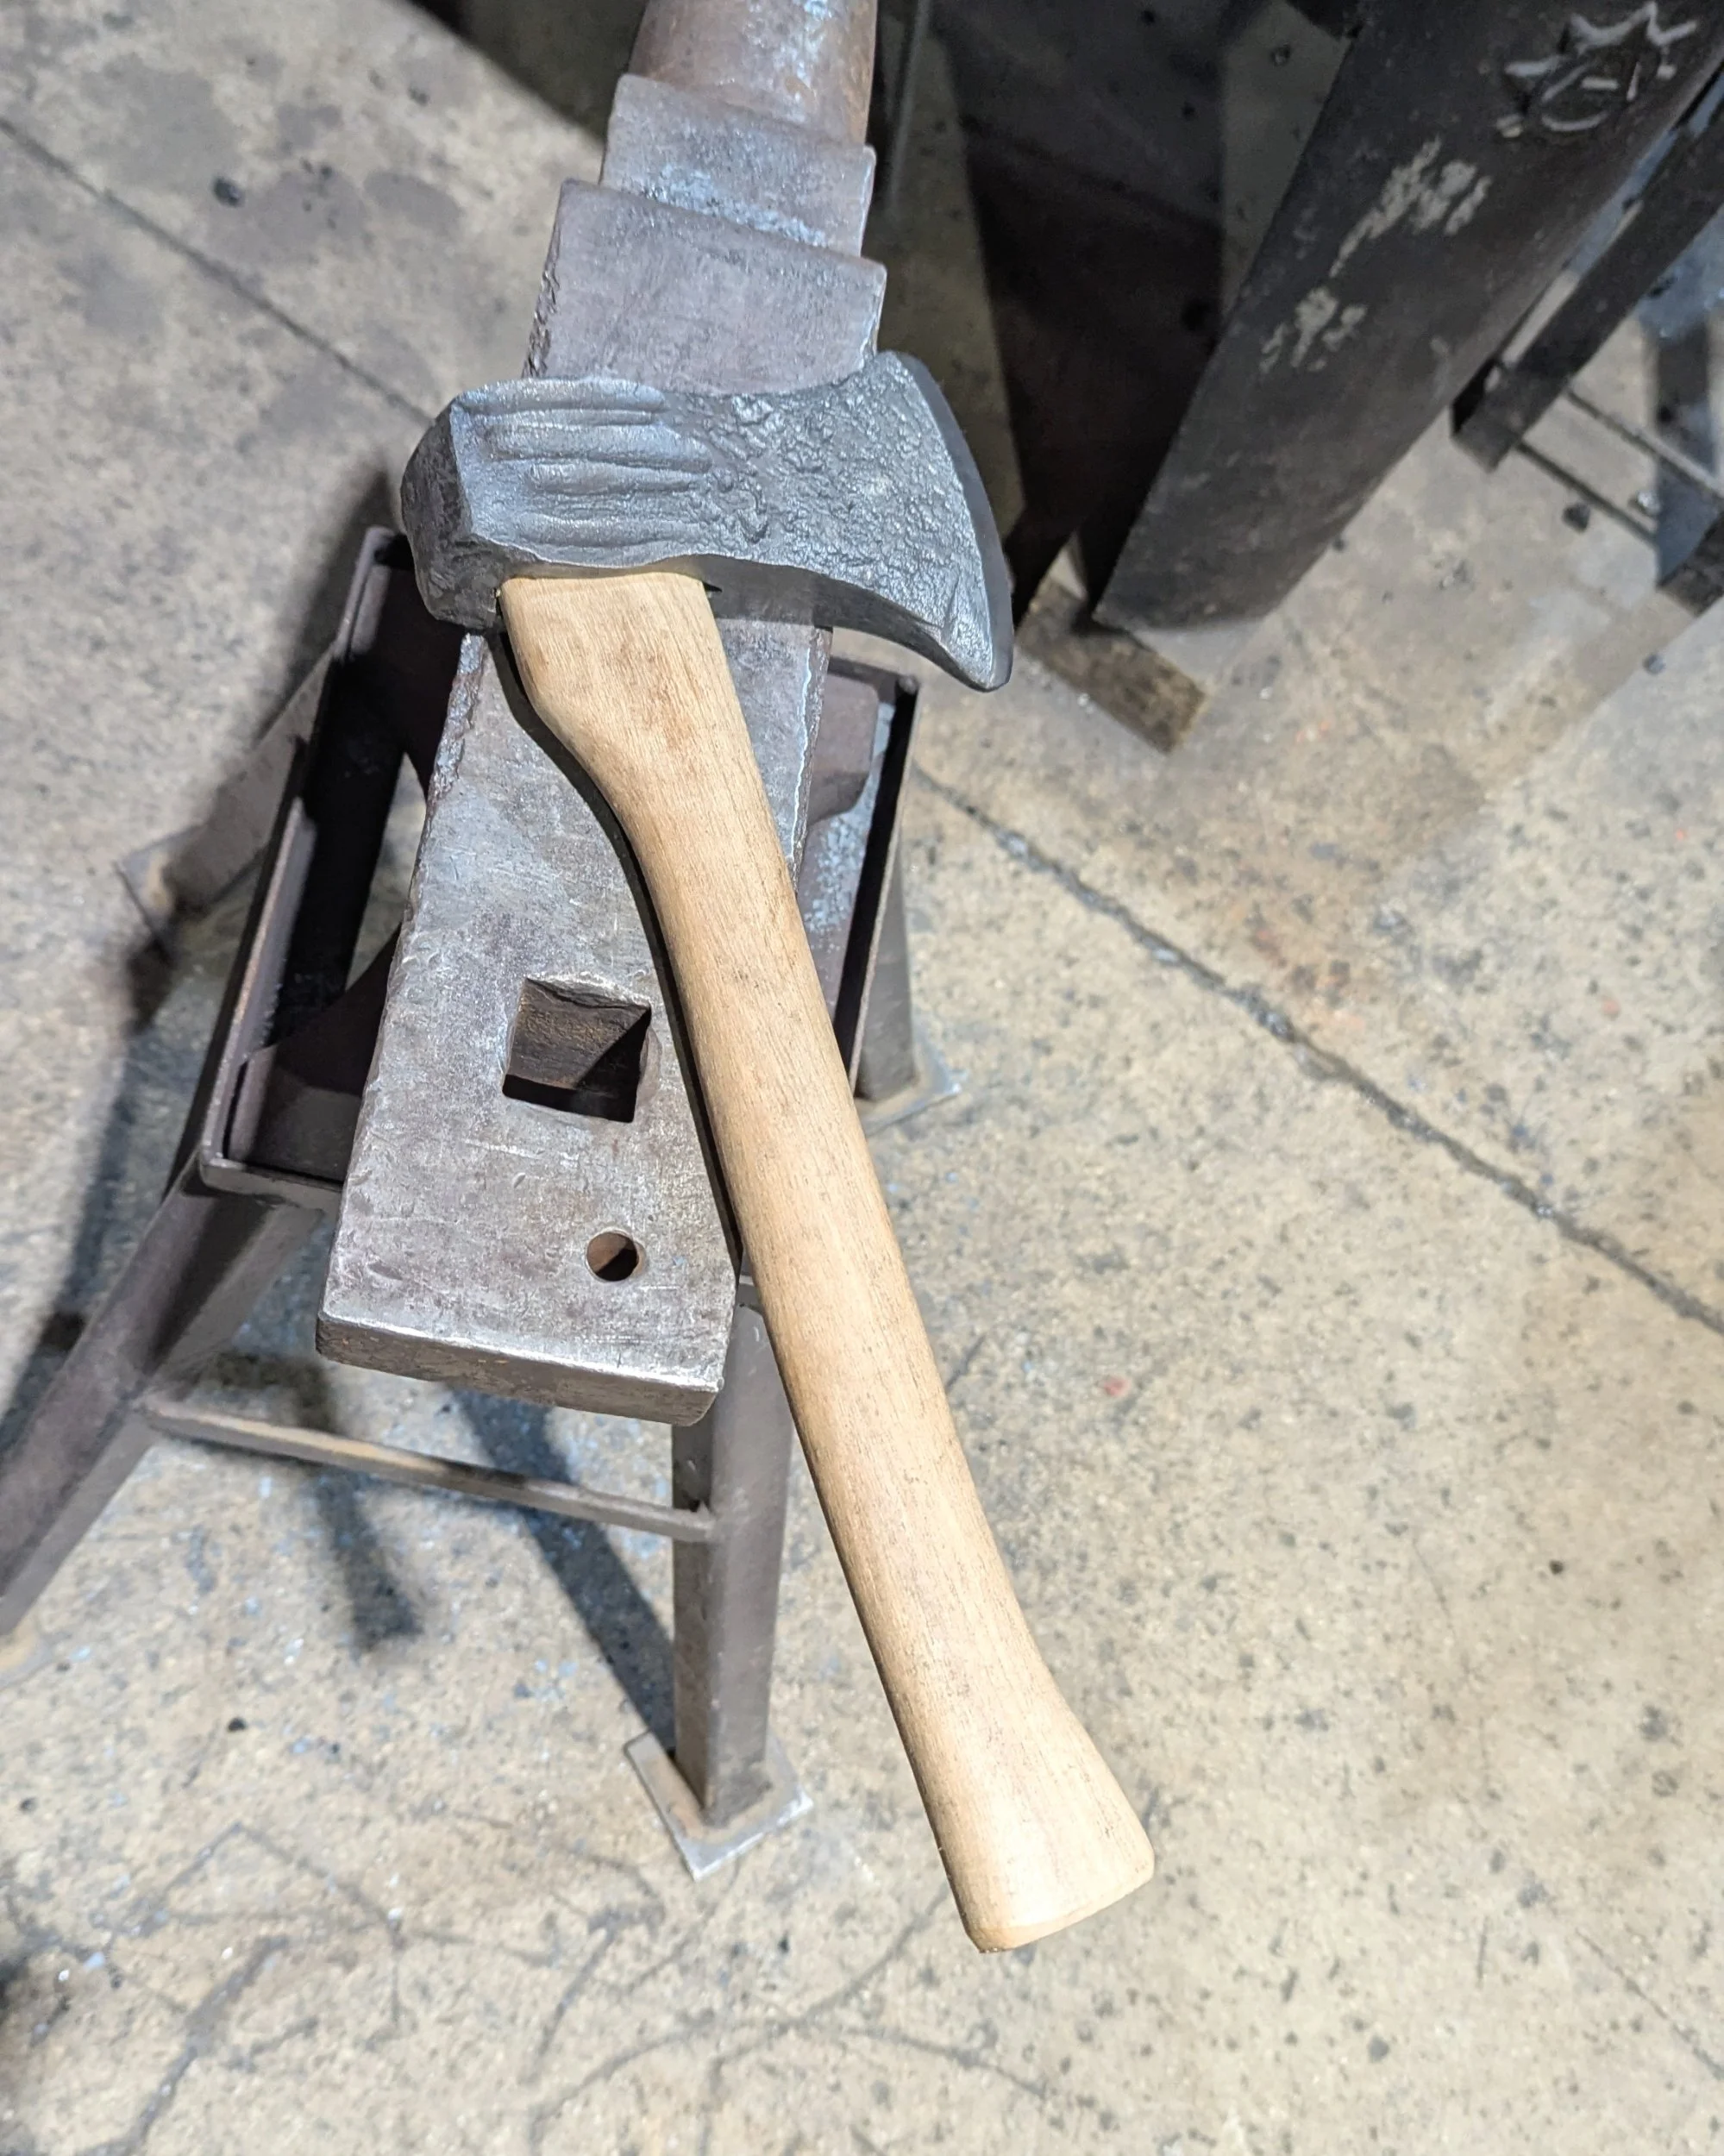
We then took it into the wood workshop to get the handle fitted (what good is an axe without a handle?!).
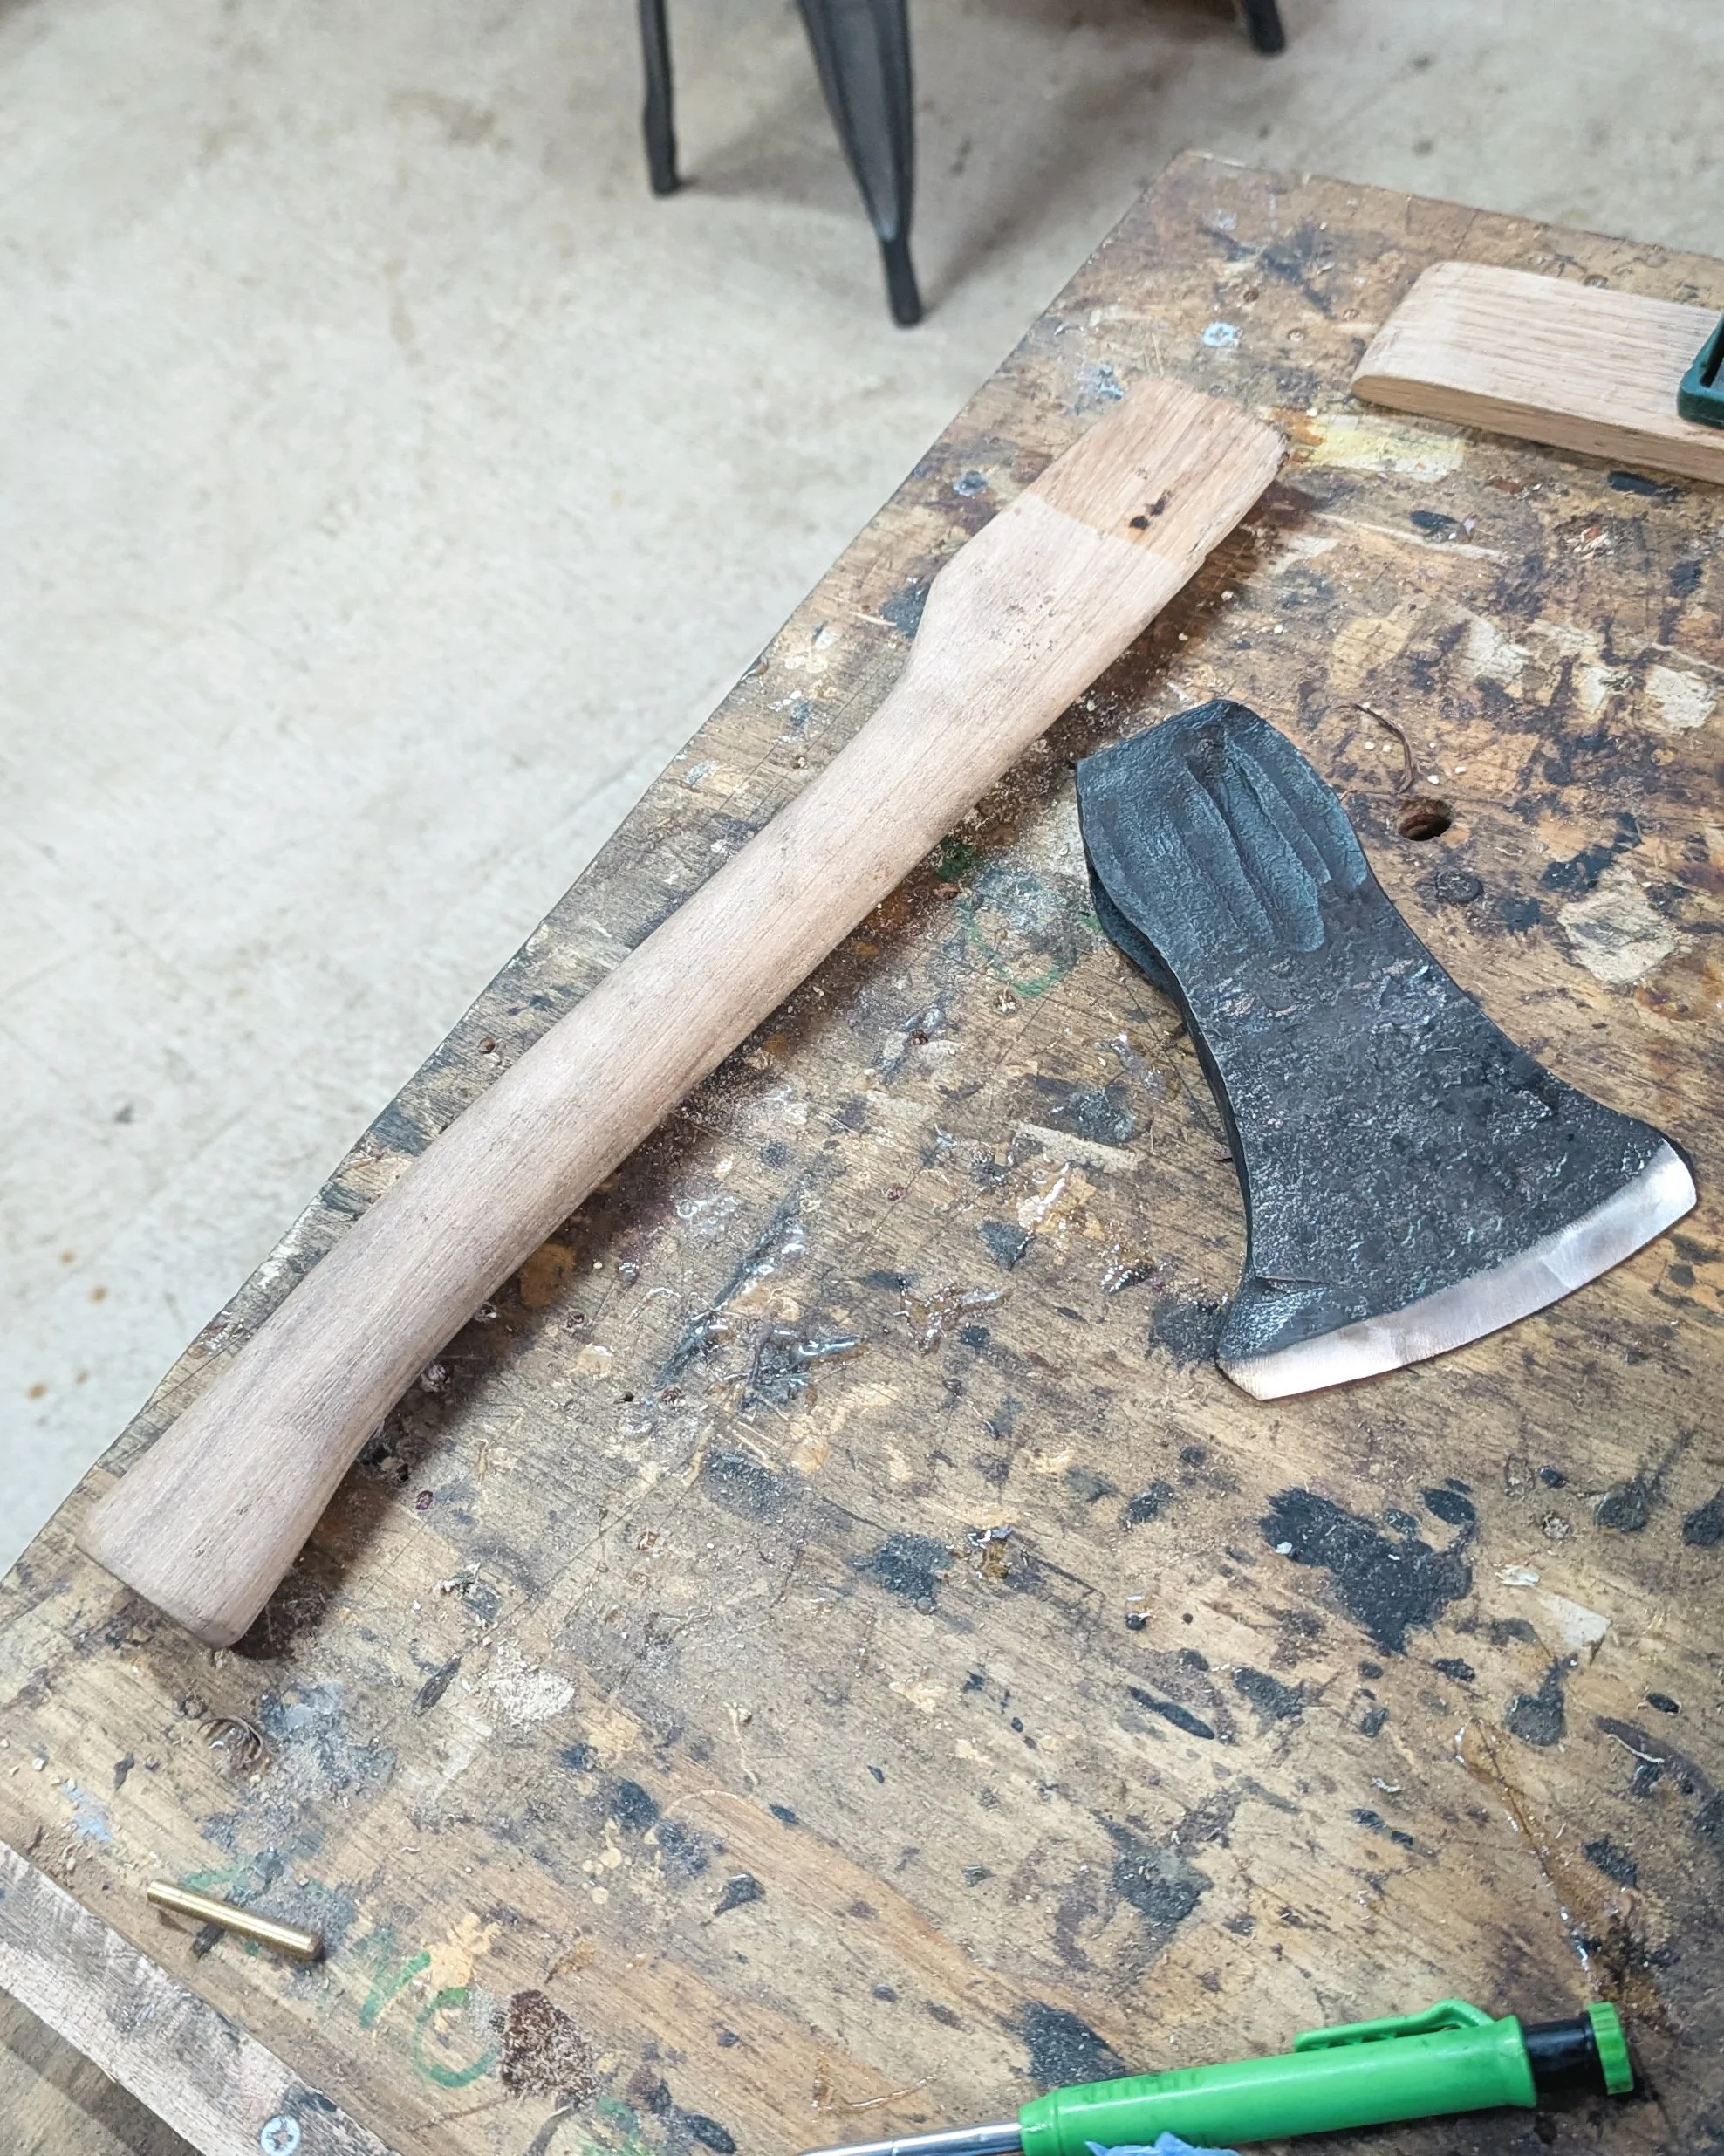
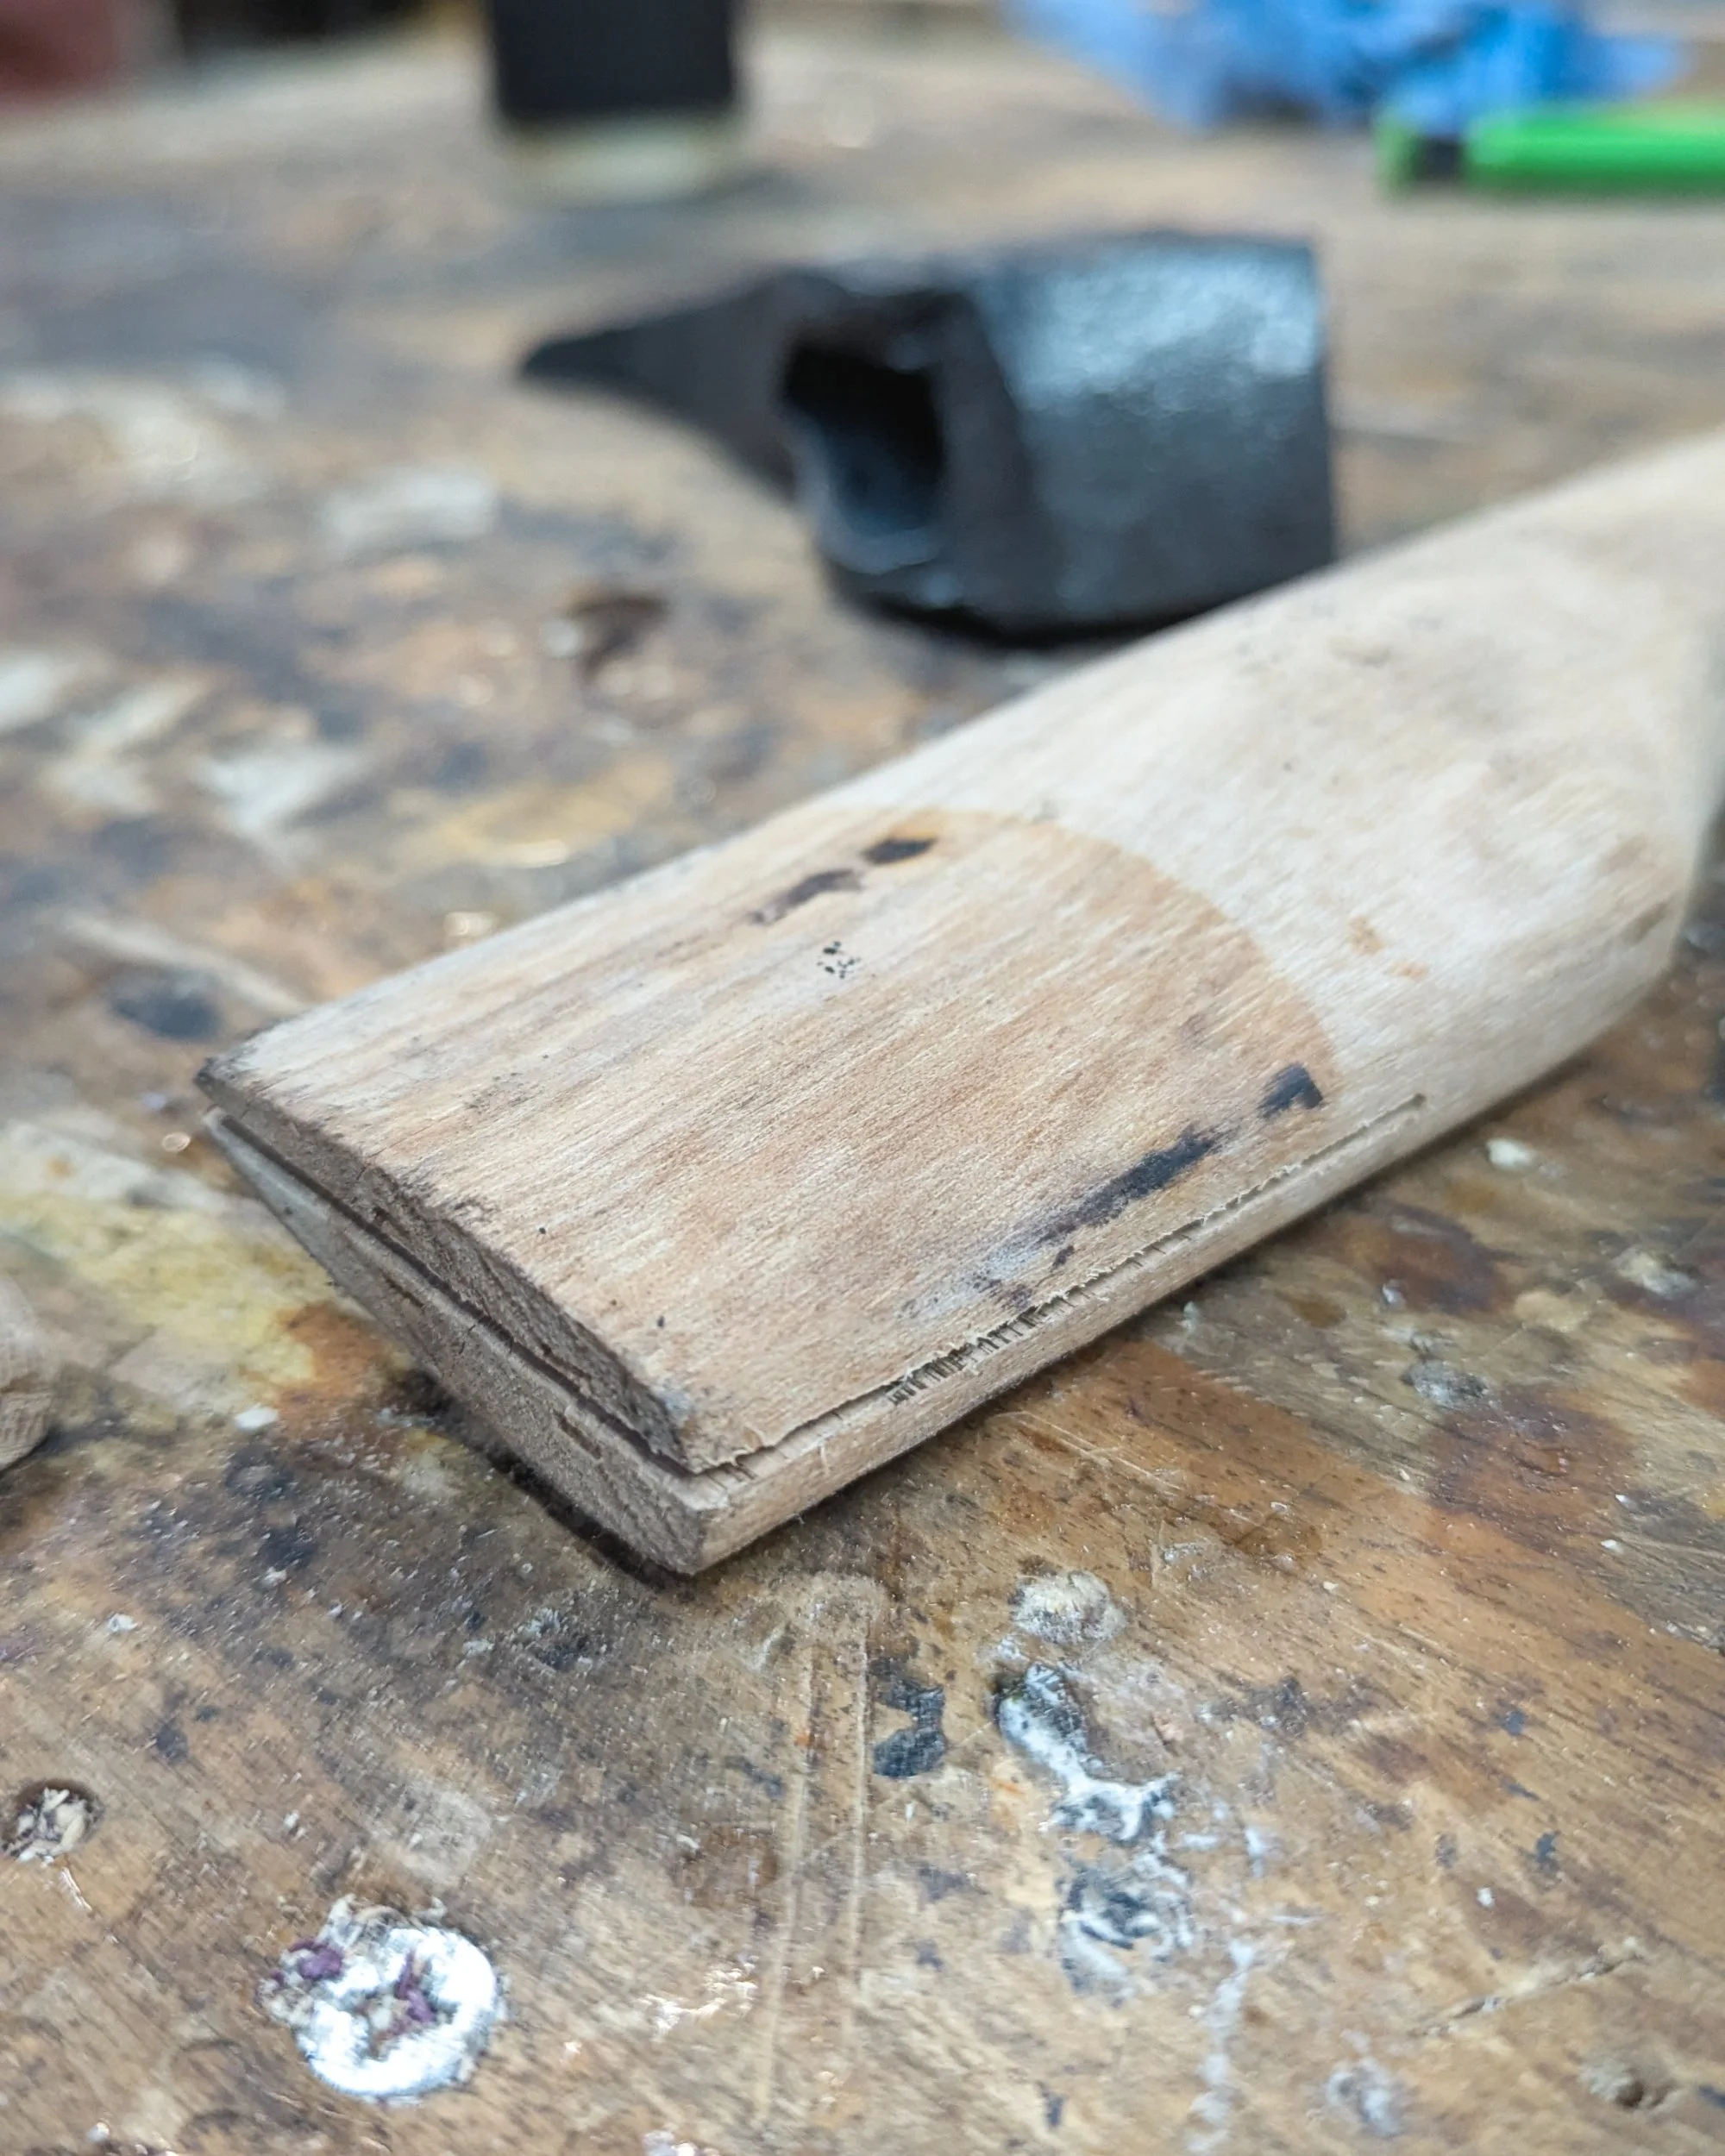
The handle got fitted with a wedge in the top, which holds it in place as the drifting we did earlier created a kind of pinch point in the middle.
Once the handle was fitted, Matt took it off to be sharpened (only gets sharpened once a handle is on it!).
Then we burnt the handle to create a darker burnt colour effect which added to the old rustic feel of the axe.
Us with (what we thought was) our finished axe!
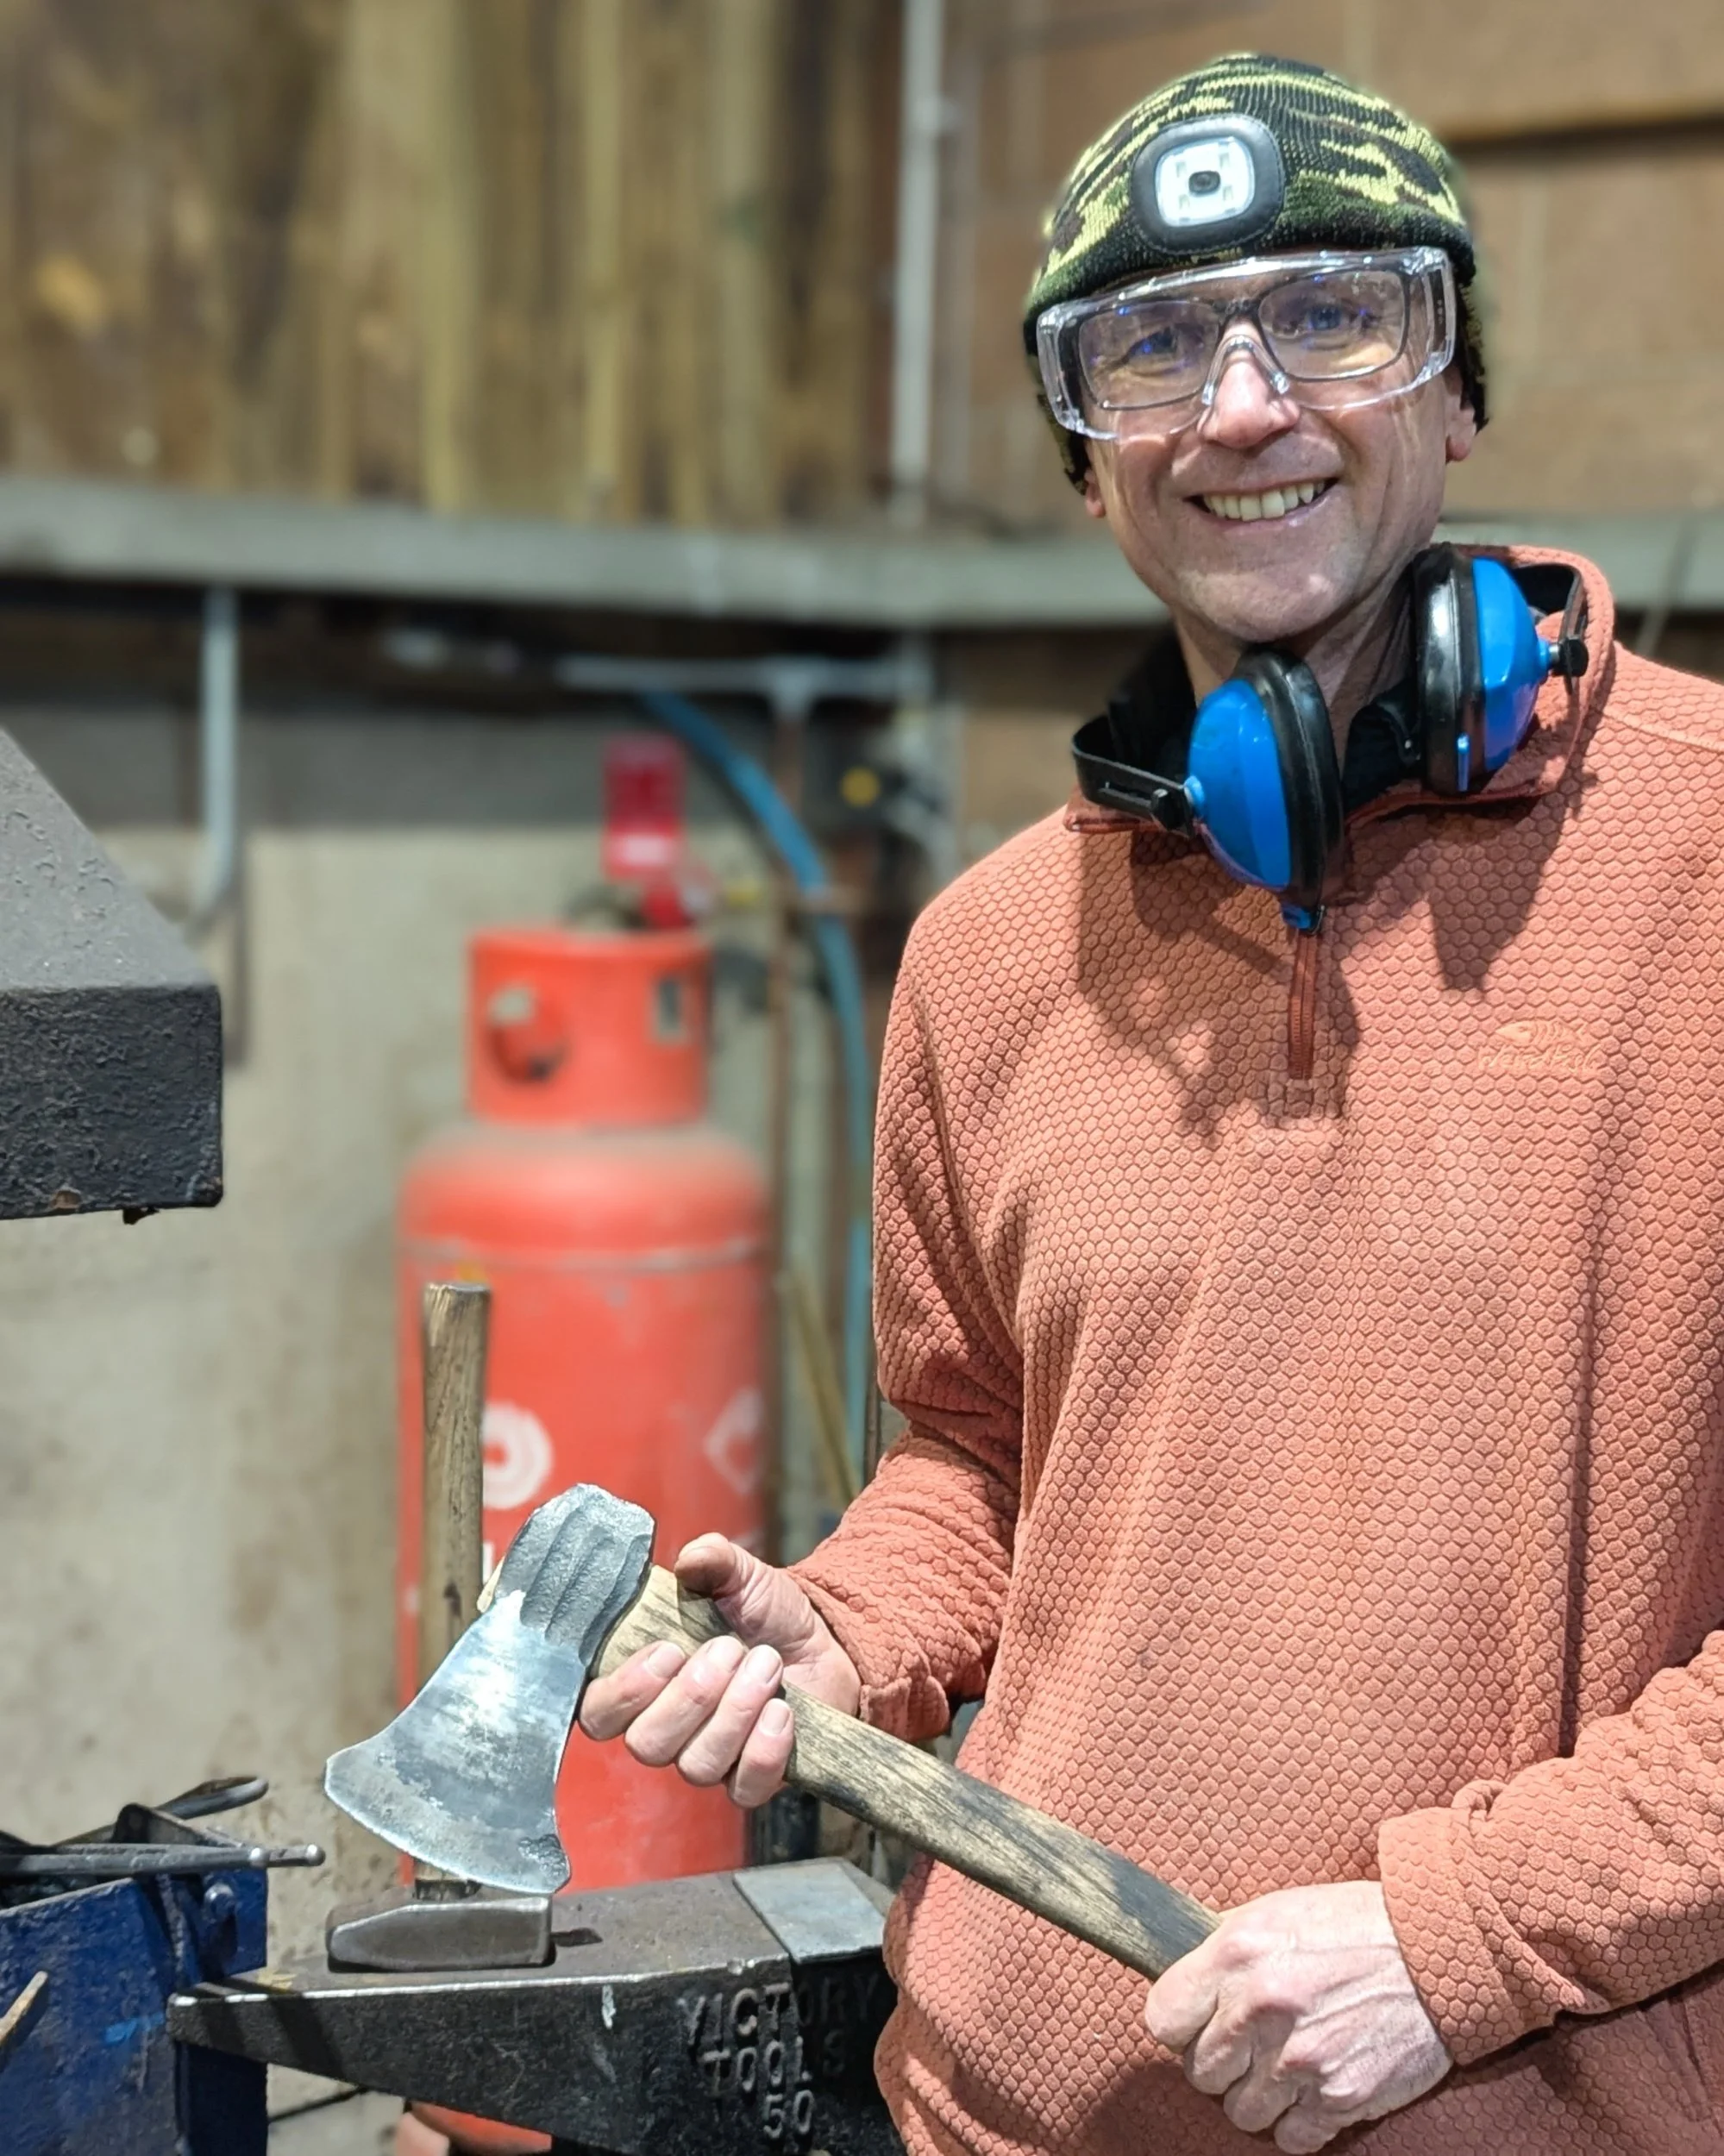
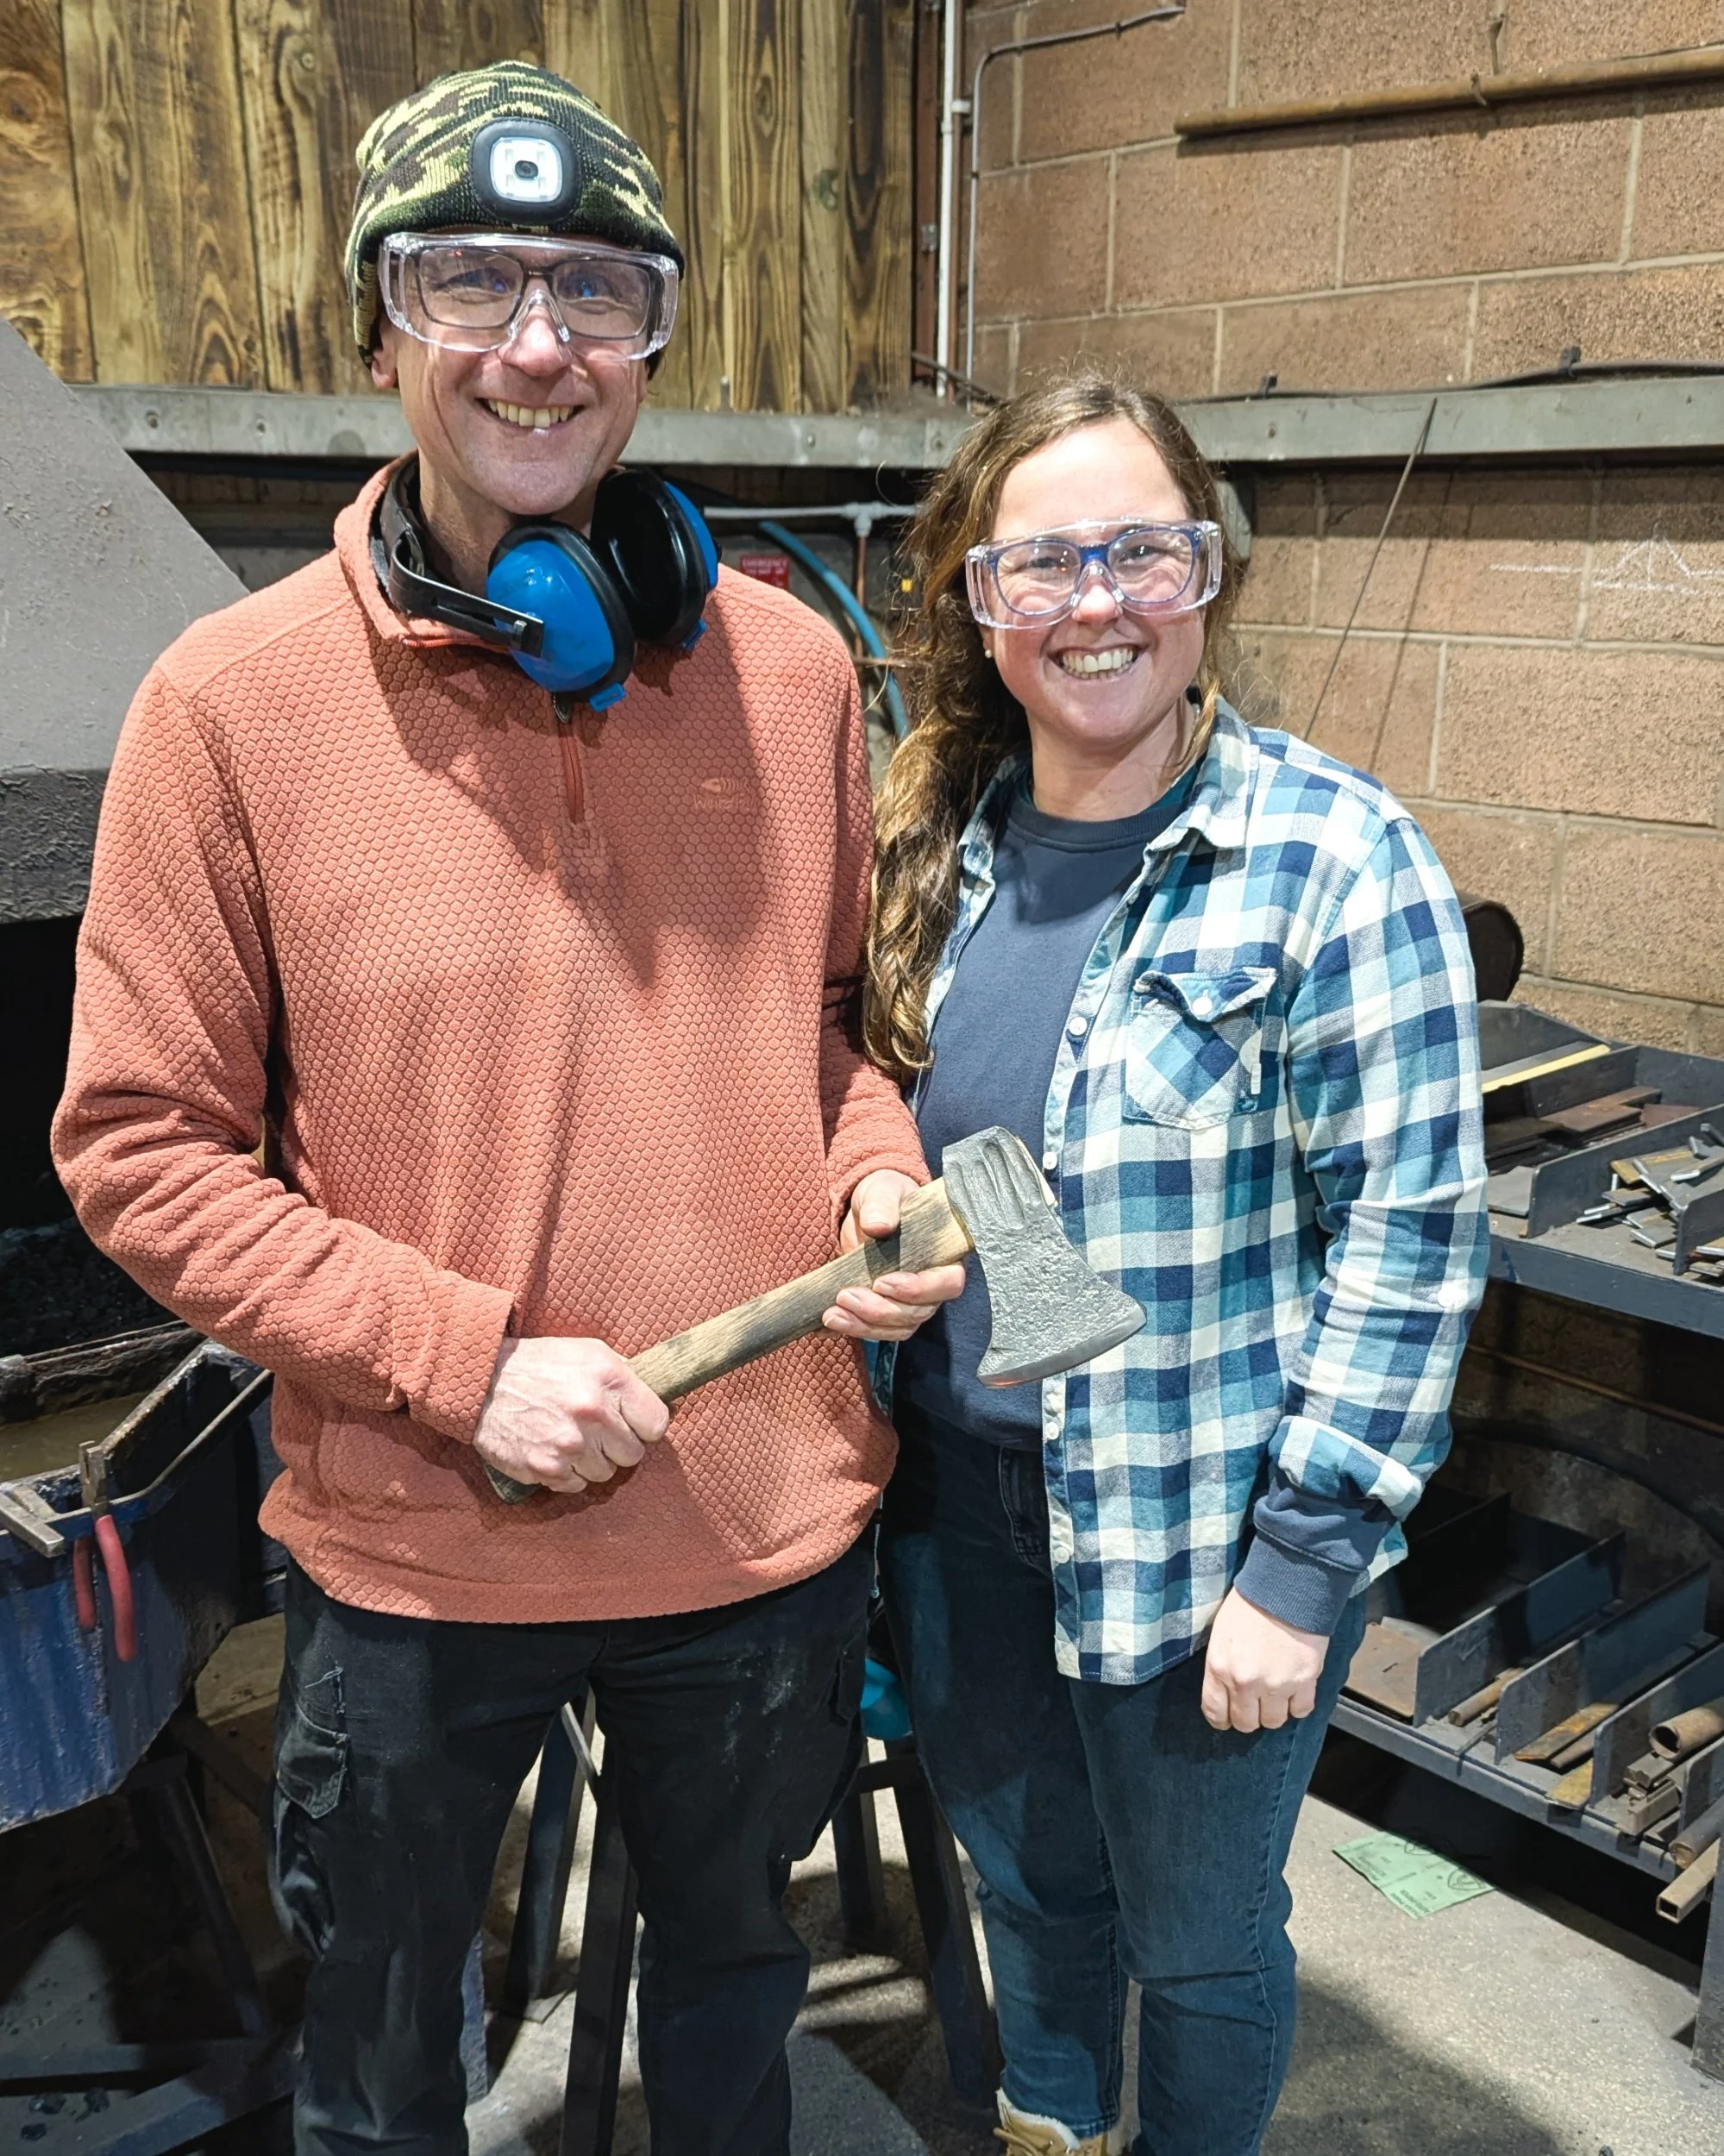
We thought we were finished at this stage, but when we went back round to the wood workshop (love the smell of cut wood!) to get the handle oiled, Rod decided the burning wasn’t quite right, so Matt popped back to the workshop and made it a bit more consistent. After oiling, our axe is finally finished!
What a creative experience! It was a full day, starting at around 9am and finishing approximately 4/5pm.
Holly Makes - Honest Overview
So many positives: got to make the whole axe & take it home that day. Inspirational shop with aspirational pieces. Great set up with the signage, building layout. Variety of courses on offer. Knowledgeable instructors. Lunch was tasty!
However, be prepared for it to be busy with people! We were expecting a small room of just us or maybe a couple of other people, but there were approximately 80 students there and 110 the day before (a Saturday!). There was at least 6-8 staff too and the café staff, so definitely a bit more of an operation than a small workshop.
Would recommend if you know something specific you want to make. The dagger and knife ones looked like they worked better for couples as you got to use the forge too and share the hammering, being a bit more hands on.
We would've liked a bit more of an introduction to what the process was for the day and what we were making. It felt like we were going in a bit blind and didn't really know what was going on or how long we had to do each stage or what we were doing next.
Be prepared for it to be noisy! As you can expect, it was very noisy when all the groups started hammering. The constant background noise of the fans providing air to the fires was also loud, making it sometimes hard to hear the instructions. I luckily had packed my Loop earbuds which were a life saver for me. I recommend bringing earbuds if you have them Lloop earbuds are great), or if you are sensitive to noise, they have some over ear defenders to use.
Make sure you don’t touch anything hot! We heard a couple of horror stories, which definitely makes you be more aware. Hands in pockets was my go to, so I wouldn't accidentally try and catch something hot falling. It looks like cold metal when its lost its orange glow, but its still very very hot!
Bring a drinks bottle & make sure you drink! We didn’t drink a lot throughout the day, but with the heat of the forge and the exertion of hammering metal, we should have! The café sells drinks when you have a break or at lunch.
Be prepared to be a bit hands off, there was a fair bit of waiting around and a few things we couldn’t do (understandably).
They also do ring courses and leather making, alongside the other metalworking courses, so definitely more courses worth exploring.
I'd love to make the pocket knife or a kitchen knife I could use. Doing a ring and leather work also interests me. Perhaps an option to do some woodwork courses too? It would be awesome to make the handle for the axe (but understand as its already a full day!).
Check what your course includes, as we were only making one axe (might not be clear when booking!), but its great for a shared experience together and making memories and an item you can keep forever.
As my dad said “I have used the axe a couple of times, it makes me smile every time I get it out”.
Book the Experience!
If you’re looking to join a creative workshop, I can’t recommend it enough. It’s such a brilliant gift for yourself or a loved one (it was my dads birthday present from his partner!). Its the perfect way to make lasting memories and come away with something truly special that you’ve made with your own hands.
If you’ve loved reading about my experience and want to have a go yourself, you can use the link below to book your own spot. If you'd like to support my blog, drop a comment below and share with your friends and family. It doesn’t cost you anything, but it helps me keep sharing these workshops and inspiring your next creative experience!
Have a creative experience I should try next? Or just want to chat about finding your own creative spark? I’d love to hear from you! Drop me a message at hello@tidesofteal.com - let's make something amazing.
A quick note to say, I’ve done my best to capture the process accurately, but any technical errors in the process or terminology are entirely my own, and not a reflection of the expert teaching at Oldfield Forge!
All photos & content © Holly Freemantle 2026. Please contact me for licensing or usage.