Top five steps to mix resin successfully
How To Series | 01 How to Mix Epoxy Resin

Introducing the first of my ‘How To’ series. I thought I’d kick it off with one of the most important areas, nailing the basics.
Mixing is one of the most important aspects when working with resin to ensure you end up with solid cured piece instead of a gooey mess!
Here’s my top five tips to mix resin successfully:

1. Pre-warm your Part A
Epoxy resin normally consists of two fluid parts, which when combined create a solid via a chemical reaction. You have limited amount of time (each brand of resin is different) to manipulate the resin while it’s still in its fluid form.
The part A and B will normally differ in viscosity, with part A being thicker than part B. If you mix these cold, it will encourage lots of microbubbles which are difficult to completely remove via torching.
To avoid this, if you place part A (lid tightly on!) in a warm water bath for 10 minutes, it will become more fluid and easier to combine with part B, resulting in less bubbles!

2. Measure Accurately
Measuring accurately is absolutely key. Make sure you read your resins instructions and understand the ratio.
This is often shown by both volume and weight. I like to work by weight, as I personally find this more accurate. Some resins will be a 1:1 ratio, so you need to mix equal parts of A & B. Others may be 1:2, so for example, if I poured 200g of part A I would need 100g of part B, giving me 300g of resin to use in total.
Use an accurate weighing scale and get as close to the number you’re aiming for as possible, slow down when pouring to get it as accurate as possible.
Top tip – put your scales in a sealed clear bag so you can keep your scales clean!
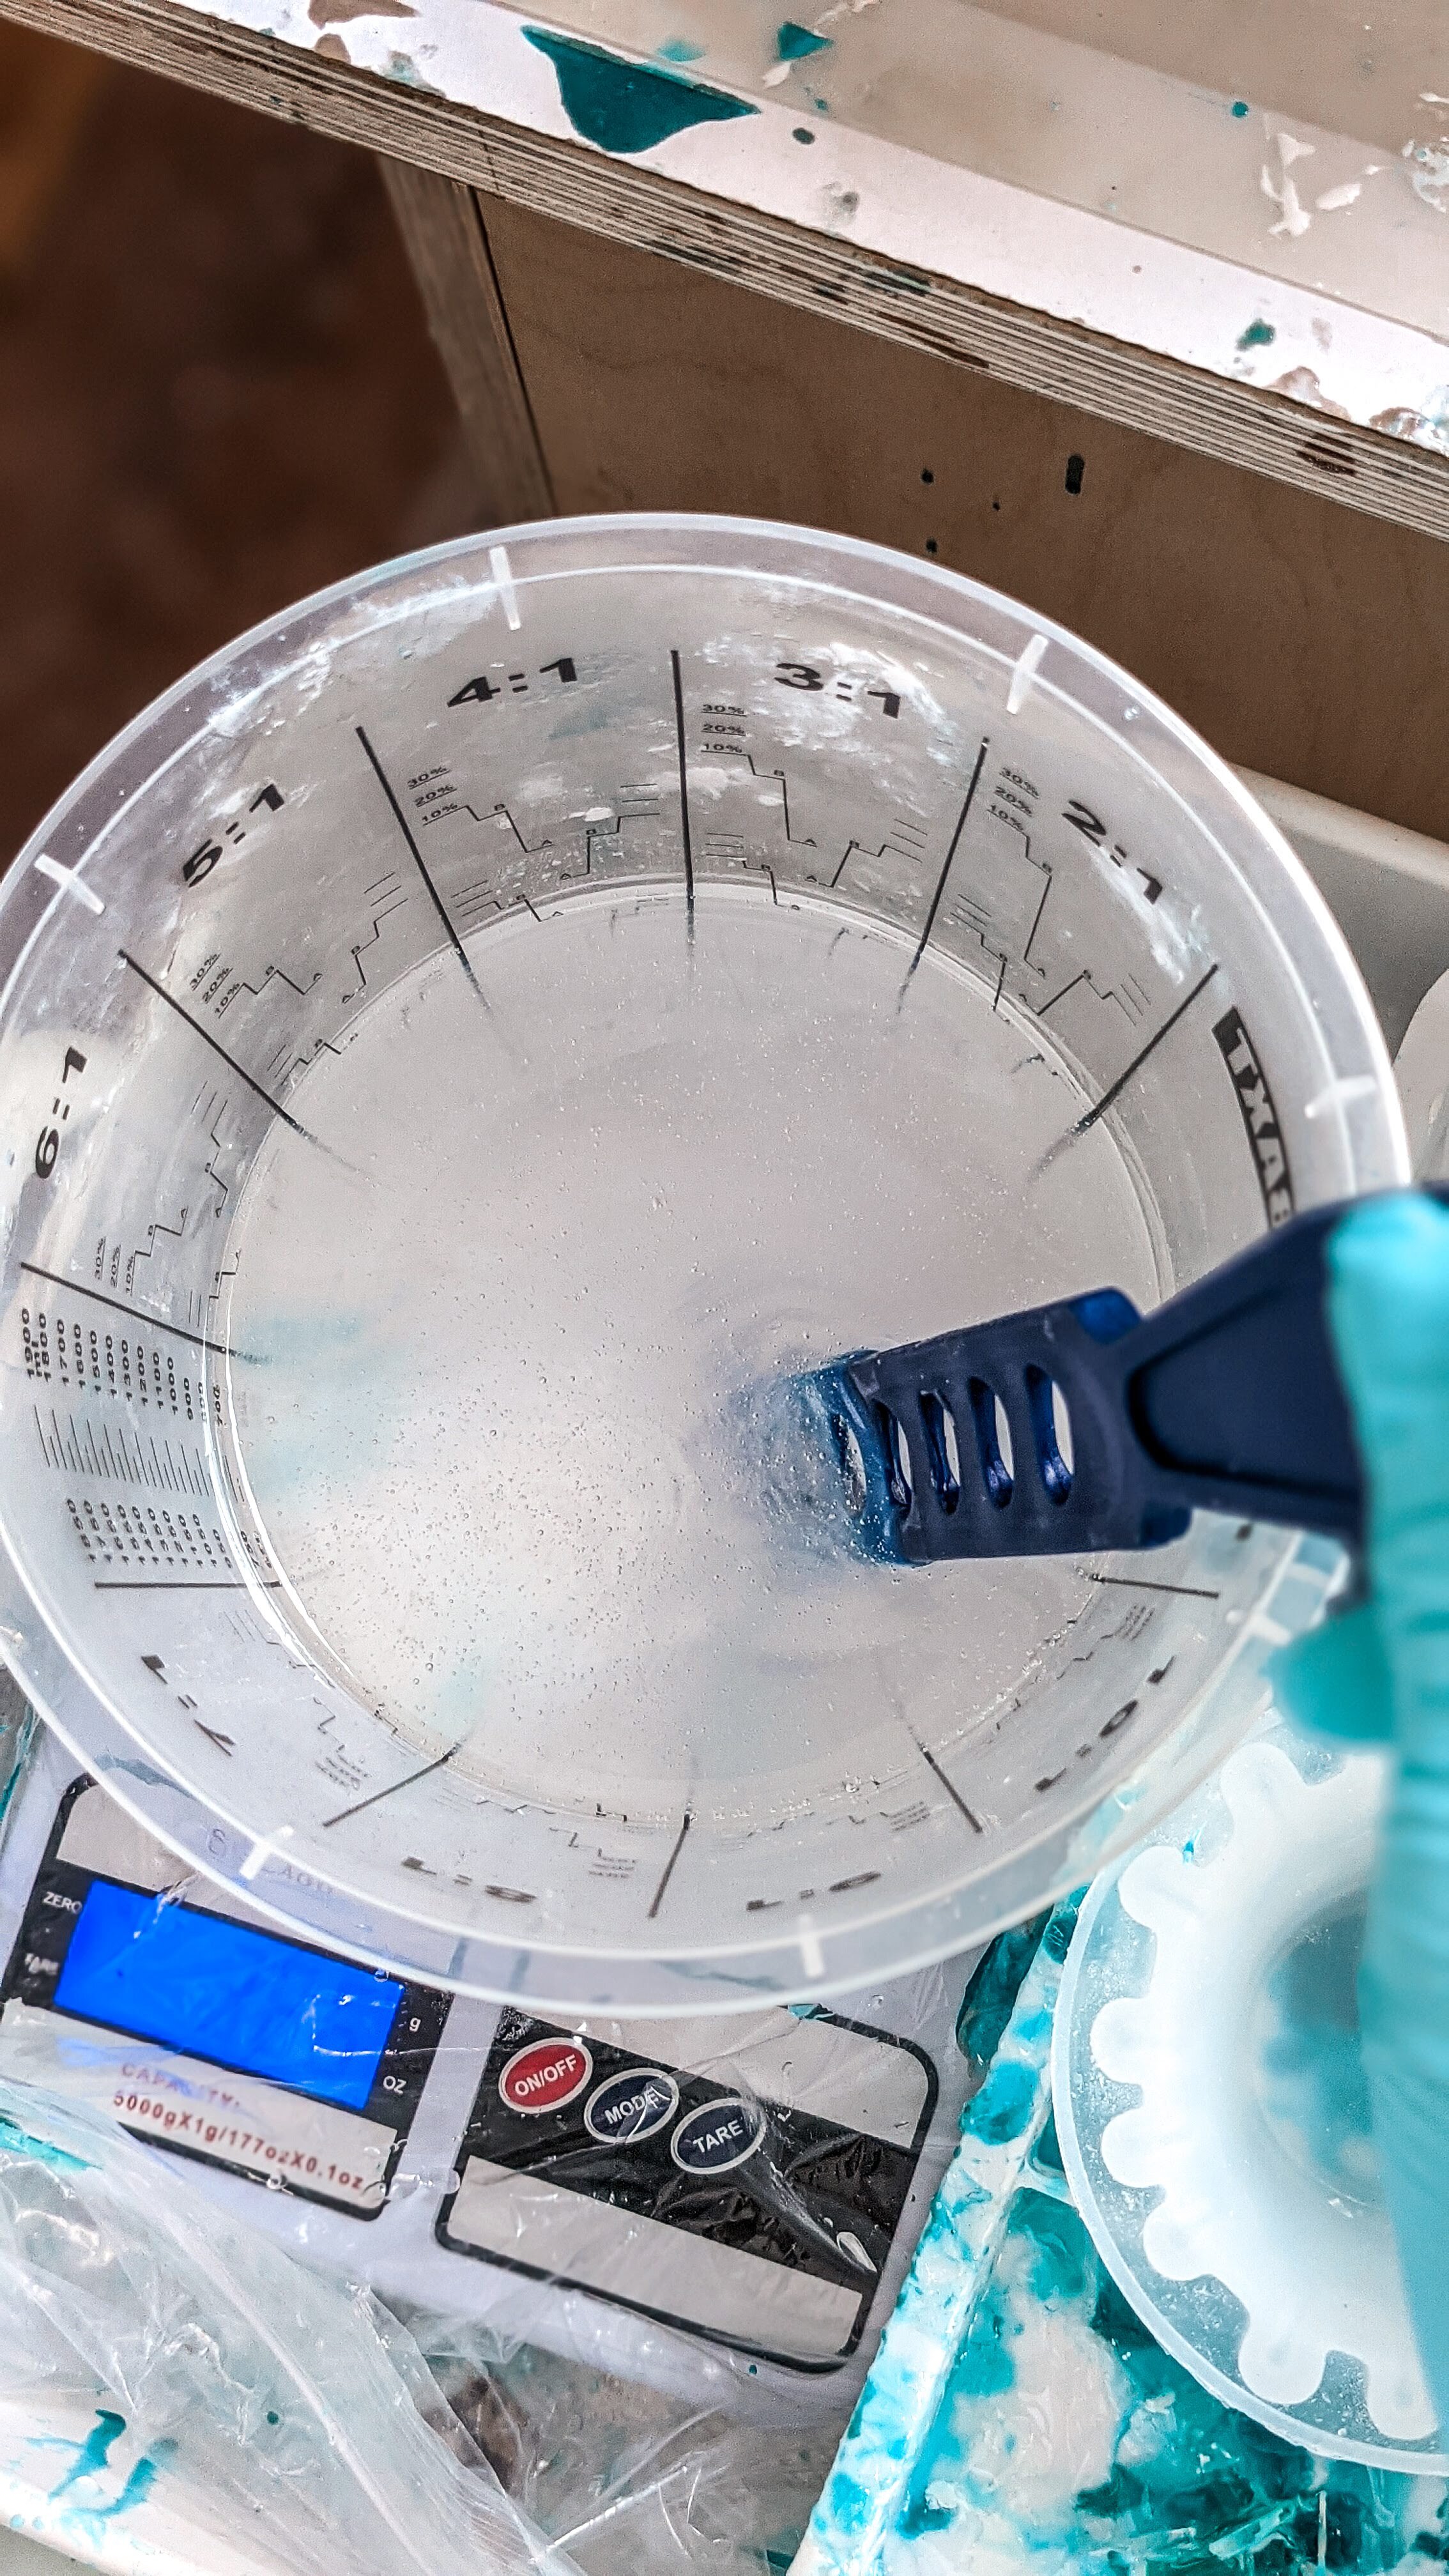
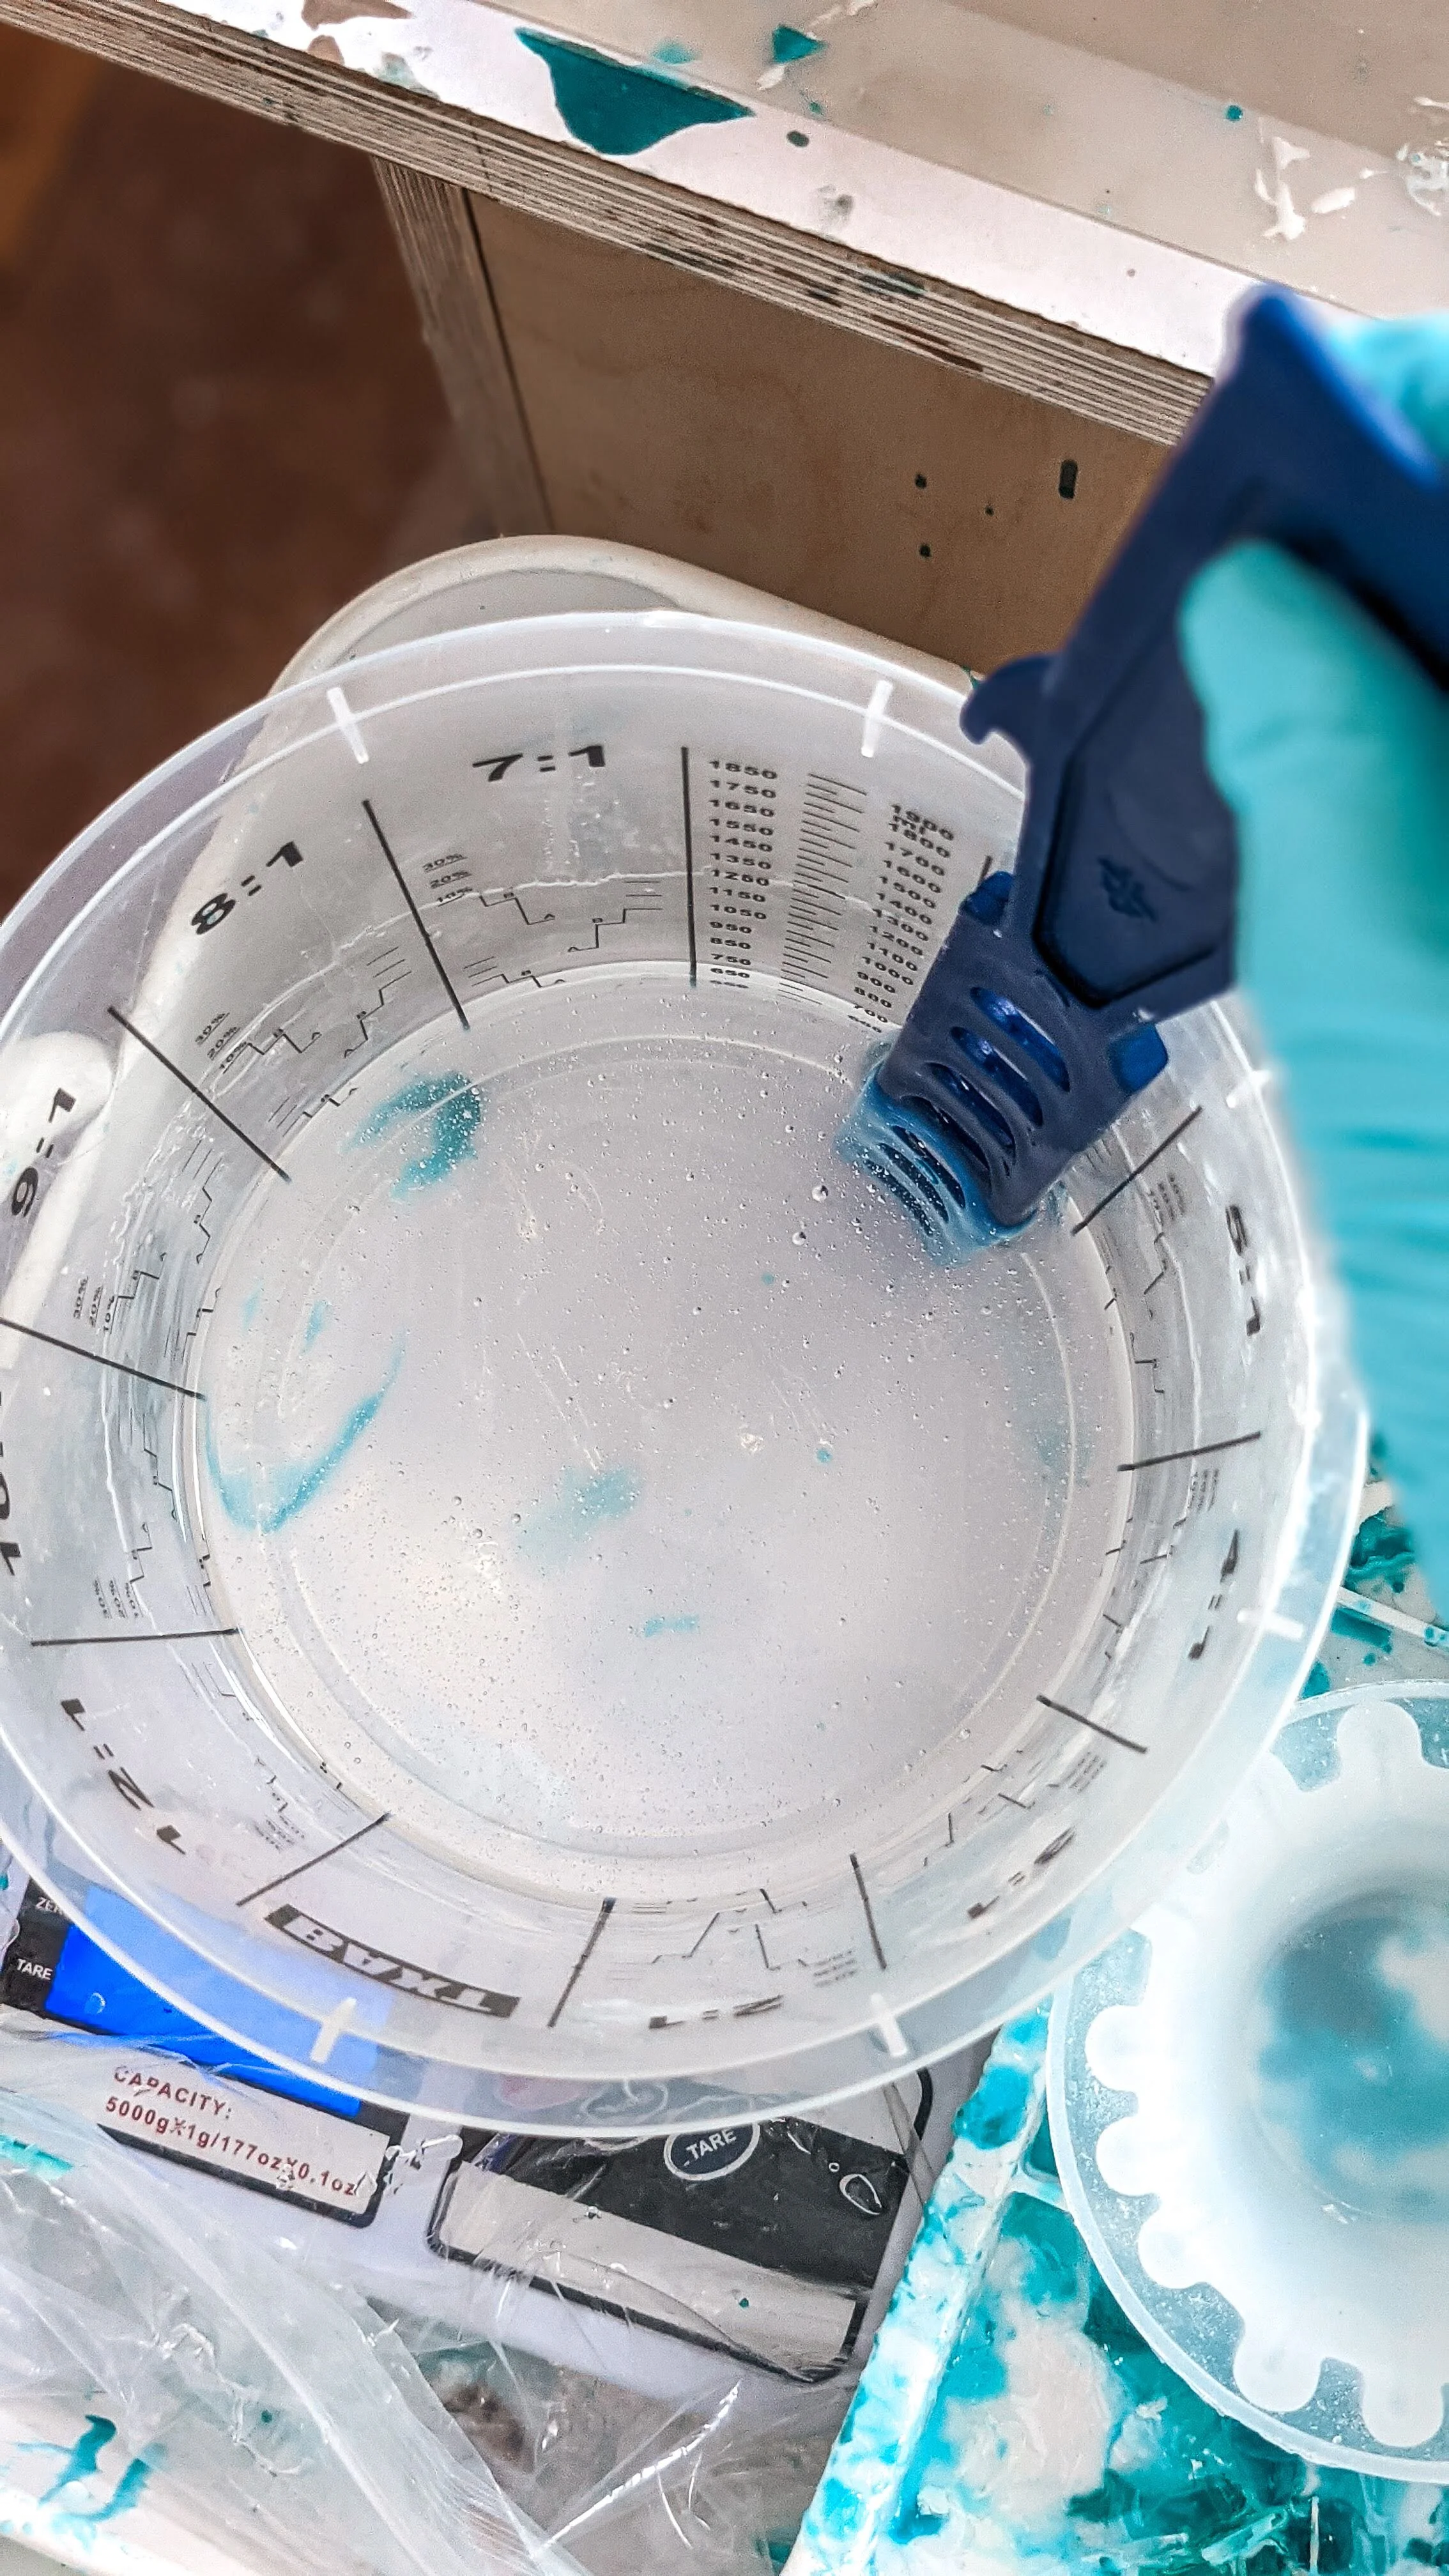
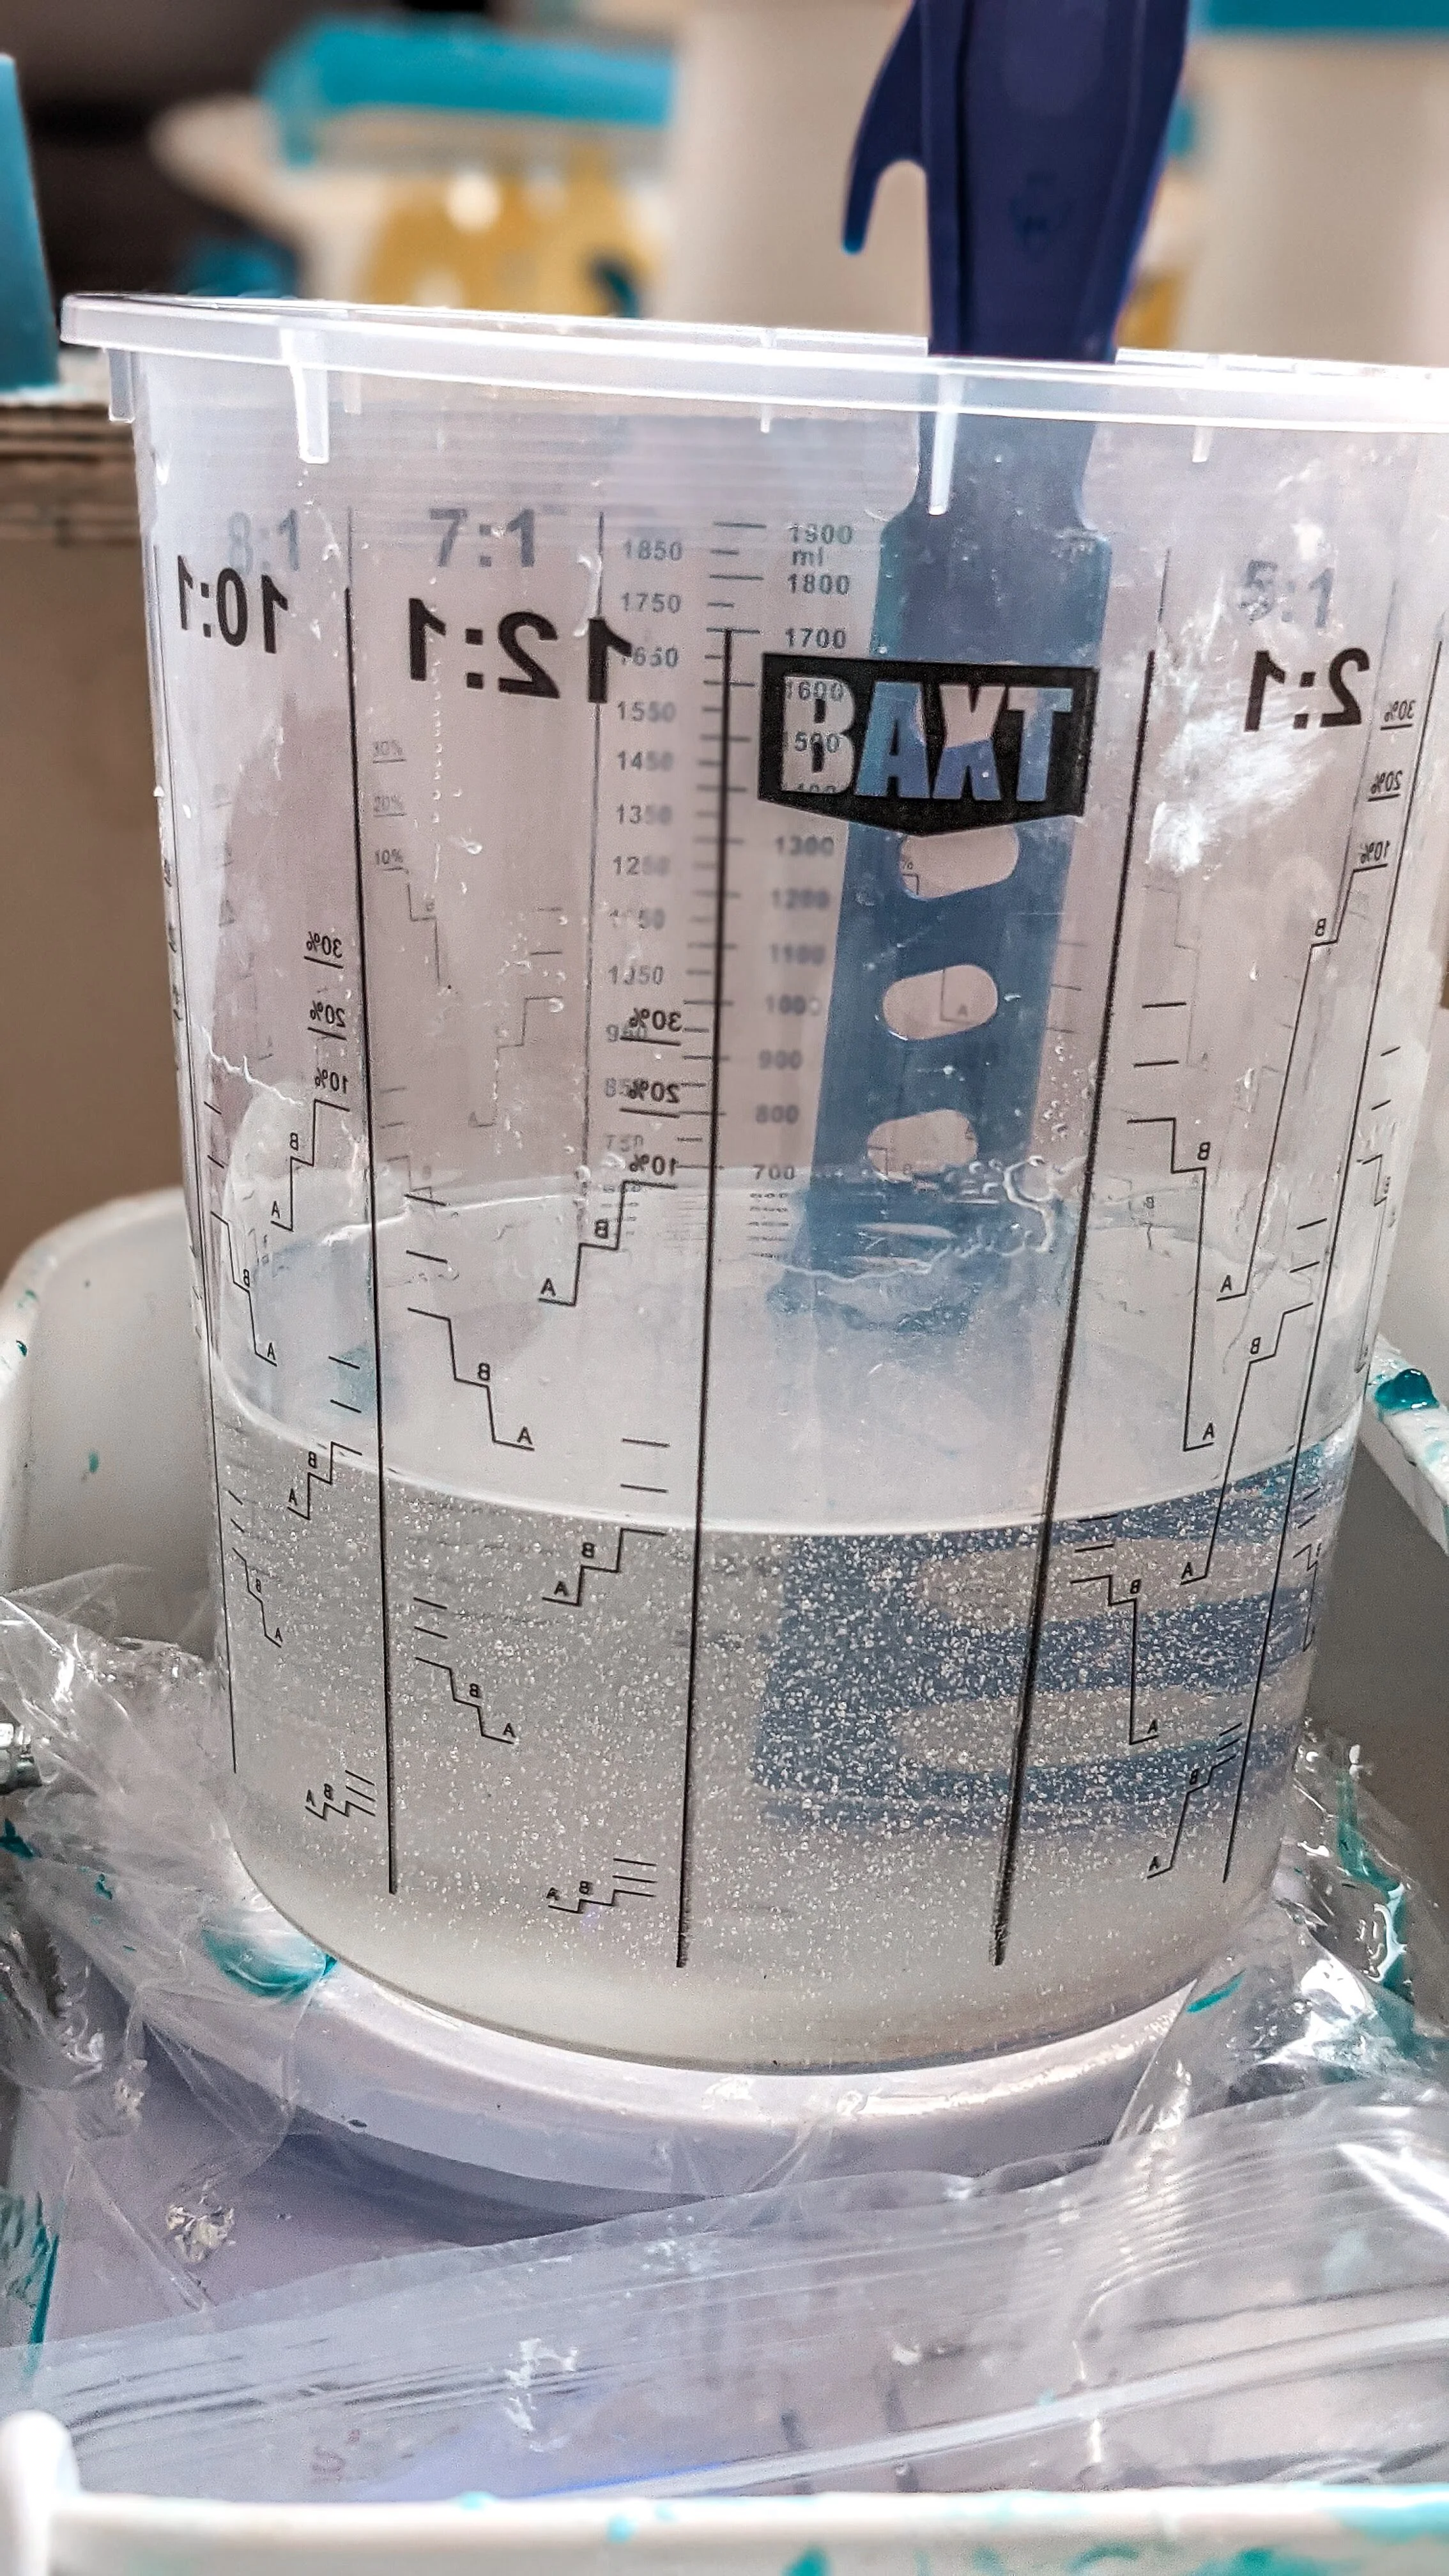
3. Mixing technique, slow and thorough
Now you’ve got your part A & B measured accurately, you’ll need a mixing stick (non-porous are best). Glass Cast Resin have one specific for big batches of resin (pictured here).
See the video below of a technique I use when mixing resin. I like to vary the angles, ensuring all the resin is combined.
The key is to mix slowly to ensure you don’t whip in too many bubbles. You want to leave no resin unmixed, so scrape the edges and sides thoroughly.

4. When you think you’re done, keep going
Just like with surfing, those extra paddles can help you get a wave. Just as your hand or arm starts to ache when mixing, that’s the key time to mix a little longer!
You want your resin looking crystal clear with a few bubbles in. If it’s too thick and bubbly these microbubbles will translate to your artwork and won’t torch out. You don’t want to see any swirls of resin as this is showing unmixed areas.
A usual amount of mixing time would be around 3-5 minutes.
The photos below show the stages during the mixing process. Far left is unmixed, then gradually, as you progress to the right the resin becomes clearer.


5. Double potting
To fully ensure your resin is mixed it’s advisable to use the double potting method. This is pouring your resin into a clean pot and re-mixing.
This prevents any un-mixed areas around the sides and base of the first pot from getting to your artwork.
Another top tip is not to scrape the edges and base of the pot out completely onto your artwork as this is often where unmixed areas tend to linger.
If you’ve made it this far, thank you so much for reading my first blog post! I hope there are some useful tips above that help you out! I’d love to know what you’d like to see more of on my blog, please get in touch or comment on my first (eek) YouTube video (shown above)!
Watch this space for more blog posts in my ‘How To’ series.
Holly
Tides of Teal Creator & Founder
“The expert in anything was once a beginner”